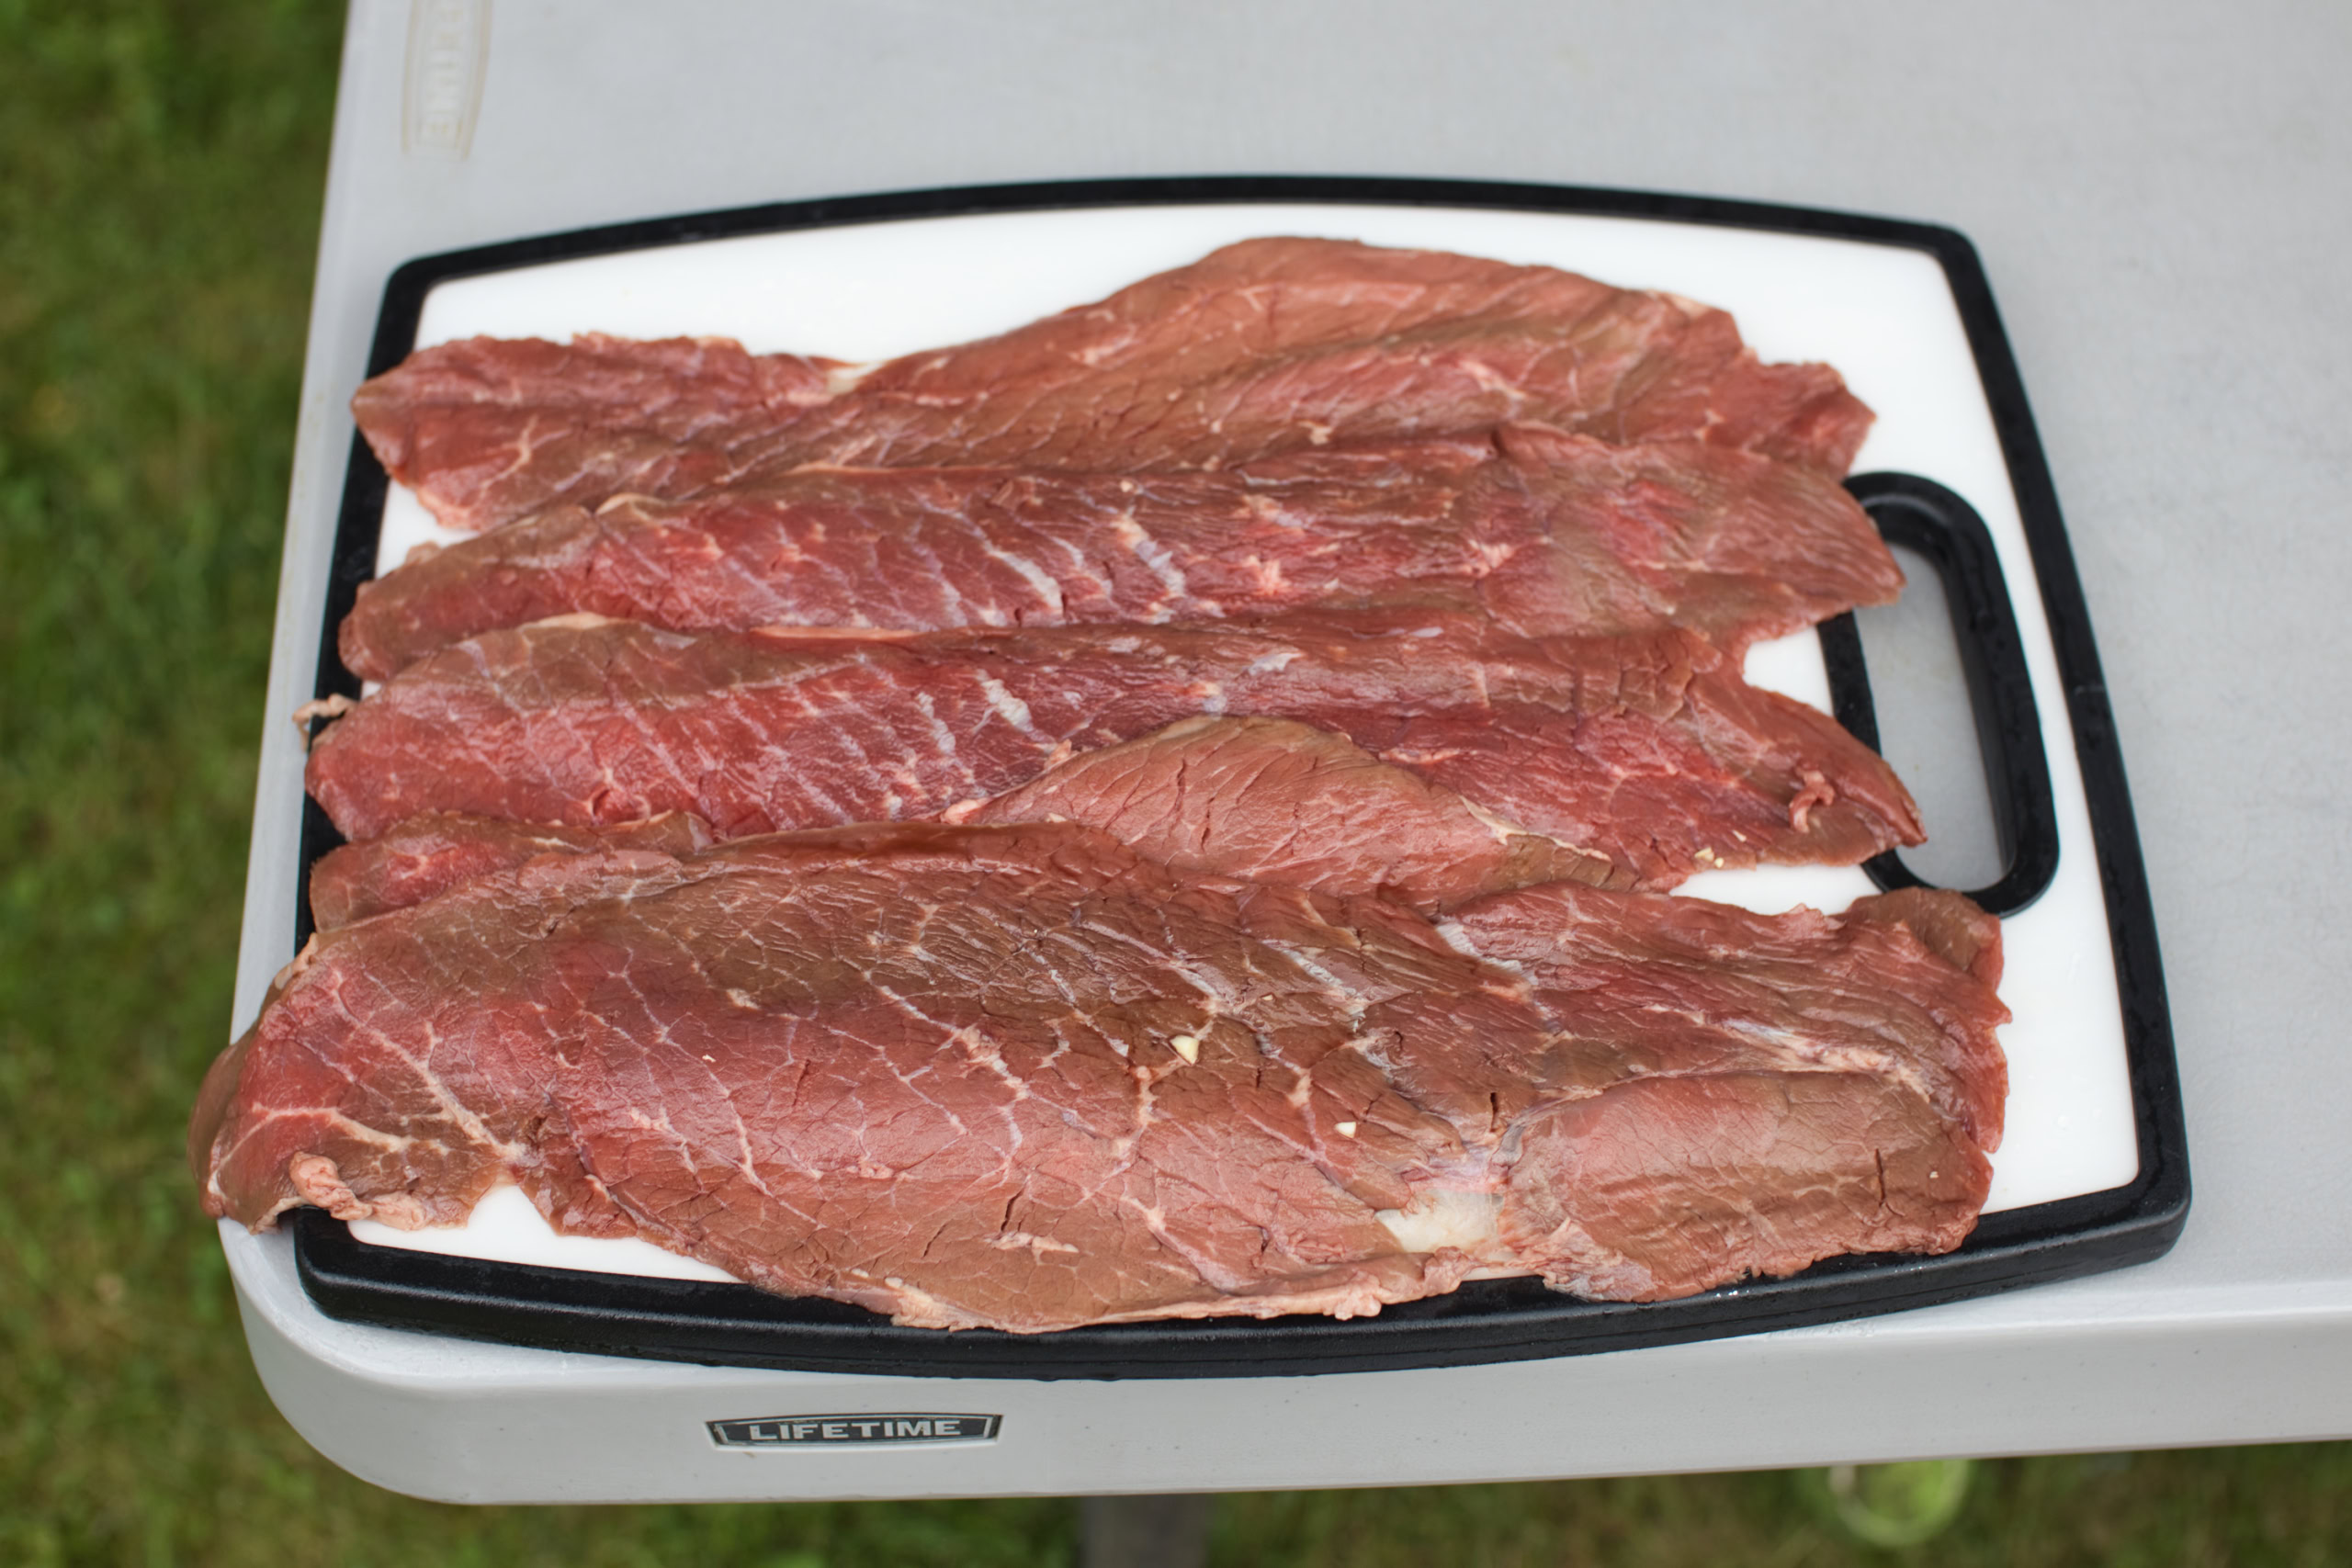
Which Cuts of Beef to Use?
This recipe specifically uses Brisket Flat, however, any cut that is lean and cheap will work.
Other options:
- London broil (top round)
- Bottom round
- Eye of Round
- Flank steak
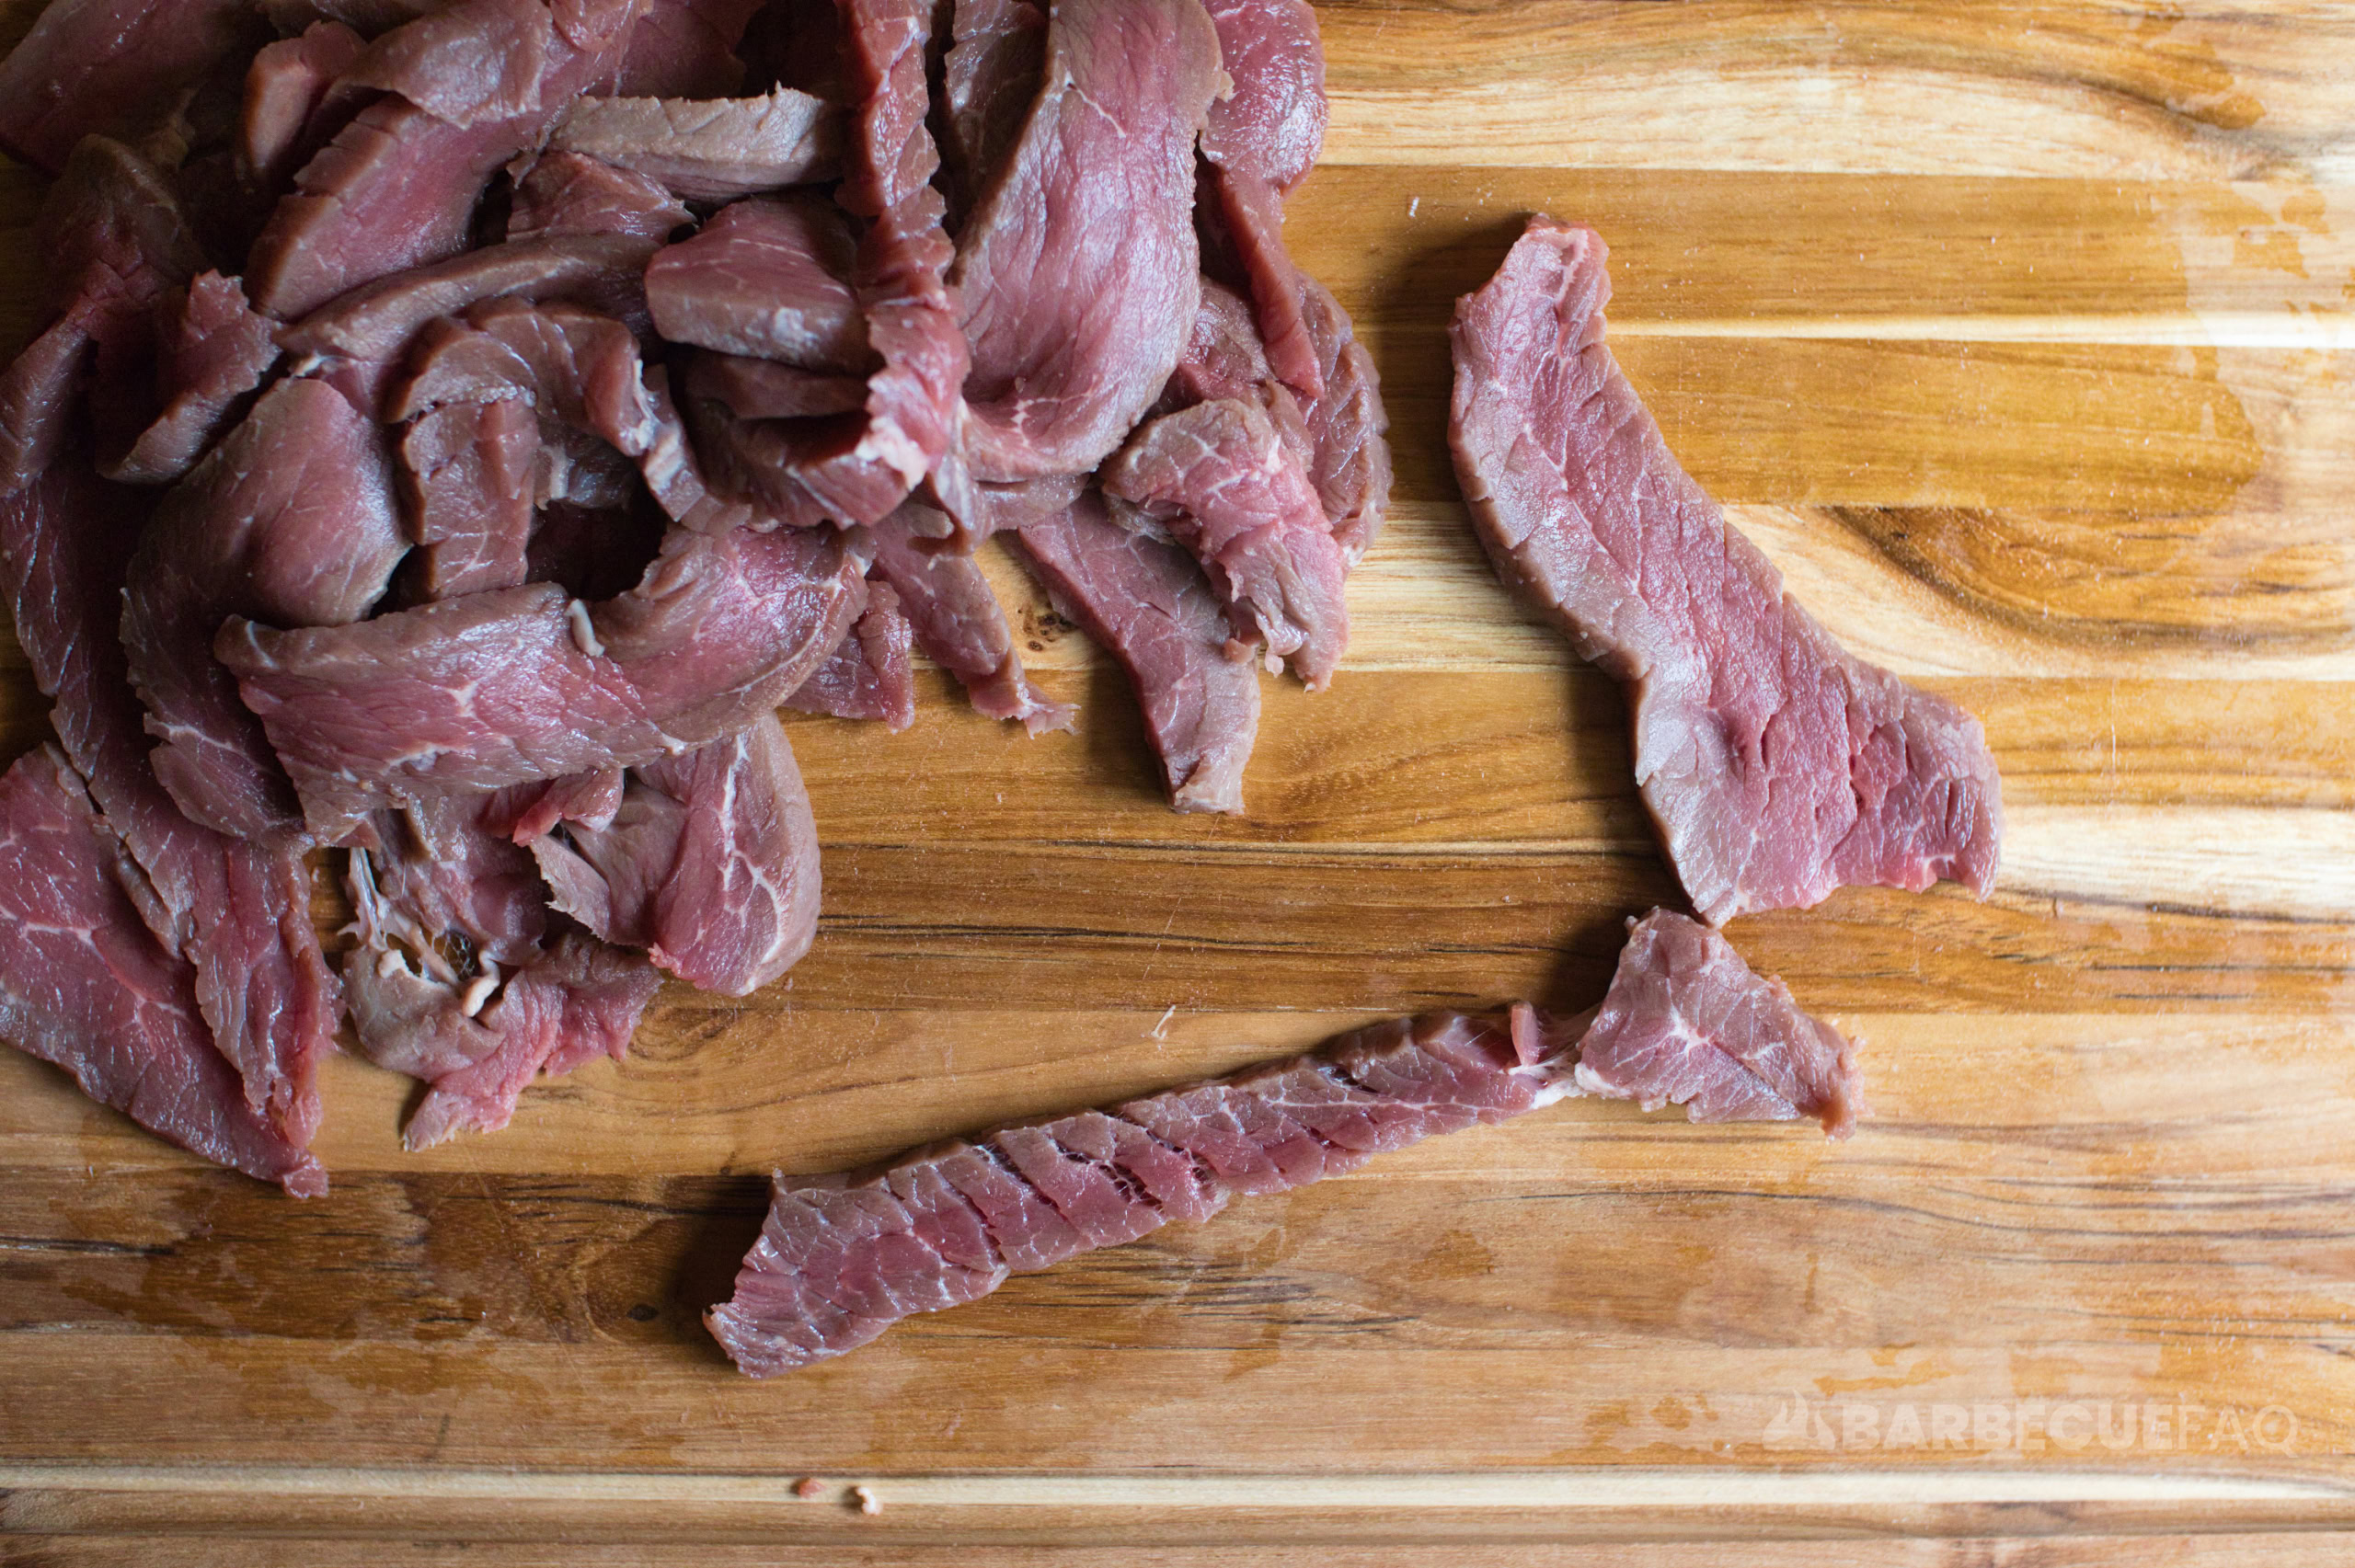
Slicing and Trimming the Jerky Meat
Remove fat and silverskin – the fat won’t render and will go rancid.
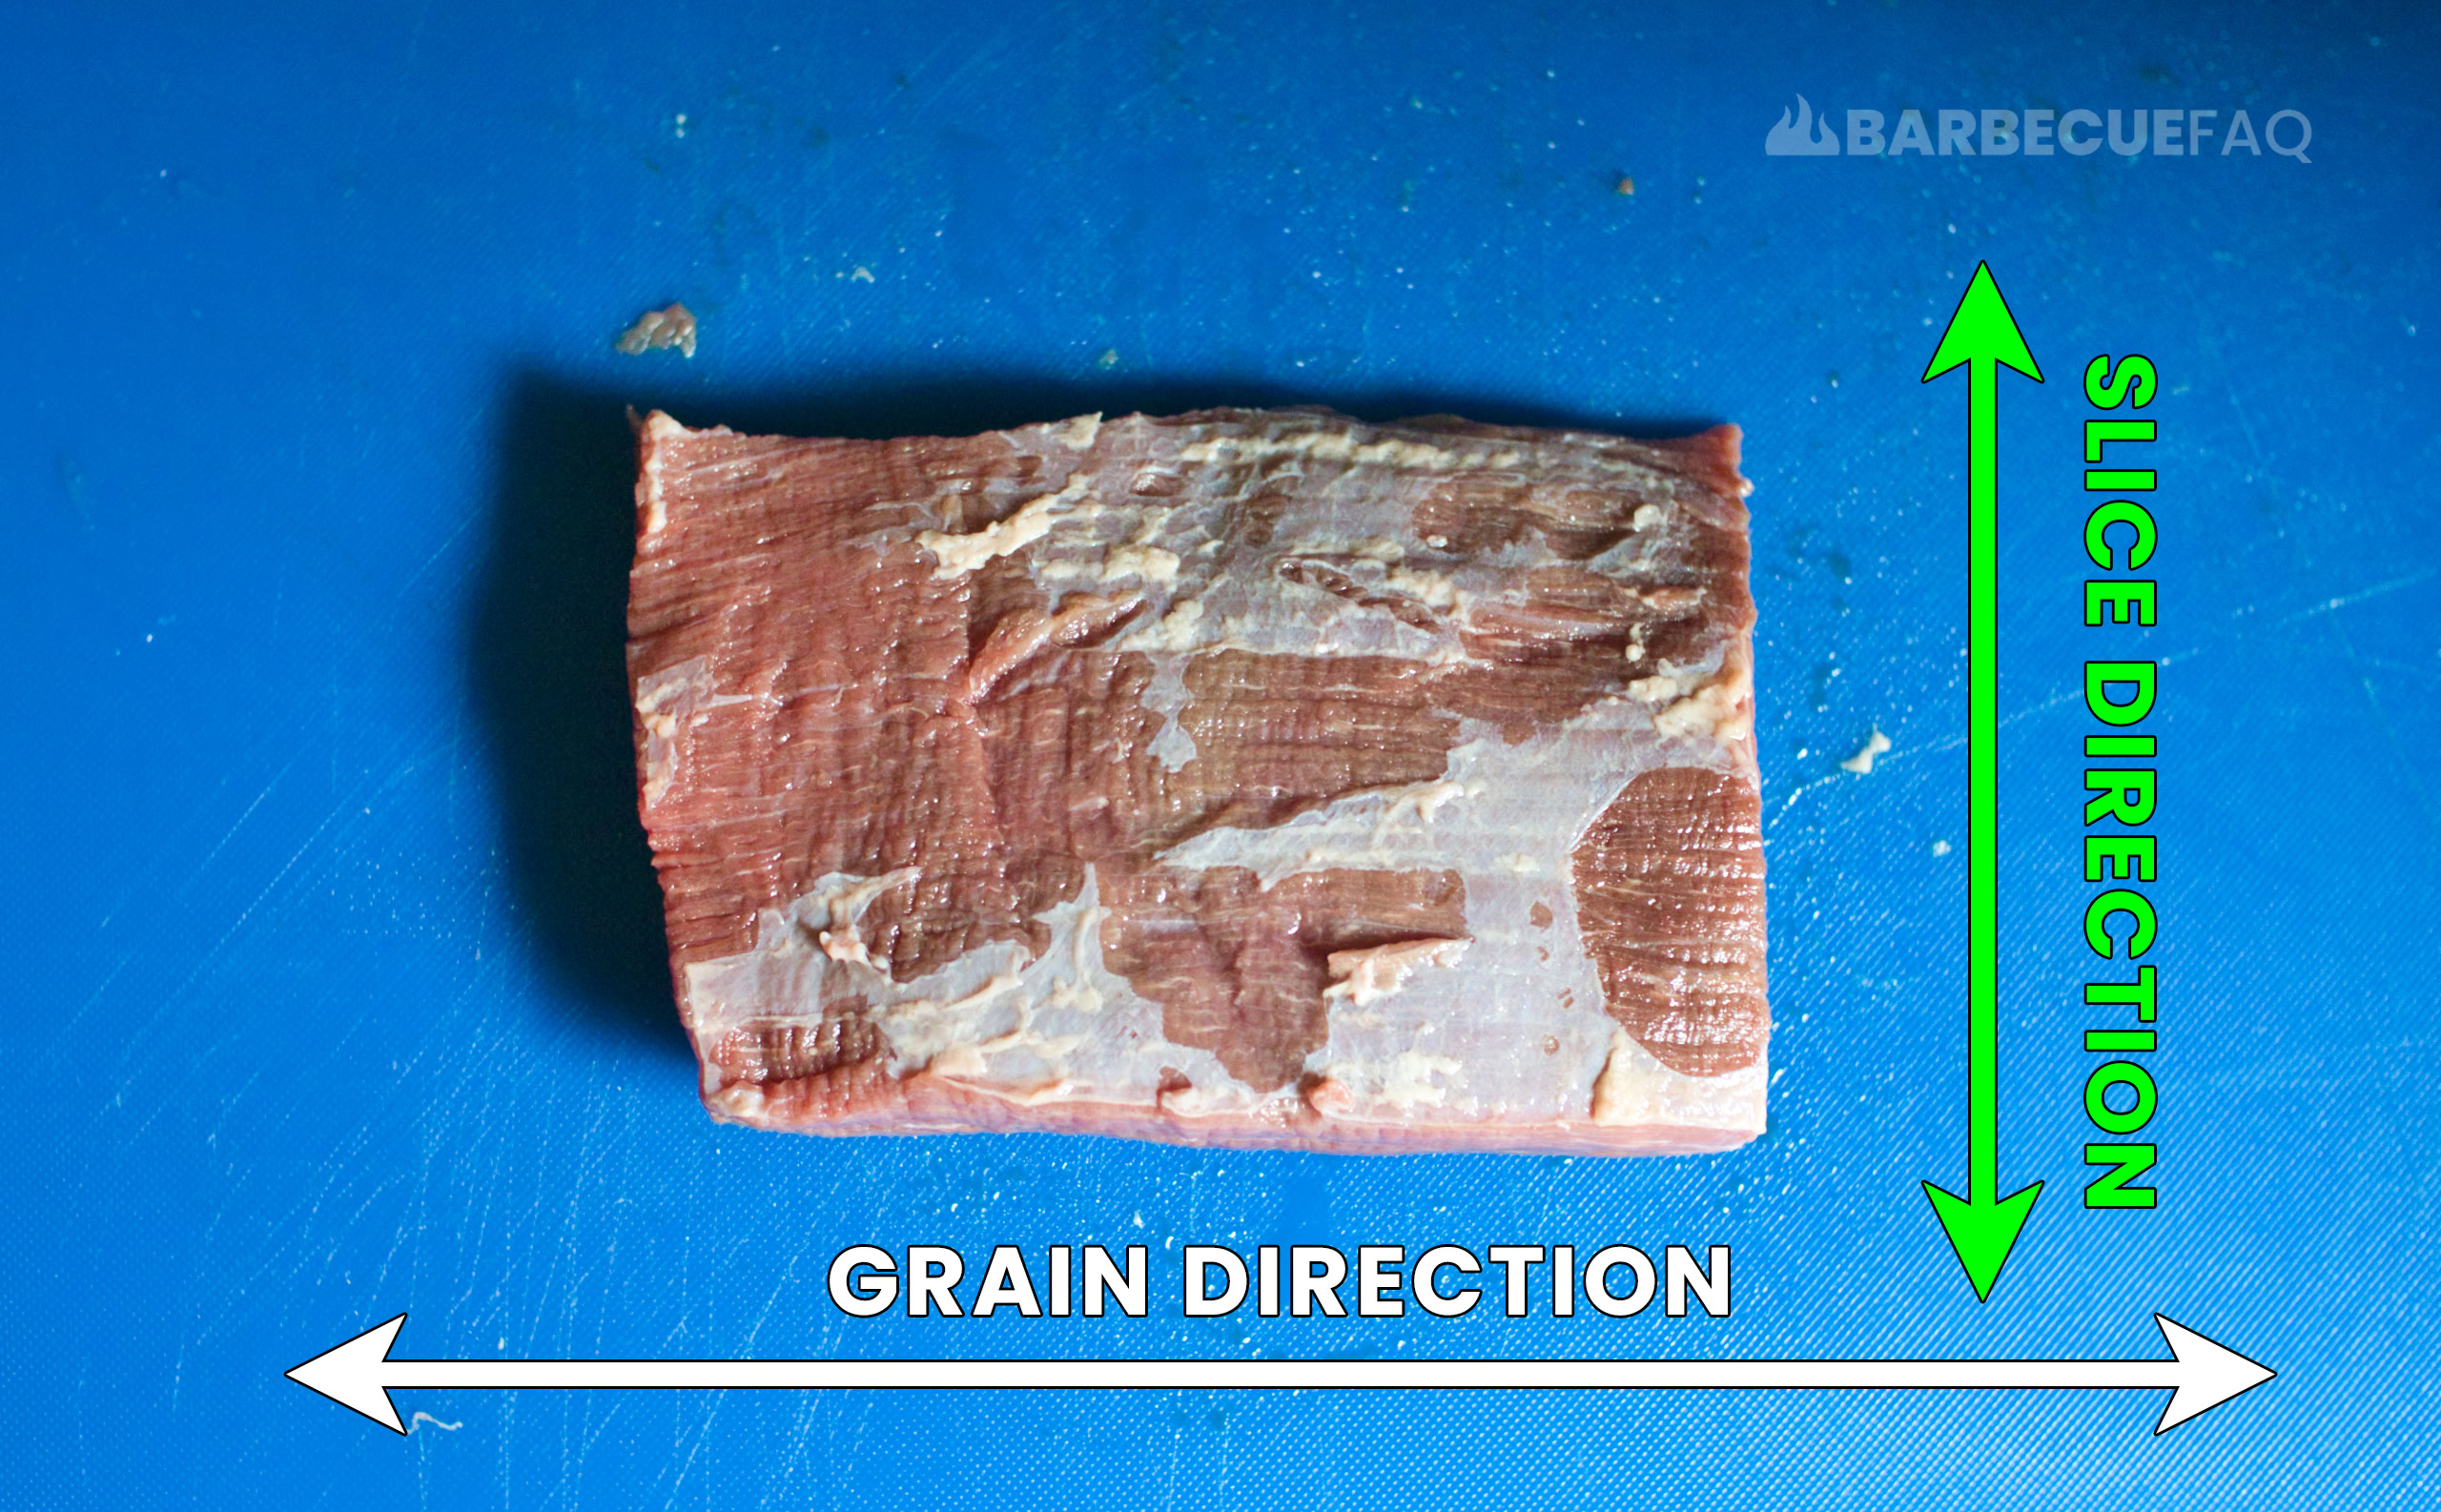
Next, do you like jerky with a “tug?”
- If you do, slice with the grain
- If you don’t, slice against the grain
Slice to 1/8 – 1/4″ thick.
Peppered Beef Jerky Marinade Ingredients
This marinade is for ~1 lbs of jerky meat.
I’d suggest only working with 1 lb of meat at a time and making separate batches as apposed to trying to scale this recipe.
- 1/4 cup Tablespoons Kikkoman Teriyaki Sauce
- 2 Tablespoons Lea and Perrins Worcestershire Sauce
- 1/3 cup molasses
- 2 tbsp 16 mesh black pepper*
- 1/2 tbsp granulated garlic
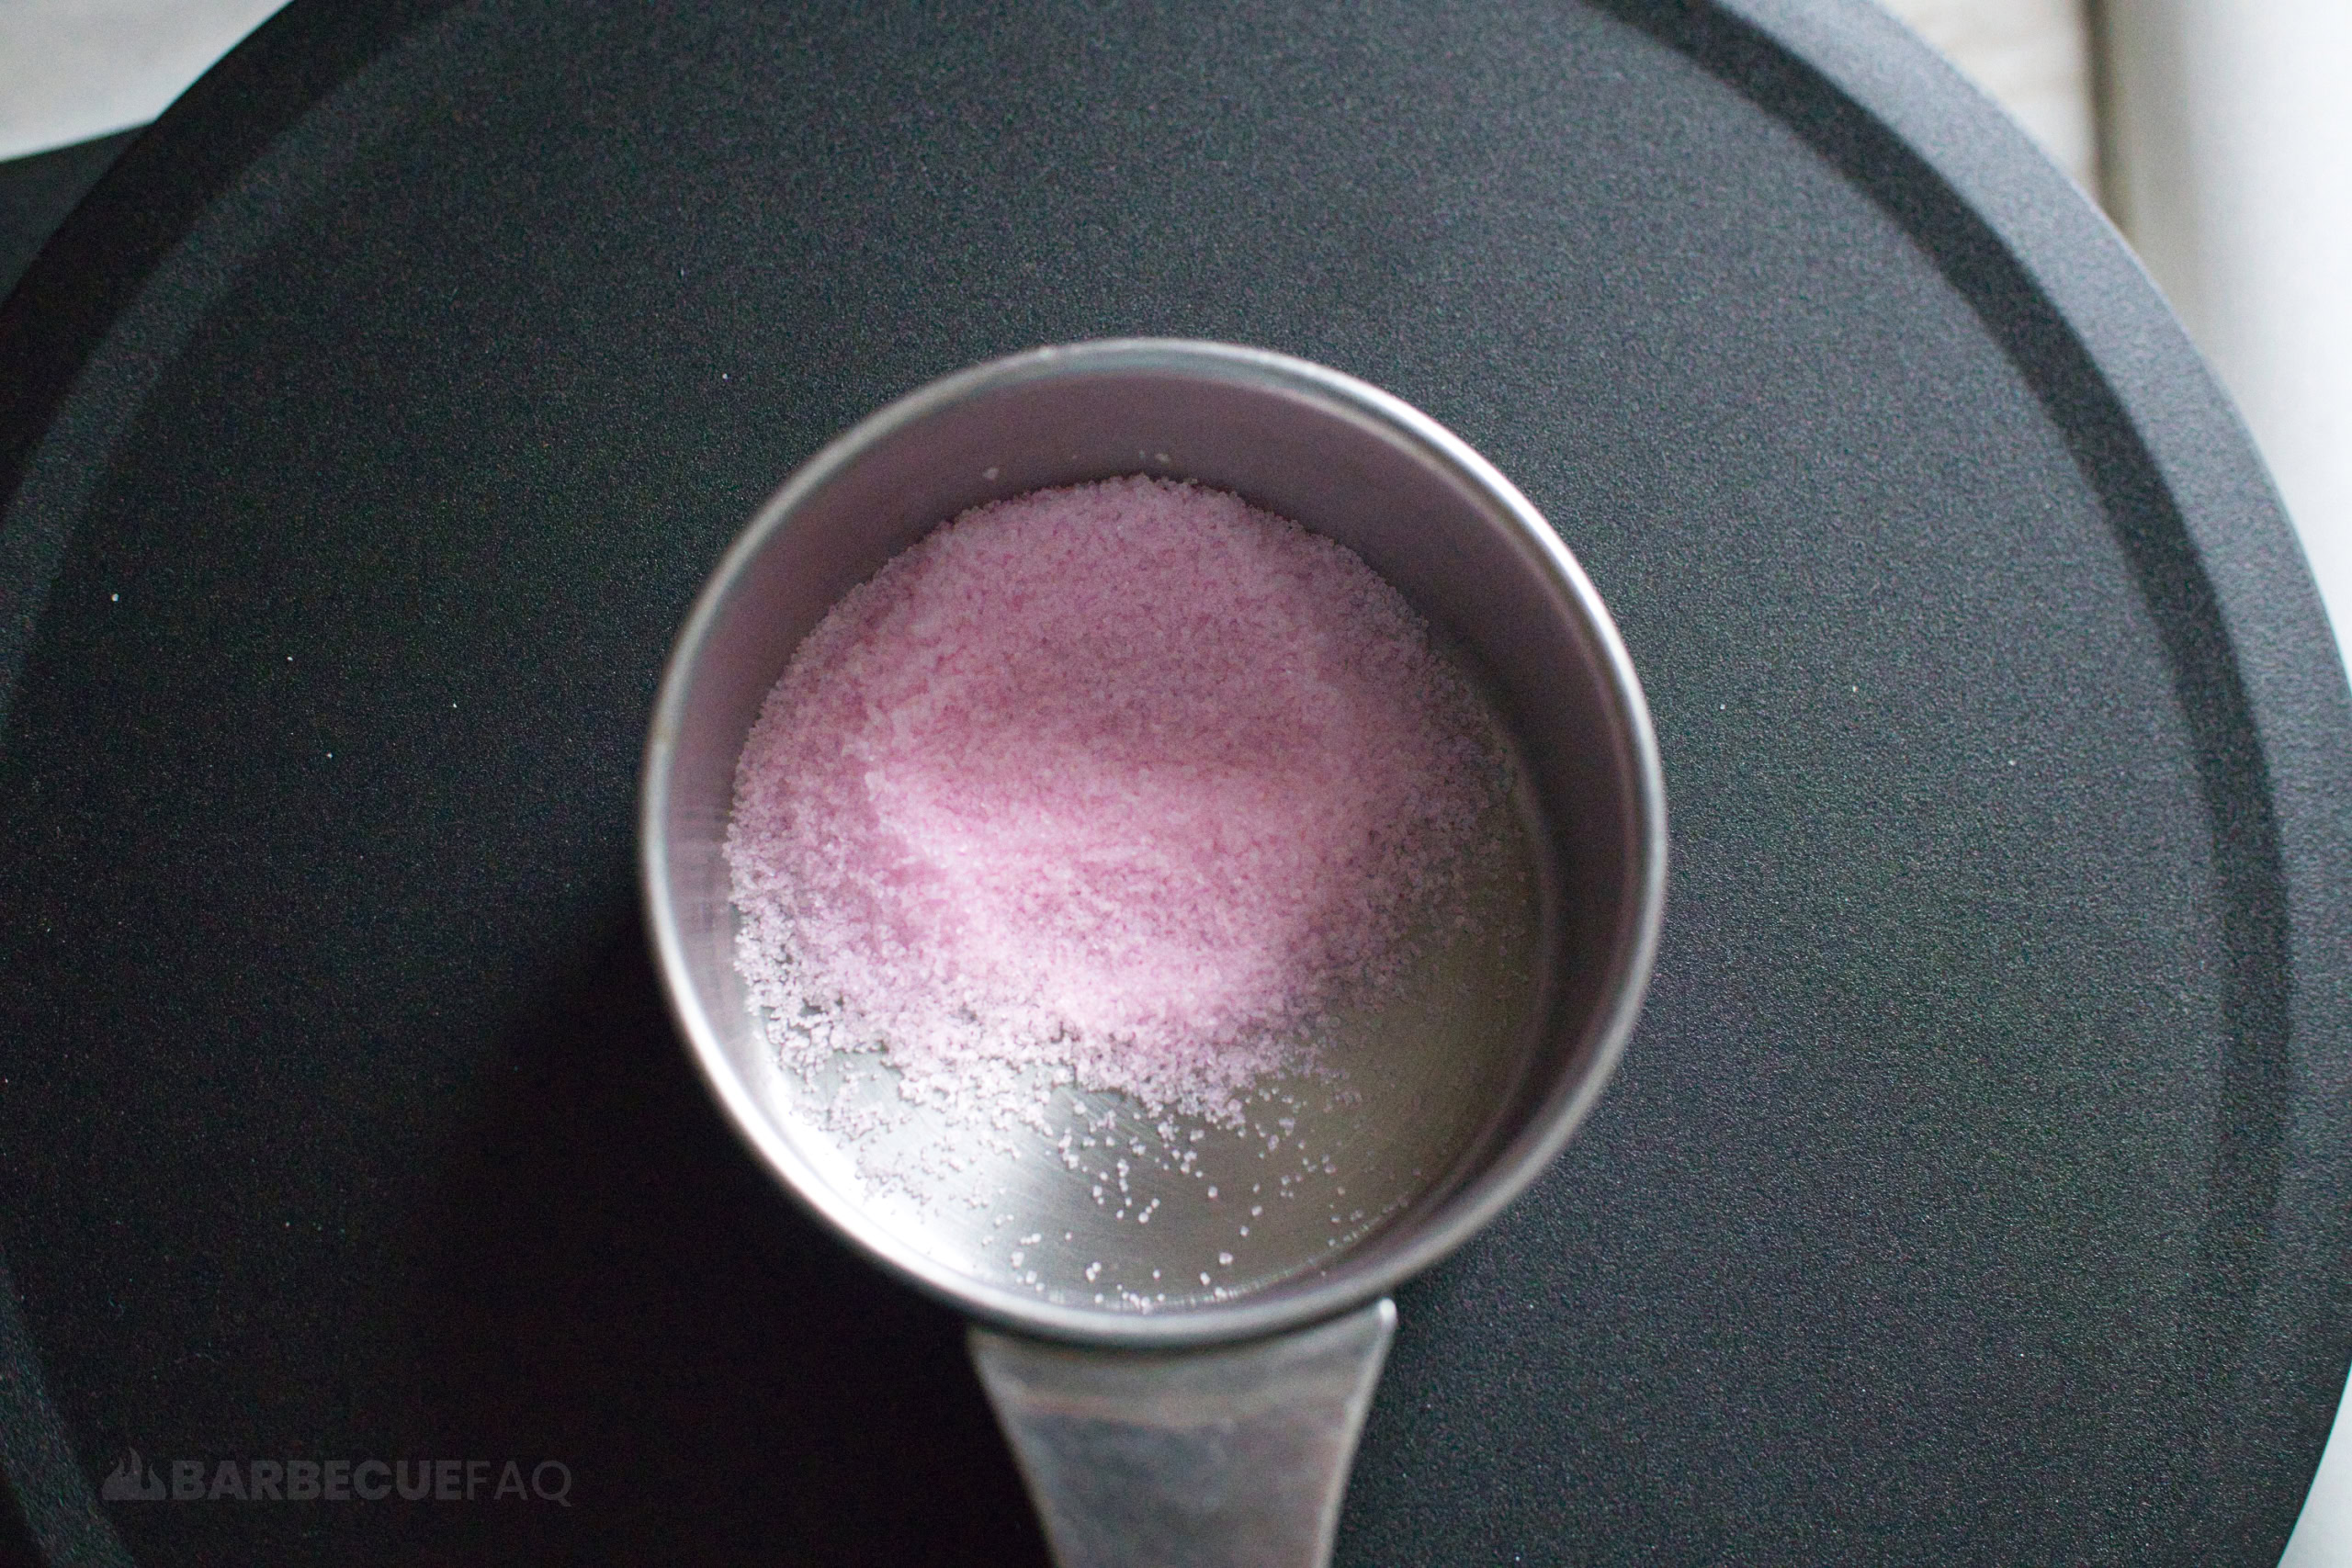
- 2 Tablespoon of Diamond Crystal Kosher Salt
- 1/3 cup Water
*In terms of the pepper, stick with 16 mesh if you can. Regular table ground black pepper won’t have the same effect (ie. the peppery pop).
Marinating the Beef Jerky
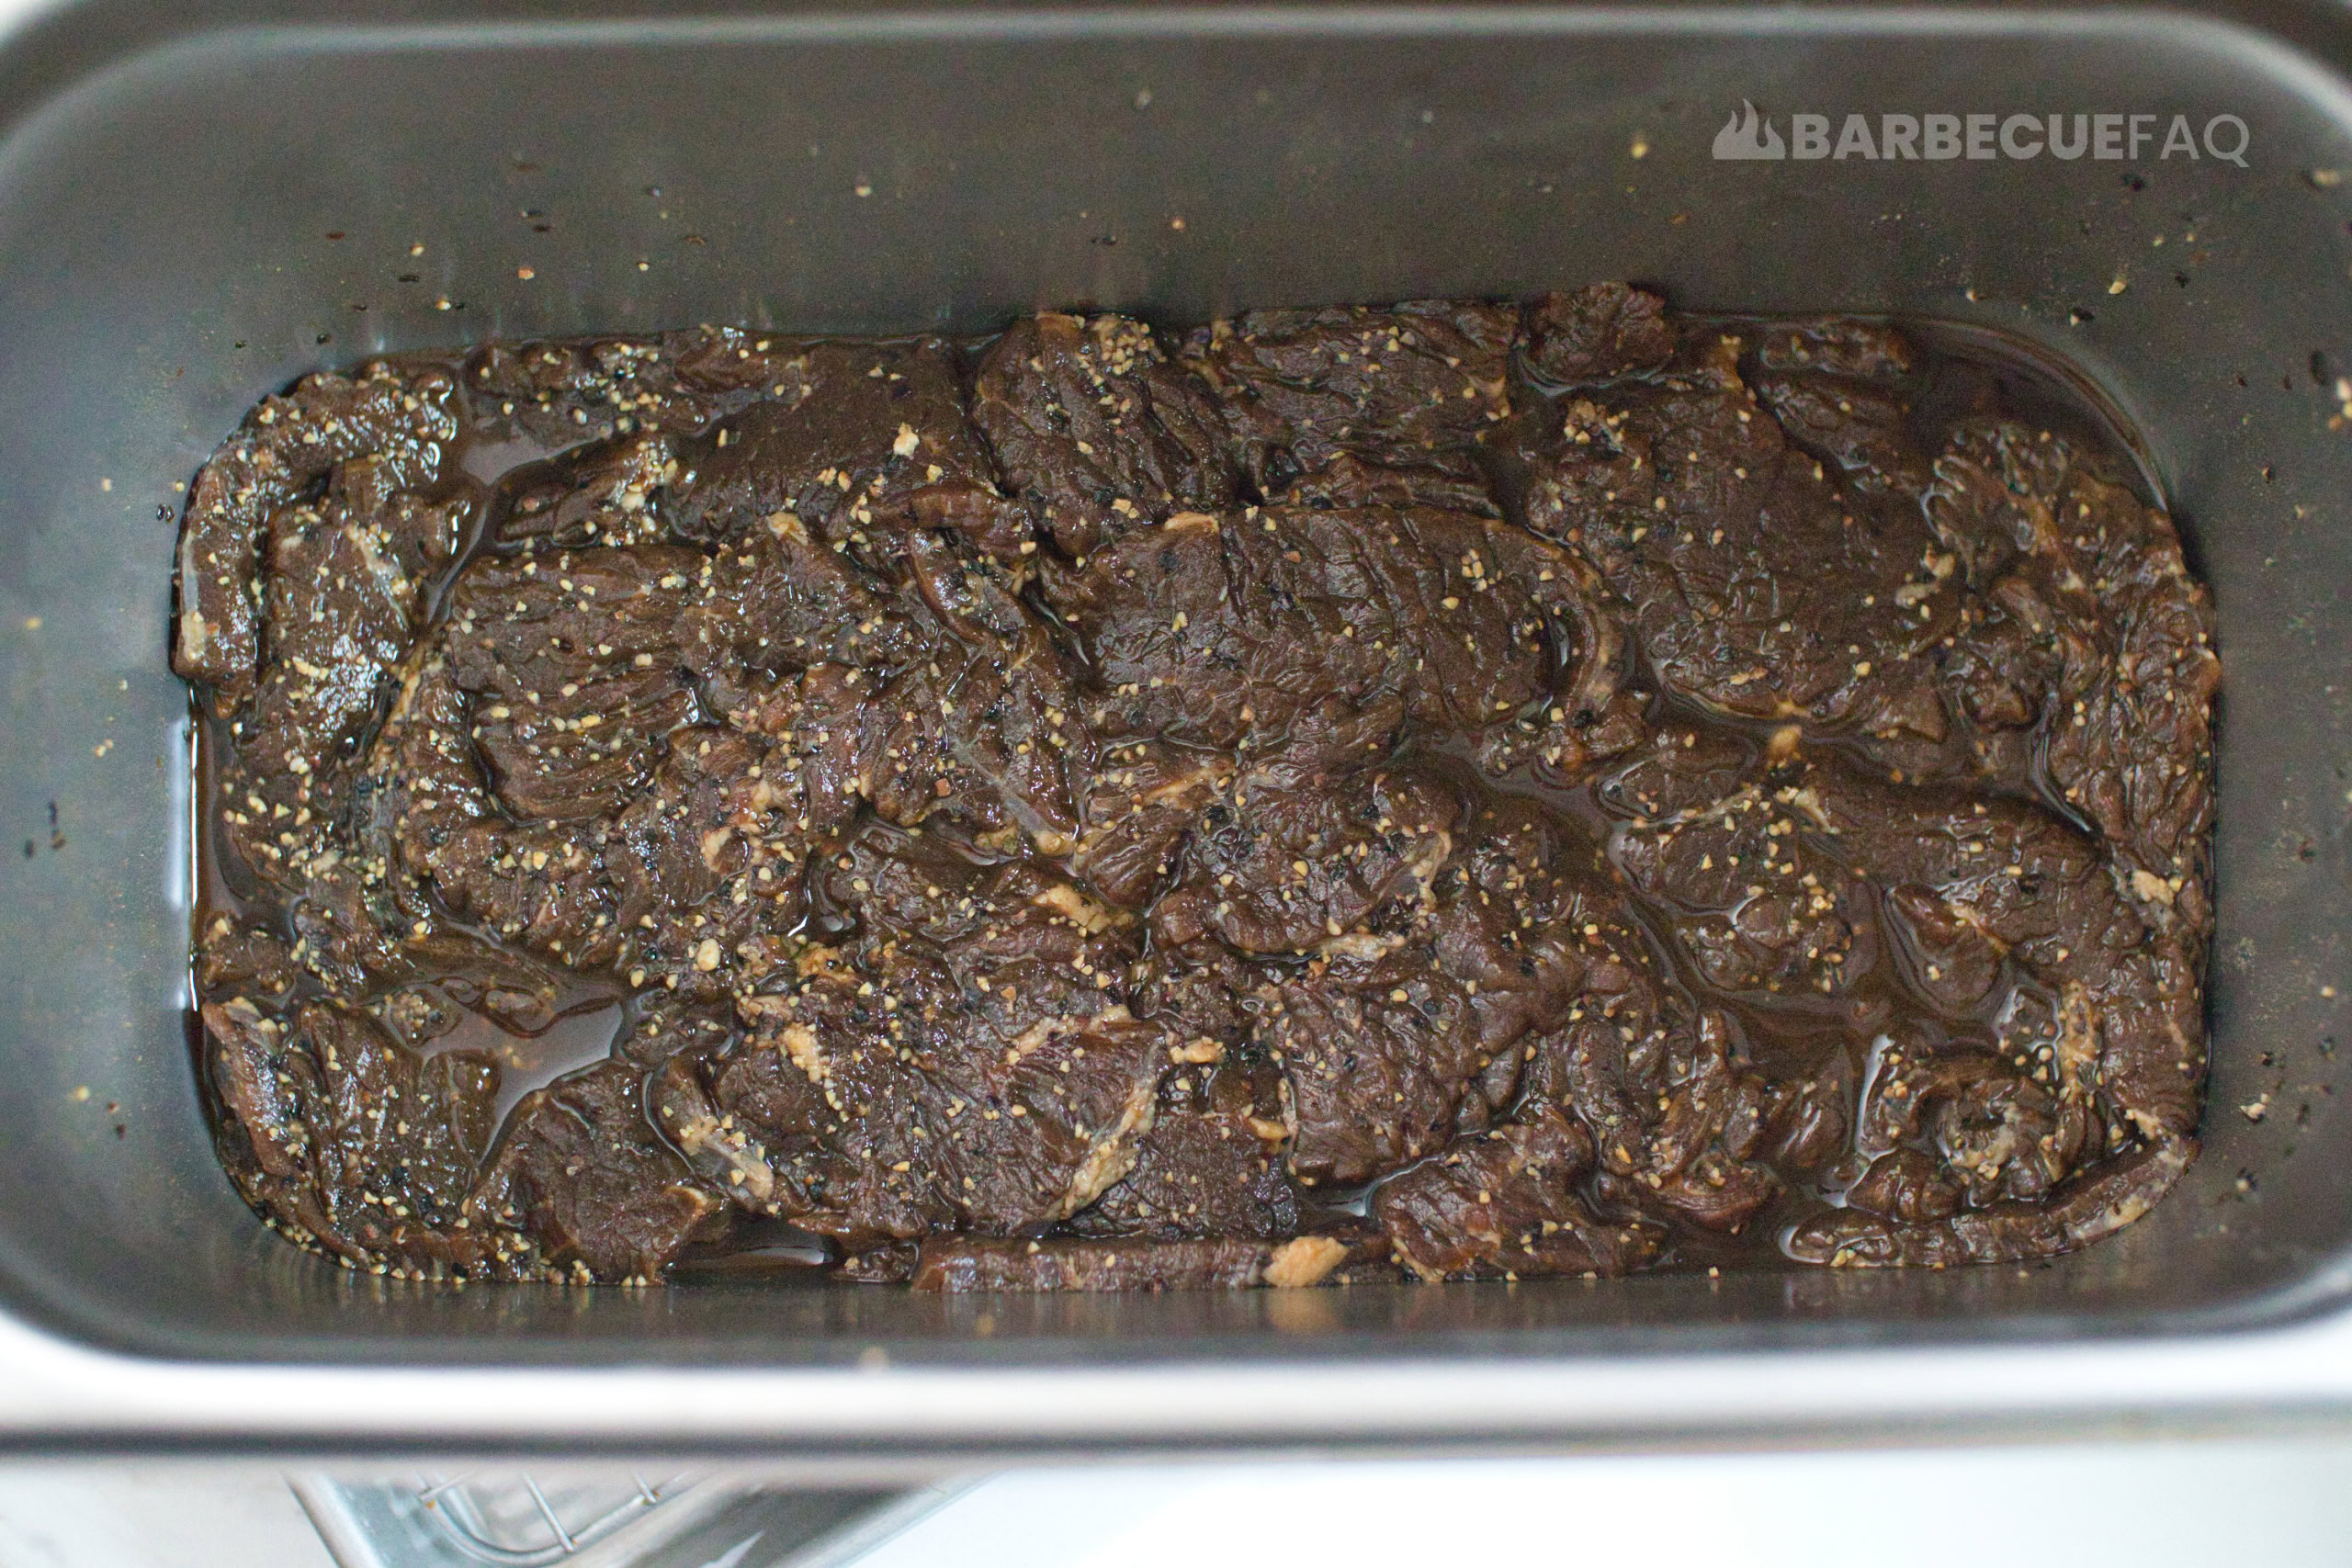
Add your sliced beef to a non-reactive container.
Marinate the meat for at least 2 hours, ideally overnight.
Heat Treating the Beef Jerky
I prefer to heat treat my jerky so that I can dehydrate at a lower temperature.
If you don’t care for this, skip it and just dehydrate at 160F.
Here’s how to heat treat beef jerky:
Line a baking sheet with aluminum foil (to make clean-up easier).
Top of the baking sheet with metal cooling racks.
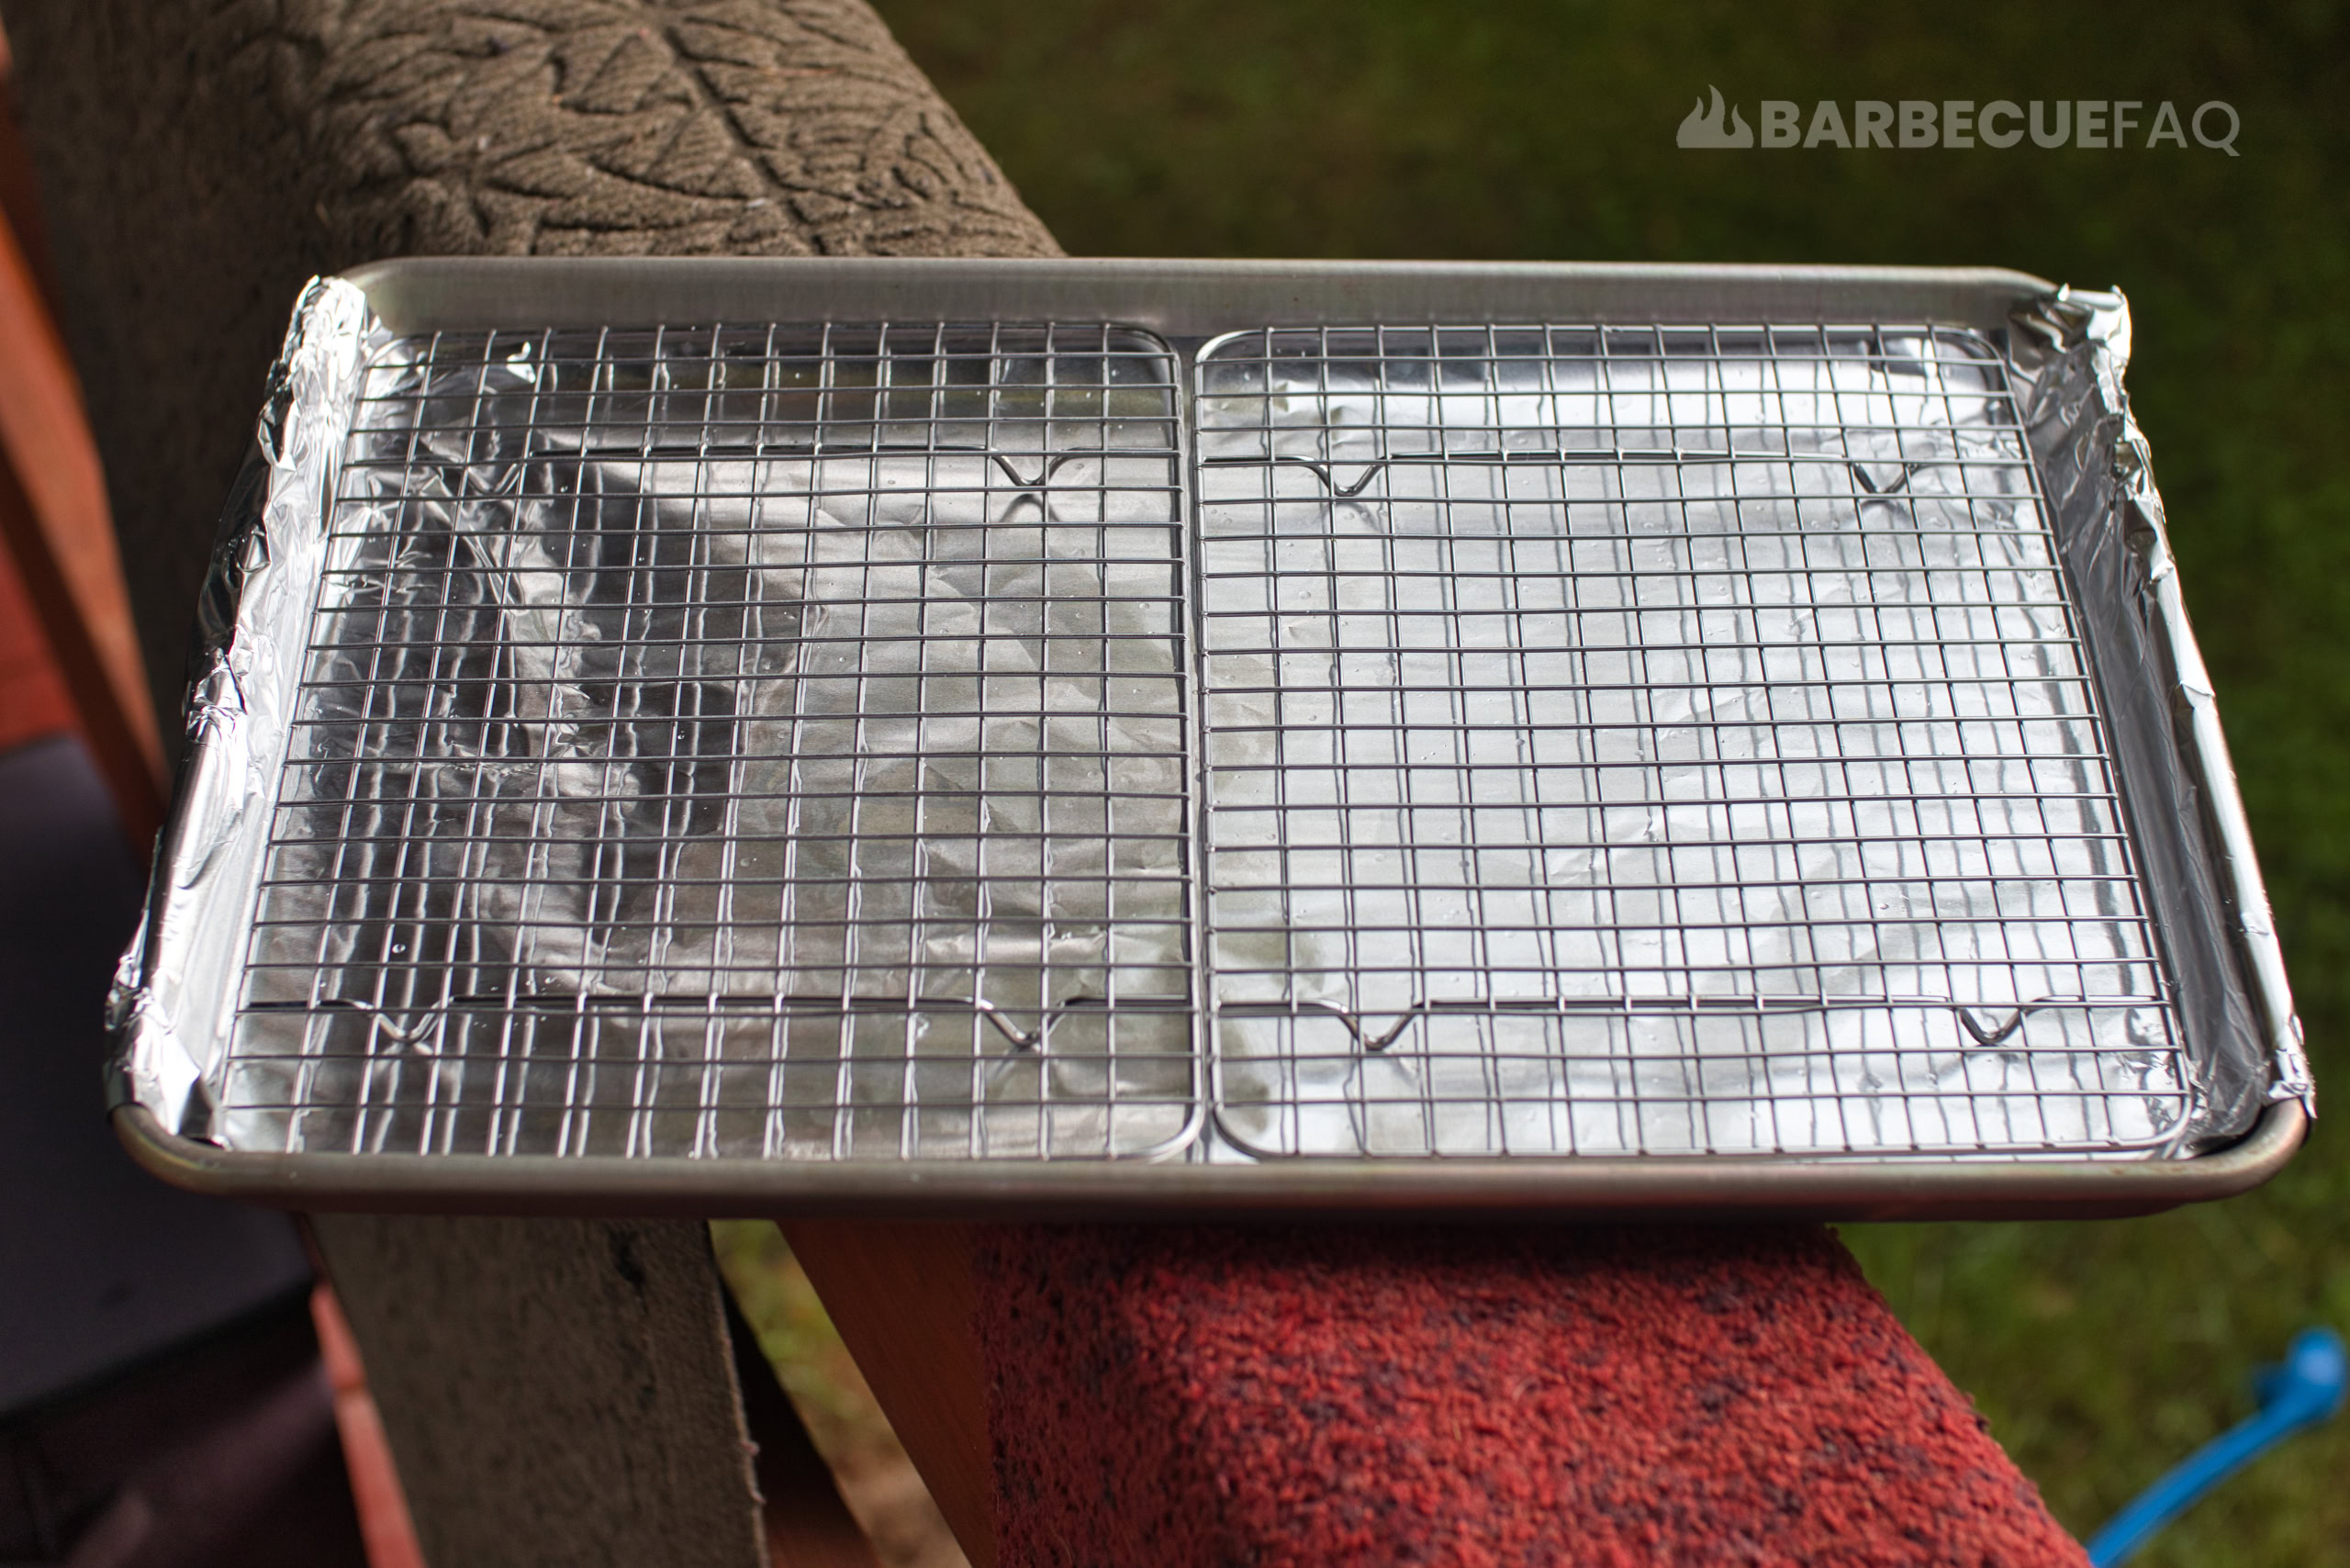
The reason for the cooling racks is to prevent case-hardening which can cause uneven dehydration.
Then place your marinated beef jerky strips on top of the cooling racks.
Pre-heat your oven to 350F and then put jerky in for 10 minutes.
While heat treating, get your dehydrator to 120-130F.
Dehydrating the Heat Treated Jerky
Once the meat is done heat treating, put it on your Dehydrator trays and begin dehydrating.
Depending on how thick you cut the meat, it will take around 3-5 hours to completely finish.
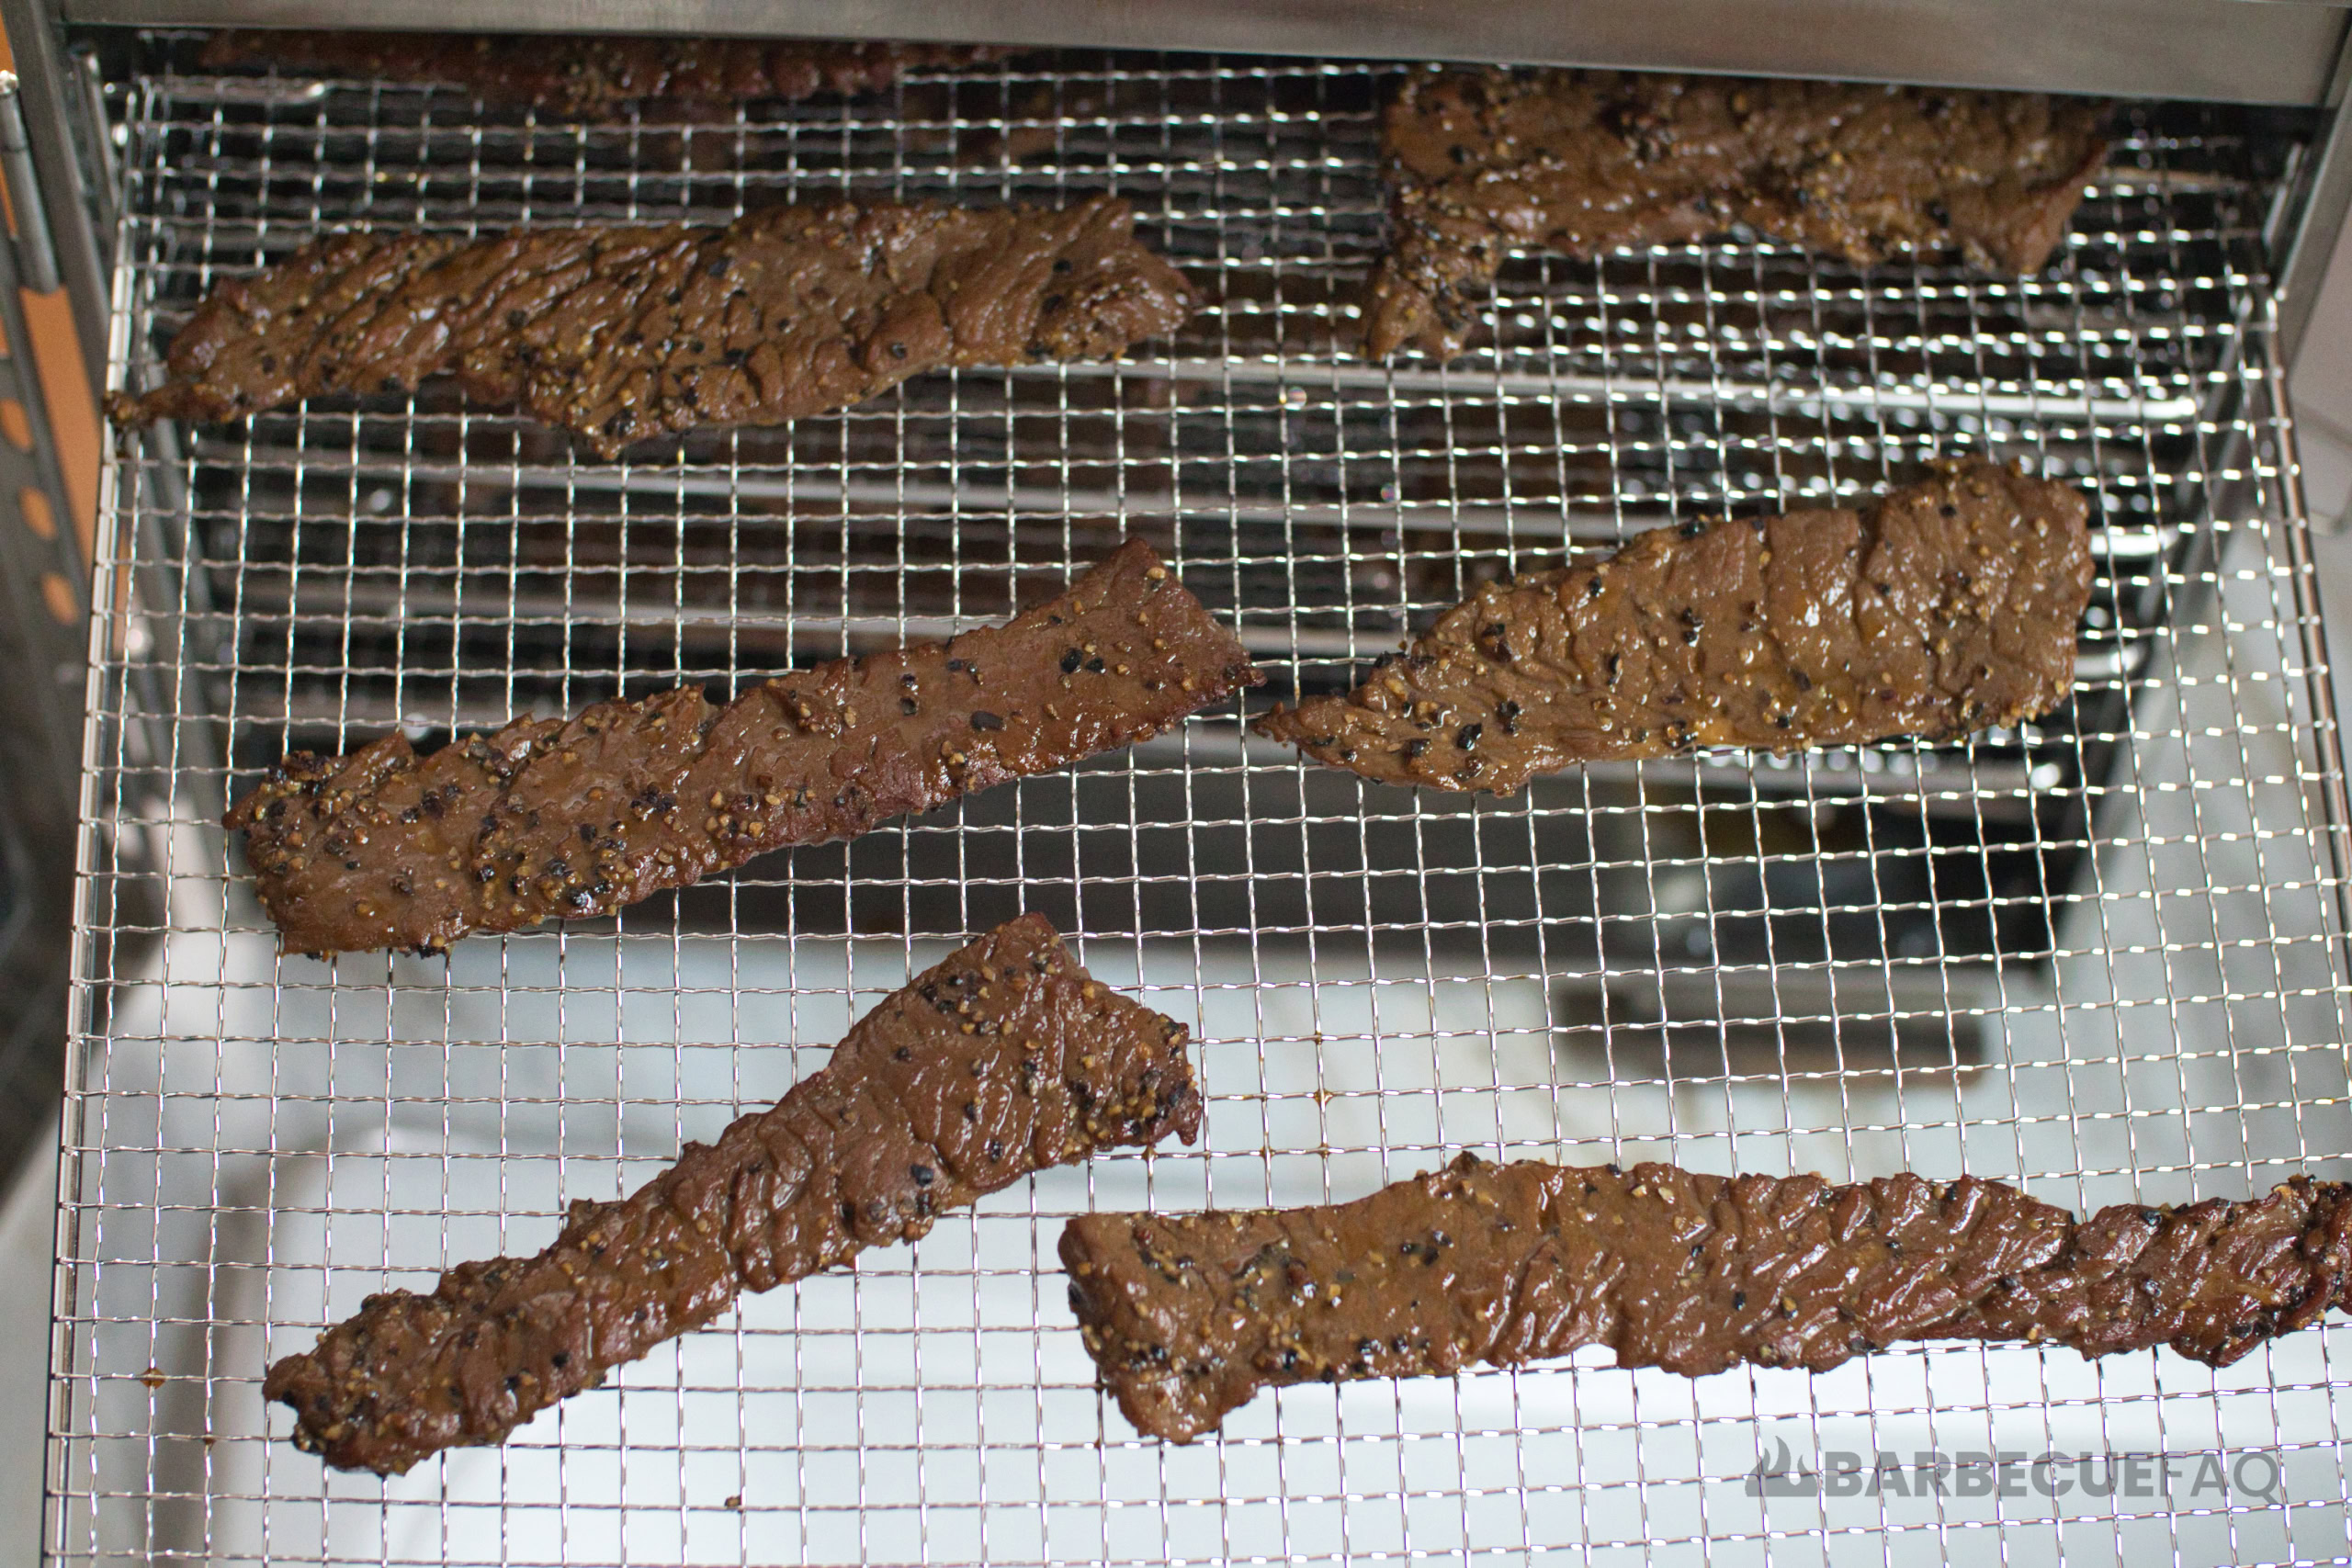
After 3 hours, take a piece you suspect is done and set it to the side to cool for 5-10 minutes.
Once cooled, bend it.
If the bend has “spider webbing” it’s done.
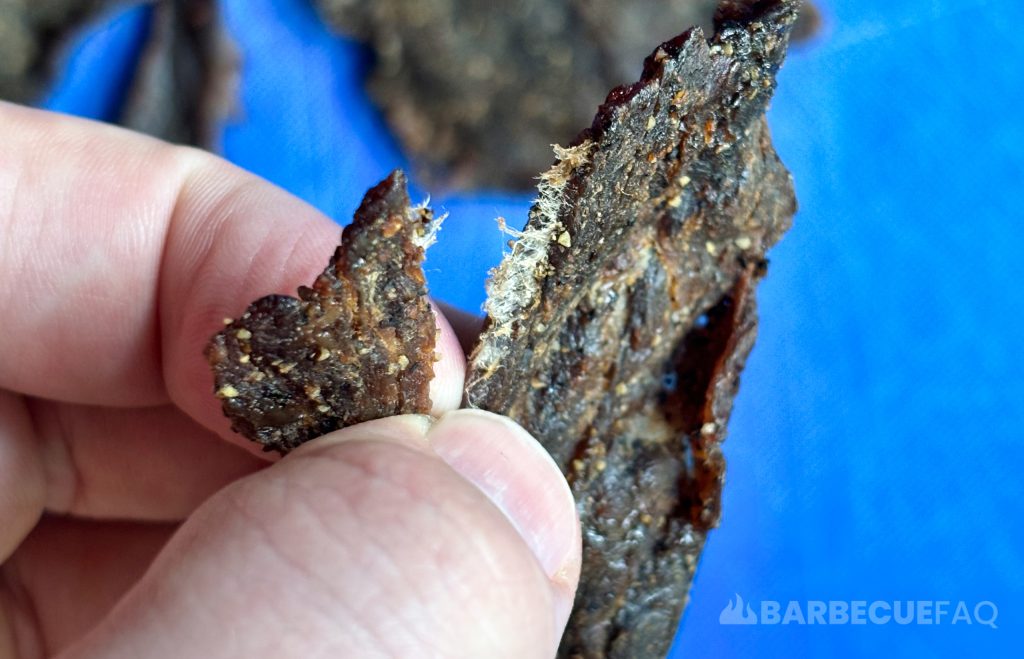
If it feels like rubber bands and has hues of red/purple at the bend, it’s not done.
Once done, put into a ziplock bag with the top open and allow the jerky to aerate and re-hydrate.
After around an hour of cooling, close the bag and store in a cool, dry place.
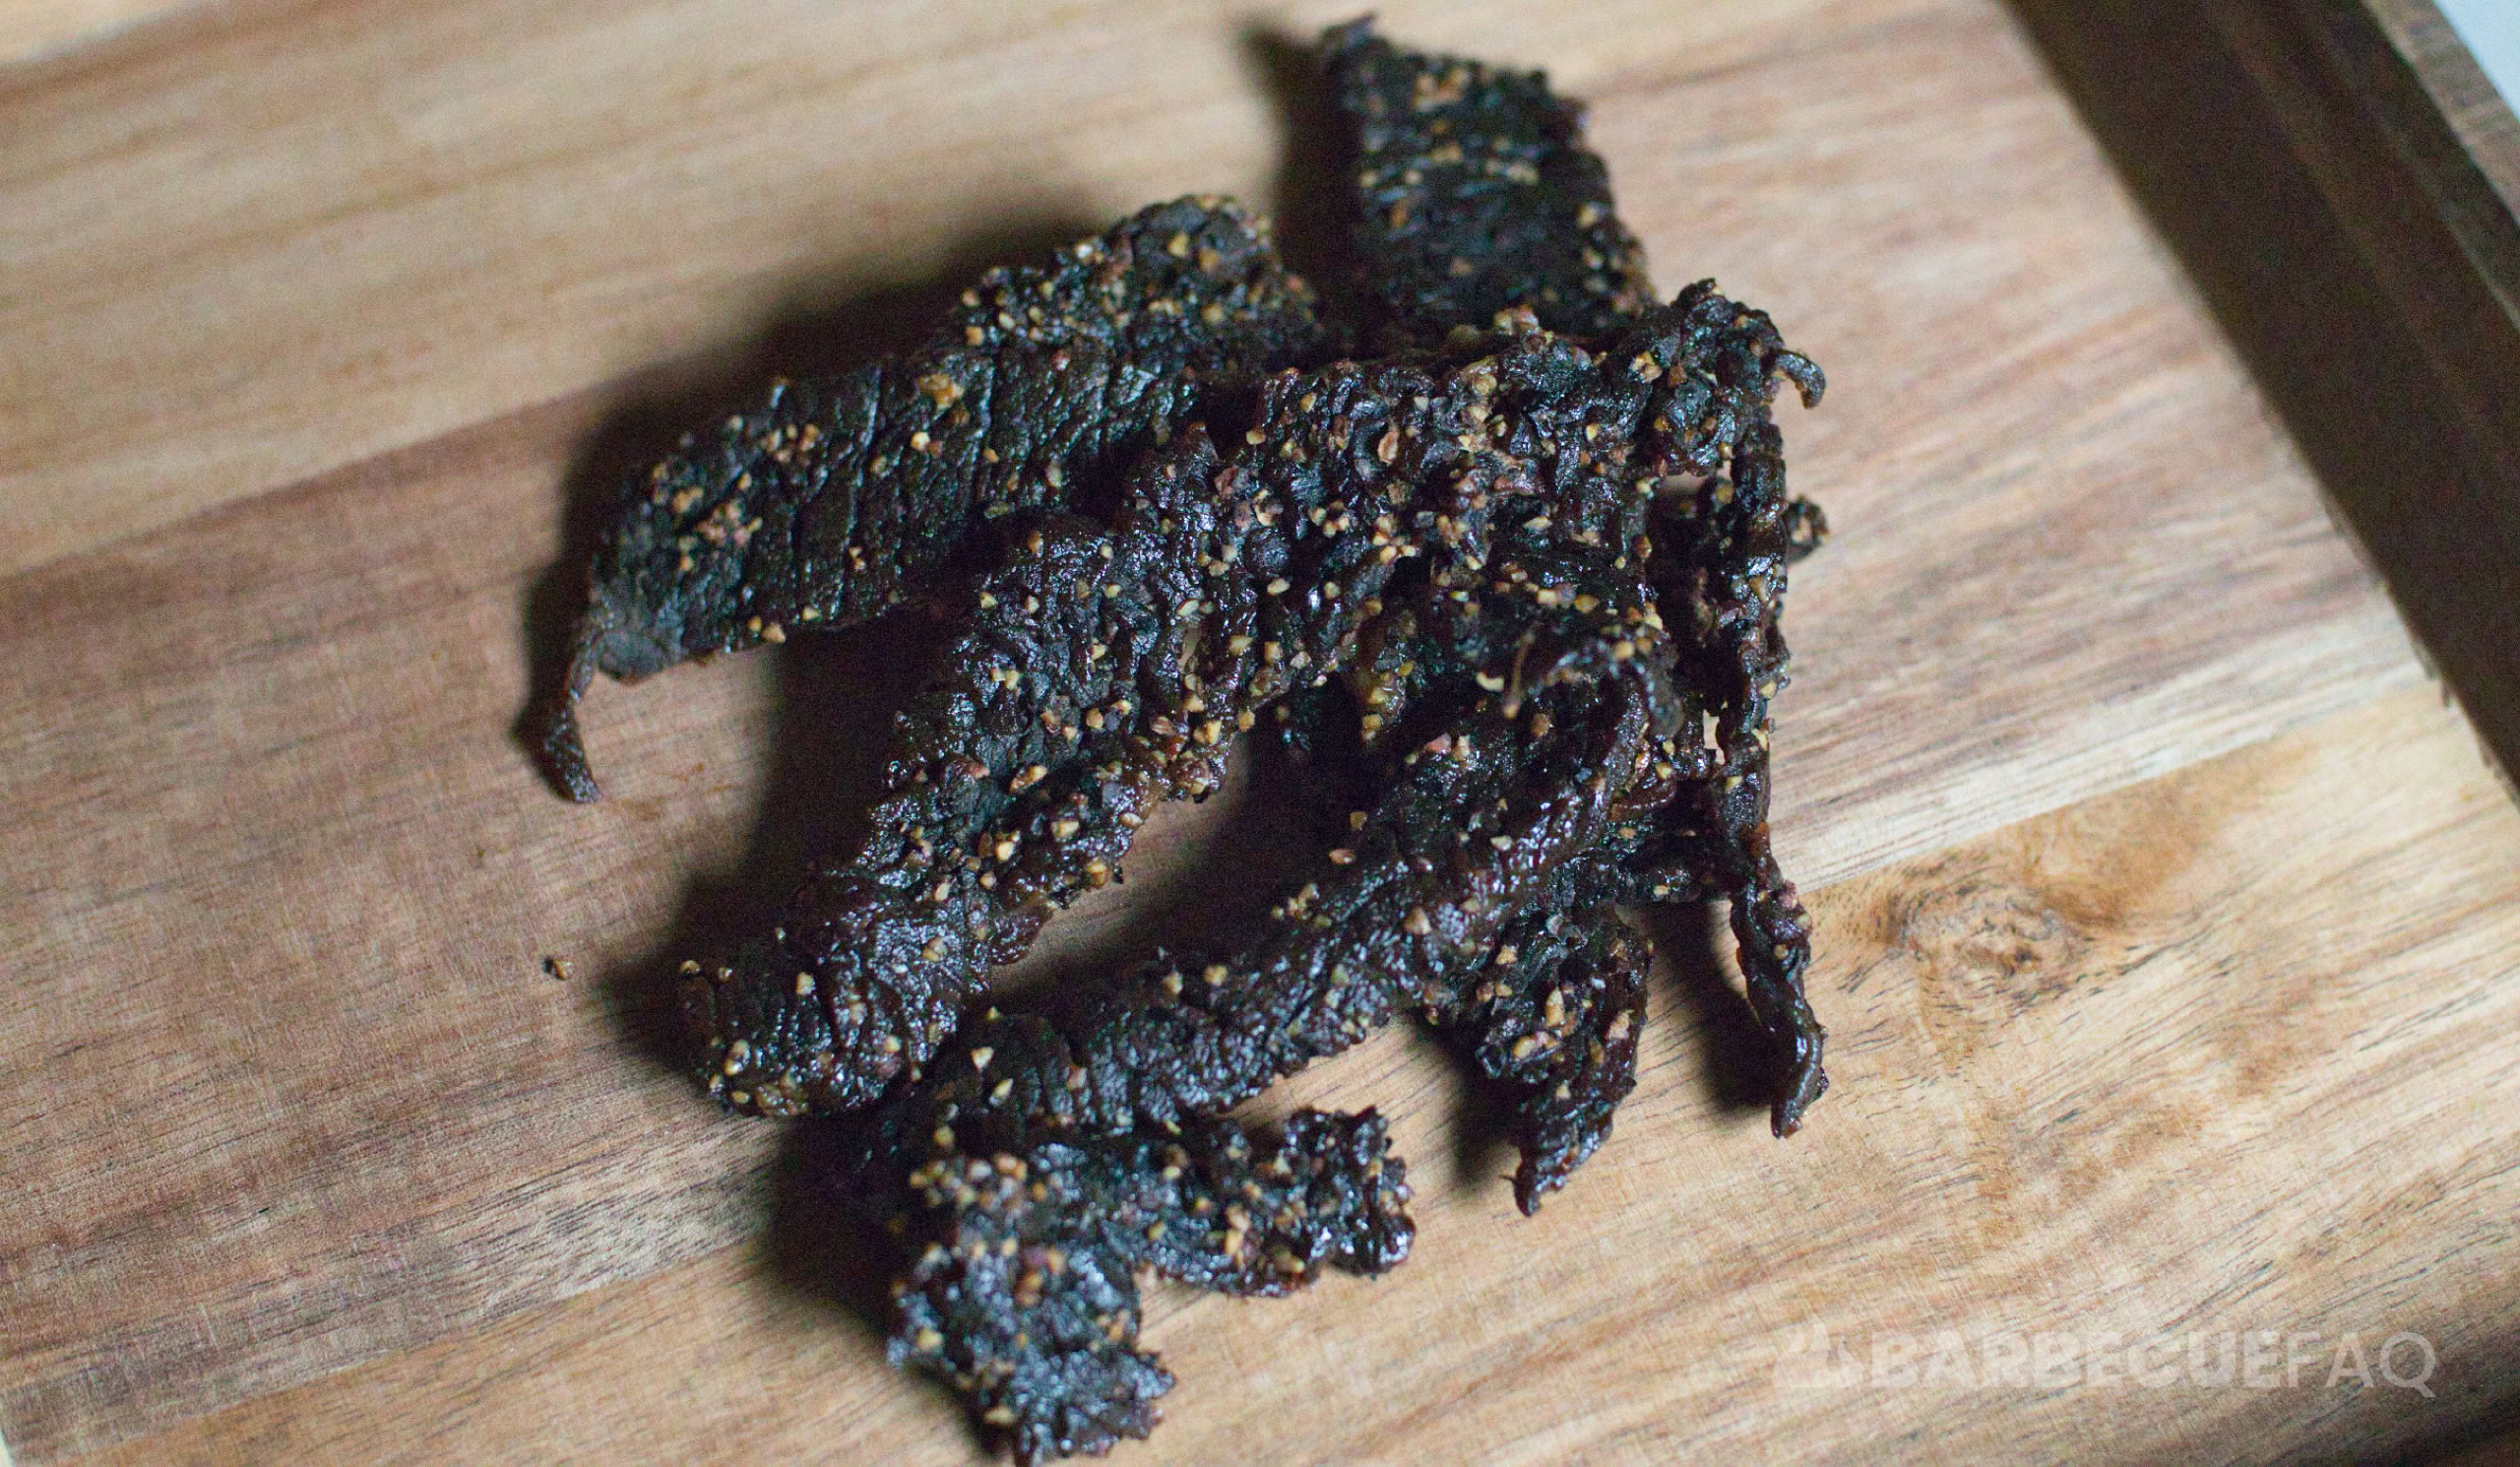
Peppered Beef Jerky
Ingredients
- 1 lb Brisket flat or similar lean meat
Marinade
- 1.75 tbsp Diamond Crystal Kosher Salt
- 1/3 Cup Water
- 1/3 Cup Molasses
- 1/4 cup Kikkoman Teriyaki Sauce
- 2 tbsp Lean and Perrins Worcestershire Sauce
- 2 Tablespoon 16 Mesh Black Pepper
- 1/2 Tablespoon Granulated Garlic
Instructions
Slicing the Jerky Meat
- If your meat is thawed, put in freezer for 30-60 minutes. If your meat is frozen, defrost in refrigerator until the meat is somewhat frozen/malleable.1 lb Brisket flat
- Trim the meat, removing any exterior fat/silver skin.
- Slice the meat between 1/8 – 1/4" thick.If you prefer soft jerky, slice the meat against the grain. If you like jerky with a bit of "tug", slice with the grain.
Create Peppered Jerky Marinade
- To a bowl add the liquid ingredients in the specified quantities. Mix in the bowl until the molasses and the salt have completely combined.1/3 Cup Water
- Put your sliced jerky meat in a ziplock bag or non-reactive container. Then put your marinade into the bag or container with the jerky.
- If using a bag, roll the bag on top of itself to force out air, then close the bag. Leave the bag or container in your refrigerator overnight. My jerky marinated for 16 hours.
Pre-heating Jerky to Dehydrate at a Lower Air Temperature
- If you don't care for this step, just transfer jerky to dehydrator set to 160F.
- Pre-heat your oven to 350F.
- Take out baking pans and line it with aluminum foil. Then put oven safe cooling racks on top of the pan so that the jerky is elevated. Elevating the jerky also helps prevent case hardening.
- Arrange the jerky on the cooling racks so that they don't overlap.
- Set a timer for 10 mins.
- After 10 minutes, transfer to your dehydrator set to 120-130F.
Dehydrating the Jerky
- Jerky will typically finish dehydrating in 3-5 hours depending on how thick you cut it.
Checking for Doneness
- After 3 hours, take a piece out of the dehydrator, allow to cool and then bend it.When checking for doneness, bend the jerky to expose the muscle fibers. If you see hues of red/pink, the meat is visibly moist, or it's rubbery, it needs to dehydrate longer.
- If the bend is dry and has white spider-webbing, it's considered done (see pictures above).
- As the jerky finishes, put into a sandwich baggy with the top open. This way you prevent condensation from happening inside the bag and you allow heat/moisture to escape. Once it's cool, close the bag and store in a cool/dry/dark place.
- For longer storage, use a freezer bag/vacuum sealer with food-grade desiccant bags.


