If Your Trim is Already Frozen
Day 1: It takes roughly a day for the meat to thaw in the refrigerator.
Day 2: You’re grinding the thawed meat and then weighing and shaping them into patties. You’re then placing the patties in the refrigerator for 12-24 hours to set back up.
Day 3: You’re taking the patties out of the refrigerator and cooking them.
If You’re Grinding the Same Day You Trimmed
Freeze the trim for 30-45 minutes prior to grinding.
This will prevent the fat from smearing and allow it to pass through the grinder easier.
A Quick Tip: I’d even suggest putting the grinder parts in the freezer for 30-45 minutes or even 24 hours; The metal plate, the blade, the hopper, and auger.
Grinding meat that’s entirely thawed will result in a mealy/pulpy mess with no separation of fat/lean meat.
When the meat passes through the grinder, the lean and fat should come out of the plate in distinct holes and you’ll see visual separation of fat and lean.
If you start to see a wet mass forming at the plate, you’ll likely need to remove the plate, remove the auger, and clear the blockage.
At that point I’d even suggest putting the meat in the freezer for 30 minutes.
Fat Ratios?
Depending on the grade of meat you initially trimmed, the intramuscular fat content will usually be more than enough (like with choice or prime).
Lower grades like select may require you to add fat.
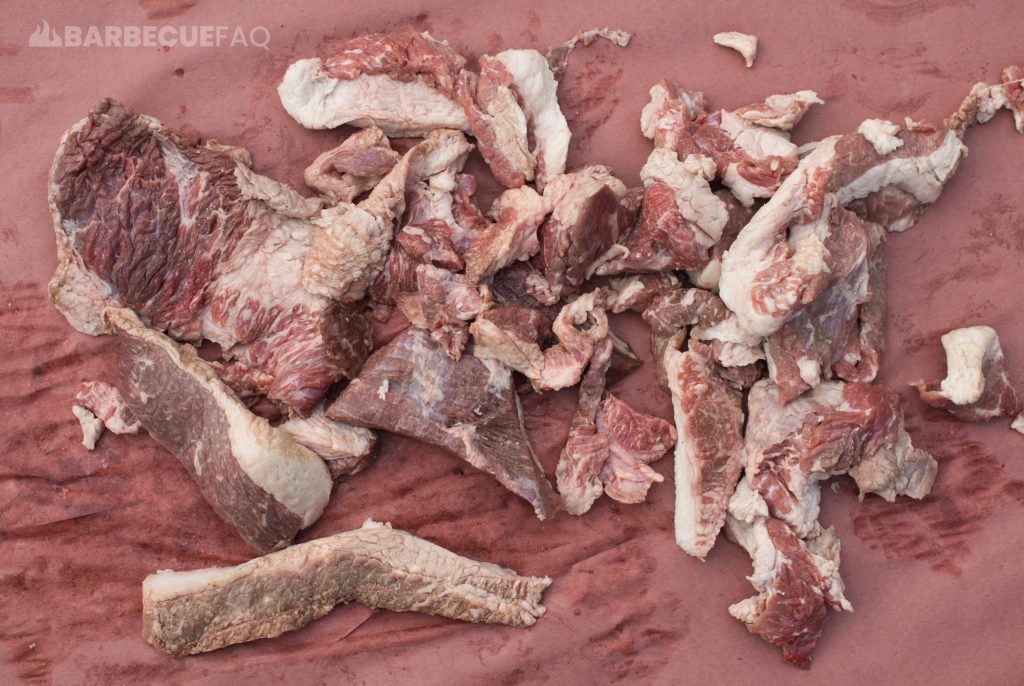
Technically, you could use a scale to come up with exact percentages, but eyeballing 20-30% fat and 70-80% lean isn’t super hard.
I personally like to sort through the trim; I’m looking for pieces of hard fat with no lean meat and separating them into piles.
Pieces of ALL fat I render into beef tallow and pieces with fat and lean meat I grind for burgers or sausage.
If you do need to add more fat to the grind, you now have an entire bag of hard fat at your disposal.
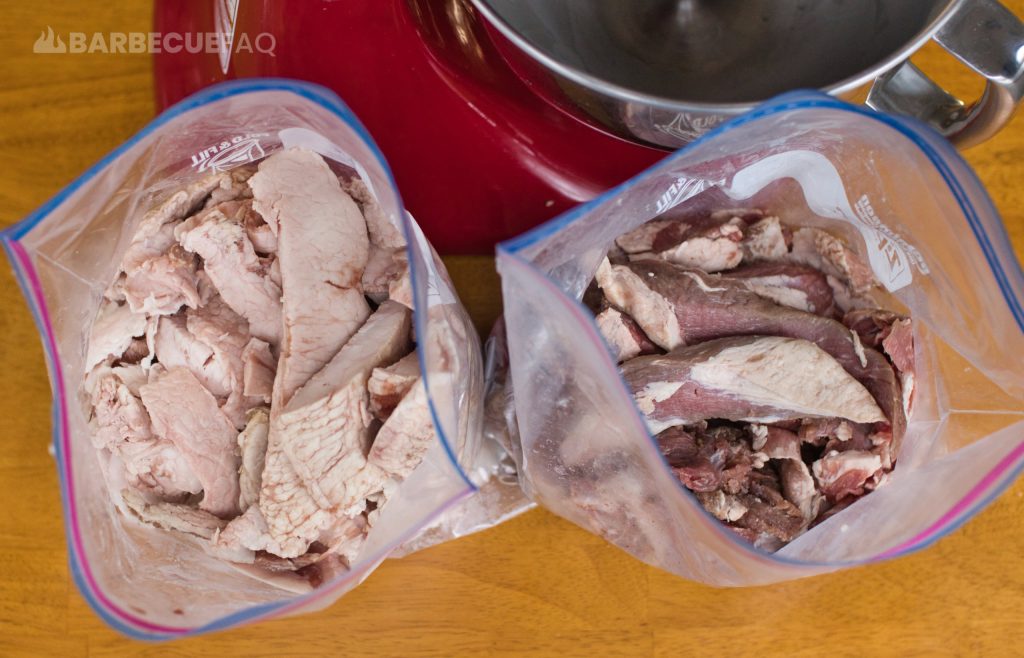
Use a Coarse Plate, not a Fine Plate
With the coarse plate, run the brisket trimmings through the grinder twice.
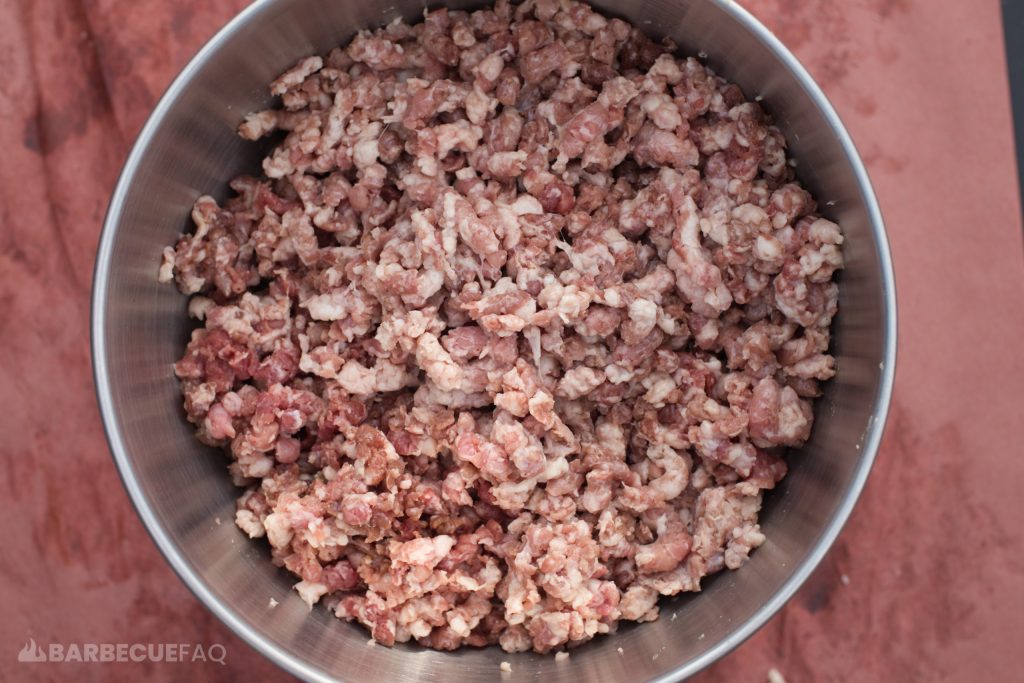
DON’T use a finer (3/16″ or smaller) plate – you’ll end up with more of a like “hot dog” consistency instead of a “burger” grind.
Here’s the trim after one grind:
Here’s the trim after a second grind:
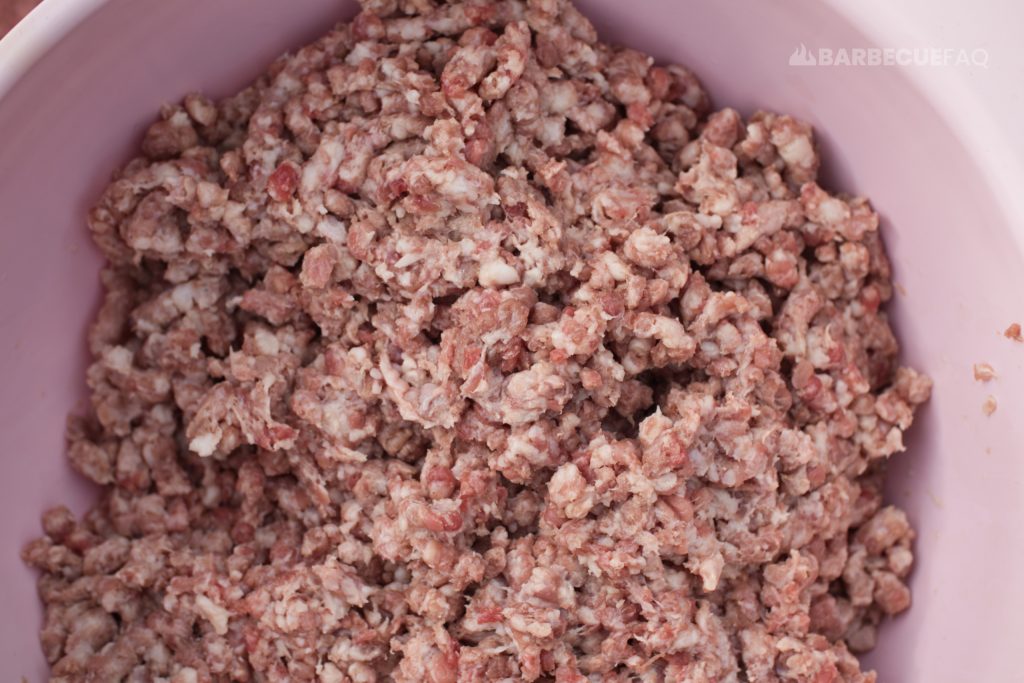
As you can probably tell, the 2nd grind is way more reminiscent of a typical hamburger grind.
The 1st grind would result in the meat separating and the burger falling apart.
Form Patties BUT Don’t Overwork the Meat
The grind we’re creating above is completely different from store-bought hamburger meat.
Side-bar: If you wanted a more stereotypical grind, switch to a finer plate on the 2nd grind.
The reason I bring this up is because we’re not creating thin smash burgers; What will happen if you attempt to “smash” these is they’ll fall apart.
Commercial, store-bought hamburger meat has a much finer grind which further releases the protein myosin – which happens to be sticky.
When you grind beef, you’re damaging the meat fibers and the more you damage or “work” the meat, the stickier this protein becomes.
Creating the Patties
If you use a press to shape patties, you can feel free to use it here. Personally I don’t own one and just used parchment paper and a scale.
A typical hamburger patty weighs around 4-6 oz – you can weigh these out or:
- 1/2 cup loosely packed = 4 oz
- 1/2 cup tightly packed = 5-6 oz
I then used my parchment paper and pre-flattened them into patties.
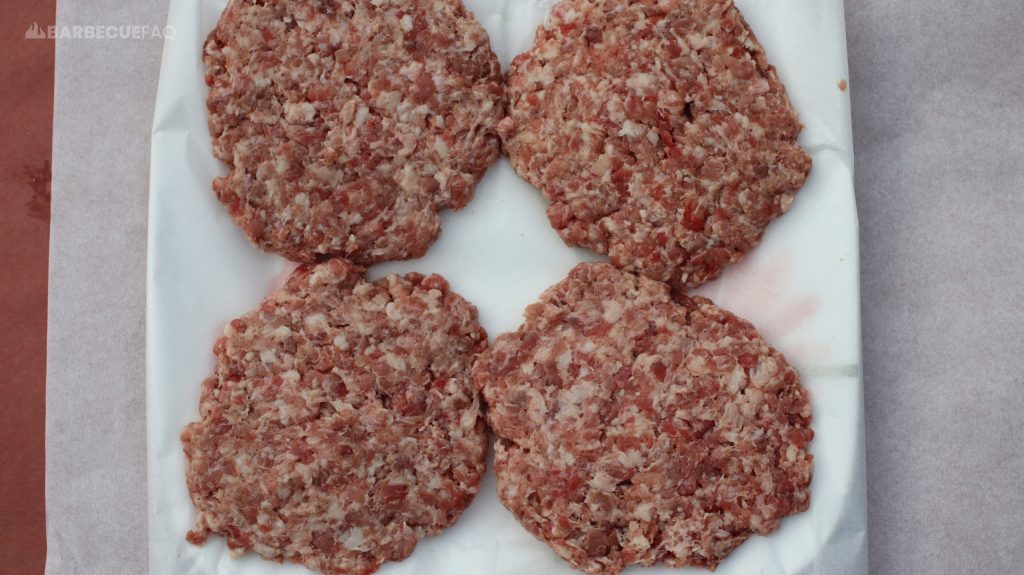
Putting the Patties in the Refrigerator for 12-24 hours
This lets the patties set back up.
Similar to the above, if you don’t allow the patties to re-shape and setup, they’ll likely fall apart on you.
If you did want to use them the same day, I’d recommend refrigerating for at least 2 hours; You could even opt to stick them in the freezer for 30 minutes.



2 comments
Rob
These were a big hit last weekend. I especially loved the mustard/mayo spread and saved it for another recipe. Cheers!
Dylan Clay
Happy to help Rob – glad your Friends/Family liked them.