

In a Large Bowl Combine Everything
This is for 2-4 rolls:
- 318g Bread Flour (higher gluten is ideal)
- 194g water
- 3.2g instant yeast
- 4.1g Diamond Crystal kosher salt
- 14.3g Crisco vegetable shortening (this is strongly recommended)
- 6.4g Diastatic Malt powder
- 12.7g Dough conditioner
I like to do dry ingredients and then add the water + crisco.
Once everything is well combined, rest this dough in the bowl covered for 20 minutes.
Take out of the bowl and knead on a work surface for ~5 minutes
Then form it into a ball and return it back to the bowl and cover it.
Wait for it to double in size (~45 minutes-ish).

Then separate them into 2, 3, or 4 equal-sized portions, roll into dough balls – wait for these to double in size (~60 minutes).
From here you could put these into your refrigerator to develop flavor but most sub sandwiches don’t really have a “yeasty” flavor that you’d get from an overnight ferment.
I normally skip this.
If you opt to do this – the next day allow these to come to room temperature before going to the next step for proofing.
Roll Out the Dough Balls into a Triangle Shape with a Rolling Pin

Then roll them up from the top down.

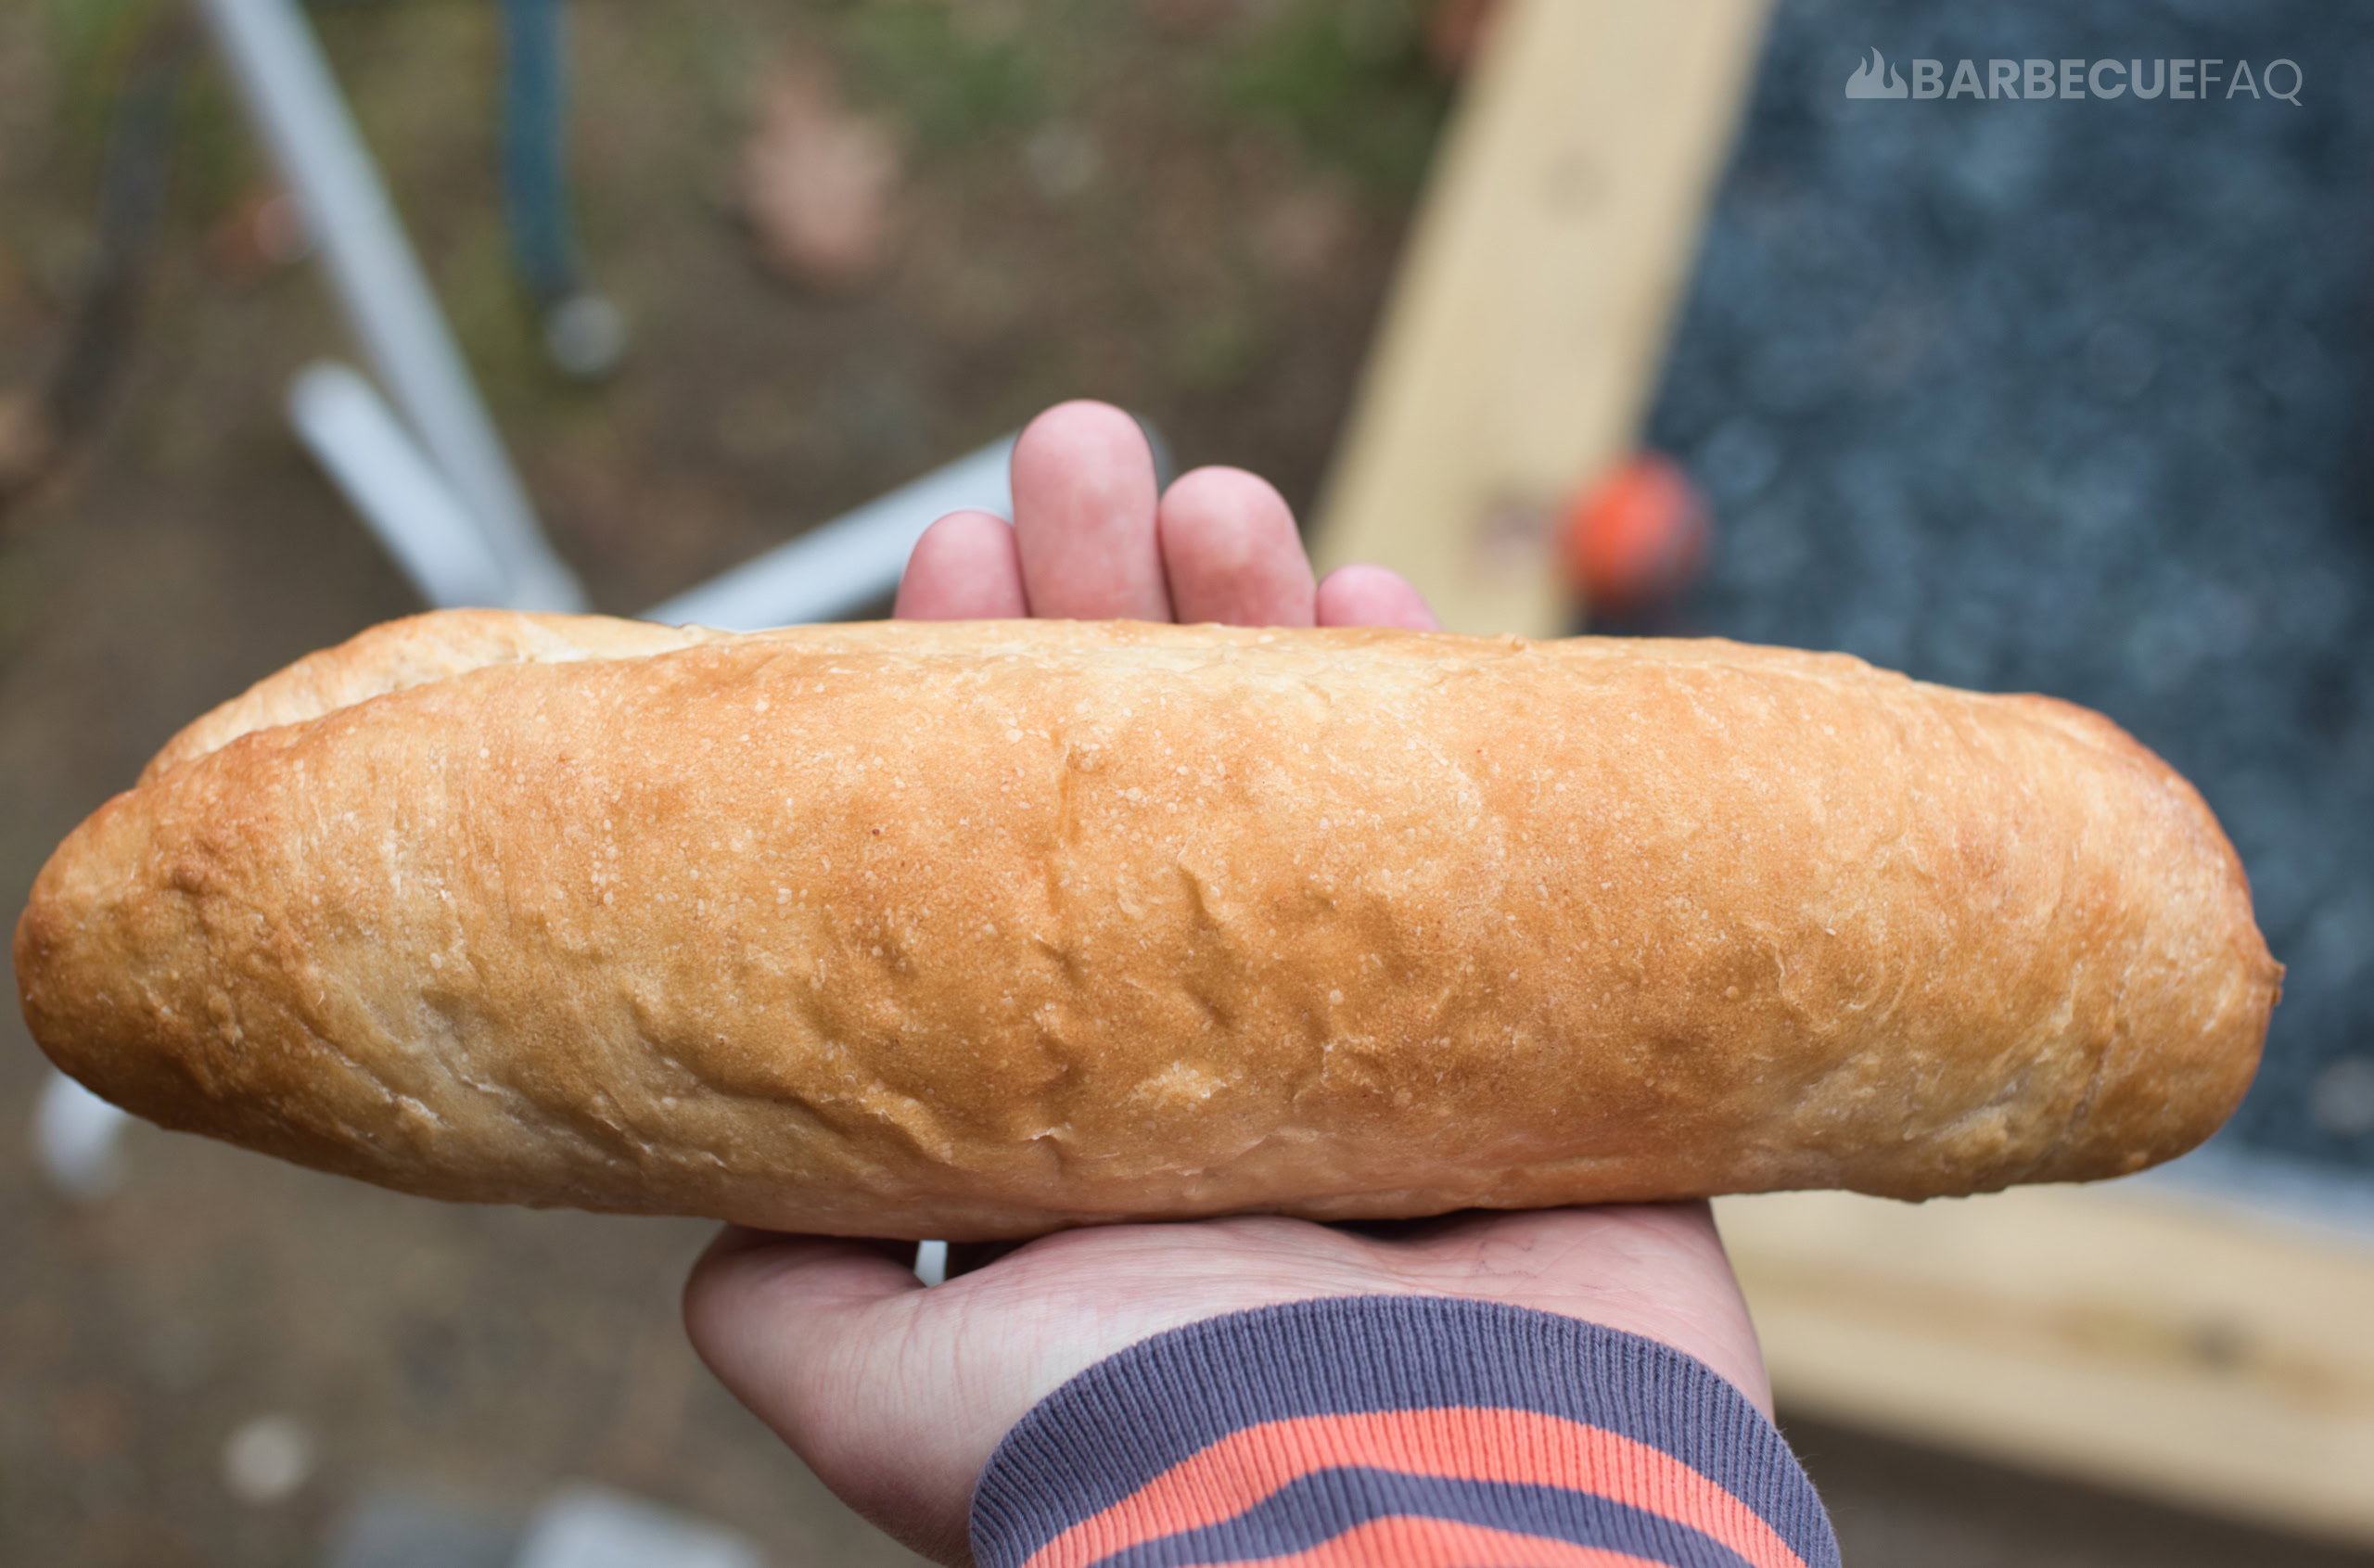
At the bottom of the roll where the seam forms, pinch it closed then roll the log out to make it longer.
- If making 3 or 4 rolls, aim for ~9-10 inches
- If making 2 rolls, aim for 11-12″
Round out the ends of each roll too.
Repeat this for all 4 rolls.
Place on a piece of parchment paper and then cover with a damp-ish dish towel to proof – this will take ~1 hour.

Over-proofing here isn’t a super big concern due to the dough conditioner.
The maximum I’d allow these to proof is 2 hours.
They’re ready when: 1. They’ve doubled in size. 2. If you press into them, they spring back slowly.
Preheat Your Oven to 425F
Carefully transfer the bread rolls from the parchment paper to the baking sheet.
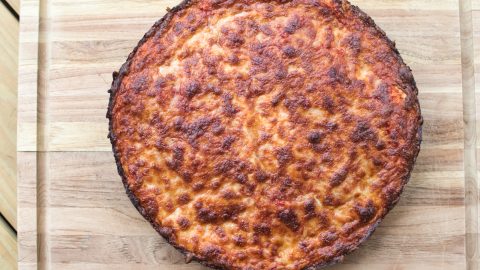
You’ll also need something oven-safe to trap steam with.

This could be another baking sheet (if it has raised edges to create height) or something like those aluminum baking pans you use for cook outs (pictured above).
Bake covered for 12 minutes, then uncover and bake for ~6-9 minutes.
Since my oven is hotter towards the front, I rotate half way – so every 3 minutes I turn the baking sheet.
Between the 6-9 minute mark you want to pay attention to the color of the rolls. Once it’s browned, take out of the oven and put onto a cooling rack.
Allow to Cool COMPLETELY
Do not cut into these at all until they’re completely cool – the texture inside will be quite gummy if you don’t wait.
Just leave on a cooling rack to cool completely.
Once cooled I like to transfer to a plastic grocery bag – they’ll soften overnight and taste and smell wonderful the next day.

Homemade Sub Sandwich Rolls that Taste like the Deli
Ingredients
In a Large Bowl Combine Everything
- 318g Bread Flour higher gluten is ideal
- 194g water
- 3.2g instant yeast
- 4.1g Diamond Crystal kosher salt
- 14.3g Crisco vegetable shortening this is strongly recommended
- 6.4g Diastatic Malt powder
- 12.7g Dough conditioner
Instructions
- Combine bread flour, water, yeast, salt, shortening, malt powder, and dough conditioner in a large bowl.
- Rest covered for ~20 minutes.
- Knead on work surface for 5 minutes, form into ball, return to bowl. Let dough double in size (~45 minutes).
- Divide into 2, 3 or 4 equal portions then roll into balls, let double in size again (60 minutes).
- Flatten each ball into triangle with a rolling pin – so 3 distinct corners/edges.
- Roll from the top of the triangle down.
- Pinch the seam closed, then roll out to 9-12 inches depending on the number of rolls you're making. For 3 or 4 rolls, aim for ~9-10 inches, for 2 rolls aim for ~11-12.Roll the ends of the rolls down.
- Place on parchment paper, cover with a damp towel, and proof for 1 hour.
- Preheat oven to 425F.
- Transfer rolls to baking sheet with steam-trapping cover.
- Bake covered 12 minutes, then uncovered 6-9 minutes, rotating every 3 minutes.
- Remove when golden brown – pay close attention during the 6-9 minute mark.
- Cool completely on rack before storing.


2 comments
Tommy
I don’t leave comments much but found these online. I had to go to the store to get Diastatic Malt and the dough conditioner but these are truly something special. I don’t think i’d ever want an Italian grinder without them now. Also the recipe card forgot to include the 1 hour proof time but your instructions helped either way.
Dylan Clay
Thanks Tommy – and good eye, I’ve updated the recipe to include that, my fault!