How to Clean a Charcoal Grill: Products, How-to, and More

Last Updated:
December 8, 2023

There are two main types of cleaning you can do on a charcoal grill – regular cleaning and a deep clean.

Regular cleaning involves two things; You should be doing these two things regularly:

  1. Clearing the ash and dumping the ash catch as needed.
  2. Using a grill brush to remove surface debris and carbonized food from the grill grates.

Deep cleaning involves restoring the grill to essentially the way it was when you bought it; Meaning, you’re degreasing the interior of the grill, restoring the grates, and shining the exterior parts.

Cleaning my grills is a major reason for why they all last well beyond their estimated warranty periods; The last Weber Kettle charcoal grill I owned lasted me 12 years before the One-touch cleaning system broke a blade (more than double the warranty period).

The grill in this article is the same Weber Kettle I bought back in November 2021. Feel free to check out my review to see how it looked brand new and then compare it to the pictures in this article after cleaning.

I’d wager to say it returned back to the way it was – with a few blemishes.

cleaned charcoal grill

The following goes over products I use, how to use them, and how to restore your charcoal grill to the way it was when you bought it.

How to Deep Clean Your Charcoal Grill

First things first, you’ll need a couple of products.

charcoal grill cleaning products

Note: While I’m not married to any of the products I’m about to recommend, they tend to work really well and they won’t break the bank.

Basically, these are what my Dad gave me when I got started 15 years ago and I’ve essentially used the same products ever since – with maybe a few changes.

  1. Easy Off Degreaser – There are a couple of different types from this brand; You want to use the Yellow can, not the black one. The black can is for the grill grates and is not for the interior of the grill.
  2. Bar Keeper’s Friend – I use Bar Keeper’s friend for the grill grates. I’ve yet to find something that works as well as this stuff for restoring grill grates to near factory new.
  3. Cheap putty knife/scraper – You want the cheapest option you can find. The plastic putty knife I used for this article was $0.99. The scraper allows you to cleanly remove the gunk from the grill. Avoid using metal putty knives as they may scratch the enamel coating.
  4. Multi-surface cleaner – I’ve never really noticed a difference between most multi-surface cleaners. Whatever you can find that’s cheap will work here. The multi-surface cleaner is going to be used on the exterior of the grill only.
  5. Grill brushWhatever is cheapest or whatever you have on hand will suffice. I’m personally not big on spending a fortune on grill brushes.
  6. Sponges – I prefer the kind where you have a wiping side and a scouring pad side. If you don’t have these, steel wool can help with any stuck on bits. I’d get several, around 5 should work.
  7. Dish soap – I use Dawn Dish soap spray but any household dish soap works. All I use this for is general cleaning with warm soapy water as I see fit. Aside from the Easy Off, the warm soapy water with be doing most of the cleaning.
  8. Old rags, towels, microfiber cloths, etc. – I have tons of old towels that I cut up into smaller rags every year when I clean my grills. If you don’t have any of these, paper towels can suffice.
  9. Gloves – I use black nitrile gloves. You want to have a barrier between the cleaning chemicals and your hands.
  10. Aluminum cleaner – This is completely optional. All you’re using the aluminum cleaner for is to shine exterior metal parts.

That’s really it.

Having access to an outdoor hose is useful for rinsing the grill components as you clean them.

Disclaimer Before Cleaning: Before using any of these materials to clean with, always and I mean always wear gloves. The ingredients found in the cleaning products above can be irritants to your skin (especially EasyOff).

Cleaning the Grill Lid

The first part I typically clean is the lid of the Weber Kettle.

The lid will likely have caked on grease from food as well as creosote from hardwood if you use your kettle to smoke with.
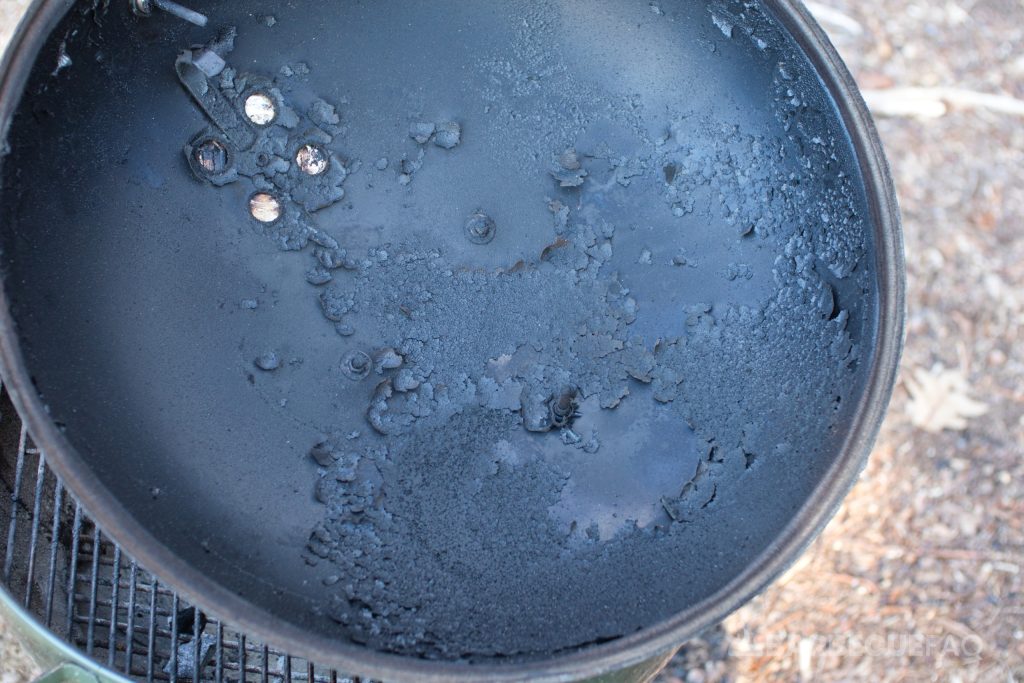
charcoal grill lid debris

Truth be told – this isn’t a “seasoning” on the grill and it doesn’t aid in flavor. If anything, these pieces flake off and fall on your food, which isn’t appetizing.

Some people will also say it’s a “seal” which it isn’t. If your goal is to seal your lid, invest in a gasket to go around the perimeter of the lid – learn more about this concept in this article.

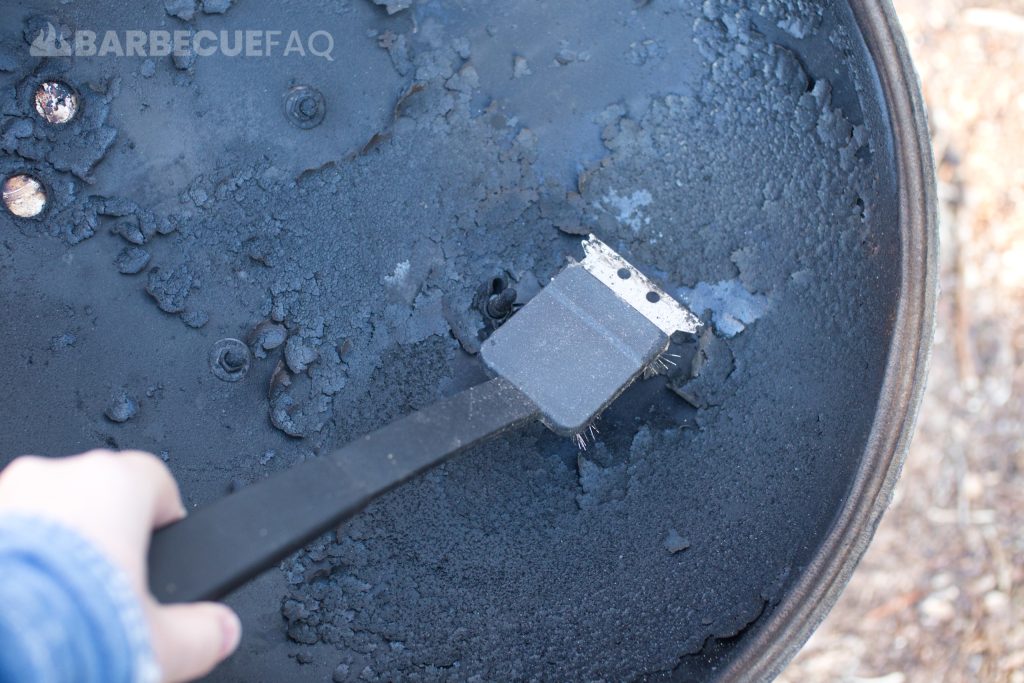
1. Start by using your grill brush to remove any pieces that are flaking on the interior of the lid. Even a quick brush with steel wool or a scouring pad can suffice.

removing lid debris

The goal here is just to remove any loose pieces, not to entirely degrease the lid.

charcoal grill lid debris

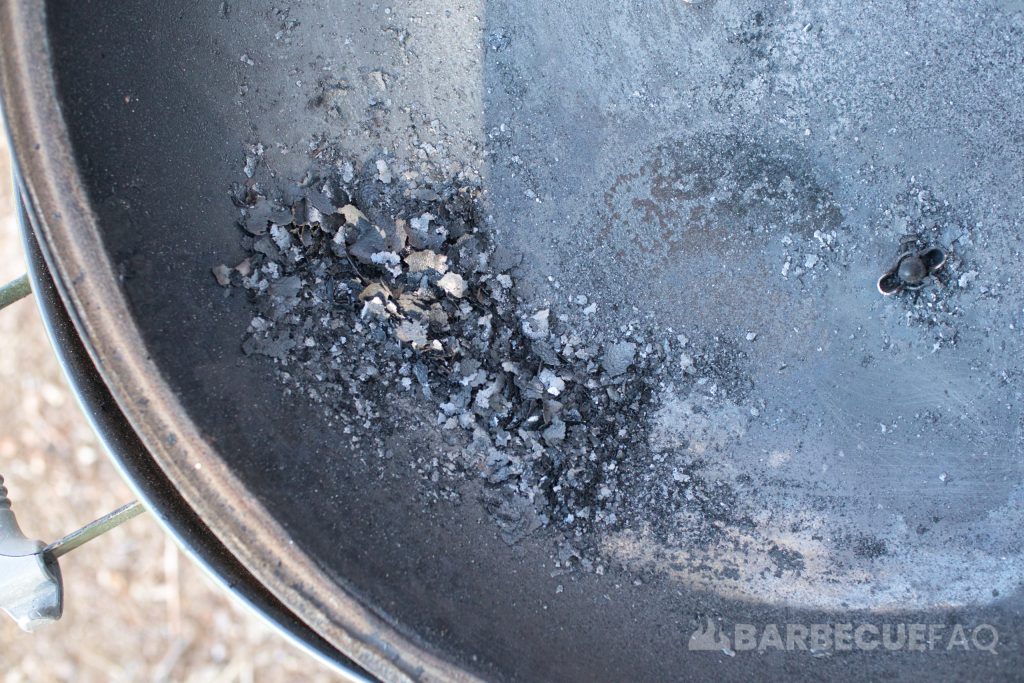
Dump the loose debris in the trash.

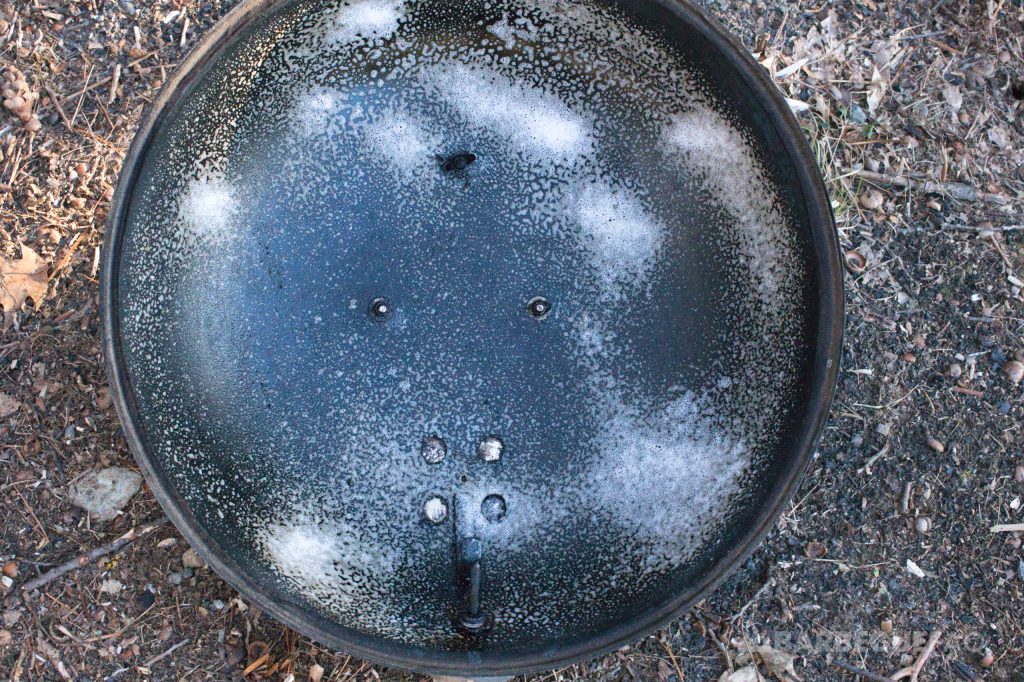
2. Once the loose pieces are removed, take your degreaser and liberally apply it to the entire surface of the lid.
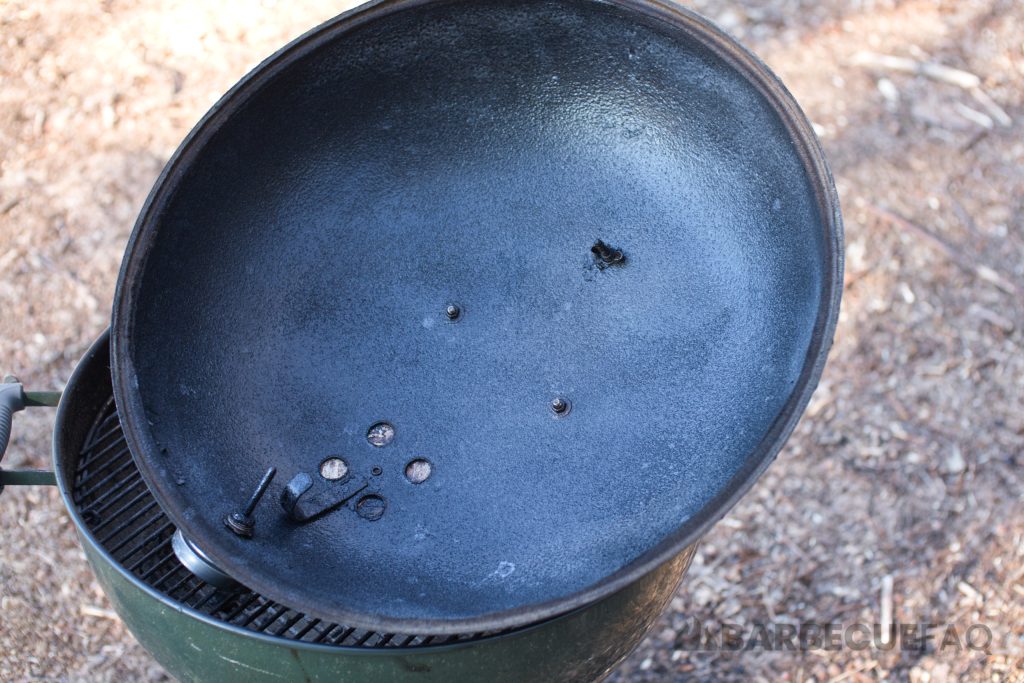
easy off degreaser on lid

EasyOff notes that their product works as quickly as 3 minutes but I like to go for 20-30 minutes.

I should also note: I did this process in December in New Hampshire when it was 10F outside. I’d suggest working in warmer weather as these chemicals tend to work better when it’s warmer.

3. After 20-30 minutes, grab your cheap plastic putty knife and begin scraping the debris from the lid.

scraping lid debris

A significant portion of the carbonized debris should scrape right off. Scrape the entire lid and discard the sludge in the trash.

lid sludge

Use your hose/water to rinse the interior of the lid.
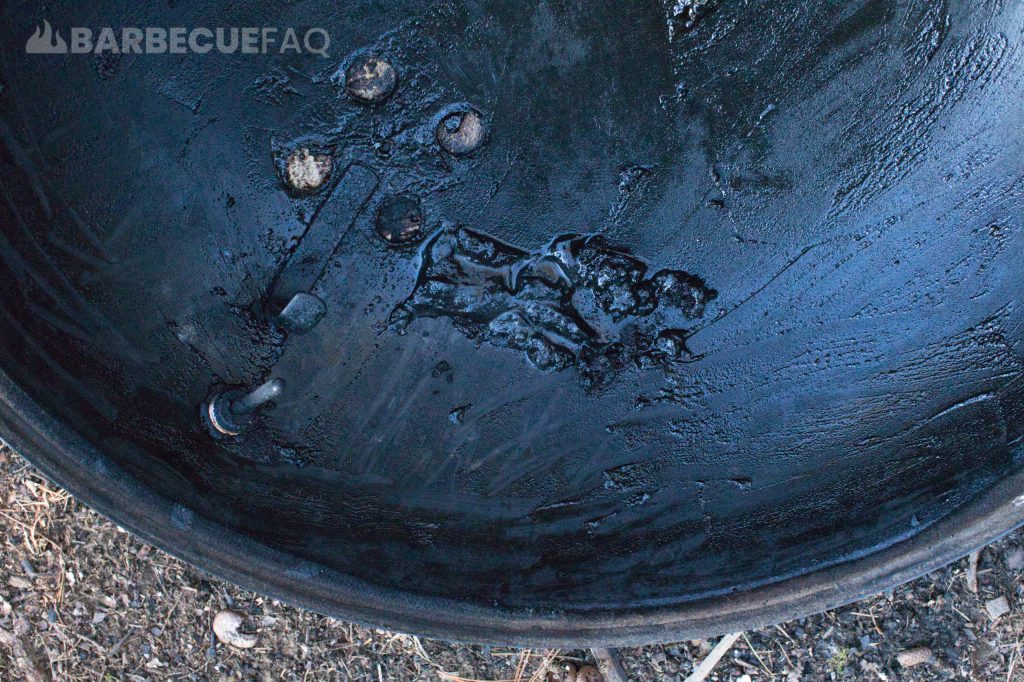
4. Once scraped and sprayed with water, there may be some carbonized bits still attached near where the vents, screws, and probes are attached.

Put some dish soap into some warm water. Then use your sponge with the scouring pad or some steel wool and warm soapy water to to remove any of the stuck on bits.

dish soap on lid interior

After doing so, the interior of the lid is likely back to new and the enamel should be shining.
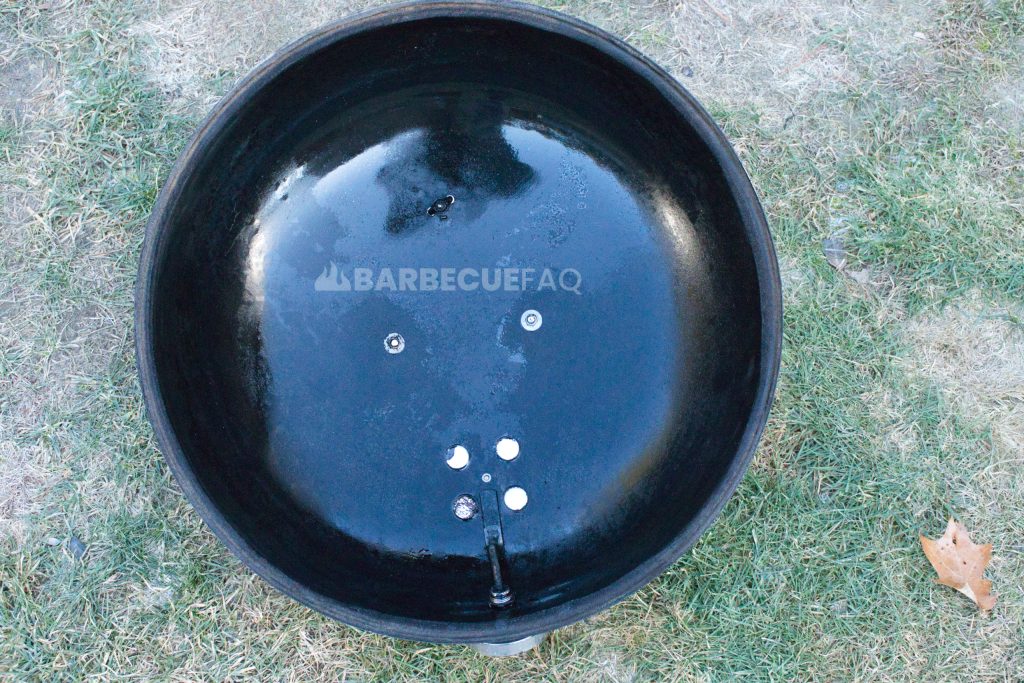
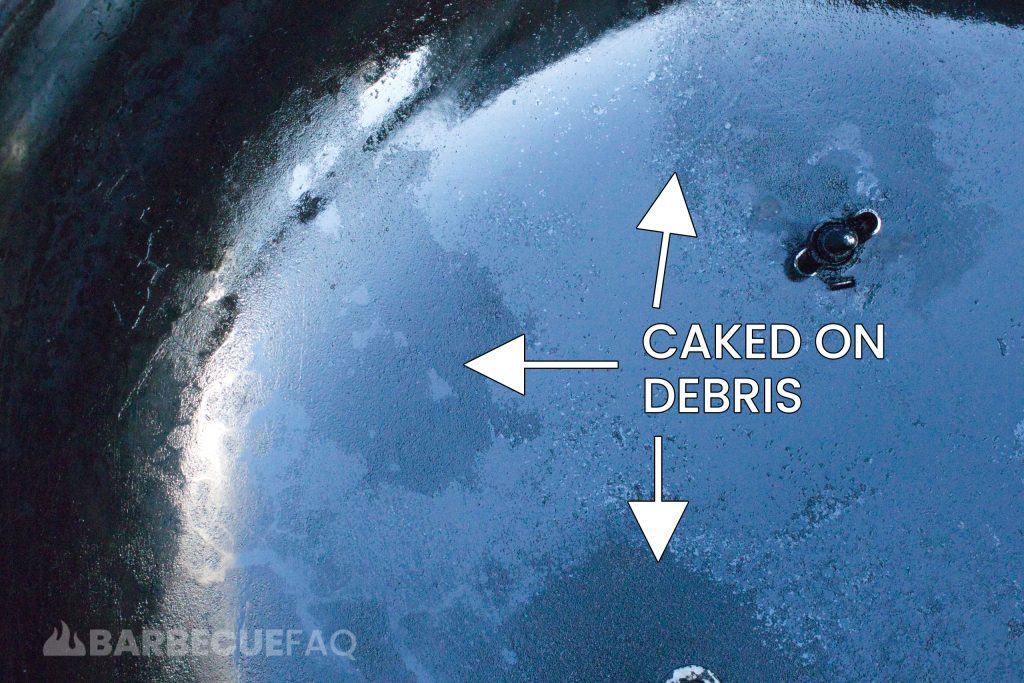
Note: If there are still carbonized bits on the lid, you can re-apply the degreaser and allow it to work overnight. I actually did that for this article and doing so further lifted and removed some of the tough, stuck on grease.

caked on debris

Here’s the second pass of the degreaser applied:

degreasing lid second pass

I then removed the grease the next day:

lid sludge second pass

Here’s the interior the next day:

lid second pass

While there is a little bit of caked on debris still, it’s minimal in the grand scheme of things. You can continue using a scouring pad or degreaser as much as you’d like.

For me, the above was satisfactory.

5. The next thing to clean is the exterior of the lid – which is less substantial than the interior.

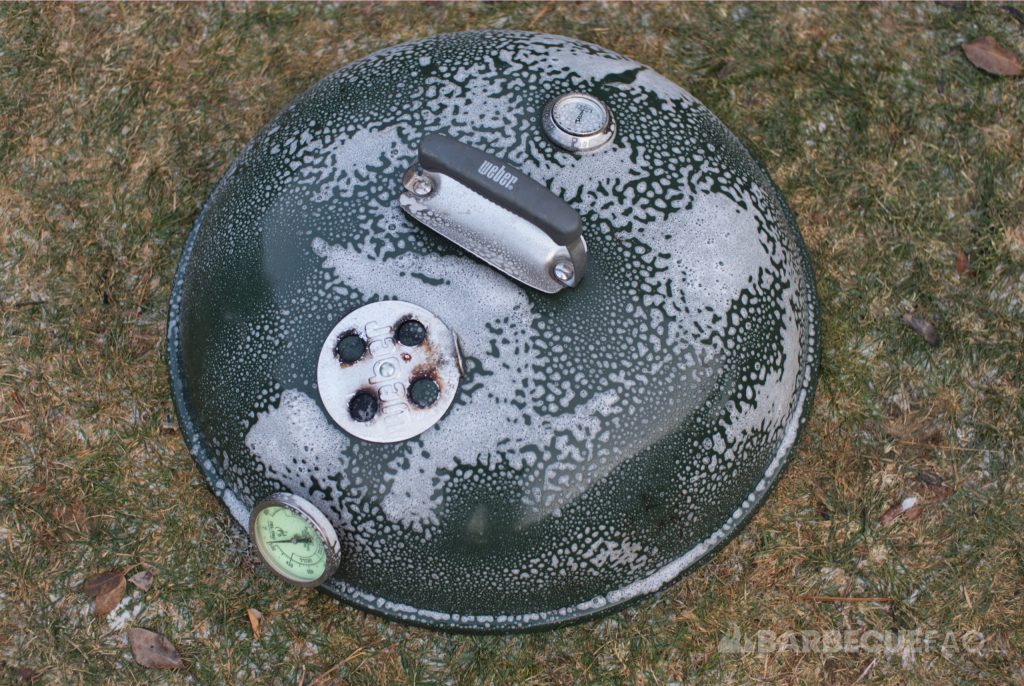
The exterior of the lid should only have ash, dirt, and a general “film” from the grill existing outdoors (which is why you should invest in a grill cover).

cleaning lid exterior

First start by wiping the exterior with a sponge to remove any of the dirt/debris and to lubricate the surface.

After doing so, use warm soapy water to wipe down the exterior of the lid.

Rinse the soap with your hose/water.

Cleaning the Bowl

In order to clean the bowl, I start by removing the grill grates and the ash grates.

The process of cleaning the bowl is very similar to that of the lid.

1. Start by using your grill brush to scrape the interior of the bowl. Again, the goal being to remove any loose pieces, not to entirely degrease the walls of the grill.

cleaning grill bowl

When the loose pieces are dislodged, remove them from the grill via the ash catch mechanism.
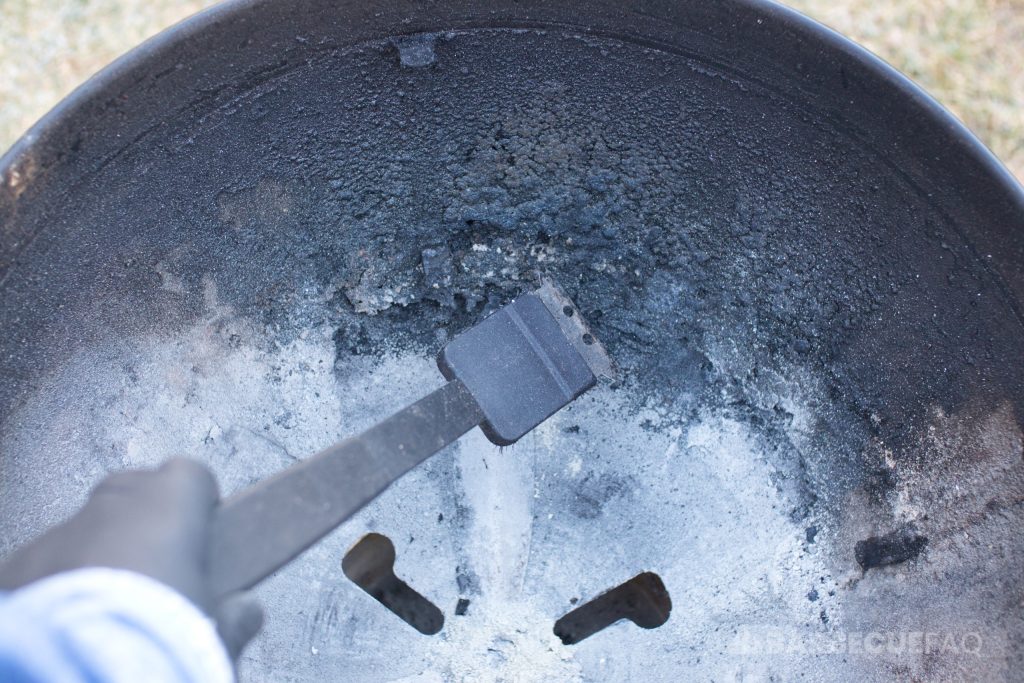
grill bowl debris

2. Spray the interior of the grill with your degreaser. Again, I like to let the degreaser sit for like 20-30 minutes at a time.

degreasing grill bowl

Technically you could do this step at the same time as your lid just so you’re not sitting idle for 20 minutes at a time.

Once the degreaser has sat for 20-30 minutes, use your plastic putty knife to scrape the residue from the surface of the bowl.
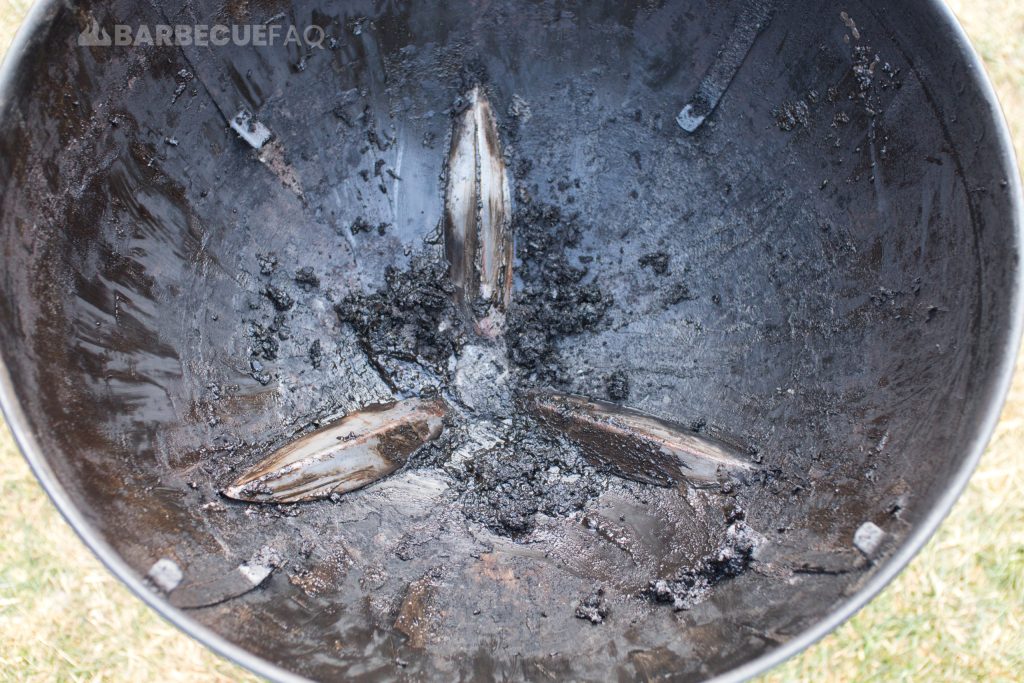
bowl sludge

Discard this sludge in the trash with some paper towels.

3. Use a hose/water to rinse the interior of the bowl.

If there are any pieces of debris or carbonized material that are still stuck on bowl, use your sponge/scouring pad and some warm soapy water to further clean the bowl.
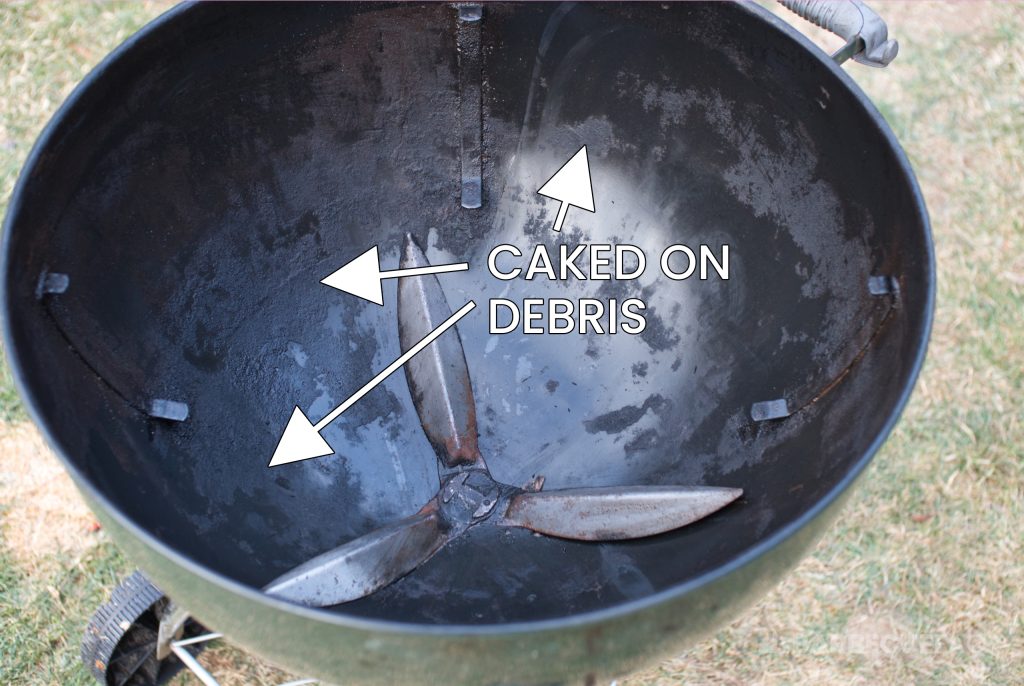
bowl first pass

Pay particular attention to the blades of the cleaning mechanism; Usually debris will tend to collect here.

After this process, the lid/enamel should be back to the way it was when you bought it.

Note: If the above degreasing didn’t remove a lot of the carbonized material, I’d suggest re-applying the degreaser overnight then repeating the above process in the morning.

Chances are you likely won’t have to do this overnight but if you barbecue as much as I do, you might have to.

Here’s the second pass of the degreaser removed the next day:

bowl sludge second pass

Here’s the bowl after removing the sludge and wiping clean with some warm, soapy water:
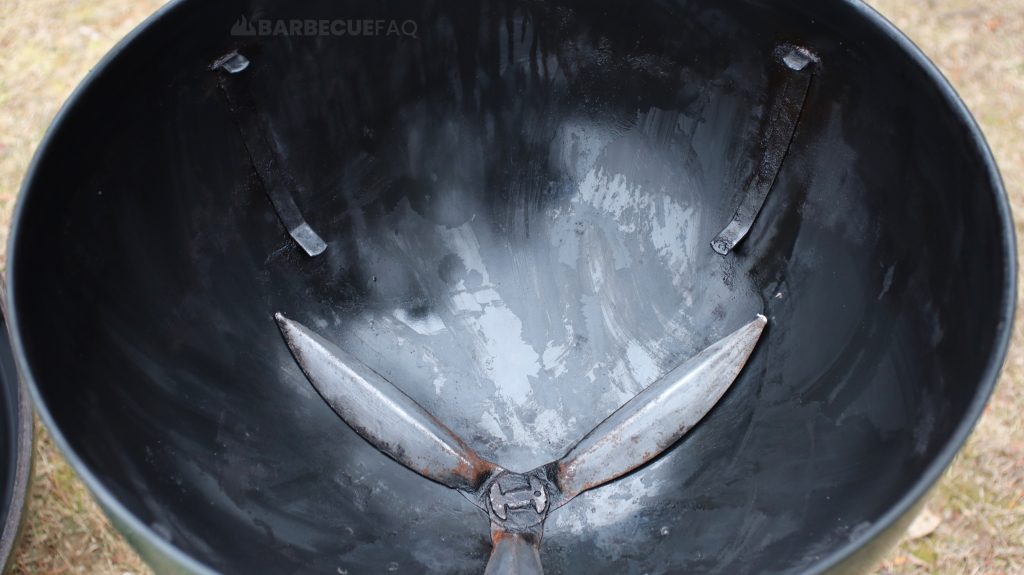
bowl second pass

The above is more than satisfactory for me.

Cleaning the Exterior of the Bowl

Similar to the lid, the exterior of the bowl is less substantial to clean.

Here’s the grime/debris from the elements:

bowl exterior grime

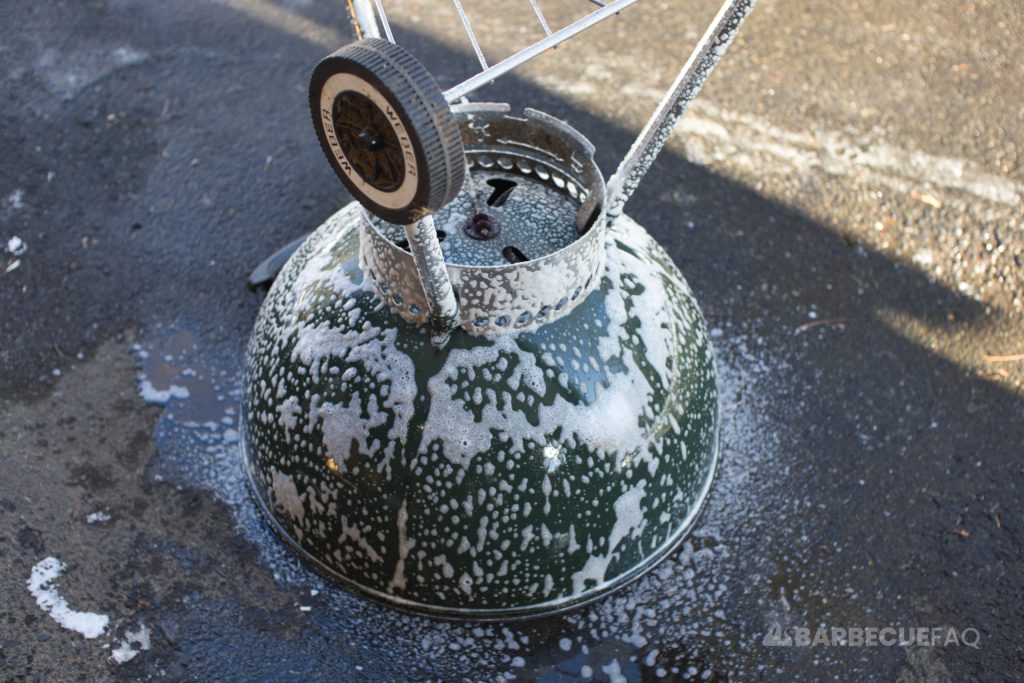
It’s really as simple as wiping down the exterior with a wet sponge first to remove dirt/debris and to lubricate the surface.

bowl exterior soapy

Then using warm, soapy water to further remove particulates/grease.

bowl exterior cleaned

I do this for all parts of the exterior – the bowl, the legs, the ash catch, etc.

With the ash bucket, I simply filled it with some warm, soapy water and let it sit.

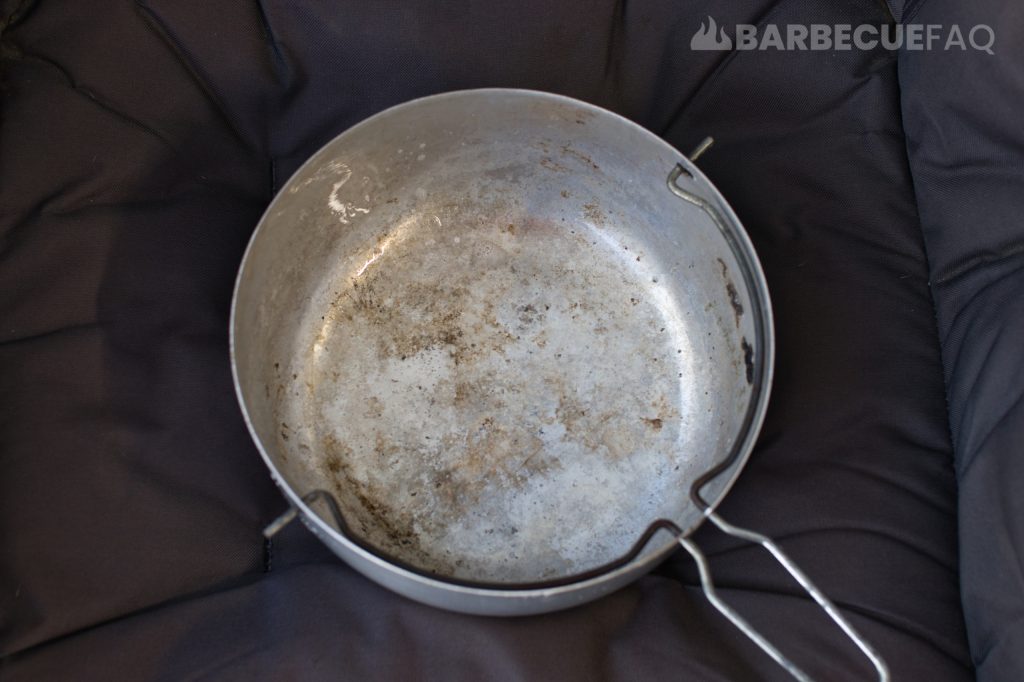
Here’s the interior before:

charcoal ash catch

Here’s the catch filled with warm, soapy water. I also put the handle in too:

charcoal basket filled with warm soapy water

Here’s the interior of the bucket after:

interior of charcoal basket cleaned

I also wiped down the exterior of the metal with warm, soapy water:

charcoal basket cleaned

The ash bucket simply collects charcoal ash. You don’t need to get super detailed with shining the metal.

Cleaning the Grill Grates

To clean the grill grates, first start by removing lose debris with your grill brush – both on the top and bottom of the grates.

Here’s my grill grates with the debris still on:

grill grate debris removal

Here’s them after removing the debris with the grill brush:

charcoal grill grate debris removed

Then in a small bowl, combine some Bar Keeper’s Friend and water until you get a loose, paste-like consistency.

Then, using your scouring pad/steel wool, work your sponge into the grill grates. You can be rather aggressive here, the BKF is an abrasive and will essentially shine the grill grates and further lift and remove debris.
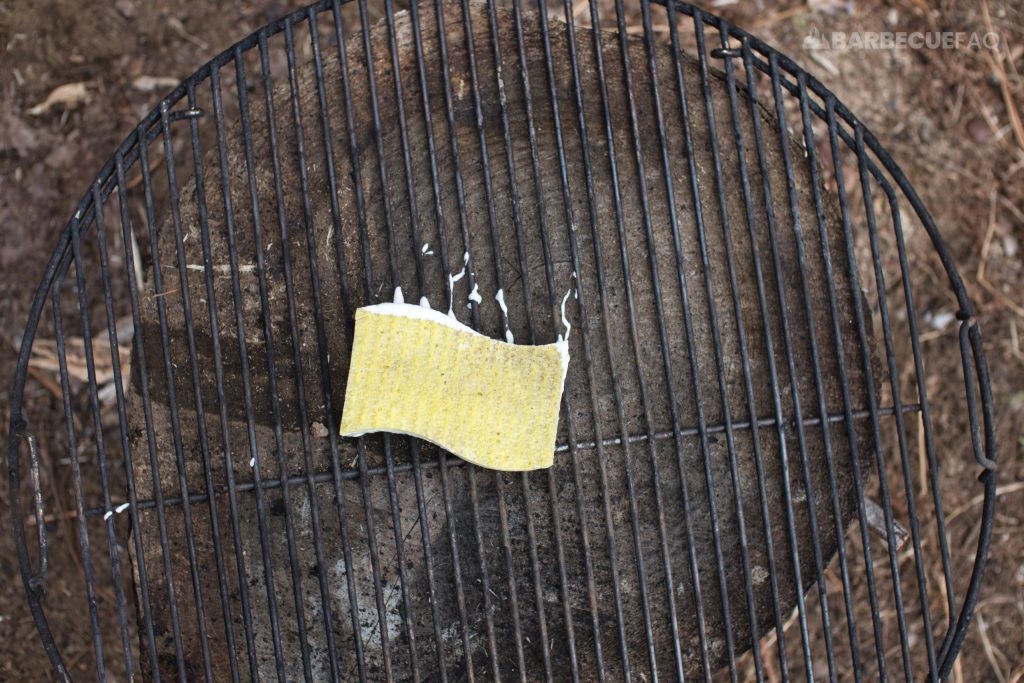
bkf on grill grates

When cleaning grill grates, all I really care about is the surface of the grates – meaning I don’t really care about the underside.

The same goes for the charcoal grates. These grates don’t interact with my food and only work to hold charcoal.

All I do with these is just scrub them with my grill brush.

After using the BKF, I rinse them with water a sponge.

Note: After the above steps I ended up stopping as it got dark out (which is bad for photos). I forgot my grates outside which caused them to rust as I left them wet, exposed to the air, and in the cold – a recipe for rust.

This isn’t a huge deal as the next step easily removes rust.

grates with cleaning stone

To further remove debris on the grates, I like to use grill cleaning stones. These are similar to a pumice stone you see folks use for their heels. The stones mold to your grill grates and do a decent job of removing debris.

grill cleaning bricks

These stones are basically only good for one use and I’ll typically use one a year for a charcoal grill.
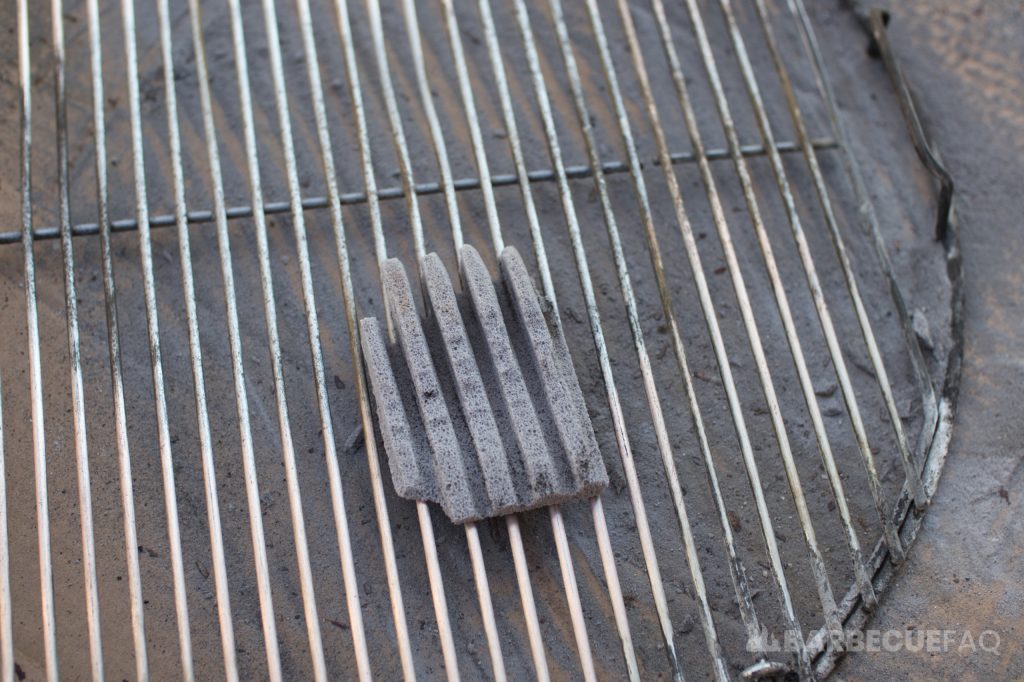
A pack of 3 costs around $6-9 or $2-3 per year – which is wicked cheap.

I will say, these stones do make quite the mess, which is why I put a cardboard box underneath the grate. You could technically do this over the grill itself but it’s just another thing to clean.

You can be as aggressive with removing debris on the grates as you’d like. Personally, I don’t care about anything that’s on the underside of the grates. I also am not going to sit there for hours on end removing carbonized material.

To illustrate:

carbonized debris on grill grates

The above is satisfactory to me.

Since the charcoal grill grates don’t touch my food, all I do is clean them with my grill brush:

charcoal grates cleaned with grill brush

You can then put the grill grates back in your grill:
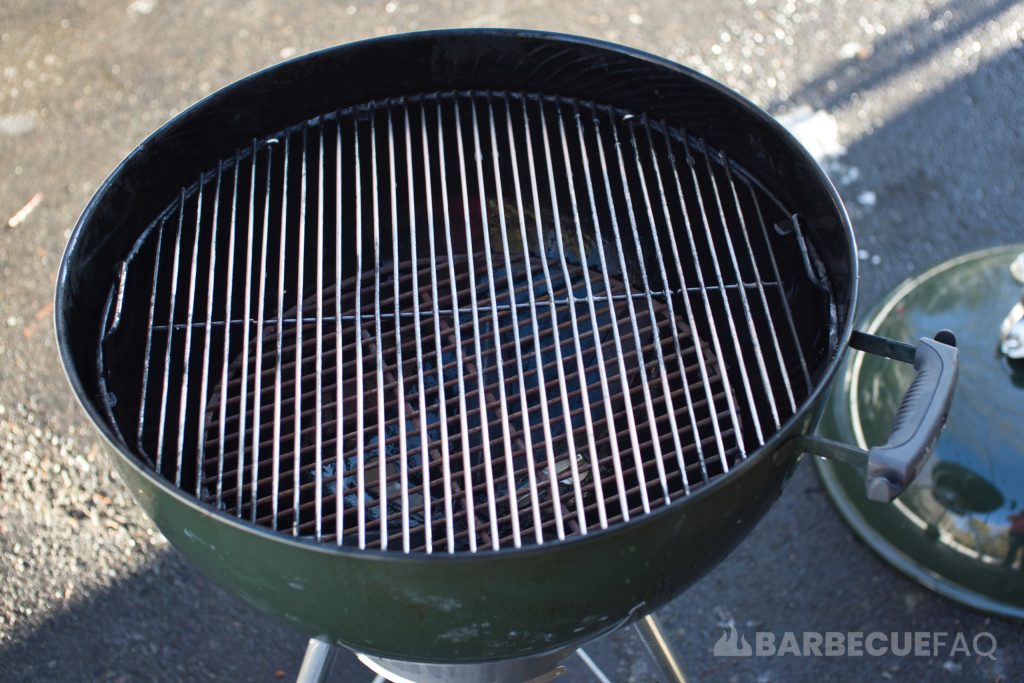
grill grates cleaned in grill

From there, I like to spray avocado oil on the interior of the grill – the grates, the bowl, the interior of the lid, etc.

The oil on the grates will also help to prevent rust from forming between now and your next cook.

A Quick Word on Rust

So just to make things abundantly clear:

Regardless of the material used to make grill grates, they’re apt to rust over time. I’ve used various types of stainless steel with chromium oxides, cast iron, etc.; All of these grates will rust over time.

This is especially true if you live in a part of the world where temperature swings regularly (like Me).

With that said, in the above photos you might notice my grates are a hue of brown/gold. This is entirely normal for stainless steel grill grates.

Due to the extreme temperatures these grates experience, they won’t remain shiny like you’d find with say the grill grates in an electric smoker; An electric smoker can get as hot as 275F but not 750F+ like in a charcoal grill.

Rather, charcoal grill grates turn a light brown/gold color – which is a reaction to the heat – meaning it’s completely normal and not rust. People will refer to this reaction as a “seasoning.”

Cleaning the Aluminum Parts?

Similarly, the exterior aluminum/metal can be cleaned/polished with an aluminum cleaner. In my opinion this step is completely optional.

I’ve done both with and without it and it’s truly to the point where it’s negligible.

You’re better off just using warm soapy water and dish soap.

dylan bio profile picture
Dylan Clay
Dylan Clay is a pitmaster based in New Hampshire, with over 17 years of experience in grilling, smoking, and dehydrating meat. Throughout this time, he has worked with nearly every cut of meat. In 2019, he launched the Barbecue FAQ website to share his extensive knowledge about all things meat, aiming to assist others in making better barbecue at home.

Leave a Reply

Your email address will not be published. Required fields are marked *

magnifiercrossmenu linkedin facebook pinterest youtube rss twitter instagram facebook-blank rss-blank linkedin-blank pinterest youtube twitter instagram