Equipment Required
The Stuff I’ve Always Used:
- Weber Kettle
- Elevated Cooking Grate
- Lump charcoal
Optional: Slow N’ Sear or something to contain the coals; This makes adding lit coals easier if you need to.
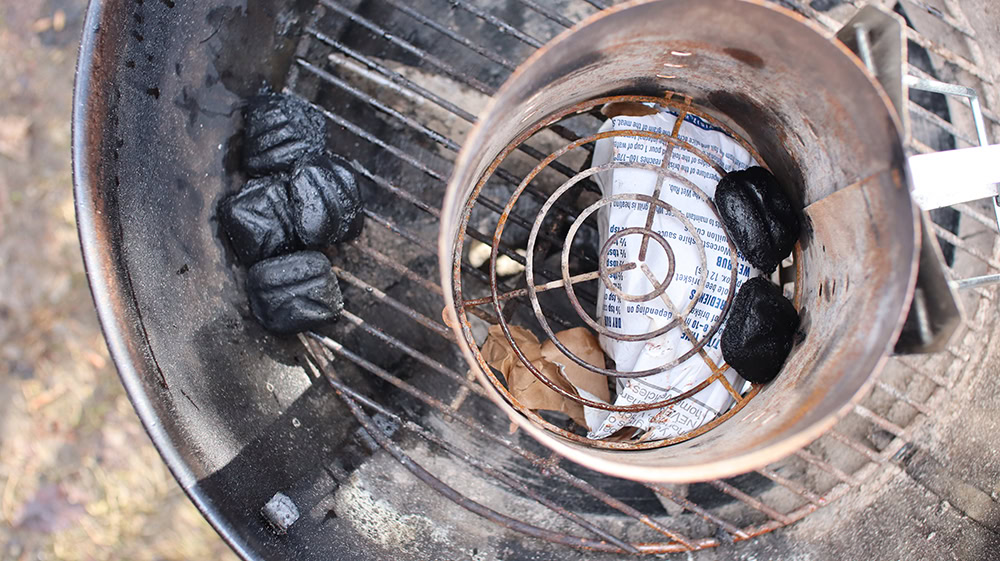
Only Light a Handful of Lump Charcoal (~1/5 Chimney)
This is where most People go wrong because you’d think you’d need a lot of charcoal, but you DO NOT.
This charcoal you then dump to 1 side of the grill creating a 2-zone fire.
You also want to ensure the coals are spread out evenly because we want our protein to cook evenly too.

Hot spots are OK provided you know where they are so you can rotate the protein.
Cover the grill and let the grill preheat for 15-20 minutes, ensure the exhaust is over the meat/coals so you can get an ambient temperature reading.
You want to be around ~300-325F but no higher.
If you exceed 350F, you risk burning meat; Our goal is to brown the meat.
If the temperature exceeds 350F after 15-20 minutes, you need to spread out the coals OR remove some.
ALSO remember that the protein’s juices will drip on the coals causing the temperature to drop. When/if you remove coals, keep them in your chimney to add back just in case.
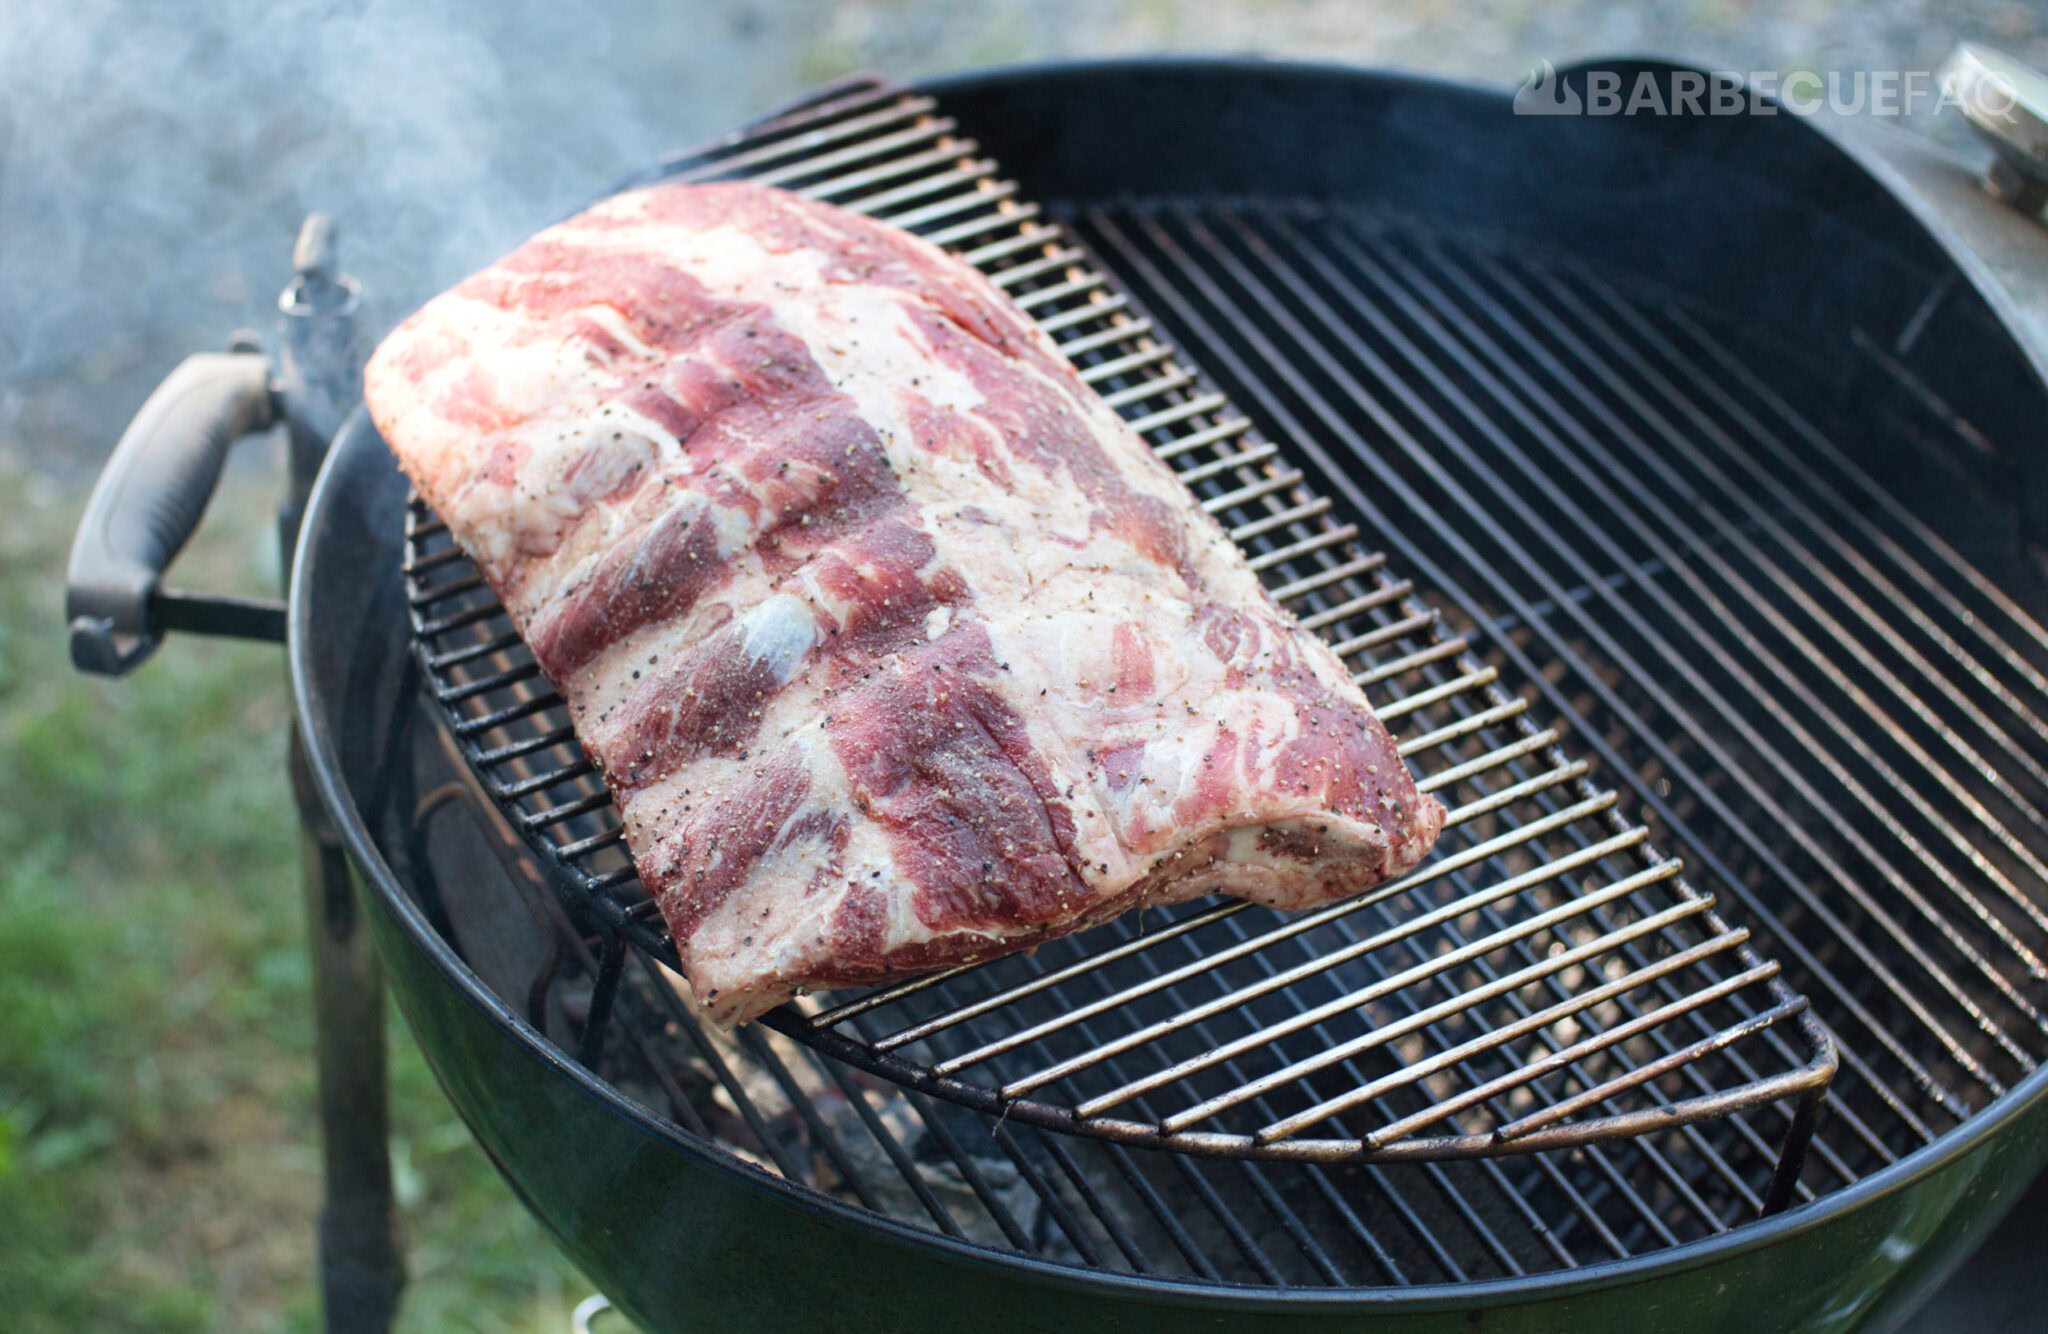
Once @ ~300-325F
Put your elevated grill grate above the charcoal and then put your protein on the grate.
What side you start on depends on the protein.
With pork ribs I tend to start meat side down to start building crust because the membrane is less substantial.

But with say beef back ribs, I’ll start bone side down because the membrane is thick and I want to crisp it up.
With something like chicken thighs which have tons of fat under the skin and collagen, I’d start skin side down just to start rendering fat right away.
No matter what though I’m typically flipping every 45-60 minutes.
When adding more charcoal, just move the elevated grate to the other side and add the unlit charcoal to the lit charcoal.
OR light it externally and then add it and spread it out.
This is why using the Slow N’ Sear is helpful because the coals are contained.
What Types of Dry Rubs Should I Use Before Cooking?
Most BBQ rubs use TONS of sugar but if you’re cooking this way you want to avoid sugar-based rubs because they’ll burn and turn the crust bitter.
We’re also mopping flavor onto the meat later instead.
Typically you want to stick to basics like:
- Kosher salt,
- Pepper
- Granulated garlic
- Granulated onion
So really any SPG (salt, pepper, garlic) rub works well.
I’d also recommend letting the salt dry brine for ~2 hours and air drying in the refrigerator as a dry surface creates a better crust – just like with a steak.
What Meat Should I Cook this Way?
Really anything.
I’m a big fan of:
- Pork steaks made from pork butt
- Bone-in, Skin-on Chicken thighs
- Pork ribs (spares are my favorite this way)
- Beef back ribs
- Chicken halves and/or leg quarters
- Pork picnic roasts w/ skin on
- Chicken wings
When to Start Moppin’ & Basic Mop Sauce Stuff to Know
Once the crust is built and you want the cooking process to slow down, start mopping.
Usually this is after around 3-4 hours of direct heat cooking with flips every 45-60 minutes.
You want to mop every 15-30 minutes until done.

A mop sauce is as basic as fat, acid, and spices.
The fat is usually:
- Unsalted butter
- Oil like vegetable, olive, canola
- Beef Tallow or Pork Lard
The acid is usually:
- Vinegar like ACV, White, Red wine
- Citrus juice like lemon, lime, orange
- Beer or wine
Spices:
- Salt + Pepper
- Garlic, Onion, Paprika
- Aromatic herbs like thyme, rosemary
- Sugars like honey, brown sugar, molasses
- W. Sauce or Soy sauce
- Hot sauce or spicy chili flakes
Other Stuff:
- Water or broth to thin the sauce
Be mindful of adding too much sugar – especially if you’re struggling to keep the temperature down; This sugar can and will burn @ temperatures above 325F.
If you need mop recipes, this is typically what I use for Pork and this is what I use for Beef.