1. Start by laying out two sheets of butcher paper
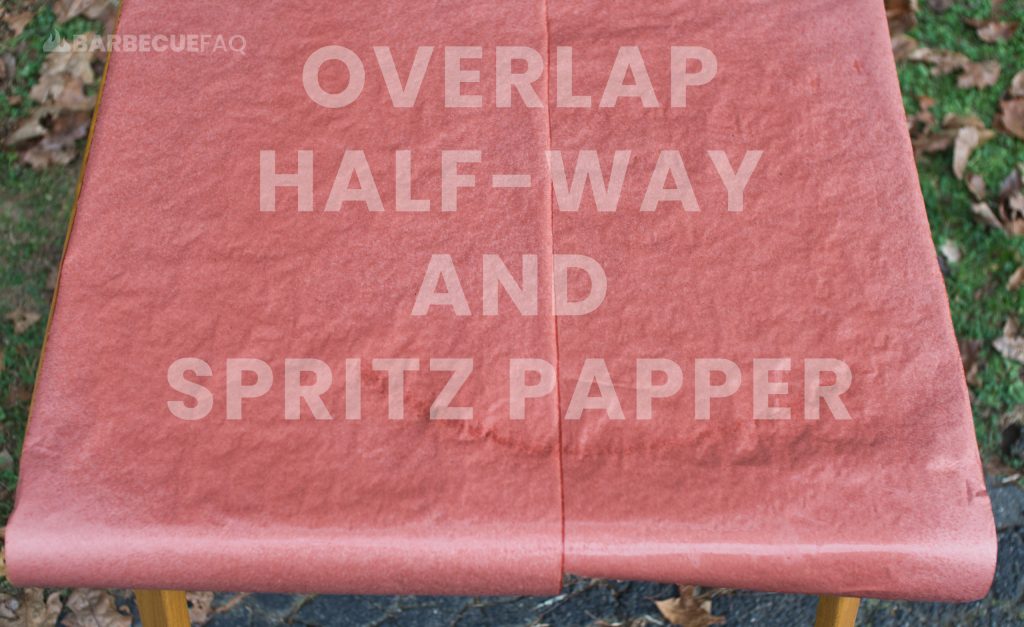
Overlap them in the center by aout half their width.
Then spritz the surface of the paper with water or whatever you have on hand (beer, apple juice, Worcestershire sauce, etc.)

Side Note if Using Beef Tallow:
Butcher paper is porous and by using excess tallow, you’re essentially making it non-porous – effectively trapping more moisture and degrading the bark.
At that point, you’re better off just using foil.
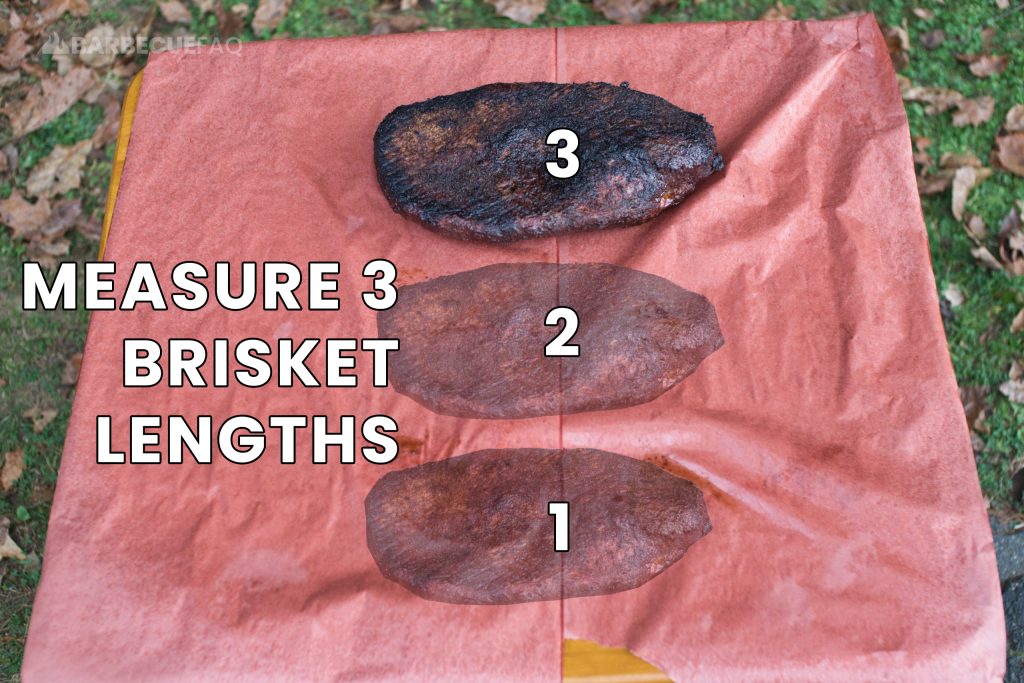
2. Take your brisket and use it as a measuring stick.
You want to place the brisket at the top of the butcher paper and count 3 “brisket” lengths.
Ensure the fat side is up.
3. Fold the paper over the top of the brisket and tuck it under.
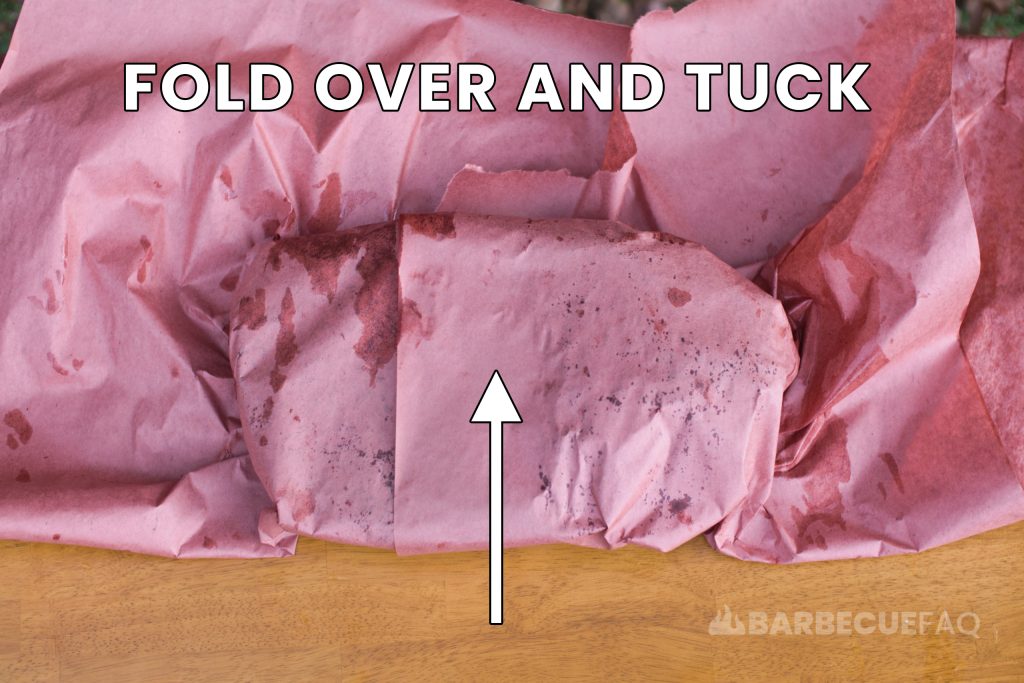
Tuck the edges of the paper around the brisket as it wraps around the flat and point.
Similarly, fold the opposite edges so that they contort to the the brisket.
4. Fold the sides of the butcher paper over the brisket and then crease the long edges of the paper, creating a tight seal.
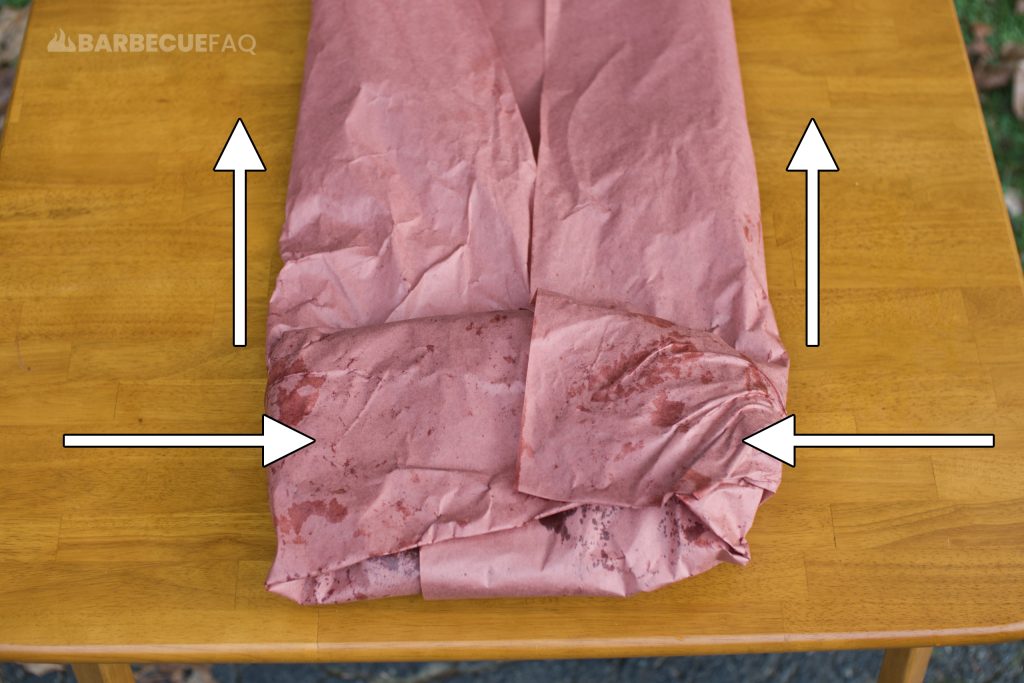
5. Roll the Brisket Over the Creased Sides.
*We are now fat side down.
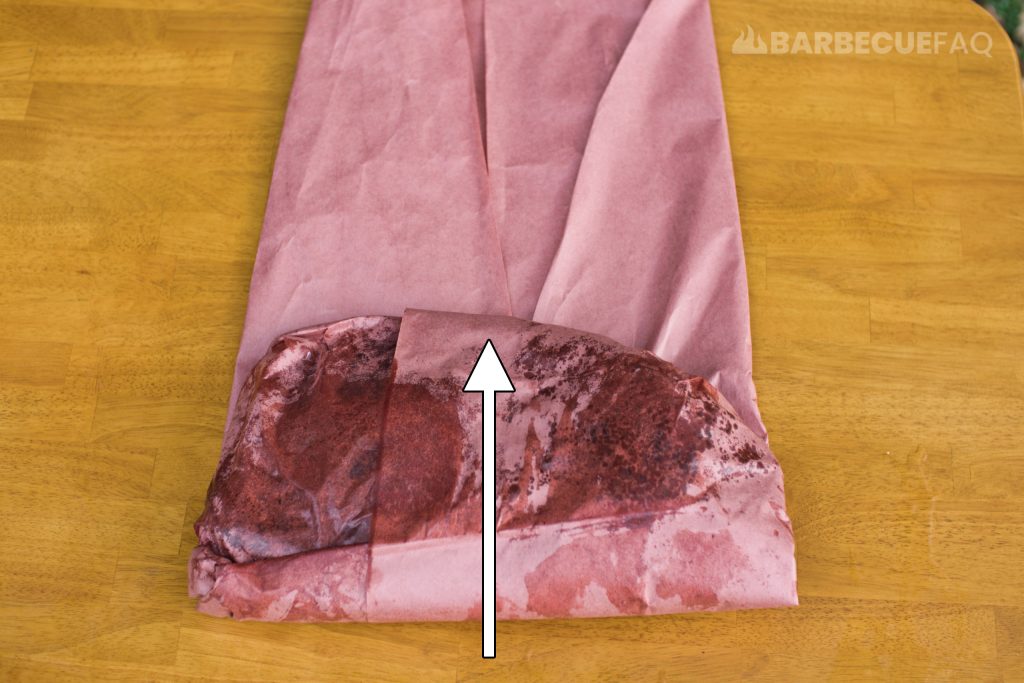
7. Fold the remaining paper on top of itself, towards the brisket.
Essentially creating a small pillow to place the brisket on.
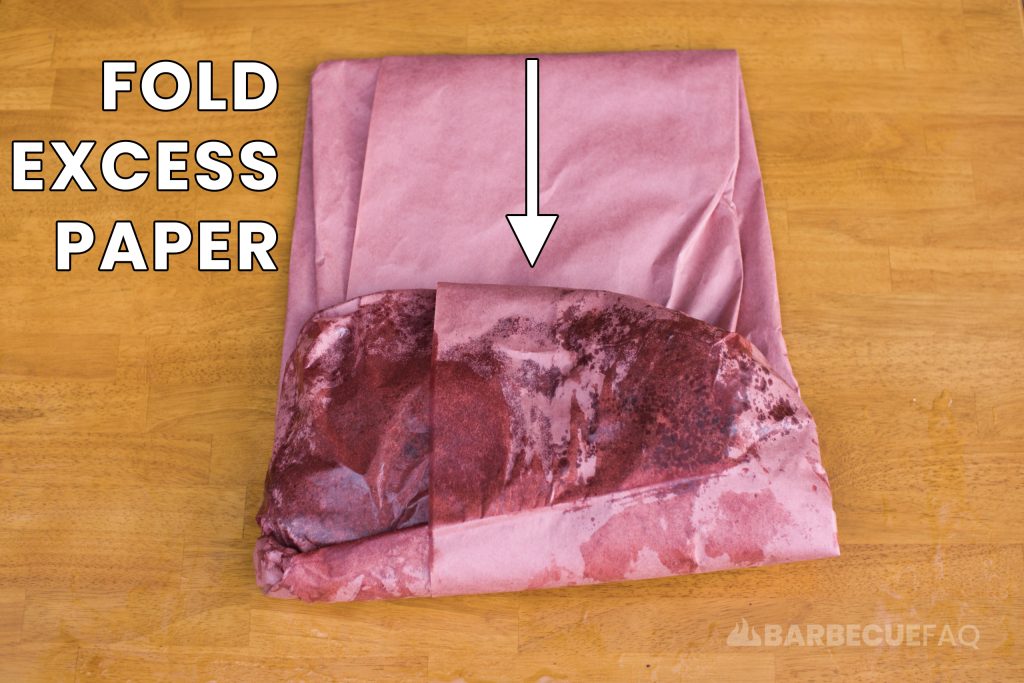
8. Fold the brisket one more time on top of this “pillow.”
*We are now fat side up again.
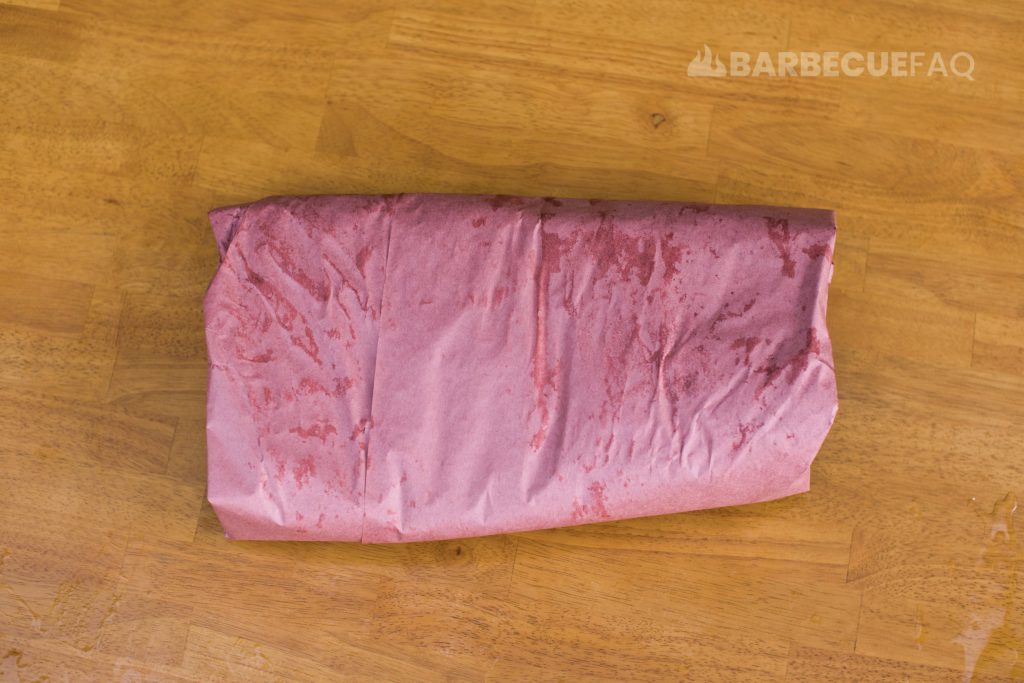
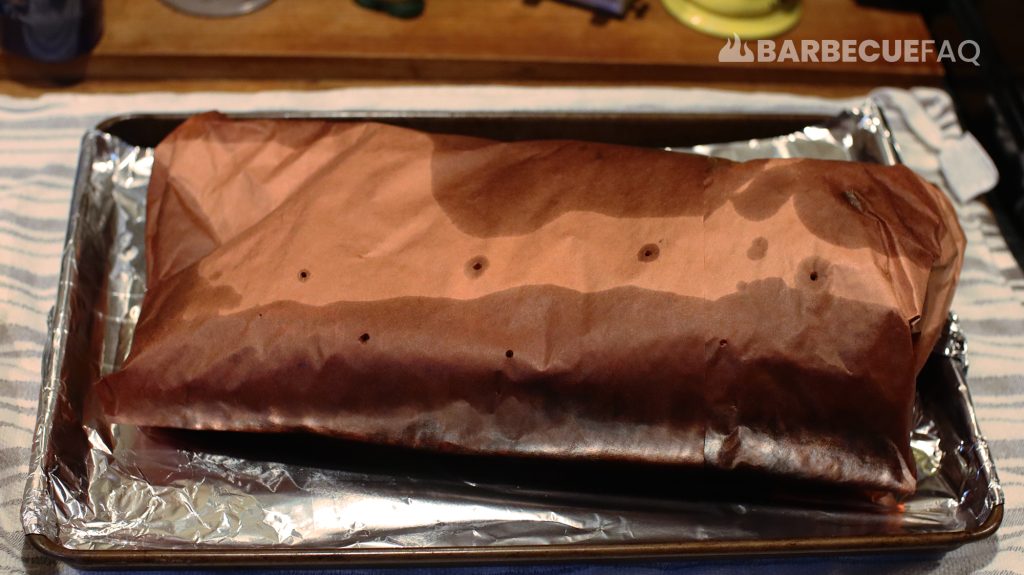
9. Return the brisket to your smoker or your Kitchen oven.
A Quick Reminder on “Heat” and Why You Can Put the Wrapped Brisket in Your Oven
Remember: BTU is BTU and Heat is Heat.
Since the brisket is now wrapped, it won’t take on anymore smoke.
All my briskets are smoked on my weber kettle – once I wrap I transfer them to my electric smoker set to 250F (which is essentially an outdoor oven).
Meaning, you can transfer your wrapped brisket into your kitchen oven set to 250.
Charcoal is rather expensive and since electricity is cheap, I’d rather use my Masterbuilt Electric smoker or my kitchen oven.
Experiment with Wrapping at 175F+
Most articles on the internet will tell you to wrap at around 165F; This is because this is the temperature that a stereotypical brisket will start stalling at.
However, by waiting longer – up to around 175-180F internal – we improve our bark and render more fat, and we’re at the tail end of the stall.
So in my case, the paper is more so used to prevent the bark from crisping up further and to temper the exterior via the moisture build-up of the wrap.
The above is personal preference and what I find works best for me. Experiment with materials, internal temperatures, methods, etc. and find what works for you.


