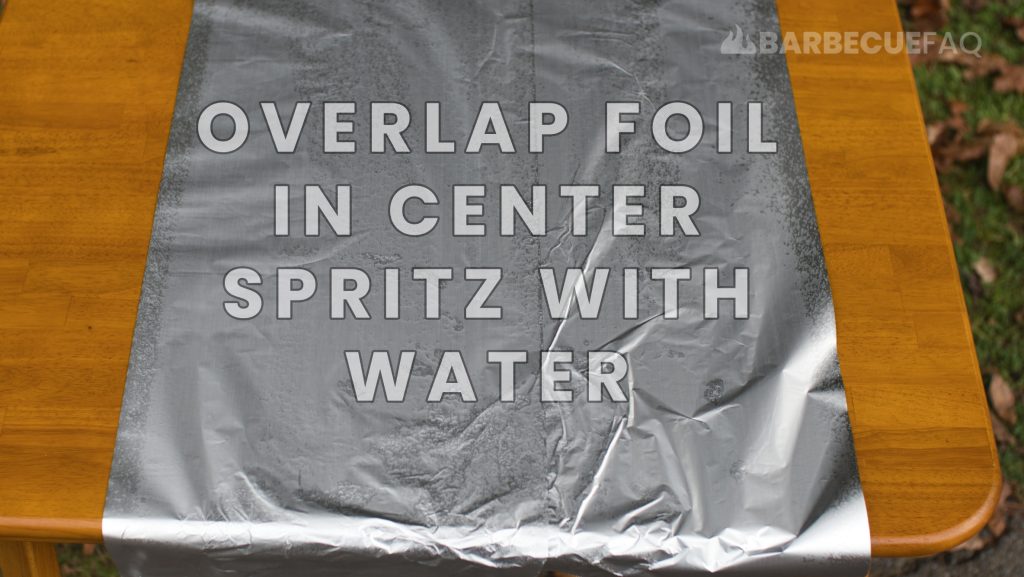
1. Lay out 2 sheets of aluminum foil and overlap them in the center by half their width.
The sheets should be roughly 3-4 ft in length; Tear off more than you think you need!
Spritz the surface of the paper with water or a similar liquid like beer or Worcestershire sauce.
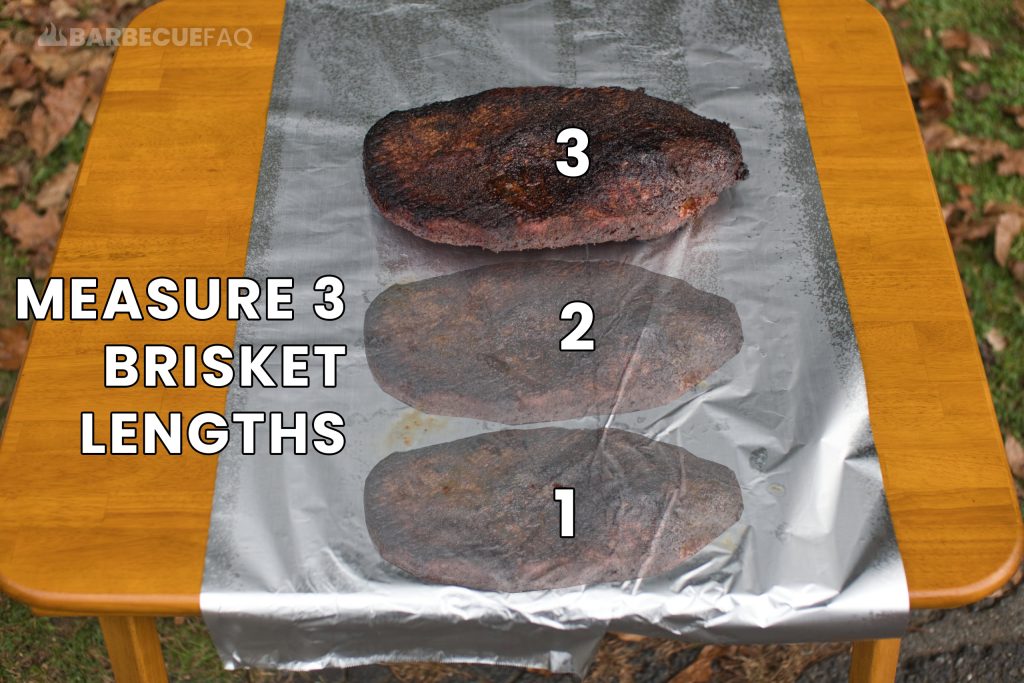
2. Use your brisket as a measuring stick and count 3 brisket lengths.
You want to place the brisket fat side up.
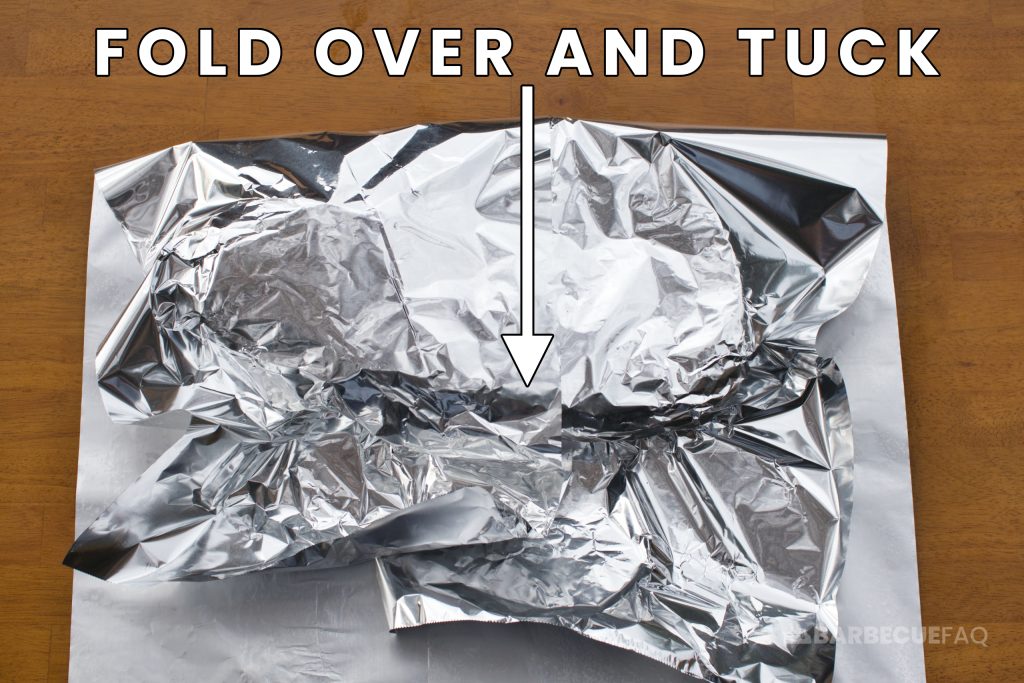
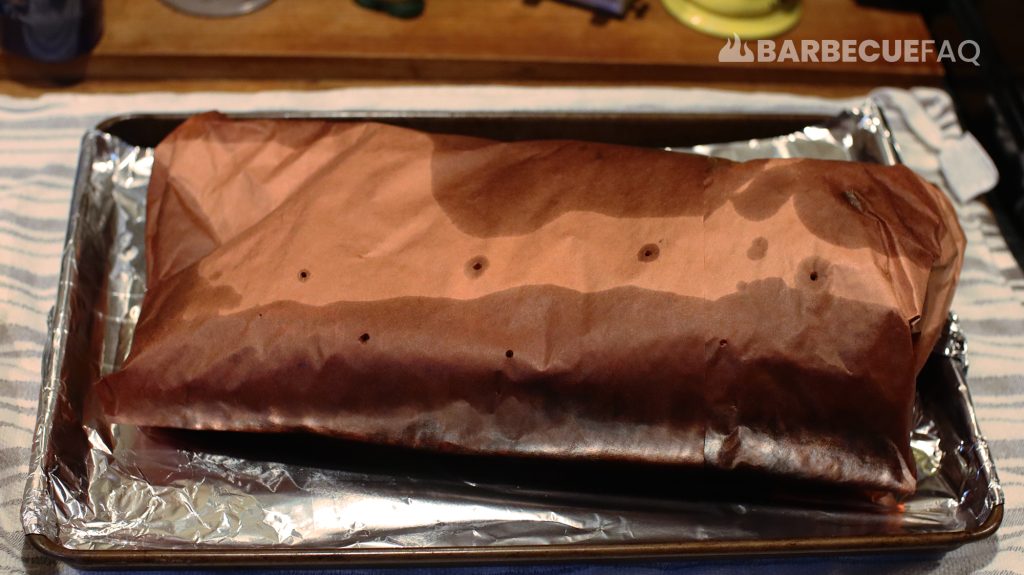
3. Fold the foil over the top of the brisket and tuck it under the meat.
Tuck the foil around the edges as well.
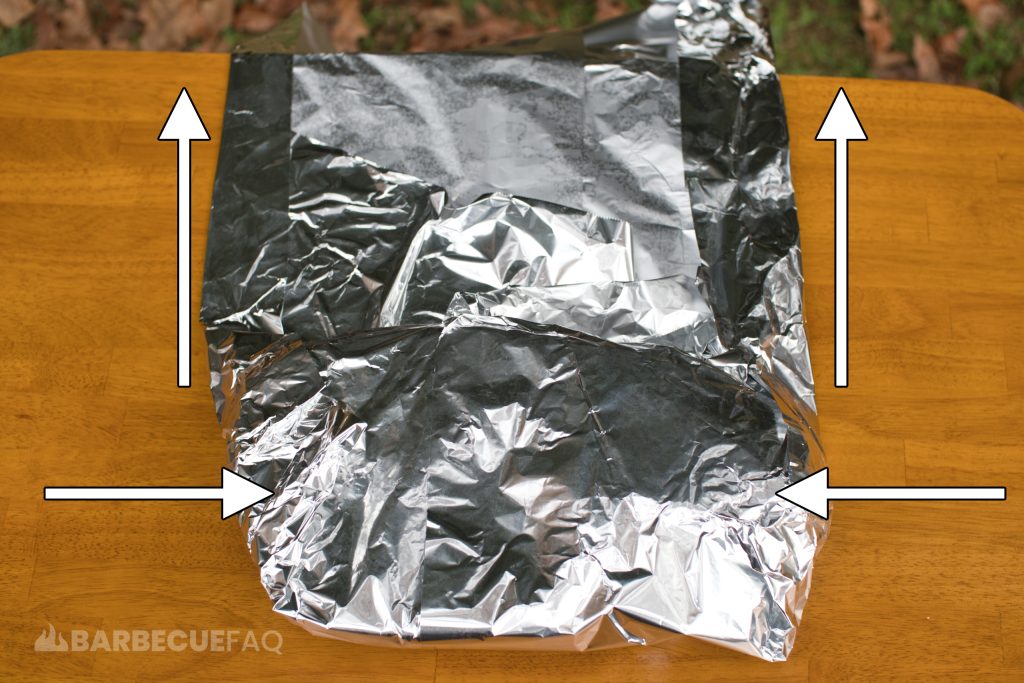
4. Fold the edges over the sides of the brisket, and crease the edges.
5. Roll the brisket over the creased edges of the foil.
*We are now fat side down.
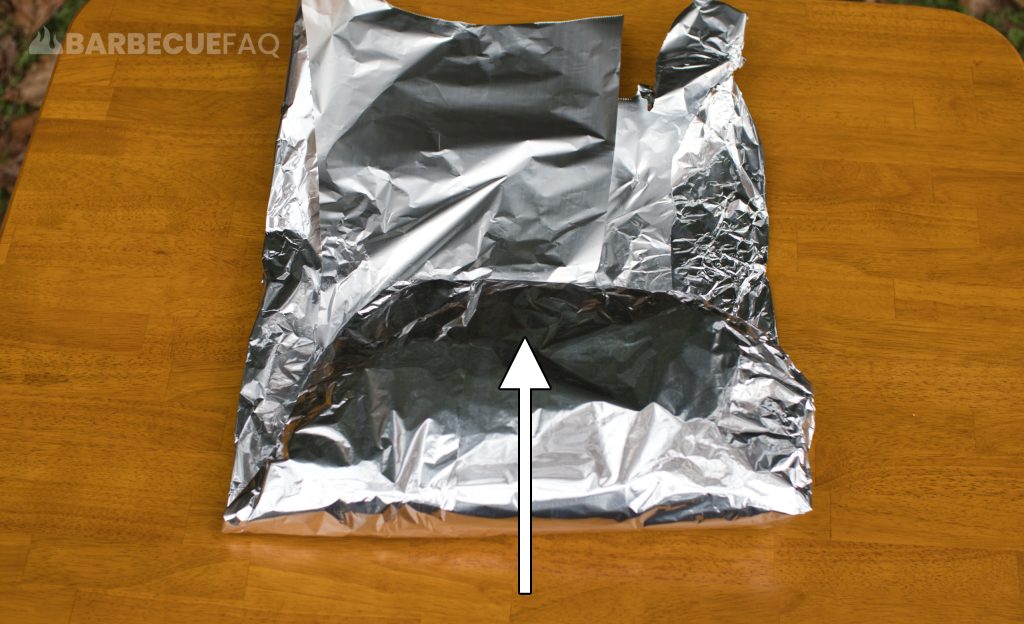
6. Flip the brisket one more time over the remaining foil
Contour any remaining foil to the brisket shape.
*We are now fat side up.
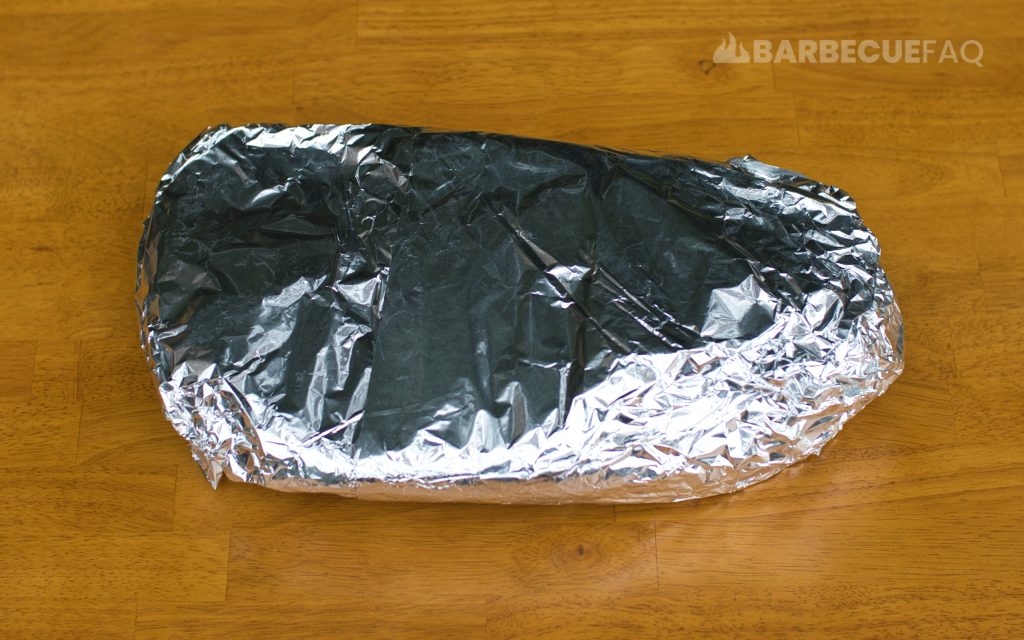
Place brisket back in your smoker, fat side up – or put in your kitchen oven set to 250F.
A Reminder on “Heat” and Why You Can Use Your Oven Instead of Your Smoker
The brisket won’t take anymore smoke and it also has no idea what it’s being cooked by.
Electricity is far cheaper than charcoal.
In most cases I simply transfer my wrapped brisket to my electric smoker at 250F.
Experiment with Wrapping Later in the Stall
A lot of articles on the internet will tell you wrap at 165F as this is the temperature brisket will typically start to stall at.
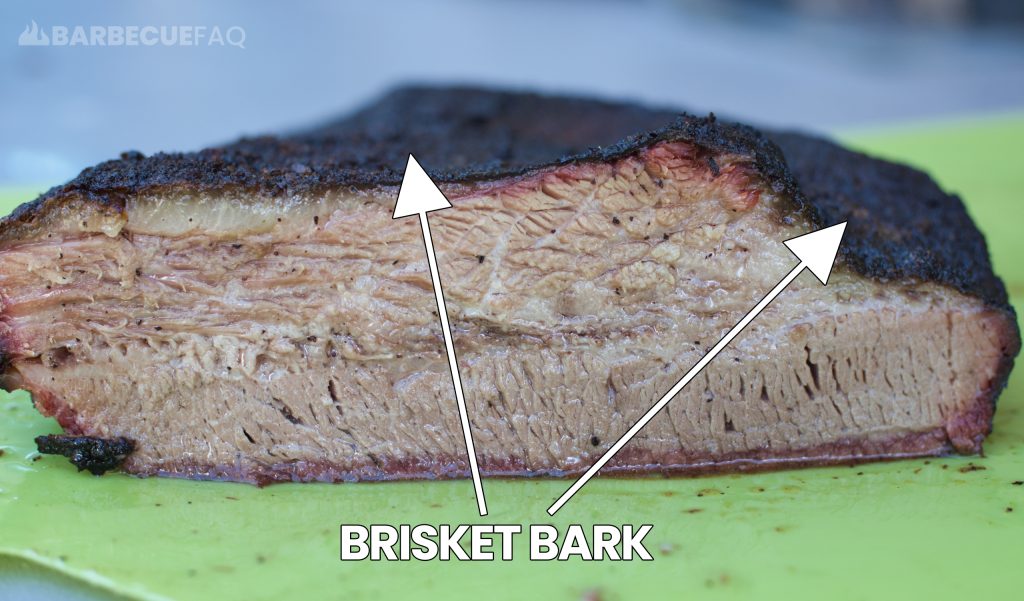
However, by waiting later into the stall – at around 175-180F, you build a better bark.
Foil is notorious for ruining bark but by waiting longer you simply softens the bark as less moisture is trapped.



2 comments
Waymon
I’ve never try to smoke a brisket on my pellet grill so I’m trying to get as much info that I can before I try this
Dylan Clay
Well Waymon – hopefully my articles have helped in some capacity!
I have a whole category on brisket that’s worth checking out.
-Dylan Clay