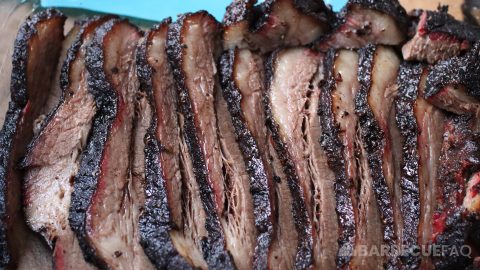
By Dylan Clay
While I love my smoked brisket, it’s also quite expensive and time consuming.
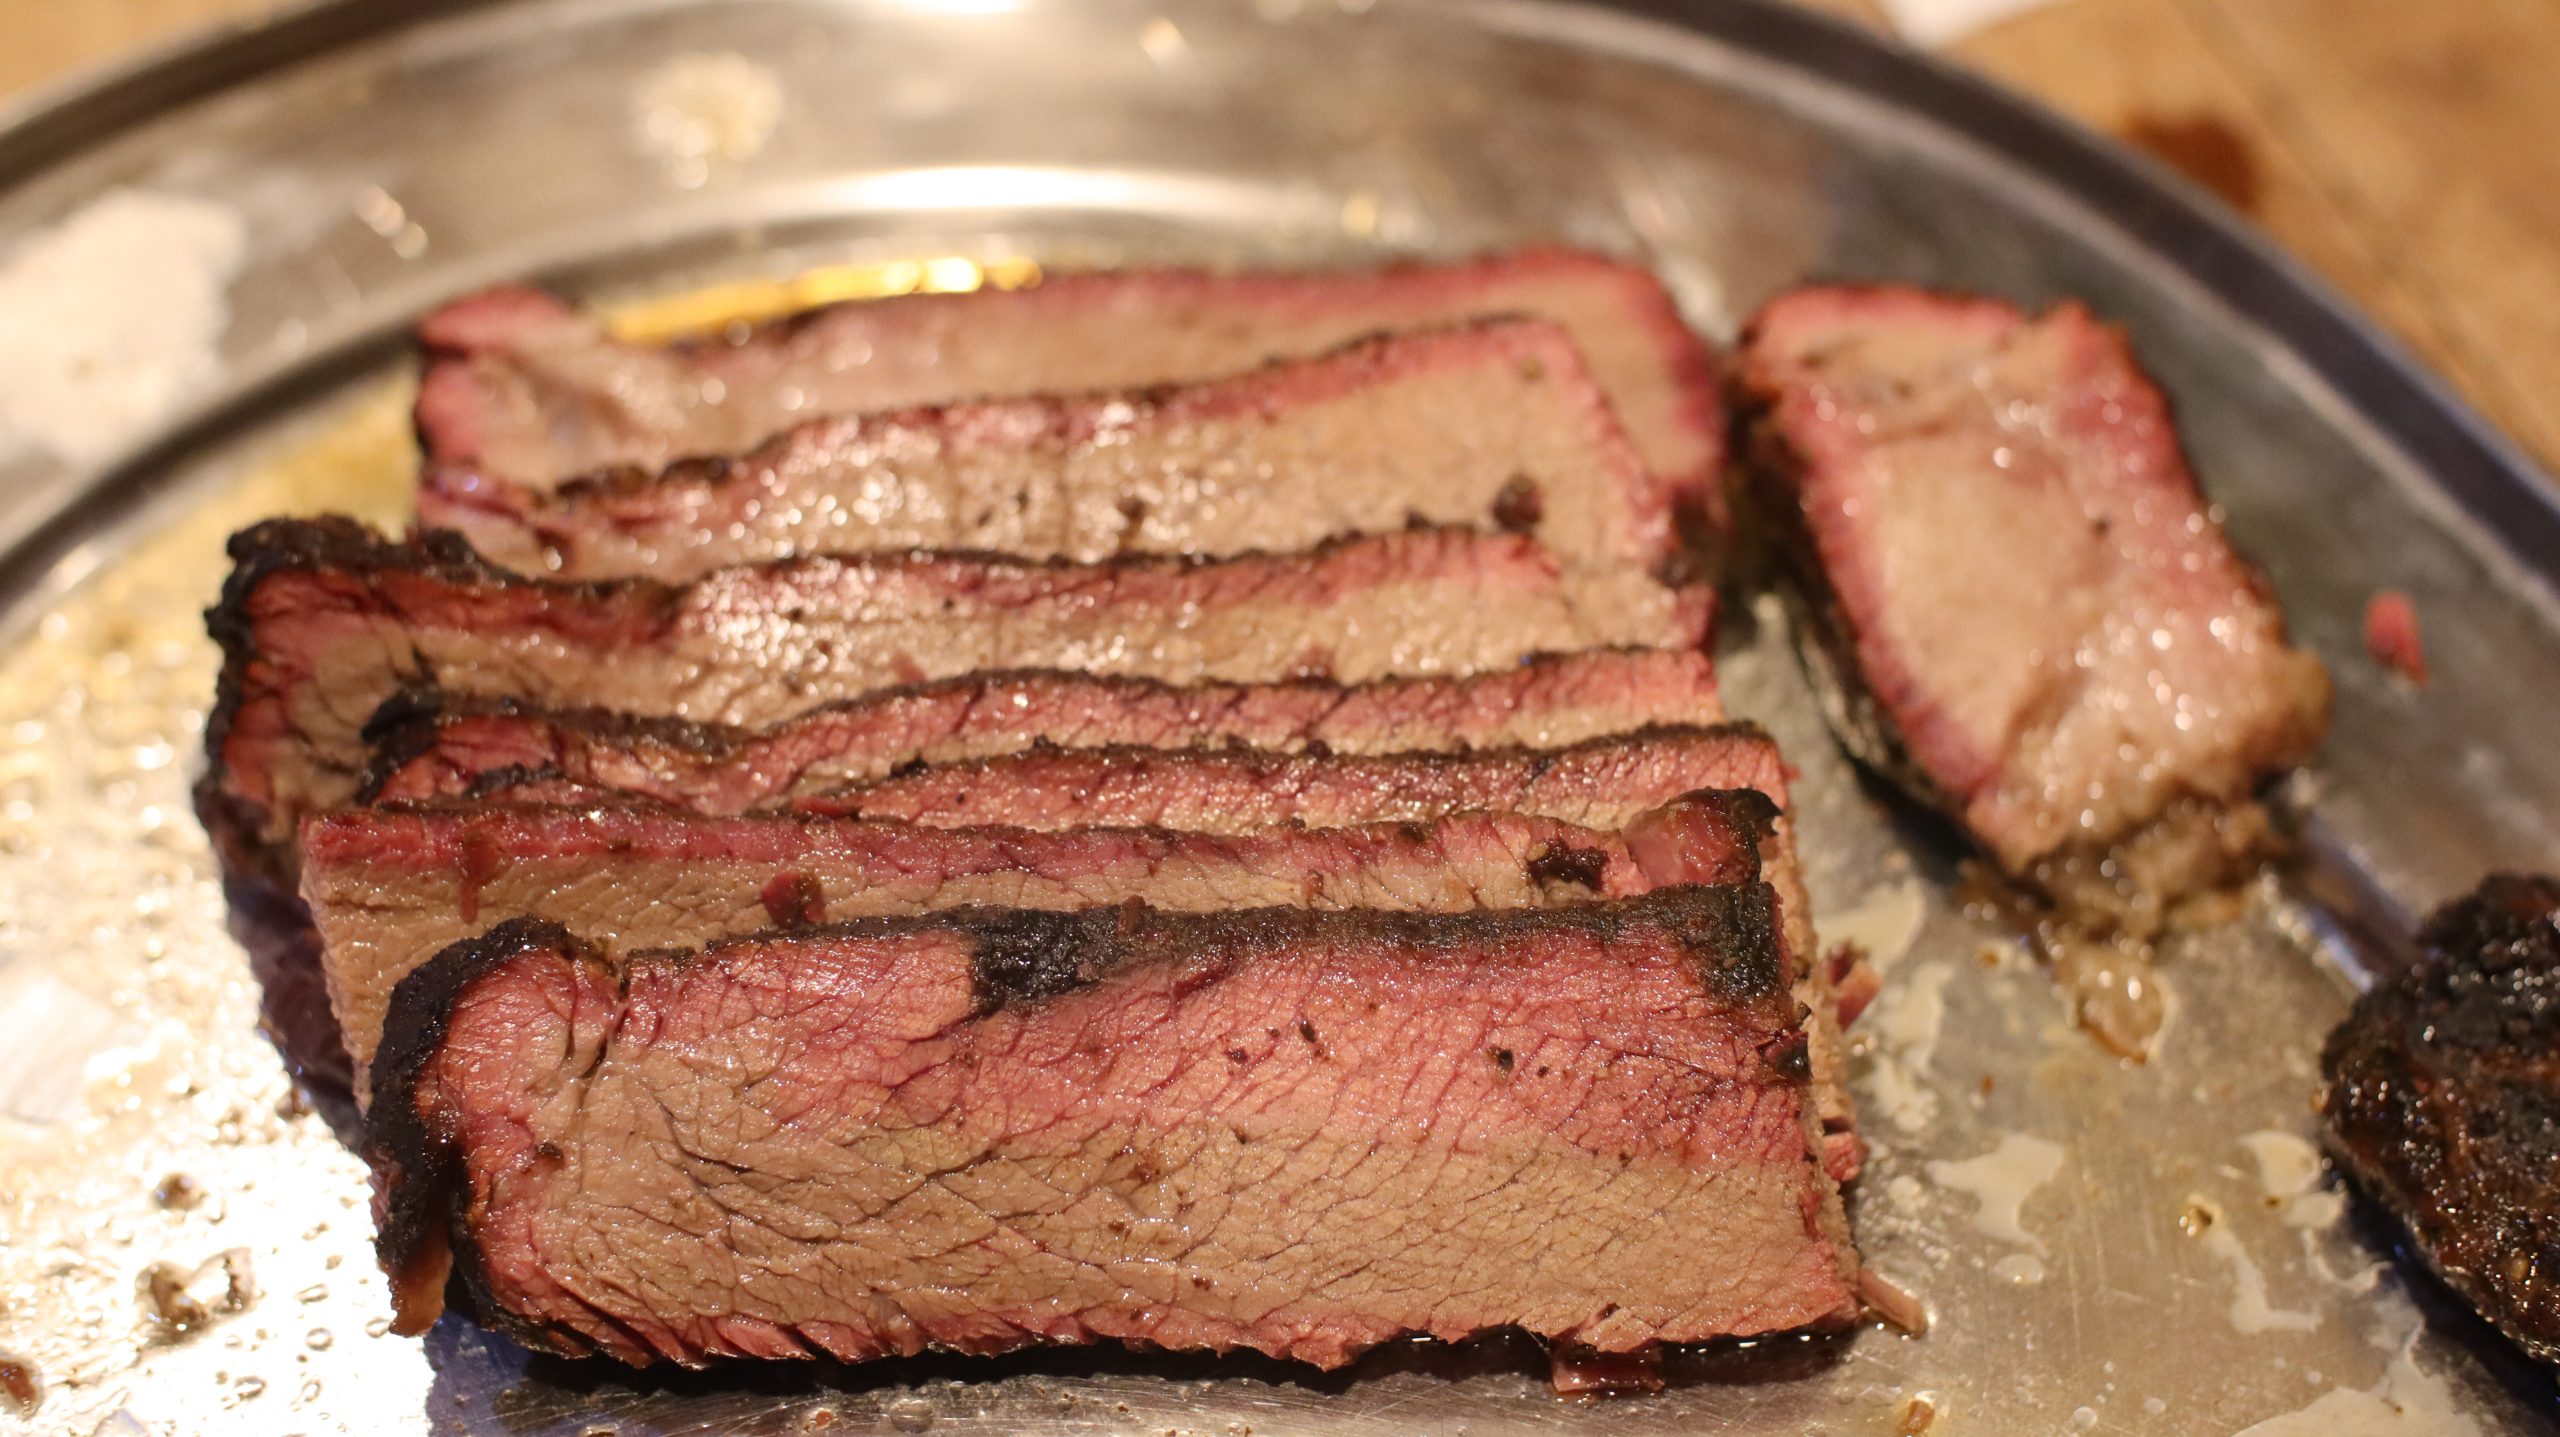
For those times I don’t feel like waking up early, I’ll usually opt to smoke a chuck roast aka Poor Man’s Brisket.
For my chuck roast recipe I follow the same strategy as my brisket. I use the same rubs/spices, the same meat quality (USDA choice grade), the same hardwood (post-oak), and smoke at the same temperature (250-275F).
All I look for in chuck roast is for a USDA grade of choice or higher.
Choice grade beef will have less marbling or intramuscular fat dispersed throughout the lean meat than Prime. However, it’s significantly better than select/non-graded chuck roast.
Choice is a great middle ground has a great price to quality ratio; This same concept is true for brisket.
Aside from that, the only other factor to consider is weight – the chuck roast in this recipe was 2.27 lbs and fed myself and my father – we are both bigger people and can eat quite a bit; My mother also had two pieces. This amount of chuck roast is more than adequate for a family of four.
Brisket is usually a similar price per pound and will feed a lot more people. However, it takes longer to smoke and has a greater upfront cost.
For this section, you will need:
When buying a chuck roast at the grocery store, it will likely come in an over-wrap meat tray. Use a knife to open the tray and place the chuck roast on a cutting board.
After which you can discard the over-wrap tray in the trash.
Do not rinse the meat – doing so could contaminate your sink, utensils, and other surfaces.
Some resources might tell you to pat dry the meat but this isn’t necessary as the meat isn’t vacuum sealed and there is no purge (meat protein and water solution). The surface is already dry due to how it’s packaged.
At this stage, I don’t do anything else to the meat. Some folks might tell you to use butcher twine to hold the meat together – I find this step completely unnecessary.
I also don’t do any trimming or remove any fat – I just leave the meat as I bought it.
A lot of people like to make the entire chuck roast into burnt ends (by cubing it up with a knife), however I typically treat the chuck roast just like I would a brisket and keep things as simple as possible.
For this section, you will need:
I’ve used lots of different rub combinations for smoking brisket as well as chuck roast and I’m honestly a big fan of just kosher salt, pepper, and Lawry’s seasoned salt. I also almost always have these three ingredients on-hand.
A lot of different recipes will complicate smoking chuck roast but it can’t get any more simple than salt, pepper, and Lawry’s.
With that said, I’m also a big fan of actually tasting the beef – the above seasonings compliment the meat while not overpowering it. Lots of other recipes do the opposite, they have you create layers of flavor to the point that you’re only tasting rub.
In terms of the amount of each, the following is a rough estimation:
This amount will change based on the size of the chuck roast you buy. My main goal is to have all the surfaces covered, including the edges.
After seasoning the chuck roast, I put it in my fridge (mainly to prevent my dogs from eating it off the counter). At this point you’re technically dry-brining the meat as the salt is pulling moisture out.
For this section, you will need*:
*This section will change based on whatever you use to smoke with. Just to sum things up, smoke at 250F with post-oak or a similar variety of hardwood. Just like seasonings, I think post-oak compliments the meat well while not over-powering it.
If you want less smoky flavor, fruit woods are great. If you want more smoky flavor, nut woods work well.
My favorite grill or smoker to use is my Weber Kettle. It’s the easiest to grab, setup, and put to use right away. I’ve also been testing and using the Slow N’ Sear attachment and have been quite happy with the results.
The first step is to get the smoker up to temperature. I typically start with 12-15 lit coals that I bank off to one side on the Slow N’ Sear and then fill the rest of the charcoal basket with unlit charcoal – the lit charcoal will ignite the unlit charcoal over time.
However if I didn’t own the Slow N’ Sear, I’d use a charcoal arrangement like the charcoal snake (learn more by clicking here); Both methods work super well and can maintain 250F for several hours.
Note: There are a few different ways to make smoking on a charcoal grill possible.
I typically use a charcoal chimney to light my charcoal, however, I didn’t have any firelighter and I didn’t feel like using the chimney.
I just decided to use my hand-held butane torch to light a few of the coals. I then covered the lid and allowed the partially lit charcoal to self-ignite the unlit charcoal; This process took roughly 20 minutes.
Note: At this point both the intake damper and exhaust vent were completely open just to start the fire.
When I came back to the smoker, it was up in temperature – roughly 300F and I adjusted my vents accordingly. I closed the exhaust damper half way and then closed the intake so that it was about 1/4 open. I also filled the water reservoir with a quart of water – a benefit of a water pan is that it can help to keep temperatures stabilized. However, it’s entirely up to you if you want to use one.
Note: A big reason I like smoking with the Weber kettle is that if the grill happens to spike in temperature, simply opening the lid allows all the heat to escape. Granted, this adage applies: If you’re lookin’ you ain’t cookin’.
After doing the adjustments above and waiting 15 minutes, the grill was at 400F over my fire (the lid thermometer and exhaust damper are oriented incorrectly on the Weber kettle – especially for smoking), which I know is roughly 250F in the cool zone – which is where the chuck roast will be placed.
This is illustrated below, the meat is placed in the zone opposite of your fire which is the “indirect” zone – convection heat.
I then placed a large post-oak chunk over the lit coals and allowed that to smolder.
After the above process – roughly 30-40 minutes – I then took the chuck roast out of my fridge and then placed it in the cool zone on the smoker (opposite of the fire).
A lot of websites will tell you to “let the meat come up to room temperature” before placing it on the smoker, however I’ve never noticed a difference.
The chuck roast went on my smoker at 11:15 am.
After smoking for an hour, I went back outside to check-in on progress. I added another post-oak wood chunk to the fire and went back inside.
At this point I’m only adding a wood chunk every hour for three hours; This is more than adequate in terms of adding smokiness to the Poor Man’s Brisket.
The biggest thing I watch for are color changes on the meat – this more so comes from experience. The surface will almost look like it’s burned but it’s not, this is bark formation, which is what you’re after.
However, if you’re a beginner, you can pull the chuck roast to wrap at an internal temperature between 150 – 160F.
Just like brisket, chuck roast can be wrapped to speed up the cooking process. A chuck roast isn’t a large cut of meat (2-3 lbs vs 8-20lbs for brisket) and won’t stall for nearly as long as brisket.
With chuck roast, I’ll typically wrap in two layers of aluminum foil just to blow past any sort of meat stall and to accelerate the cooking process.
A lot of recipes tell you to add beef broth to the wrap, however, in my opinion this isn’t necessary.
This is also another reason I opt to only use USDA choice-grade or higher. The rendering of fat and the subsequent moisture build-up in the wrap will result in more than enough liquid. Meaning, you do not need to add beef broth for “extra beef flavor.”
Chuck roast is similar to brisket and will typically finish between 195F to 205F.
The first hour after wrapping, the internal temperature at the thickest point was 178F. An hour later, the internal temperature was 198F.
Keep in mind, meat is considered done based on probe tenderness. Meaning, if the internal temperature was 198 F and there was resistance as I inserted the probe, the meat is not considered done. I’d continue to leave the meat on the smoker until the probe feels like it’s sliding through hot butter.
In this case, the chuck roast was finished at 198F at 4:45 pm.
While the above will take experience in terms of sensory queues like touch, a good internal temperature to shoot for is 203F; As a beginner, this is an okay stopping point.
Overall time on the smoker was 3 hours unwrapped and 2 1/2 hours wrapped.
After taking the chuck roast off the smoker, I left it wrapped in aluminum foil and put it on a baking sheet in order to rest in my oven.
Unlike brisket, you don’t have to rest chuck roast for a long time. A rest of 30 minutes is more than adequate to allow the temperature to come down. Brisket usually takes around 2 hours to come down to slicing temperatures.
I personally think the barbecue community is super anal about their rest times. From the way you’re supposed to rest (the container/apparatus), the length of time you’re supposed to rest, the temperature you’re suppose to rest to, etc; It’s all super nuanced.
However, if this is you, don’t fret. Rest in your oven for 30 minutes and if the internal temperature has settled to 165F, you can feel free to slice.
I have an entire article that goes over meat grain structure but to summarize:
That’s it.
Some recipes will tell you to make an indicator cut into the meat before-hand to tell yourself later where/how to slice. However, with chuck roast you already have so little meat, I don’t find this idea particularly fruitful.
Even for this smoke when I went to slice, I actually sliced with the grain on my first cut, which wasn’t a problem. I ate the piece that was cut incorrectly, changed the orientation of the meat and then sliced the meat in the correct direction.
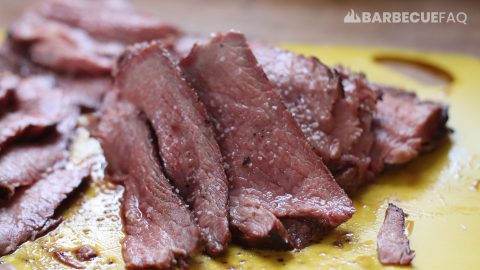
The grain direction of chuck roast can be sort of hard to determine, however, this picture of a rump roast cut both ways is useful for comparison with your own slices.
If you slice and the “grain” or “lines” run parallel like the top, switch the orientation of the meat so that you’re slicing perpendicular. Even when cooked, the direction of the grain on the chuck roast will be readily apparent.
In my opinion, slicing against the grain is a super important part of the eating experience.
In my opinion, no.
Properly smoked brisket and it’s rendered pillowly fat is really hard to beat. However, chuck roast is probably the closest alternative to brisket – especially in terms taste and texture.
The biggest benefits of “poor man’s brisket” is that it costs way less than brisket and it’s a lot less of a time investment.
Awesome Recipes
Thanks for the comment Floyd! Happy to help!
This recipe has helped me alot
Happy to help Roy!