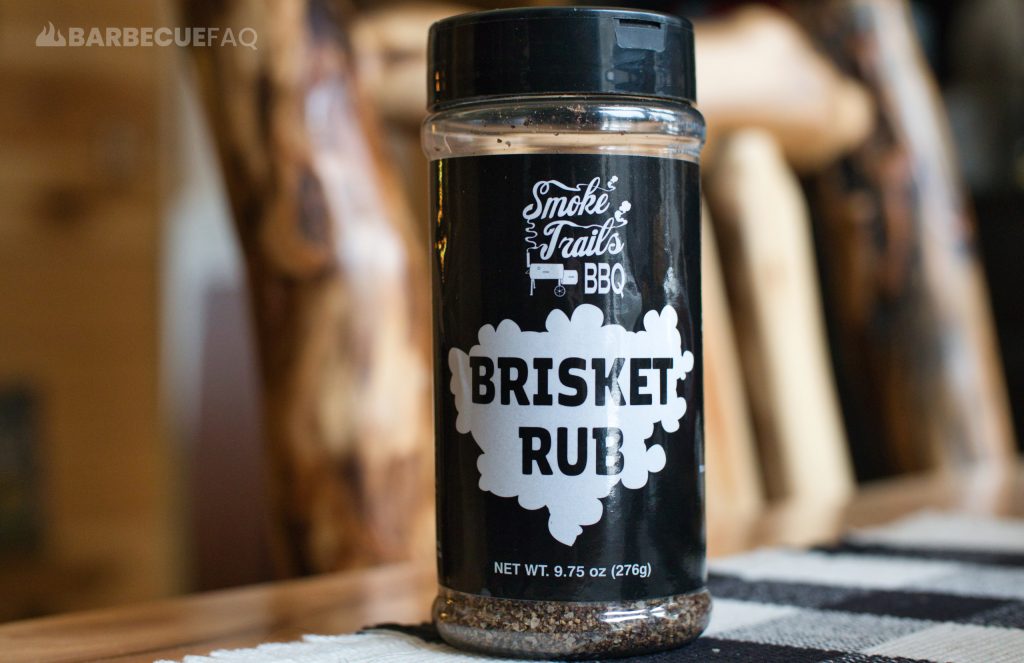
Your favorite Rubs are actually using a form of “Brownulated” sugar, not regular brown sugar.
This type of brown sugar:
- comes out the shaker bottle (and your fingers) easier,
- doesn’t clump,
- has a brown sugar, caramel taste without being bitter,
- is sweet but not too sweet,
- mixes better with other ingredients
If you’re trying to copy cat your favorite BBQ Rub, this is just one thing that most people get wrong.
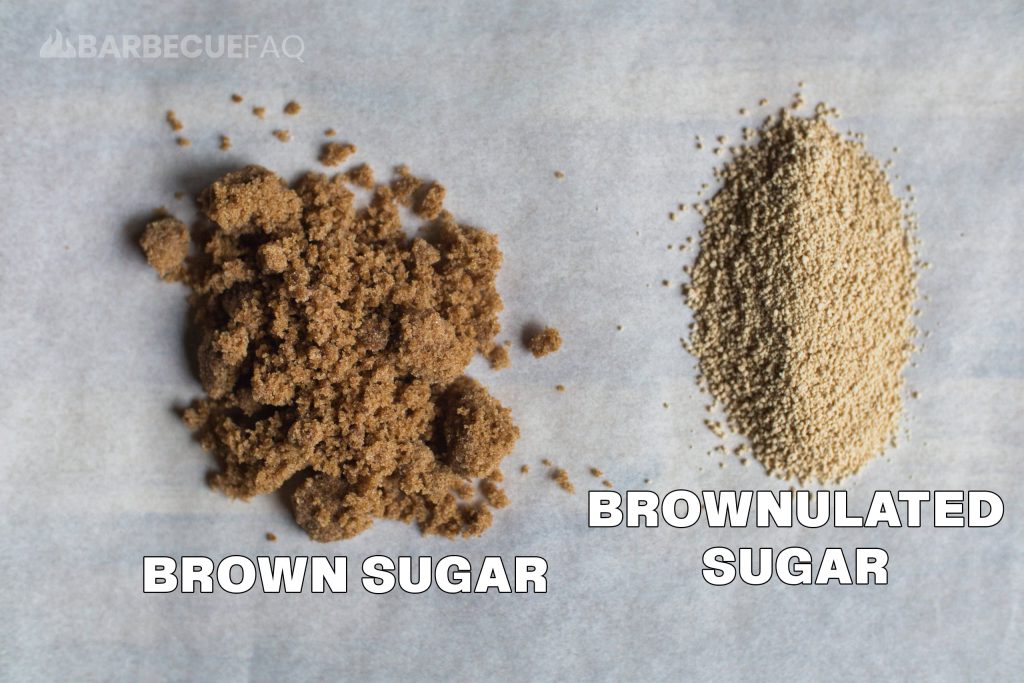
Comparing “Brownulated” Sugar to the Brown Sugar You’re Familiar With
The most obvious difference is their texture and form.
- Brownulated sugar is dry and…granulated.
- Regular brown sugar is moist and sticky.
If you make your own BBQ Rubs, you know that over time the regular brown sugar will clump and turn into a brick.
You basically have to:
- Find a way to re-hydrate it
- Break the block of rub
- Throw it out
Since brownulated sugar is dry – like regular white sugar – this doesn’t happen.
When handling regular brown sugar, you know it tends to cling to your hands, work surface, etc. This same sort of thing happens with your rub ingredients.
Meaning you can’t really season as evenly as you’d like.
This is why I use the granulated versions of garlic and onion in rubs. They mix with other ingredients far better than the powders.
Powders are also far stronger.
Brownulated sugar will mix with the rest of the ingredients, letting the rub season your food more evenly.
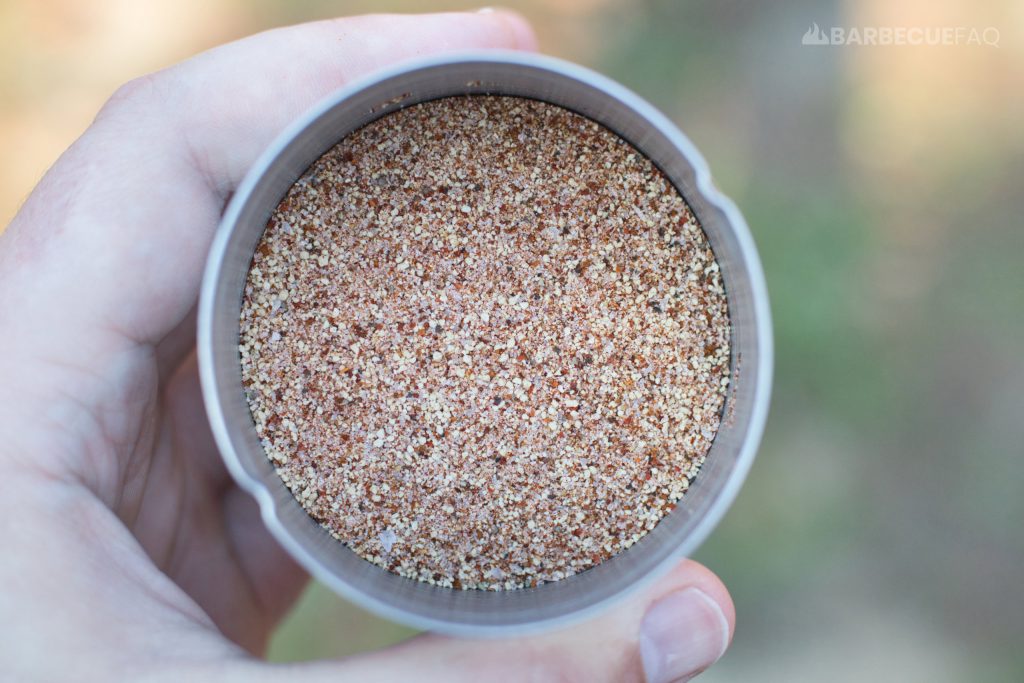
This is also why a lot of people will salt their food first and then season with other ingredients second.
Salt tends to dissociate from other ingredients,.
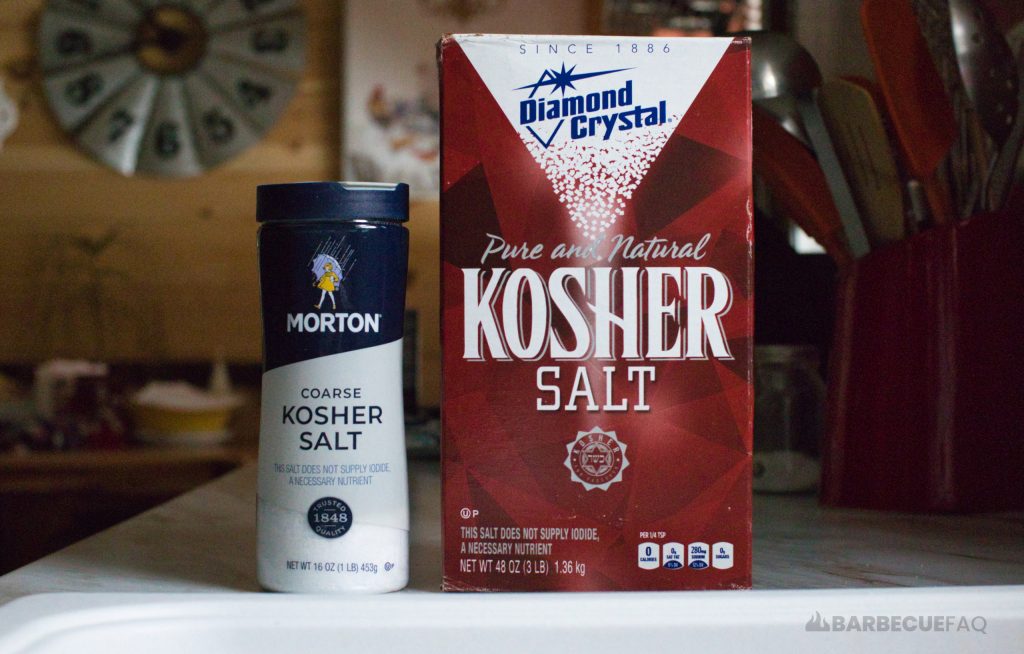
Which is why I tend to use Diamond Crystal kosher salt in my rubs (it mixes better) and Morton’s when I’m just salting something (it’s cheap).
There is Really No Taste Difference
They both taste like molasses.
BUT your measurements matter because there’s far more “brown sugar” in regular brown sugar.
So 1 tbsp of brownulated sugar =/= 1 tbsp of light brown sugar.
To compensate for this, your favorite rubs will use multiple “types” of sugar:
- Brownulated for the molasses-caramel-like flavor with some sweetness
- White sugar for just a pure sweet note
- Turbinado sugar for a more subtle sweet flavor and larger granule size
- etc.
If you’ve never experimented with different types and forms of sugar in your BBQ rubs, I’d strongly urge you to test for yourself.
Dylan, I Don’t Have Brownulated Sugar and I Don’t Want to Buy It
So there’s 2 ways that I’ve experimented with – in both cases I’d still rather just buy Brownulated sugar though.
1. Mix Your Rub Together and then Filter Through a Mesh Sieve
This helps to reduce clumping and more evenly distributes the brown sugar in the rub.
BUT once you combine it, if you start applying tons of pressure OR leave it in the container for too long, it will still dry out.
This method works fine for day-of use but is not sufficient long-term.
2. Combine the Light Brown Sugar with Your Salt and then Dehydrate for 1 hour
So this could be kosher salt, sea salt, regular table salt, etc. Whatever your rub recipe calls for.
Ensure it’s well combined with your sugar.
Pre-heat your oven to 170F OR the lowest temperature setting.
If your oven can only go to around 200F, crack the door with a wooden spoon to help keep the temperature down.
Then grab a baking sheet, and lay out some parchment paper.
Spread the salt and brown sugar mixture onto the parchment paper in a thin layer and try to break up any pieces of brown sugar that are clumped.
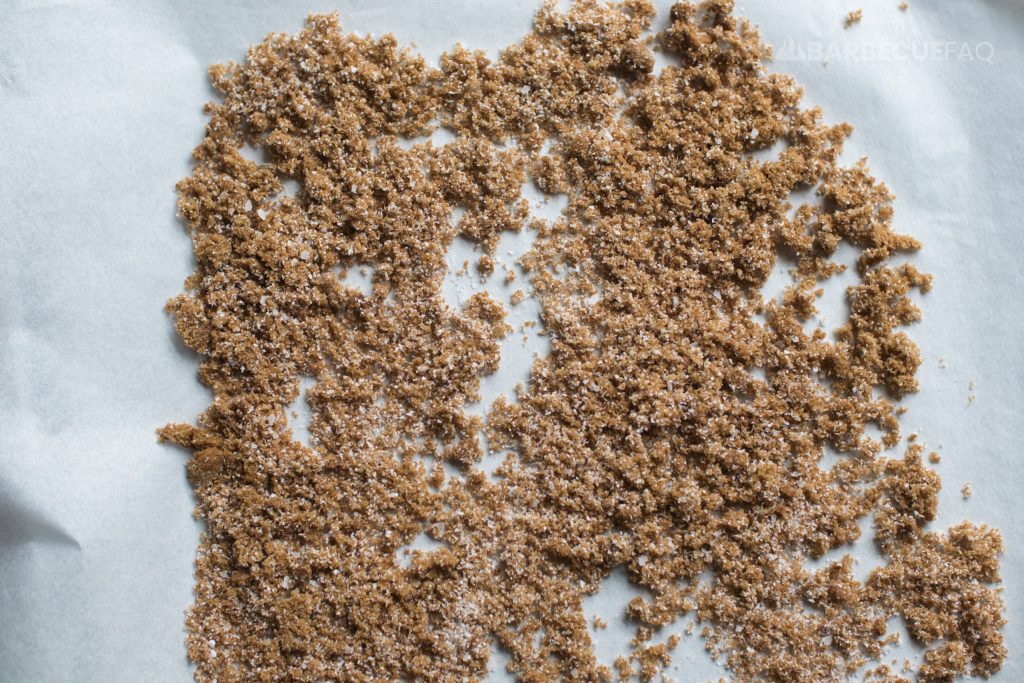
Once at temperature, bake for 1 hour.
The reason for drying the sugar with the salt is so that the sugar doesn’t form into 1 solid sheet.
Once dry, allow to cool and then break up and filter through a mesh sieve.
You now have a form of brownulated sugar + salt that won’t harden as easily and will mix better with your other rub ingredients.
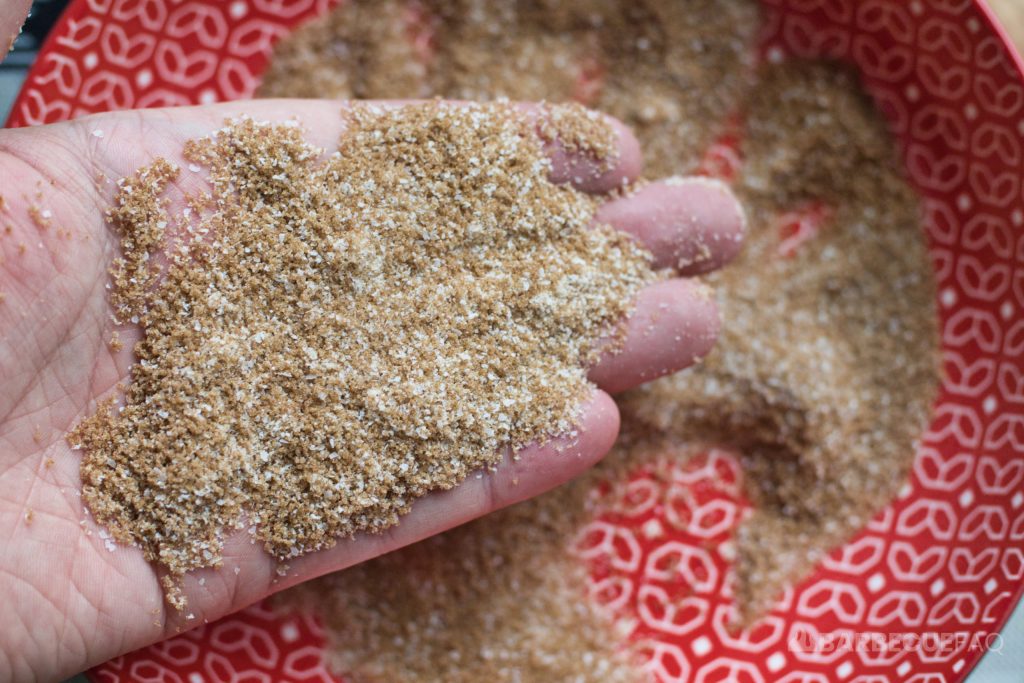
Why I Still Don’t Care For the 2nd Method
Even though you’ll get sugar that is granulated, you’ll also get rock hard pieces that won’t mix.
This is why mixing well and spreading it thin and breaking up clumps is important.
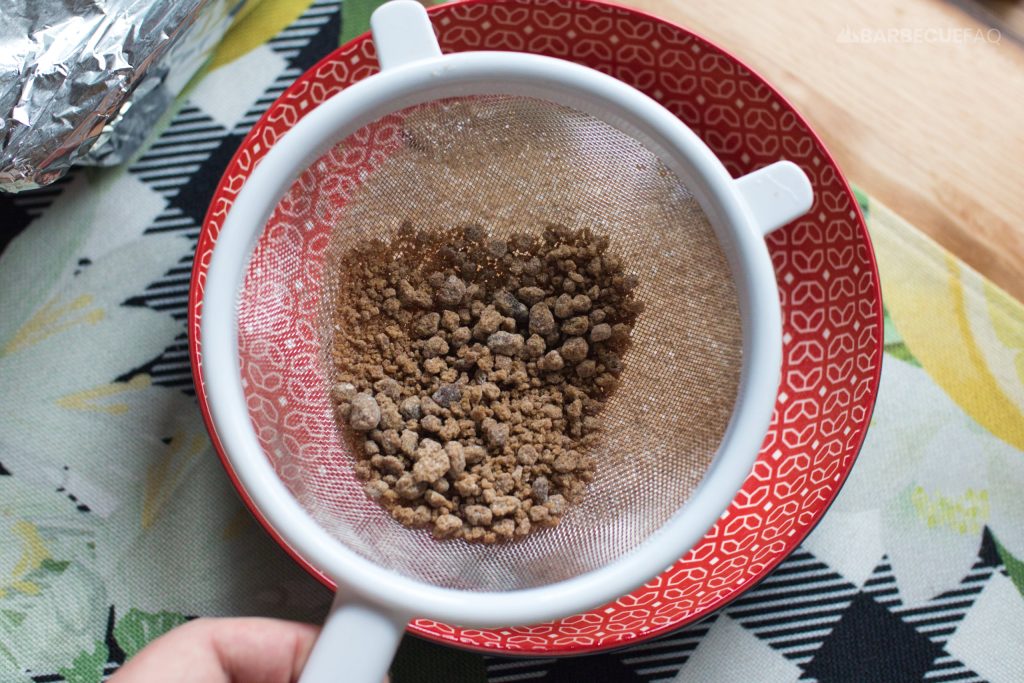
I even worked the salt in for 5 minutes and broke up as many clumps as I could.
The rub now won’t taste as sweet and will be salty since we’re missing brown sugar.
To your rub, add some white sugar to help compensate and add sweetness.
Note: We started with 1/2 cup dark brown sugar and 2 tbsp of diamond crystal kosher salt.
I’d say we ended with like 1/4 cup brown sugar.
I’d add around 1-2 tbsp of white sugar.


