To preface this article: If you’re looking up information on how to get a better crust on your steak, there are certain trade-offs you’ll have to accept.
For instance, if you prefer “wall-to-wall” slices at a specified finishing temperature, you’re better off sous-viding or reverse searing your steak.
While these methods allow for consistency in terms of finishing temperatures, they don’t really build a crust that’s worth mentioning.
However, if you love everything that comes with textural differences in steak – like the crust – then be sure to follow-along.
1. Thicker Steaks Will Build Better Crusts
1.5 – 2″ thick are best.
The reason for this though has everything to do with internal temperature.
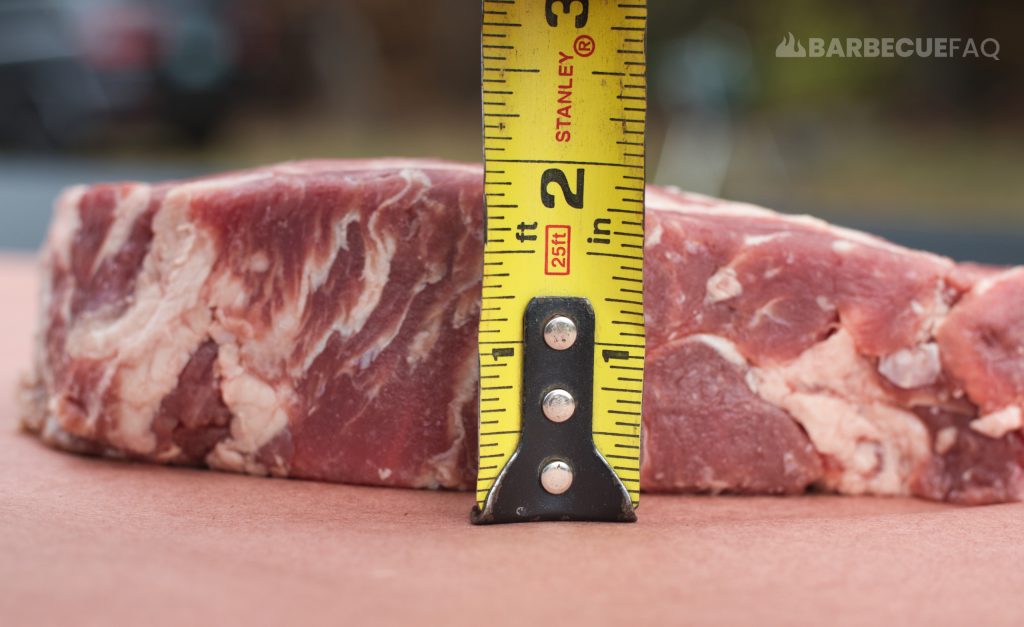
If your steak is too thin, by the time you build a decent crust, the internal temperature has likely overshot your desired internal temperature range.
Steak Thickness and Finishing Temperatures
My preferred finishing temperature for steak is around Rare/Medium-rare; If the thermal center can fall within this range, I’m happy.
What I’ve found is that if I attempt to build a thicker crust on a thinner steak (1 inch or less), I’ll overshoot my finishing temperature every single time.
Here’s a 1 inch ribeye steak at roughly 120F internal:
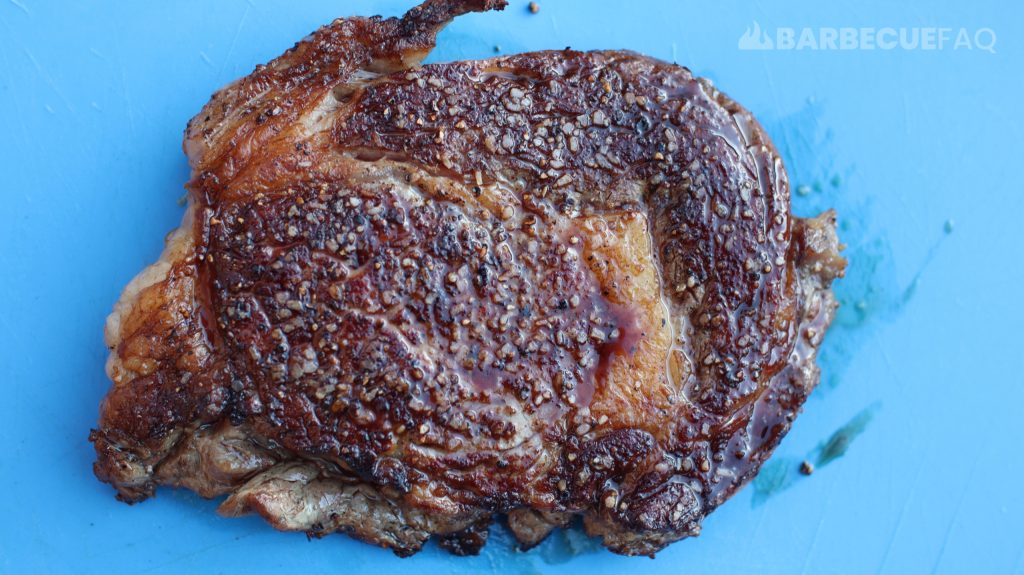
This concept is why I prefaced the article the way I did; A thicker crust won’t result in perfect “wall-to-wall” doneness.
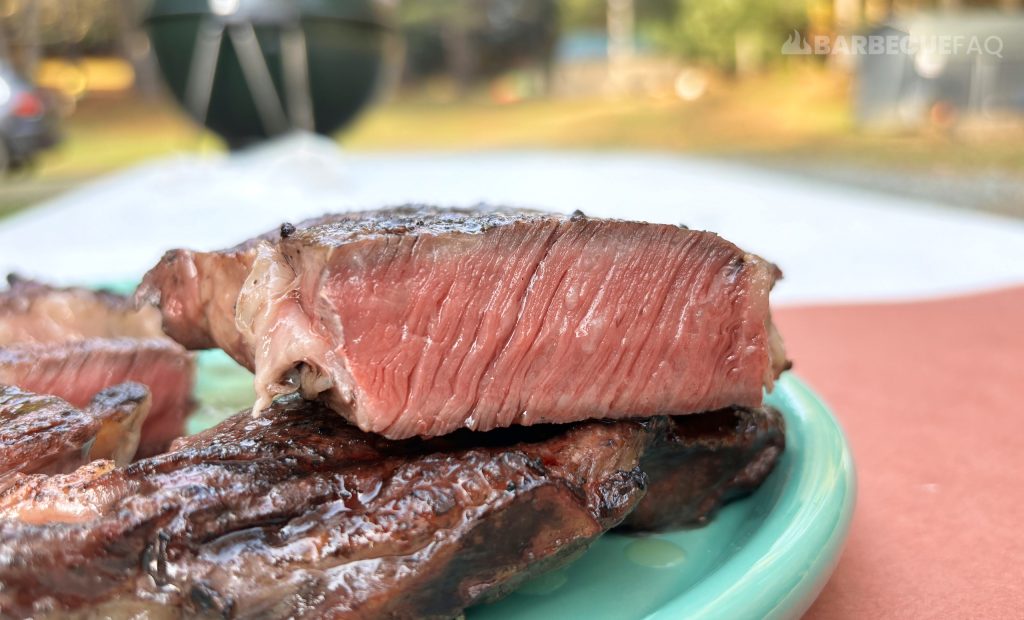
Instead, you’ll get a crunchy, dehydrated, flavorful exterior that will have a gradient in terms of finishing temperature, pictured below:
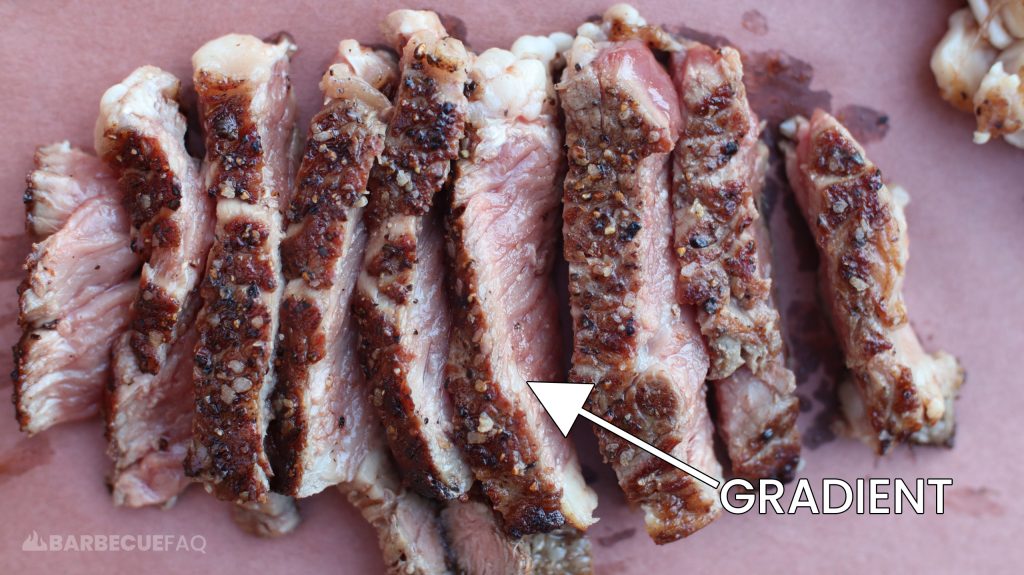
Meaning, the meat closest to the crust may be well-done, but as you get closer to the thermal center, it’s rare or medium-rare.
Personally, with steak I want:
- A crust that’s developed a browned color with extreme depth of flavor, while also offering a textural difference (crackly/crispy).
- I then want meat that’s tender and juicy – which medium-rare offers.
I’d take a steak with a crust over perfect wall-to-wall doneness any day of the week.
You could opt to temper the steak at room temperature for an hour+ or so but even still, you’ll still get a slight gradient and potentially less of a potato chip crust.
What’s Considered Too Thick?
With all that said, a “steak” that is too thick (2+ inches) will build a crust that’s too thick or may even burn before you reach your internal temperature target.

You also will have a greater “gradient”, which isn’t desirable, as it’s likely raw in the center.
These “steaks” would more appropriately be called roasts.
So anything over 2 inches, treat like a roast.
2. Use an Oil to Sear With
There are a couple of different reasons we use oil to sear with.
Namely, oils have a better heat carrying capacity than air.
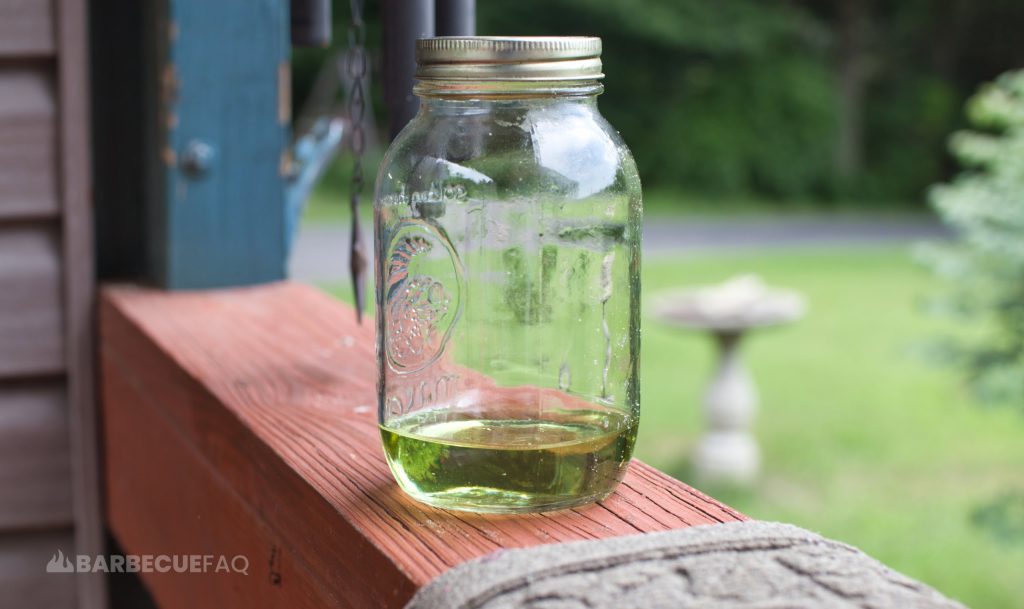
Meaning, the oil will conduct heat from the skillet to the steak way better than air ever could. The oil also increases the surface area of the steak in contact with the heat.
Heat has a direct impact on the maillard reaction (the browning) and how fast it occurs.
The issue with most liquids though is that they vaporize below the temperature that maillard reactions are optimized (285F).
This is why you can’t sear with water (boiling point 212F) – and why you need an oil with a high “smoke point.”
Use a High Smoke Point Oil
To list the common cooking oils and their smoke points:
| Type of Fat | Smoke Point | Is it Neutral? |
|---|---|---|
| Refined Olive Oil | 465°F/240°C | Yes |
| Vegetable Oil | 400-450°F/205-230°C | Yes |
| Beef Tallow | 400°F/205°C | No |
| Canola Oil | 400°F/205°C | Yes |
| Grapeseed Oil | 390°F/195°C | Yes |
| Butter | 350°F/175°C | No |
| Extra-Virgin Olive Oil | 325-375°F/165-190°C | No |
Information Source: The Professional Chef, Culinary Institute of America (CIA), Pg. 232-233
Personally, I find grapeseed oil works best – it’s smoke point is roughly 390F and it’s also neutral, meaning it won’t affect taste; It’s also quite cheap.
3. A Hot Cooking Surface
While I love cooking steaks on my charcoal grill with the reverse sear method, I find that I get a much better crust when I use my cast-iron skillet.
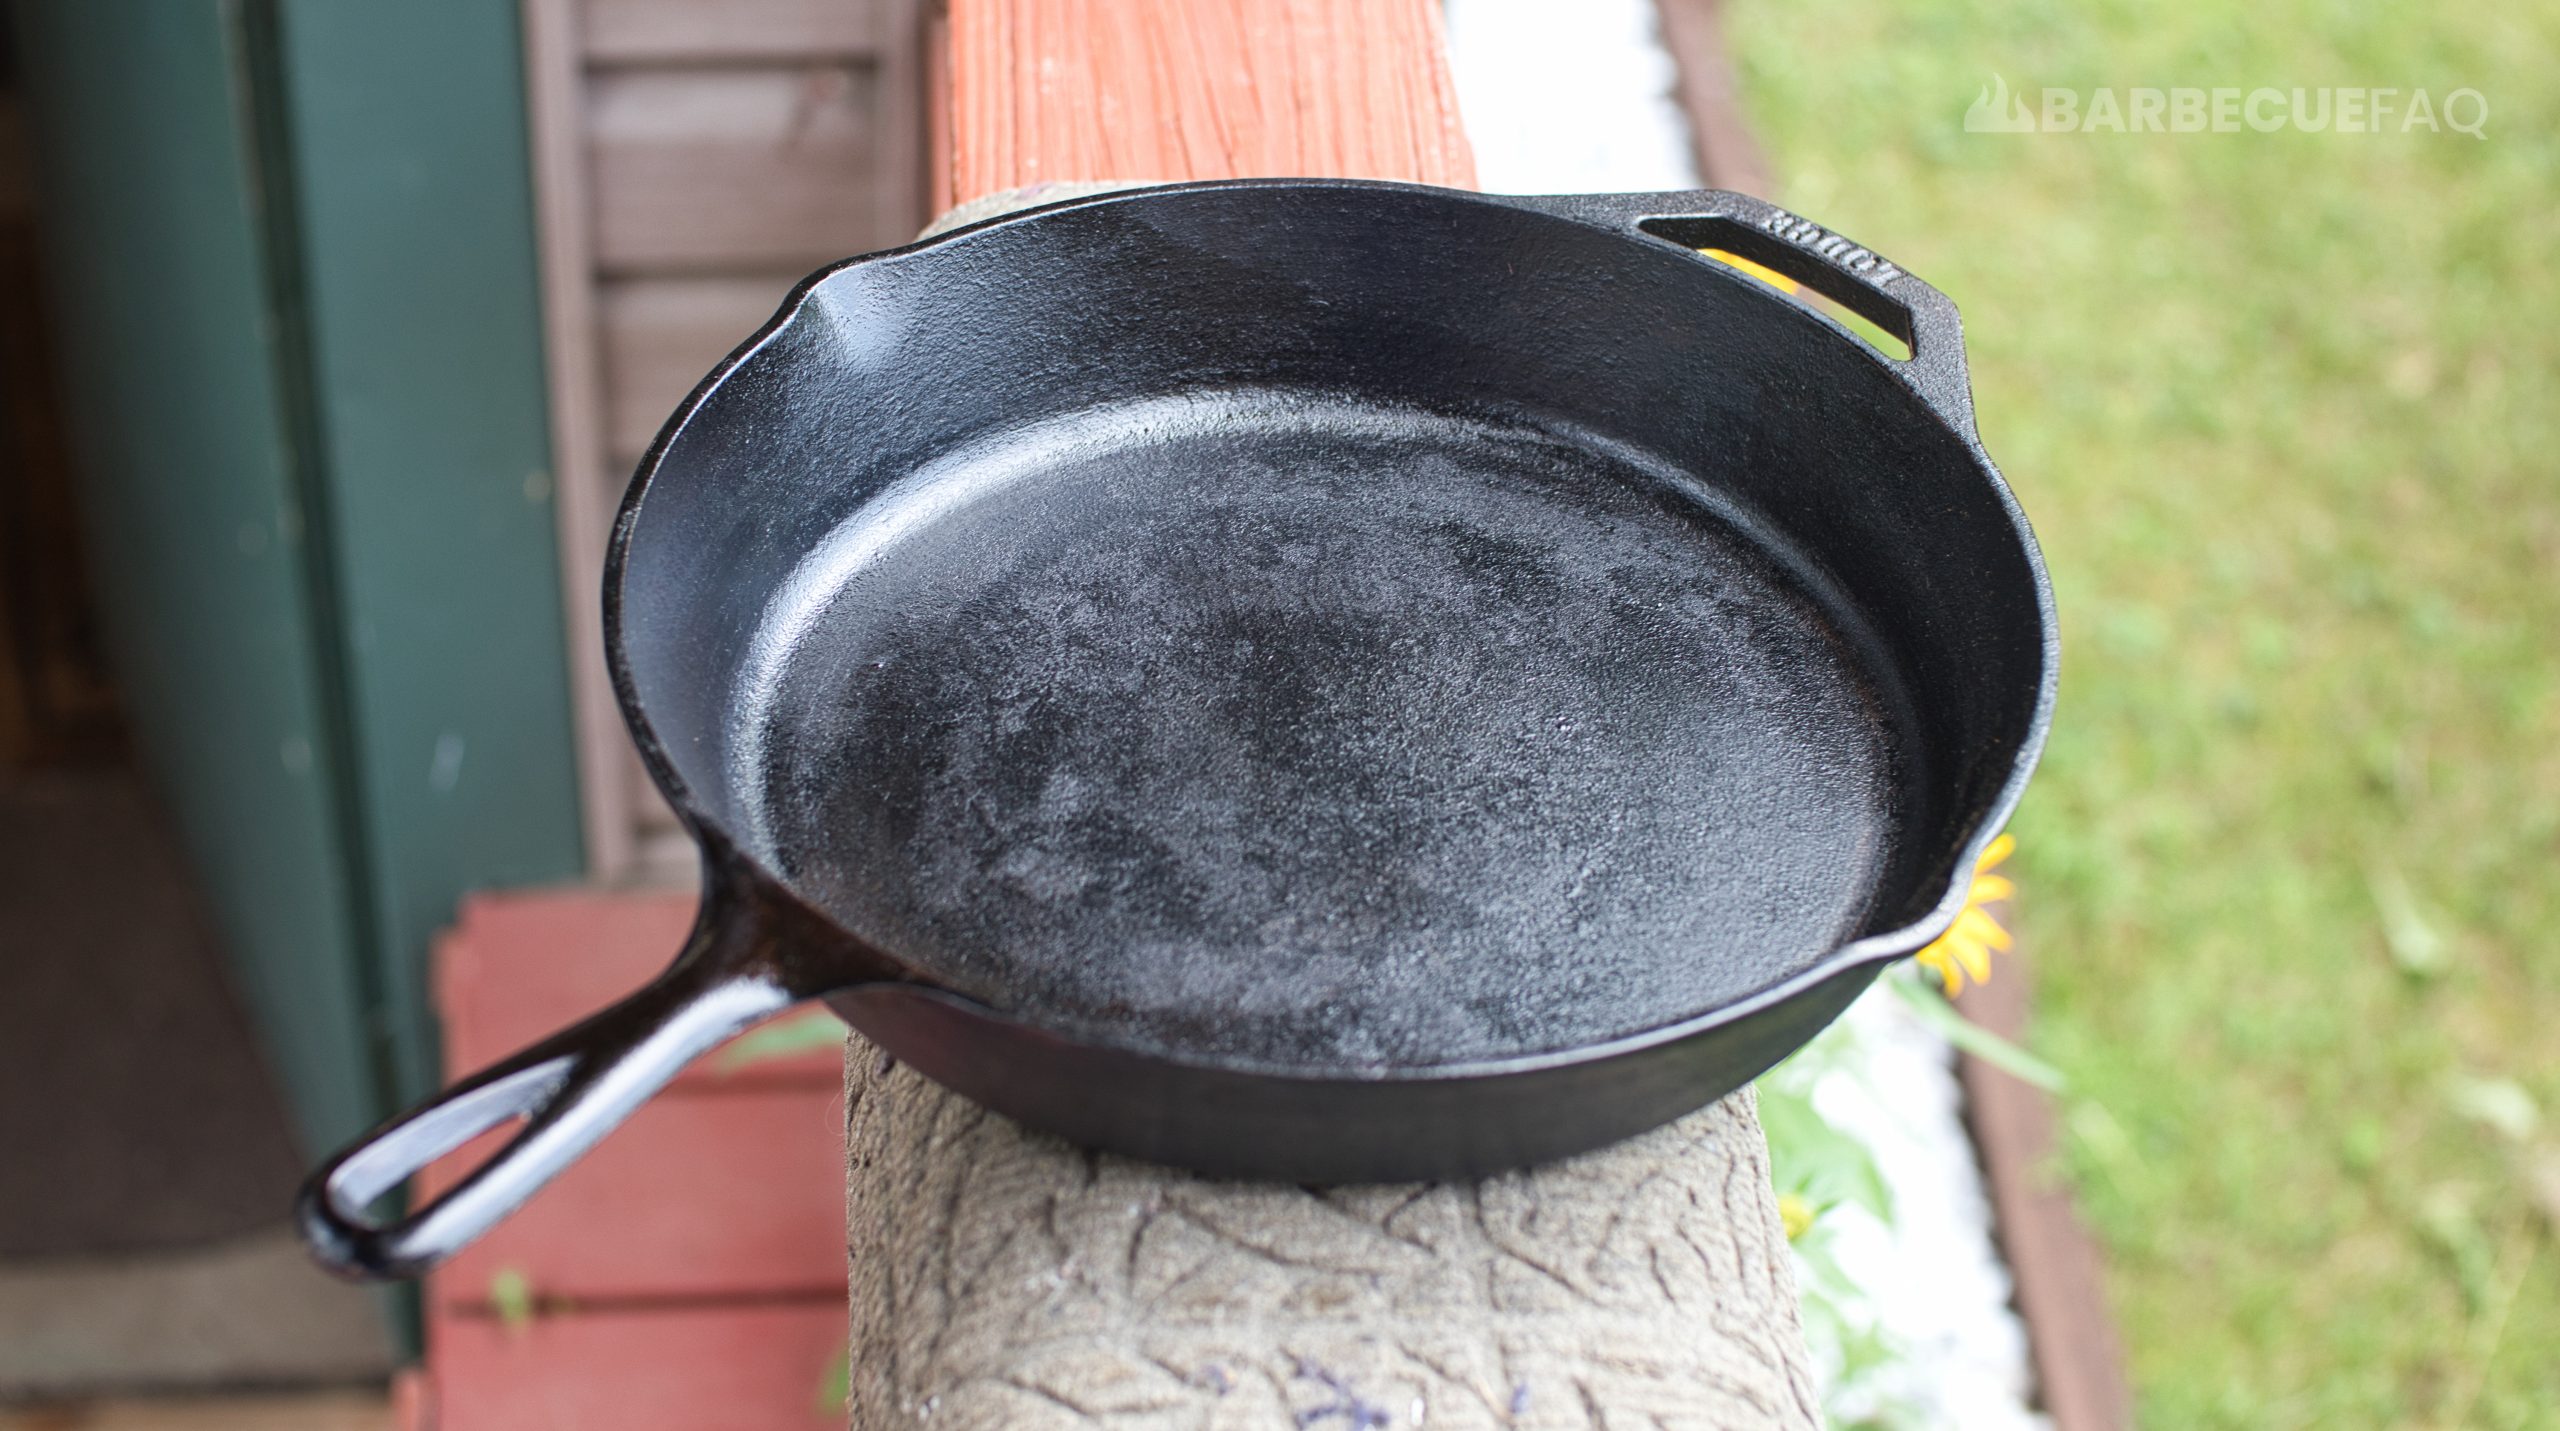
With that said, they are also 2 different eating experiences.
Food cooked on a charcoal grill offers flavor that you simply can’t achieve with cast-iron and vice versa.
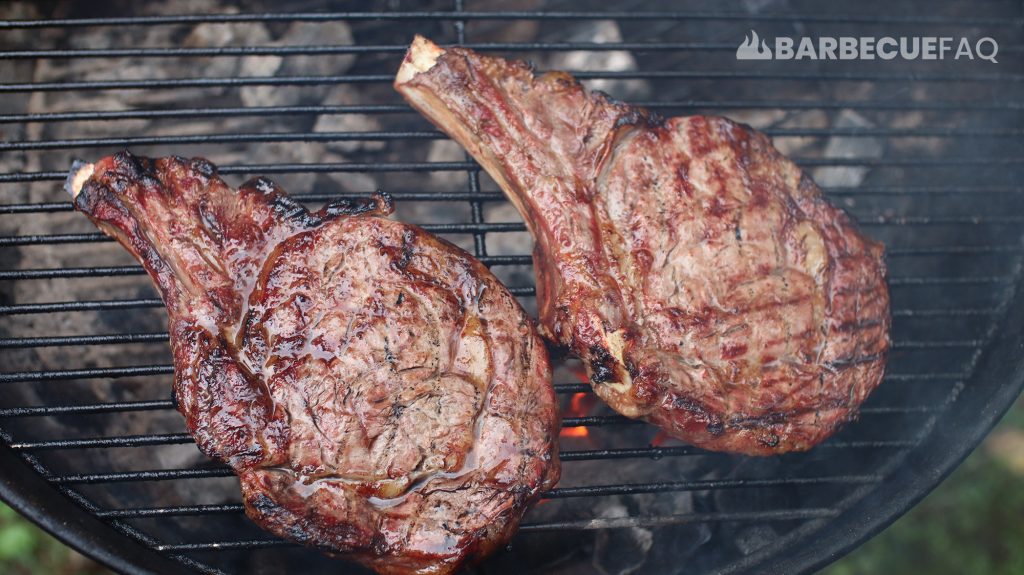
The biggest reason people use cast-iron is because it heats evenly and also retains heat for a long time.
My Dad always taught me: Hot pan, cold oil.
Meaning, you get your pan hot and then add your oil.
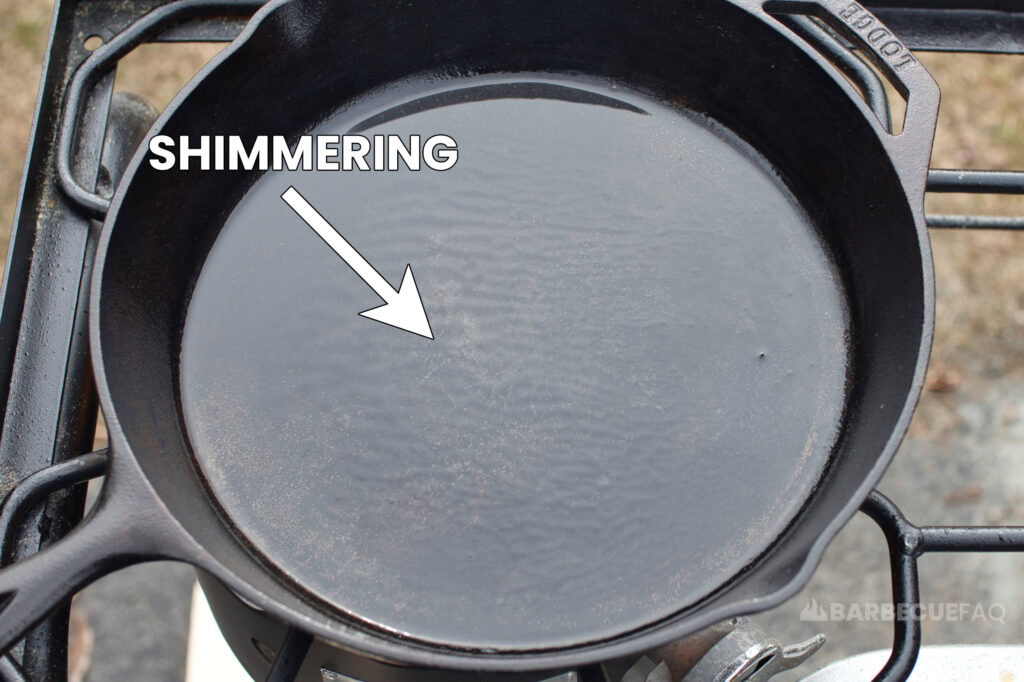
You then want to wait for the oil to almost become mirror-like on the surface of the pan or what I call a “shimmer.”
At that point you place your steak on the oil.
When initially placing the steak in my cast-iron, I like to lightly tap on the surface of the steak just to ensure there is even contact between the meat and the cooking surface.
Note: Lots of newbies mistakenly believe they need to get their skillet as hot as physically possible.
“Rippin'” hot is NOT the goal – roughly medium-high is perfect.
Making your skillet as hot as possible will cause the seasoning on your skillet to reach its smoke point and you’ll likely burn the steak, which isn’t the goal.
We want browning, not burning.
4. Pat Dry the Steak Before Seasoning
This is because the water needs to vaporize before it can sear and it will lift the steak from the cooking surface.
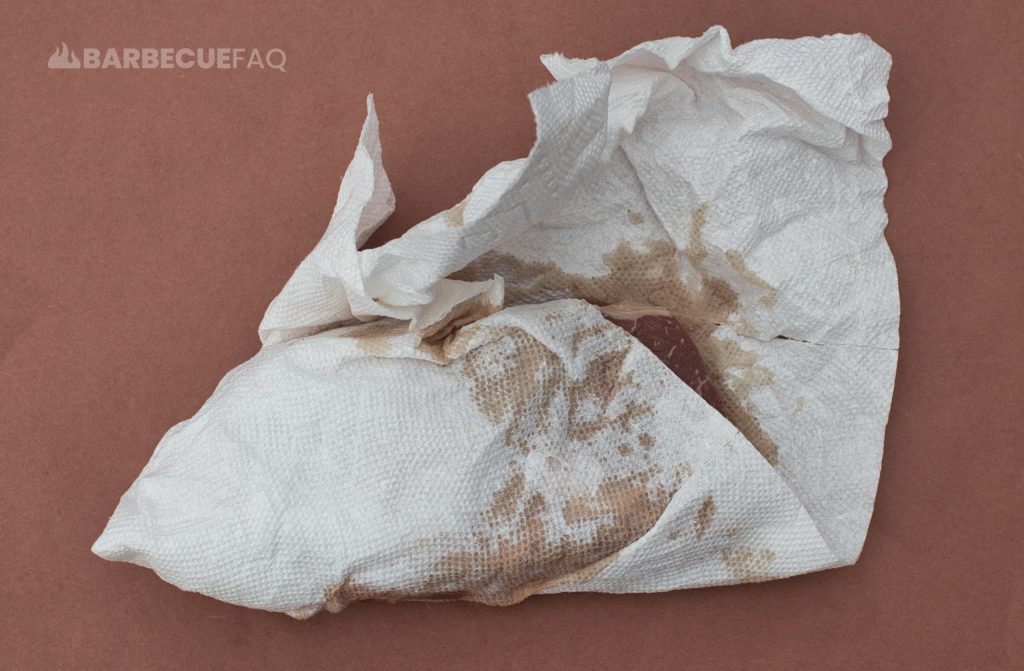
By drying the surface first, we also give the kosher salt less free-moisture to use so that it doesn’t breakdown and dissolve.
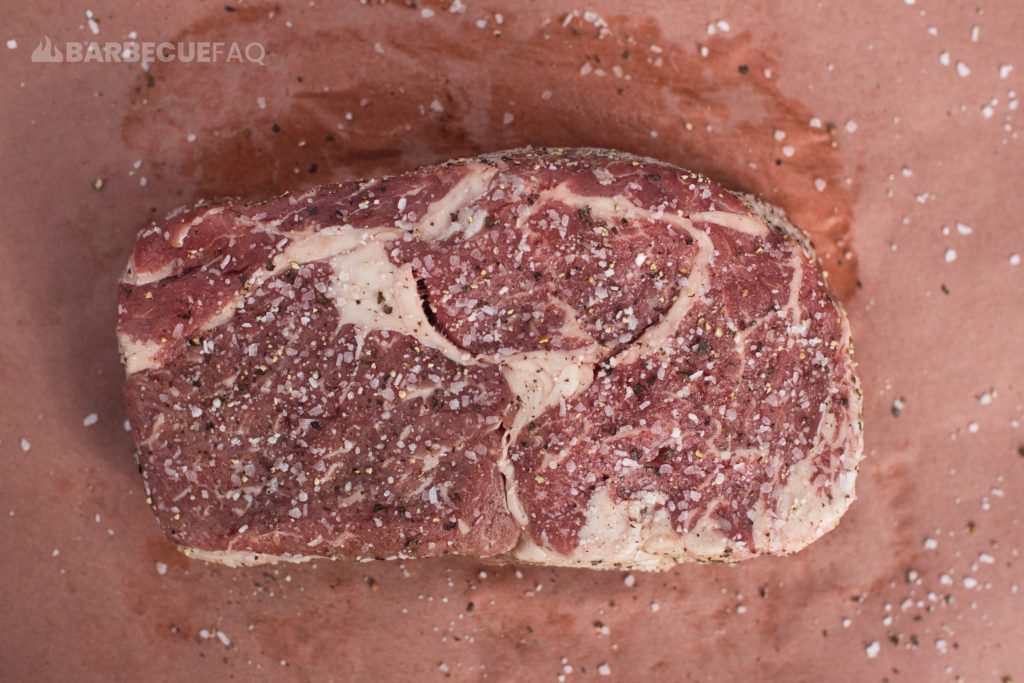
OR you could opt to dry-brine – but do so a day in advance.
If you don’t give the steak enough time to dry brine, it will simply pool moisture on the surface of the meat and it will be much dryer after sitting in your refrigerator overnight.
5. Add Butter to Baste With
Butter is made from the fat and protein components of churned cream.
It’s comprised of milk fat, water, and milk solids; The milk solids are the protein component and what browns.
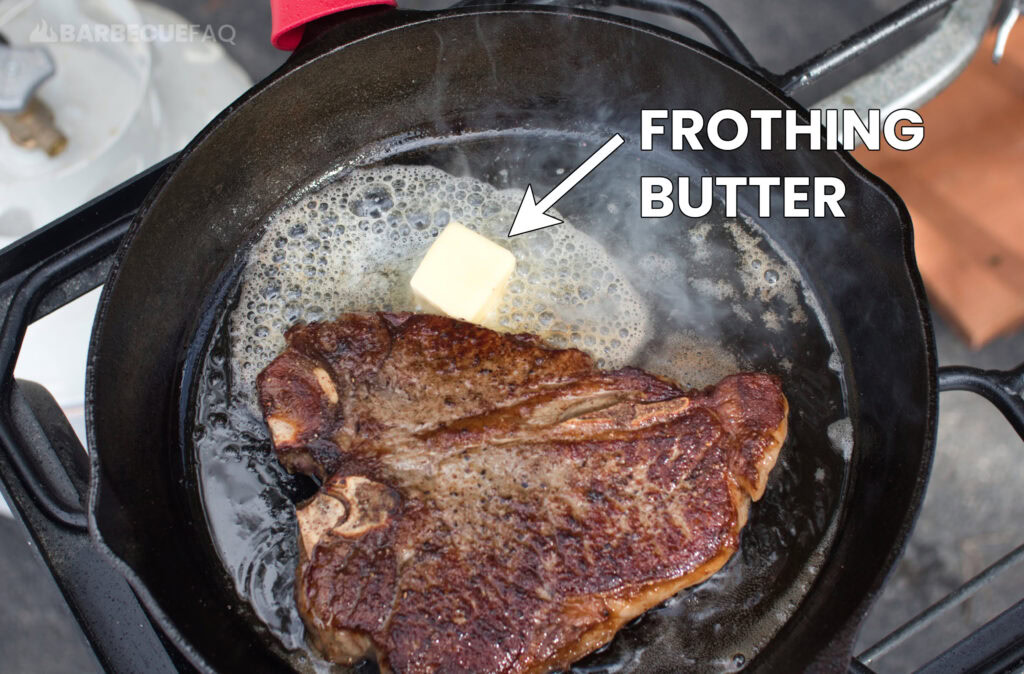
The butter adds complex flavors and a desirable, almost potato chip-like crunch to the exterior of the meat.
Butter baste at the end, ensure you’ve dropped the heat to low before adding your butter as you want it to froth (above), not brown.


