By Dylan Clay
My favorite techniques for building a better steak crust are:
All of these concepts are explored in detail below.
To preface this article: If you’re looking up information on how to get a better crust on your steak, there are certain trade-offs you’ll have to accept.
For instance, if you prefer “wall-to-wall” slices at a specified finishing temperature, you’re better off sous-viding or reverse searing your steak.
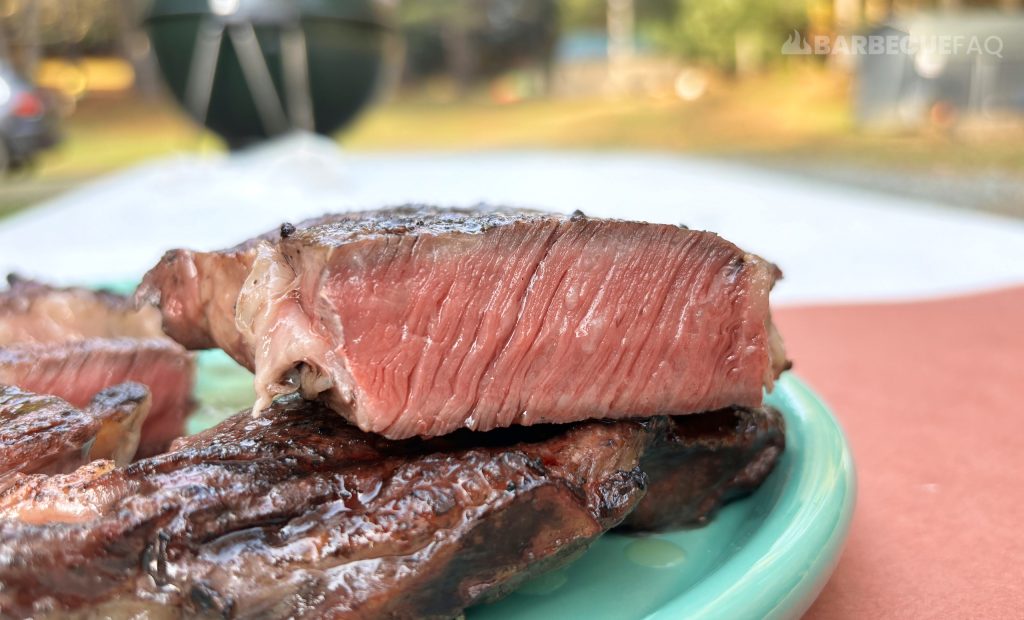
While these methods allow for consistency in terms of finishing temperatures, they don’t really build a crust that’s worth mentioning.
However, if you love everything that comes with textural differences in steak – like the crust – then be sure to follow-along.
Before diving into how to achieve a better crust on your steak, I thought it might be worthwhile to explain what the crust actually is.
The brown crust that forms on the surface of steak is the result of chemical reactions known as the Maillard reactions – which occur between amino acids (proteins) and simple sugars (fructose, lactose, and one form of glucose).
These reactions aren’t specific to steak – so long as there are proteins, sugars, and high-heat, maillard reactions will occur.
These reactions will start to occur rapidly at temperatures above 285F – this is the same reason boiled meat doesn’t brown and why you sear meat prior to stewing it.
The maillard reactions can still happen well below the boiling point of water, only at a much slower rate.
The result of the Maillard reactions are new flavors, aromas, and colors (browning) – all of which result in a markedly improved eating experience.
Thicker steaks will build better crusts – plain and simple.
The reason for this though has everything to do with internal temperature.
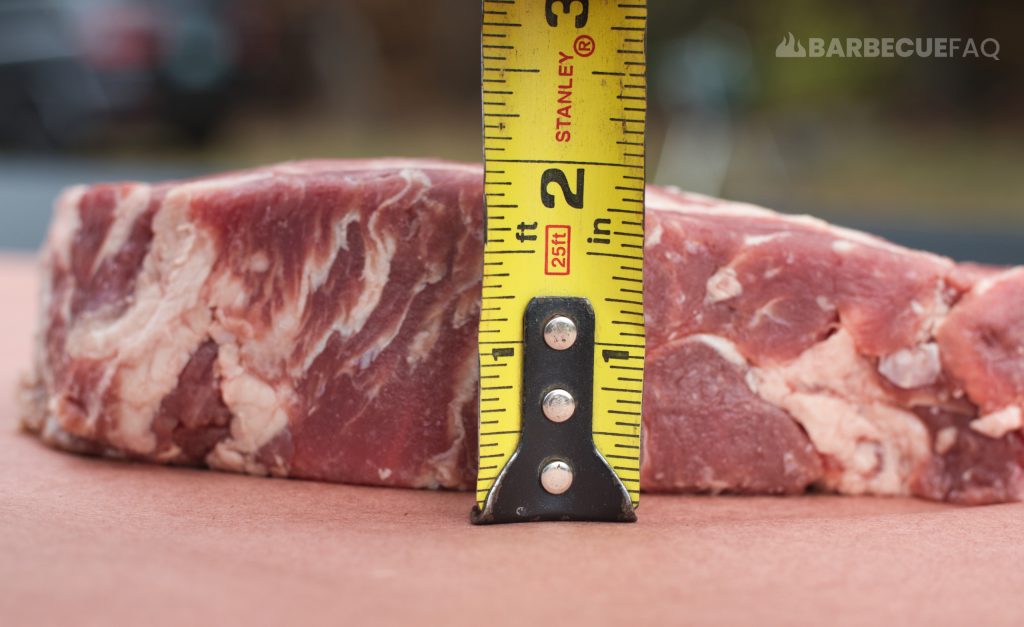
If your steak is too thin, by the time you build a decent crust, the internal temperature has likely overshot your desired internal temperature range.
For me, at a minimum I look for 1 inch thick beef steaks; Again though, the thicker the better (1.5 – 2 inches).
My preferred finishing temperature for steak is around Rare/Medium-rare; If the thermal center can fall within this range, I’m happy.
What I’ve found is that if I attempt to build a thicker crust on a thinner steak (1 inch), I’ll overshoot my finishing temperature every single time.
Here’s a 1 inch ribeye steak at roughly 120F internal:
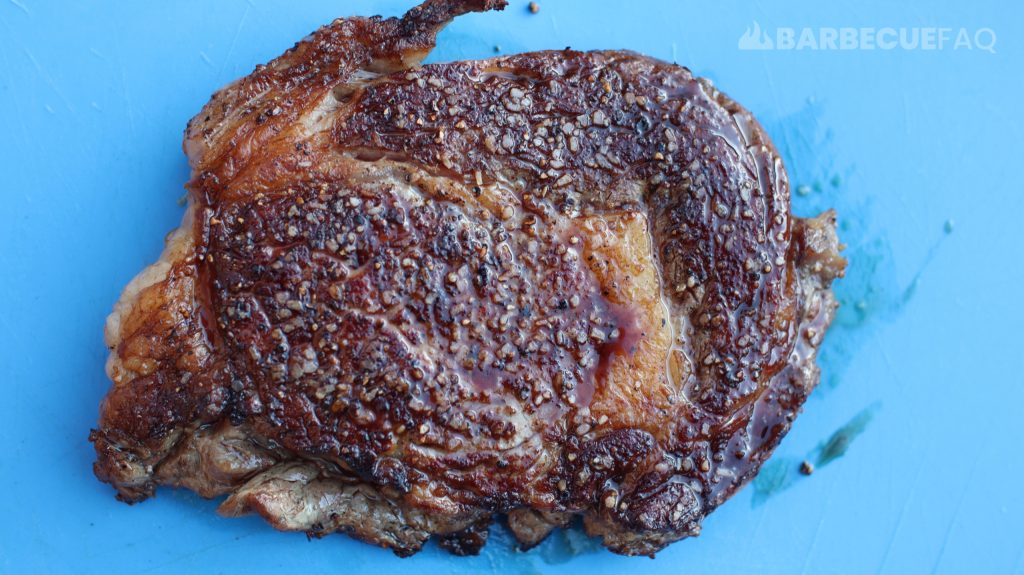
Here’s a 2 inch thick ribeye steak at roughly 120F internal:
As I hope is readily apparent, the 2 inch thick steak has a better crust. The 1 inch thick steak still has a crust, but it’s less substanial.
Note: The intermuscular fat (and the intramuscular fat) was also rendered/melted better in the thicker steak as apposed to the thinner steak.
Meaning, a 2 inch steak can build a thicker crust than a 1 inch steak, while still falling within my preferred finishing temperature range.
This concept is why I prefaced the article the way I did; A thicker crust won’t result in perfect “wall-to-wall” doneness.
Instead, you’ll get a crunchy, dehydrated, flavorful exterior that will have a gradient in terms of finishing temperature, pictured below:
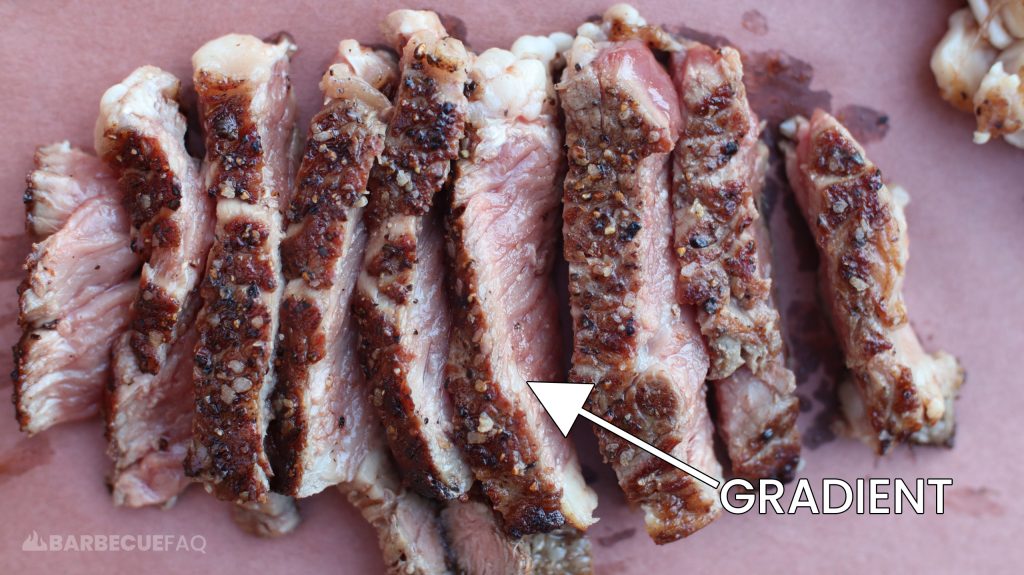
Meaning, the meat closest to the crust may be well-done, but as you get closer to the thermal center, it’s rare or medium-rare.
Personally, with steak I want:
I’d take a steak with a crust over perfect wall-to-wall doneness any day of the week.
With all that said, a “steak” that is too thick (3+ inches) will build a crust that’s too thick or may even burn before you reach your internal temperature target.
You also will have a greater “gradient” of done-ness within the meat, which isn’t desirable.
In my opinion, the goal is to get the steak as brown as possible without burning it.
These “steaks” would more appropriately be called roasts.
For example, prime rib is a roast and ribeye is a steak. Both are technically the same meat from the same beef primal.
With prime rib, People use one of two methods to cook it:
The result is a perfect medium-rare across the entire slice.
Where-as with pan seared ribeye I’m searing the steak and pulling it 5 degrees before it reaches my desired internal temperature. Through carry over cooking, the steak will finish at around medium-rare.
The result is a crunchy crust, followed by a slice that’s a gradient of doneness.
There are a couple of different reasons we use oil to sear with. Namely, liquids have a better heat carrying capacity than air.
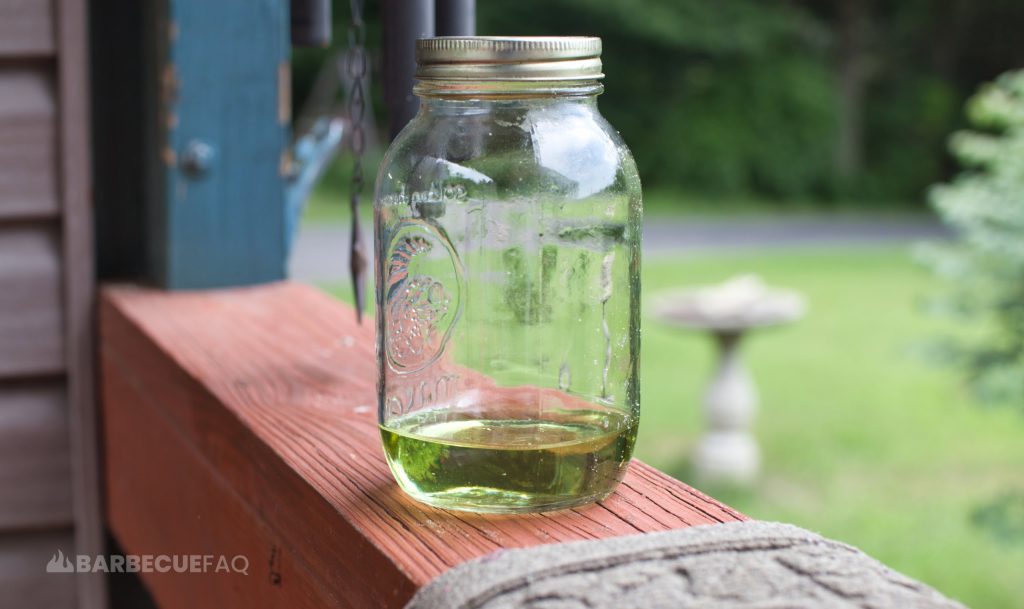
Meaning, the oil conducts heat from the skillet to the steak way better than air ever could. The oil also increases the surface area of the steak in contact with the heat.
Heat has a direct impact on the maillard reaction and how fast it occurs.
The issue with most liquids though is that they vaporize below the temperature that maillard reactions are optimized (285F). Which is also why you can’t sear with water (boiling point 212F) – if anything, if you use water you’re braising/steaming the meat.
Meaning, you need a liquid with a high smoke point.
A popular point of contention in the steak eating world is “smoke point” – All forms of cooking oil will have a smoke point.
Smoke point is not the point at which the oil begins to smoke, it’s the point that the oil smokes continuously; It’s essentially the point at which the fat molecules start to break down at a faster rate.
To list the common cooking oils and their smoke points:
Type of Fat | Smoke Point | Is it Neutral? |
---|---|---|
Refined Olive Oil | 465°F/240°C | Yes |
Vegetable Oil | 400-450°F/205-230°C | Yes |
Beef Tallow | 400°F/205°C | No |
Canola Oil | 400°F/205°C | Yes |
Grapeseed Oil | 390°F/195°C | Yes |
Butter | 350°F/175°C | No |
Extra-Virgin Olive Oil | 325-375°F/165-190°C | No |
Information Source: The Professional Chef, Culinary Institute of America (CIA), Pg. 232-233
With the above out of the way, we can sort of see why lower smoke point oils (like those below 350F) are sort of bad.
For example, I love Extra Virgin Olive Oil (EVOO) for cooking or marinating steak with, however, it’s not a good oil to sear with.
EVOO has a relatively low smoke point, especially in comparison to the searing temperatures you’re going to put your steak through.
What will happen is the EVOO will break down at high temperatures, essentially losing everything that makes it great – namely its phenol and polyphenol composition.
When it reaches its smoke point It will release free radicals as well as a substance called acrolein – which is the chemical that gives burnt food an acrid flavor and aroma.
It’s also the same story with butter. However, I do think butter is great when used to baste with (more on that below).
Personally, I find grapeseed oil works best – it’s smoke point is roughly 390F and it’s also neutral, meaning it won’t affect taste; It’s also quite cheap.
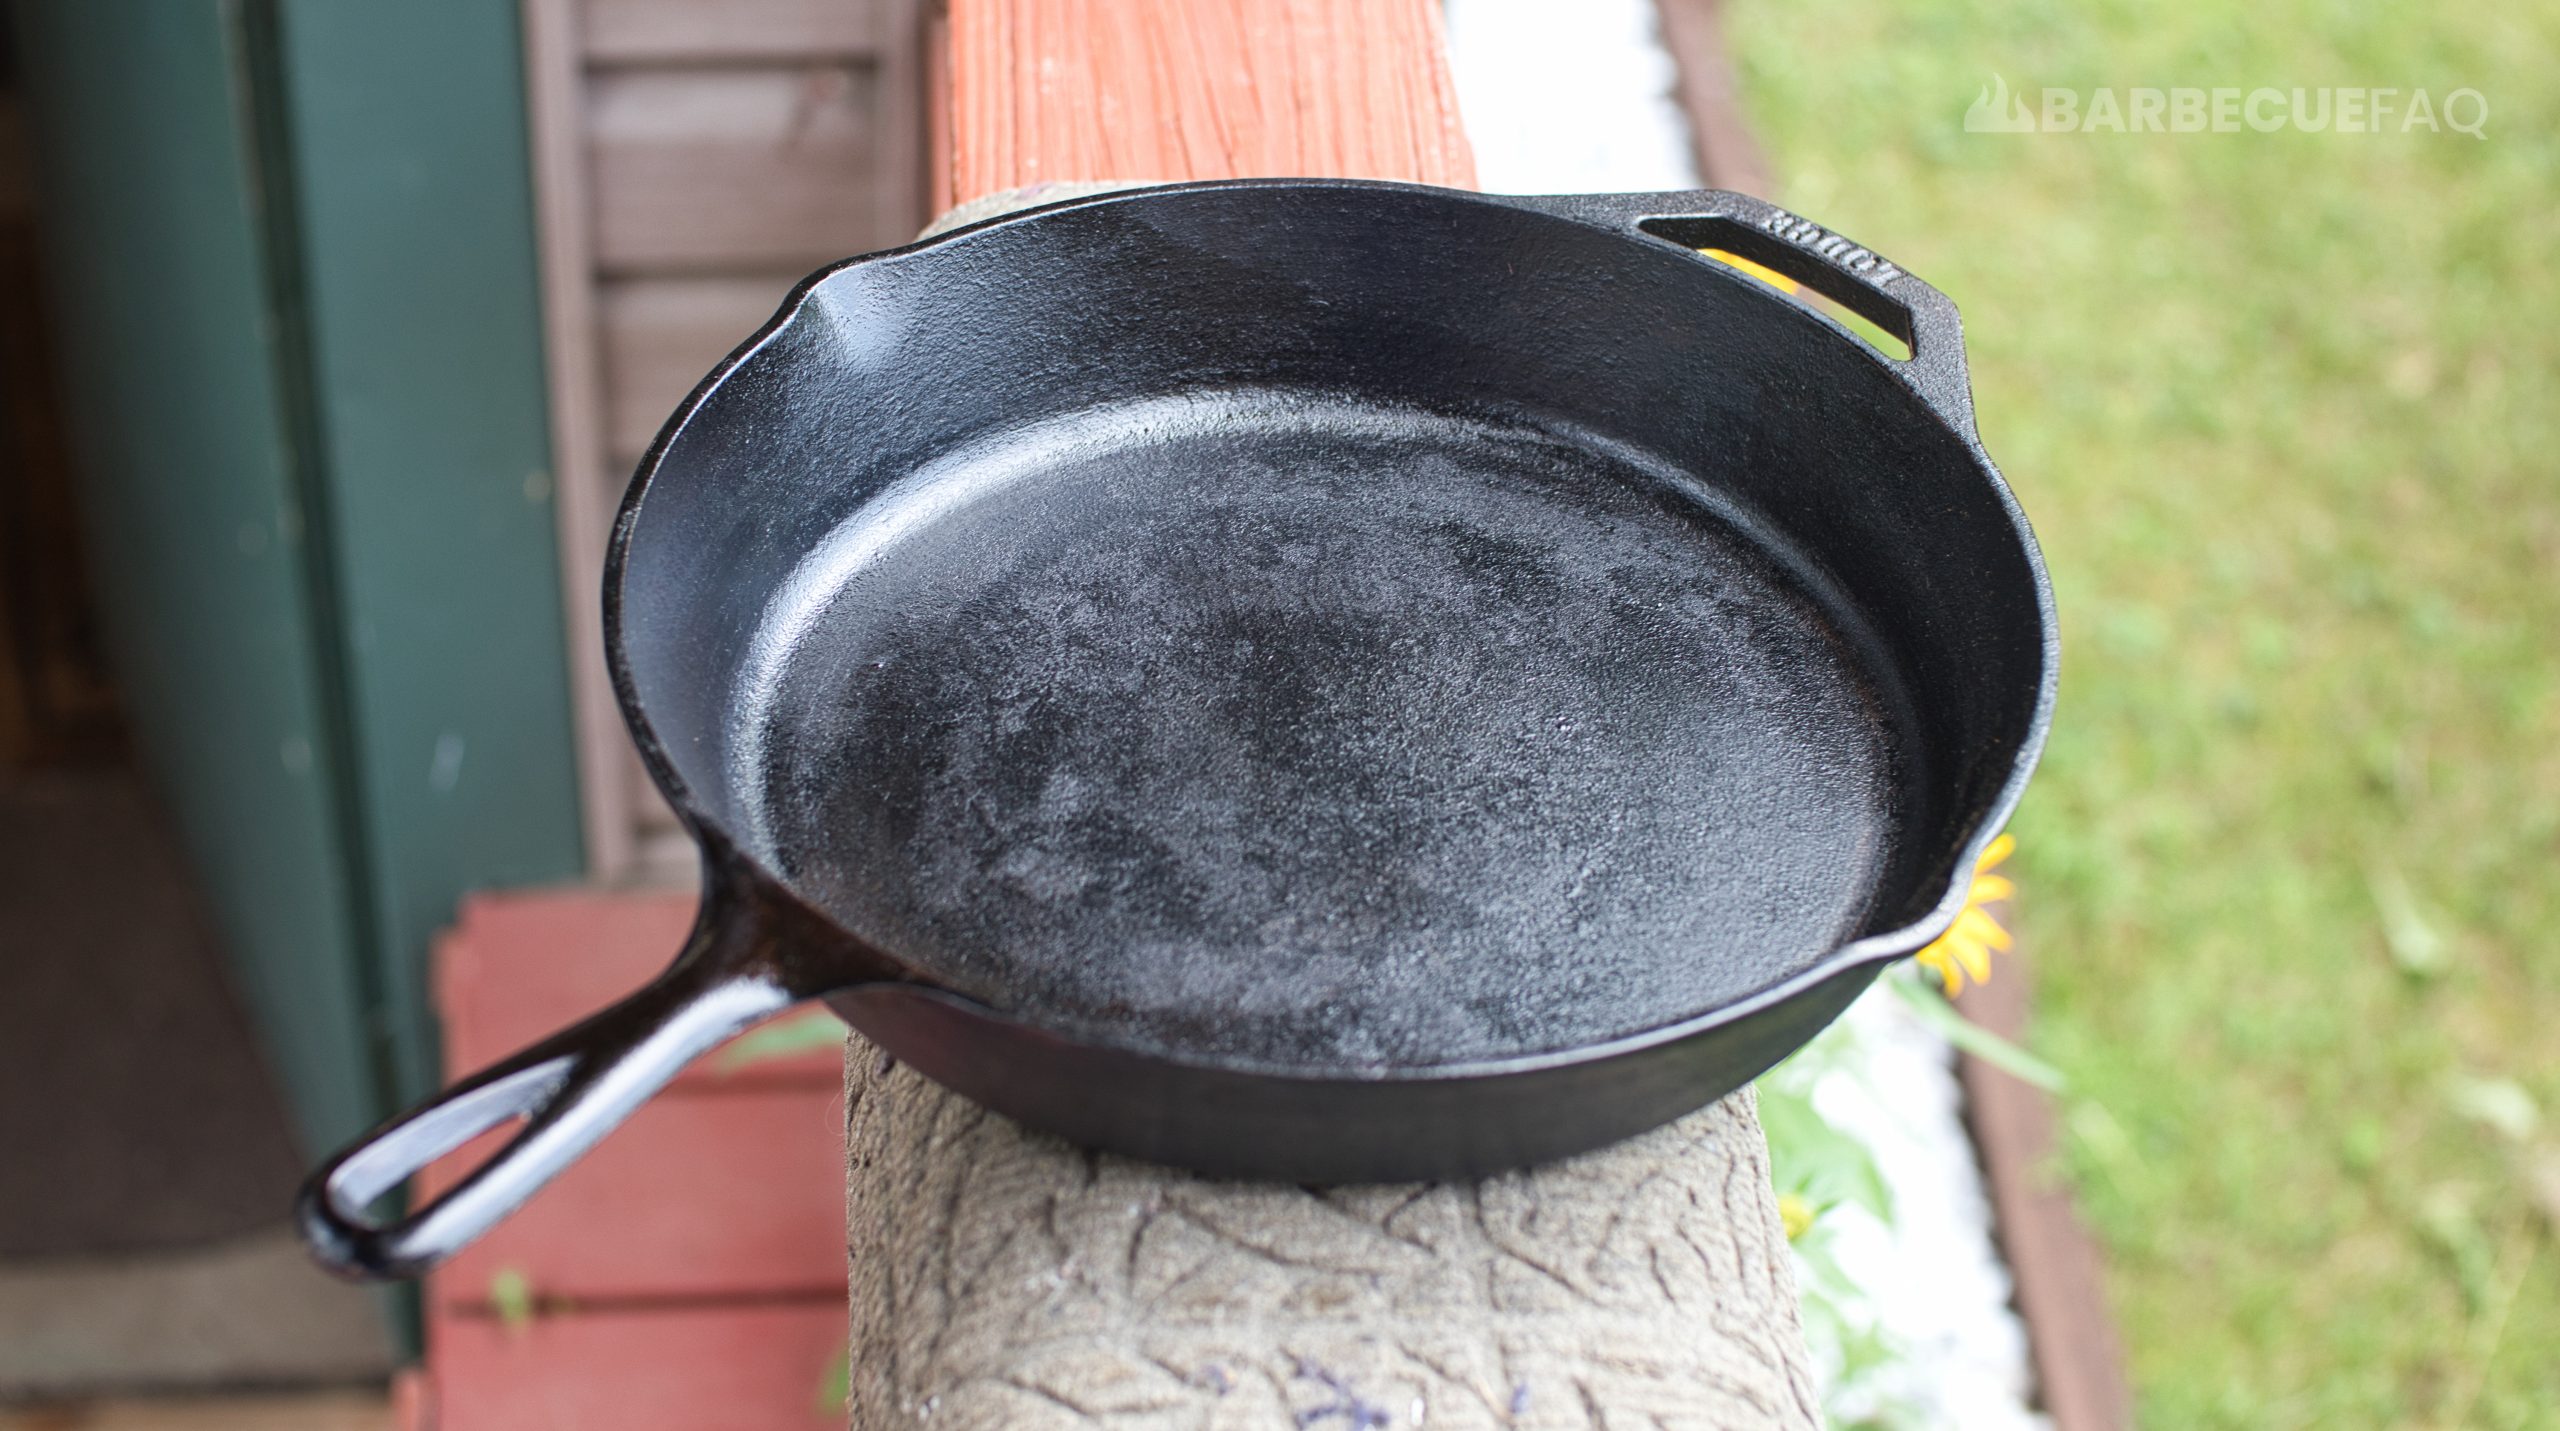
Grapeseed oil is also what I season my cast iron skillets with.
Everyone will have their favorite oil to cook with. My best friend likes Canola oil, my Dad likes Avacado oil. Find a cooking oil you like and stick with it.
While I love cooking steaks on my charcoal grill with the reverse sear method, I find that I get a much better crust when I use my cast-iron skillet or similar flat top cookware.
With that said, they are also two different eating experiences. Food cooked on a charcoal grill offers flavor that you simply can’t achieve with cast-iron and vice versa.
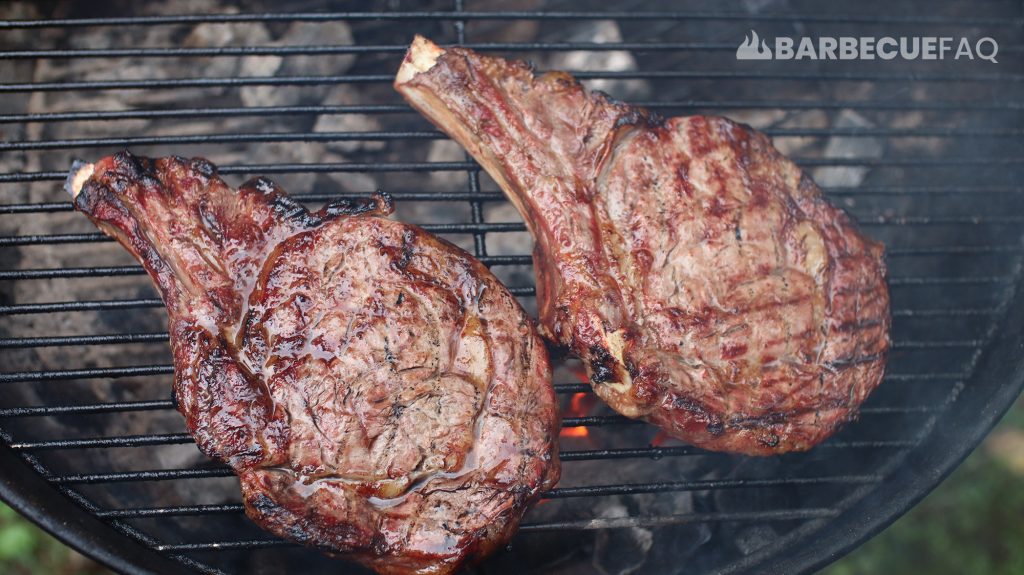
The biggest reason people use cast-iron is because it heats evenly and also retains heat for a long time.
My Dad always taught me: Hot pan, cold oil.
Meaning, you get your pan hot and then add your oil. You then want to wait for the oil to almost become mirror-like on the surface of the pan or what I call a “shimmer”; At that point you place your steak on the oil.
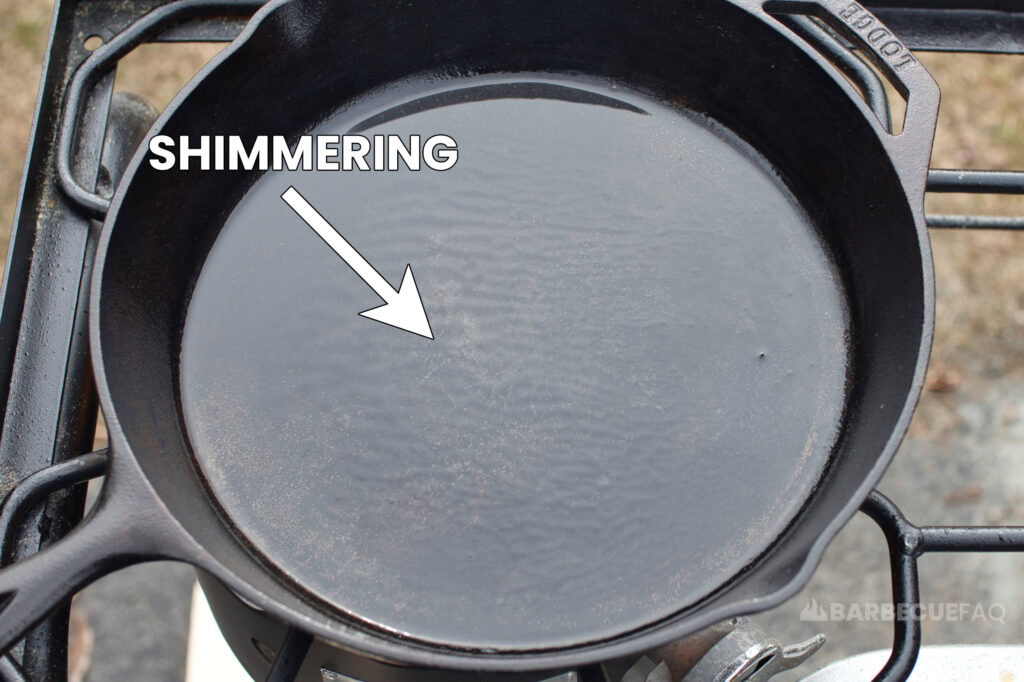
Here’s a picture to see what I mean:
When initially placing the steak in my cast-iron, I like to lightly tap on the surface of the steak just to ensure there is even contact between the meat and the cooking surface.
Note: Lots of newbies mistakenly believe they need to get their skillet as hot as physically possible. As we just learned above, this isn’t the case.
Making your skillet as hot as possible will cause the seasoning on your skillet to reach its smoke point and you’ll likely burn the steak, which isn’t the goal.
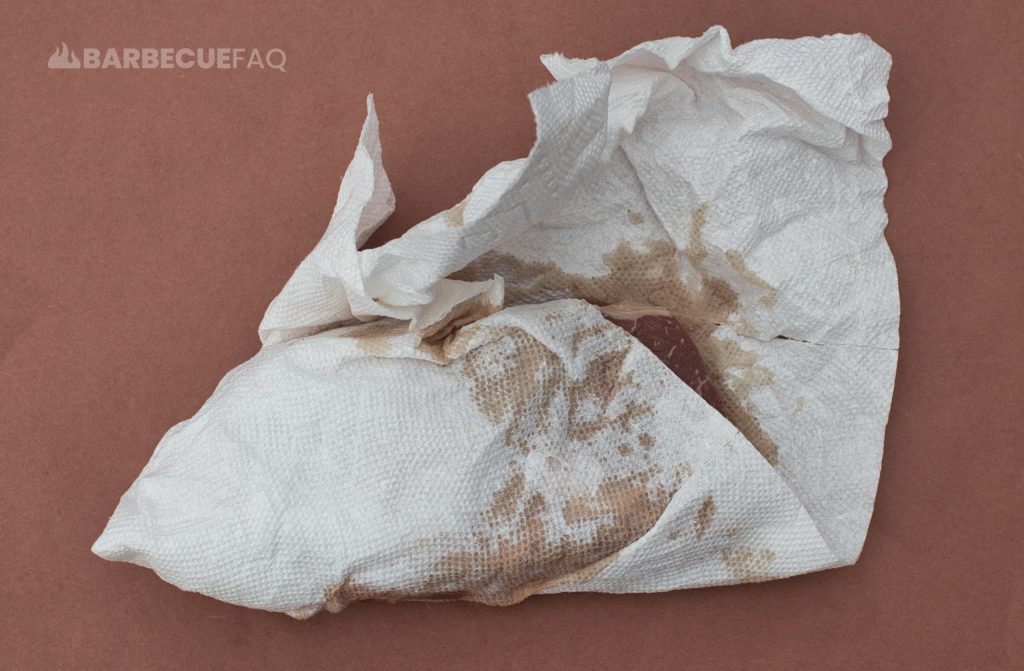
Something I do before seasoning my steaks is I’ll pat them dry first with a paper towel – especially if the meat was vacuum sealed or in a Modified Atmospheric Package (MAP).
The cryovac-sealed or MAP packaged steaks will typically have more surface moisture; This moisture needs to vaporize first before a crust can form, meaning it impedes crust formation.
This is because as the water vaporizes it also will lift the steak from the cooking surface.
For seasoning I typically stick with Kosher Salt and Cracked black peppercorns.
To note: You could technically argue the same thing for freshly cracked peppercorns. Some people prefer to use table ground pepper because it won’t cause the steak to lift off the surface.
To that I say, adjust your pepper mill or get one you can adjust properly.
Freshly cracked peppercorns are categorically better than table ground black pepper.
By drying the surface first, we also give the kosher salt less free-moisture to use so that it doesn’t breakdown and dissolve.
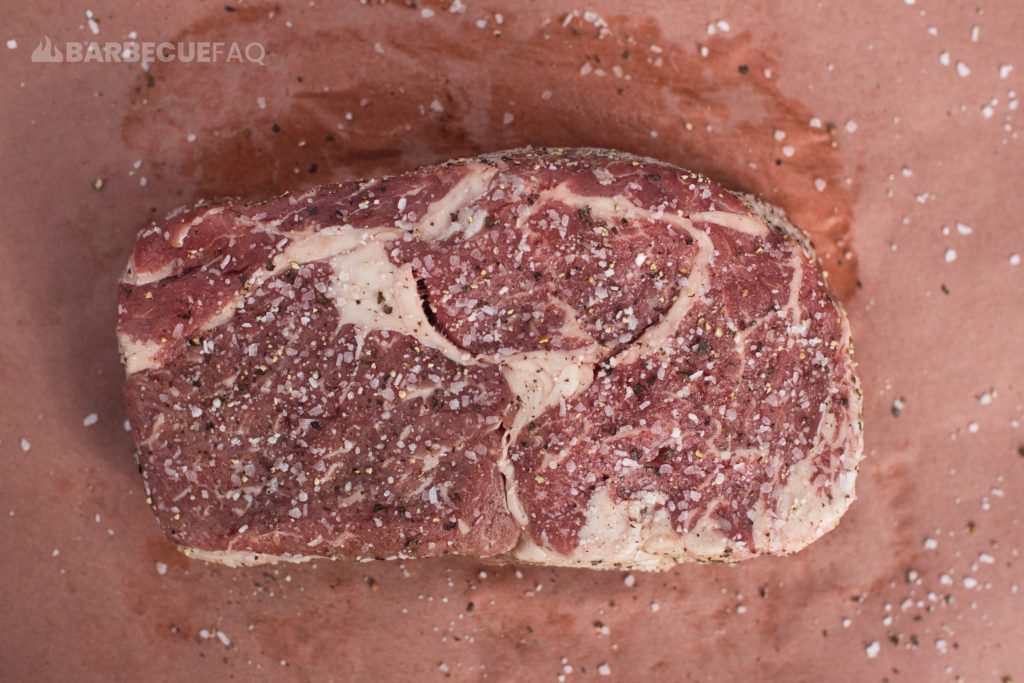
If you are someone who likes to dry-brine, I would suggest doing so a day in advance as apposed to the same day you’re cooking.
If you don’t give the steak enough time to dry brine, it will simply pool moisture on the surface of the meat. If you then pat dry this brined surface moisture, what was the point of dry brining in the first place?
This method is actually taken from French cuisine and is called the arroser method meaning “to baste” or to moisten; In English this quite literally translates to mean “to wet.”
Butter basting offers the crust a number of wonderful qualities, namely through the maillard reaction.
Butter is made from the fat and protein components of churned cream. It’s comprised of milk fat, water, and milk solids; The milk solids are the protein component and what browns.
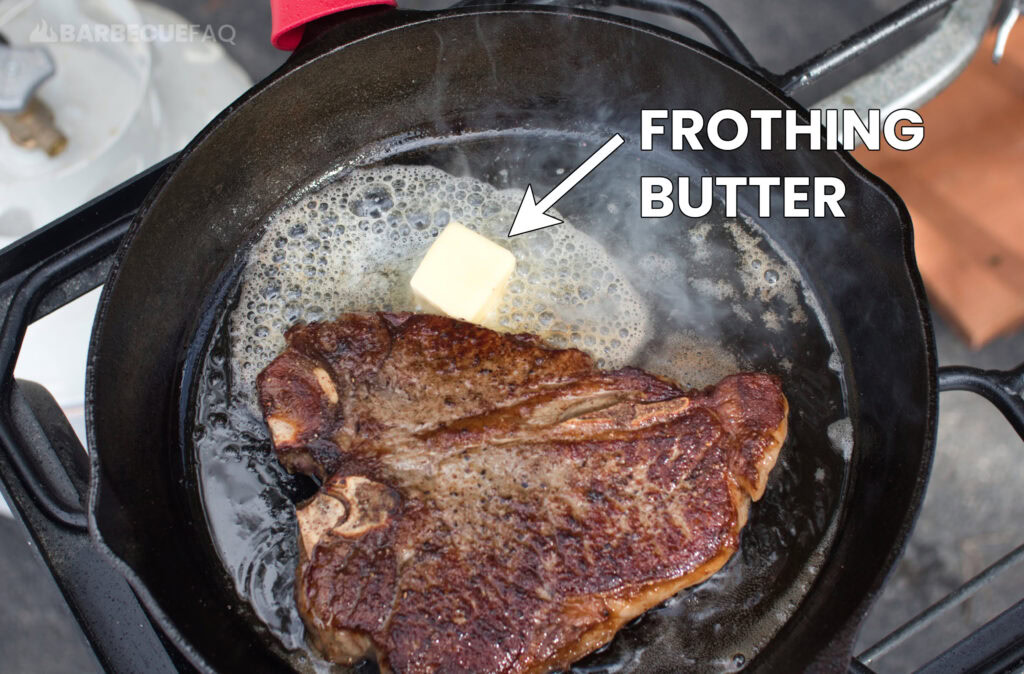
Butter basting is also really hard to get right and takes a bit of finesse to do properly.
Something to keep in mind is that butter basting will cause the internal temperature of the meat to climb rapidly; In most cases the arroser method is used towards the end of the cook.
The butter adds complex flavors and a desirable, almost potato chip-like crunch to the exterior of the meat.
My Basting Process for steak looks like this:
This then leads to the next tip, pulling the steak 5-7F below your desired finishing temperature.
This is another added benefit of thick steaks – a thick steak has a hot exterior surface that will carry over to the internal temperature of your steak.
Meaning, when you pull the steak, the internal temperature will continue to climb.
As steak starts to finish cooking, from around 120F+, this temperature will start to climb rapidly as the protein myosin begins to coagulate and connective tissue begins to break down.
Just to sort of illustrate this, when I take photos for articles on Barbecue FAQ, it can take some time to get lighting correct and I’m obviously taking multiple photos so I have options to select from.
Here’s a photo of the steak above at 118F:
Here’s the same steak, 2 minutes later at 121F:
Meaning the steak climbed 3F in 2 minutes.
Granted, you could argue I’m probing different musculature but these muscles are quite similar in structure.
If you intend to have the steak finish at 120-125F (rare) and then you rested it for 5-7 minutes, the steak may even reach 135F+(in the spectrum of medium).
I personally don’t find resting steaks to be super fruitful – especially for the reasons that most people cite, like allowing the juices to “redistribute.” You can read my opinions in a separate article.
However, with thicker cut of steaks, resting can actually be to your benefit for things like temperature control.
Meaning, if your steak is at 120F, you can pull the steak, rest for 5-7 minutes and finish at medium-rare-ish (125-132F).
Lastly, just to comment on a few things I’ve tried but have never noticed a difference with:
Allowing the steak to come to room temperature does nothing, in my opinion.
Most of the time I take my steak out of my refrigerator at the same time as I’m getting my cast-iron skillet ready.
Granted this prep time is roughly 5-10 minutes but this is hardly enough time for the steak to be considered “room temperature.”
It gets to the point where you could even argue the “food safety” aspect of leaving your steak on the counter for over an hour.
Flipping intervals are negligible at best.
You have folks who advocate for flipping often and people who say not to flip for X amount of time; Either option works when building crust on steak.
Sometimes I feel like flipping, other times I don’t.
With that said, I’m typically in the camp of searing for 30 seconds, flipping and repeating that interval-ish.
I’m also not sitting there with my stopwatch and flipping on X amount of time per side.
Flipping intervals are often suggested on tons of websites because it’s an easy way to express to Readers how to simulate “even” cook times for food.
Something I used to believe was that searing steak “locked-in” juices; I think I heard this advice from Chefs on cooking shows in the 90s.
Truth be told, searing doesn’t create a moisture barrier and moisture is expelled through heat and the denaturing of proteins.
Cooking steak to certain temperatures will cause the meat to expel free moisture.
This is the reason medium-rare is the recommended finishing temperature for steak, you’re maximizing free moisture and juiciness. Where-as the higher you go, the more free-moisture is lost.