1. Spatchcocking the Chicken
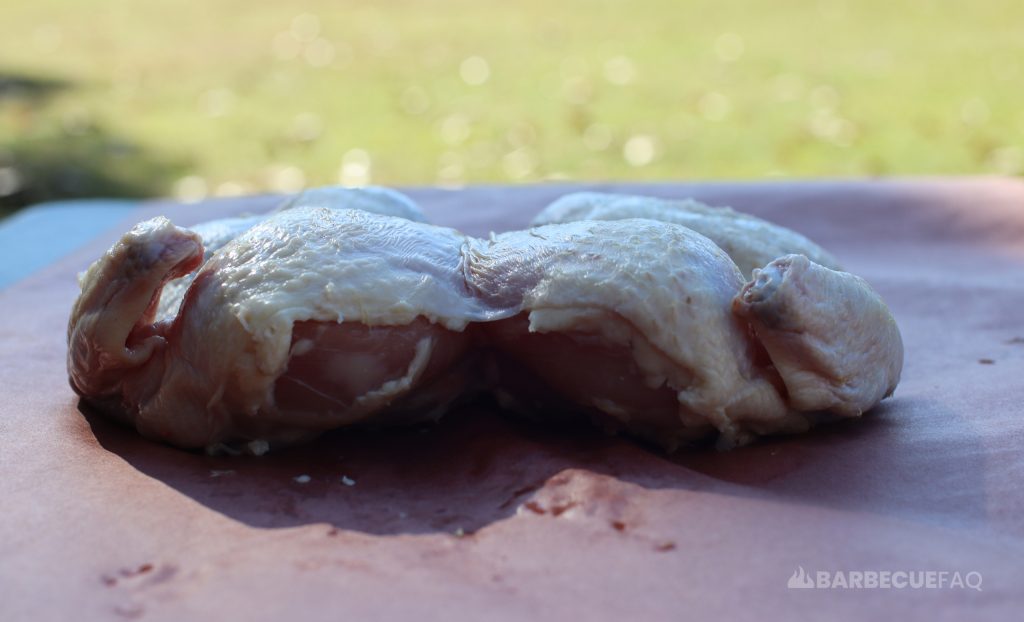
This technique removes the backbone from the chicken and breaks the clavicle, allowing the bird to lay flat on your cooking surface.
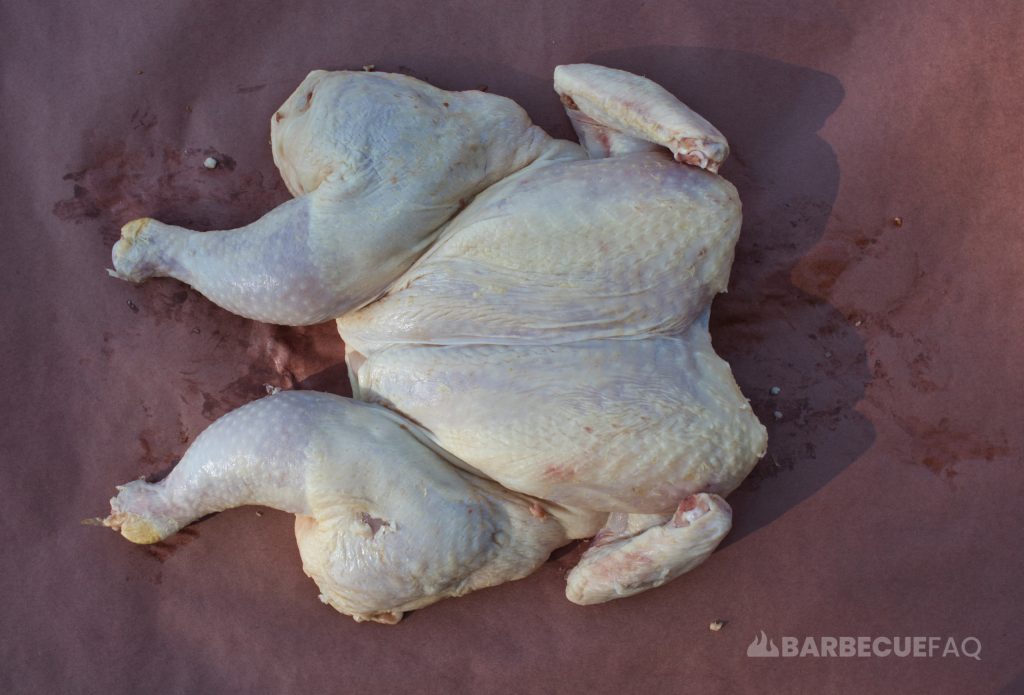
I find that it has a few advantages, namely:
- It slightly speeds cook time.
- It promotes more even cooking of the legs/thighs and breast.
- It exposes more of the chicken skin to the convective heat.
Whole birds when roasted can definitely get crispy skin on the breast, and exposed edges of the wings and drumsticks but once you get towards the lower extremities, the skin tends to be soggy.
The same could be said if the bird isn’t elevated and is cooking in it’s own juices; The skin that’s soaking will be soggy.
2. Drying the Exterior of the Bird w/ Paper Towels and Salt
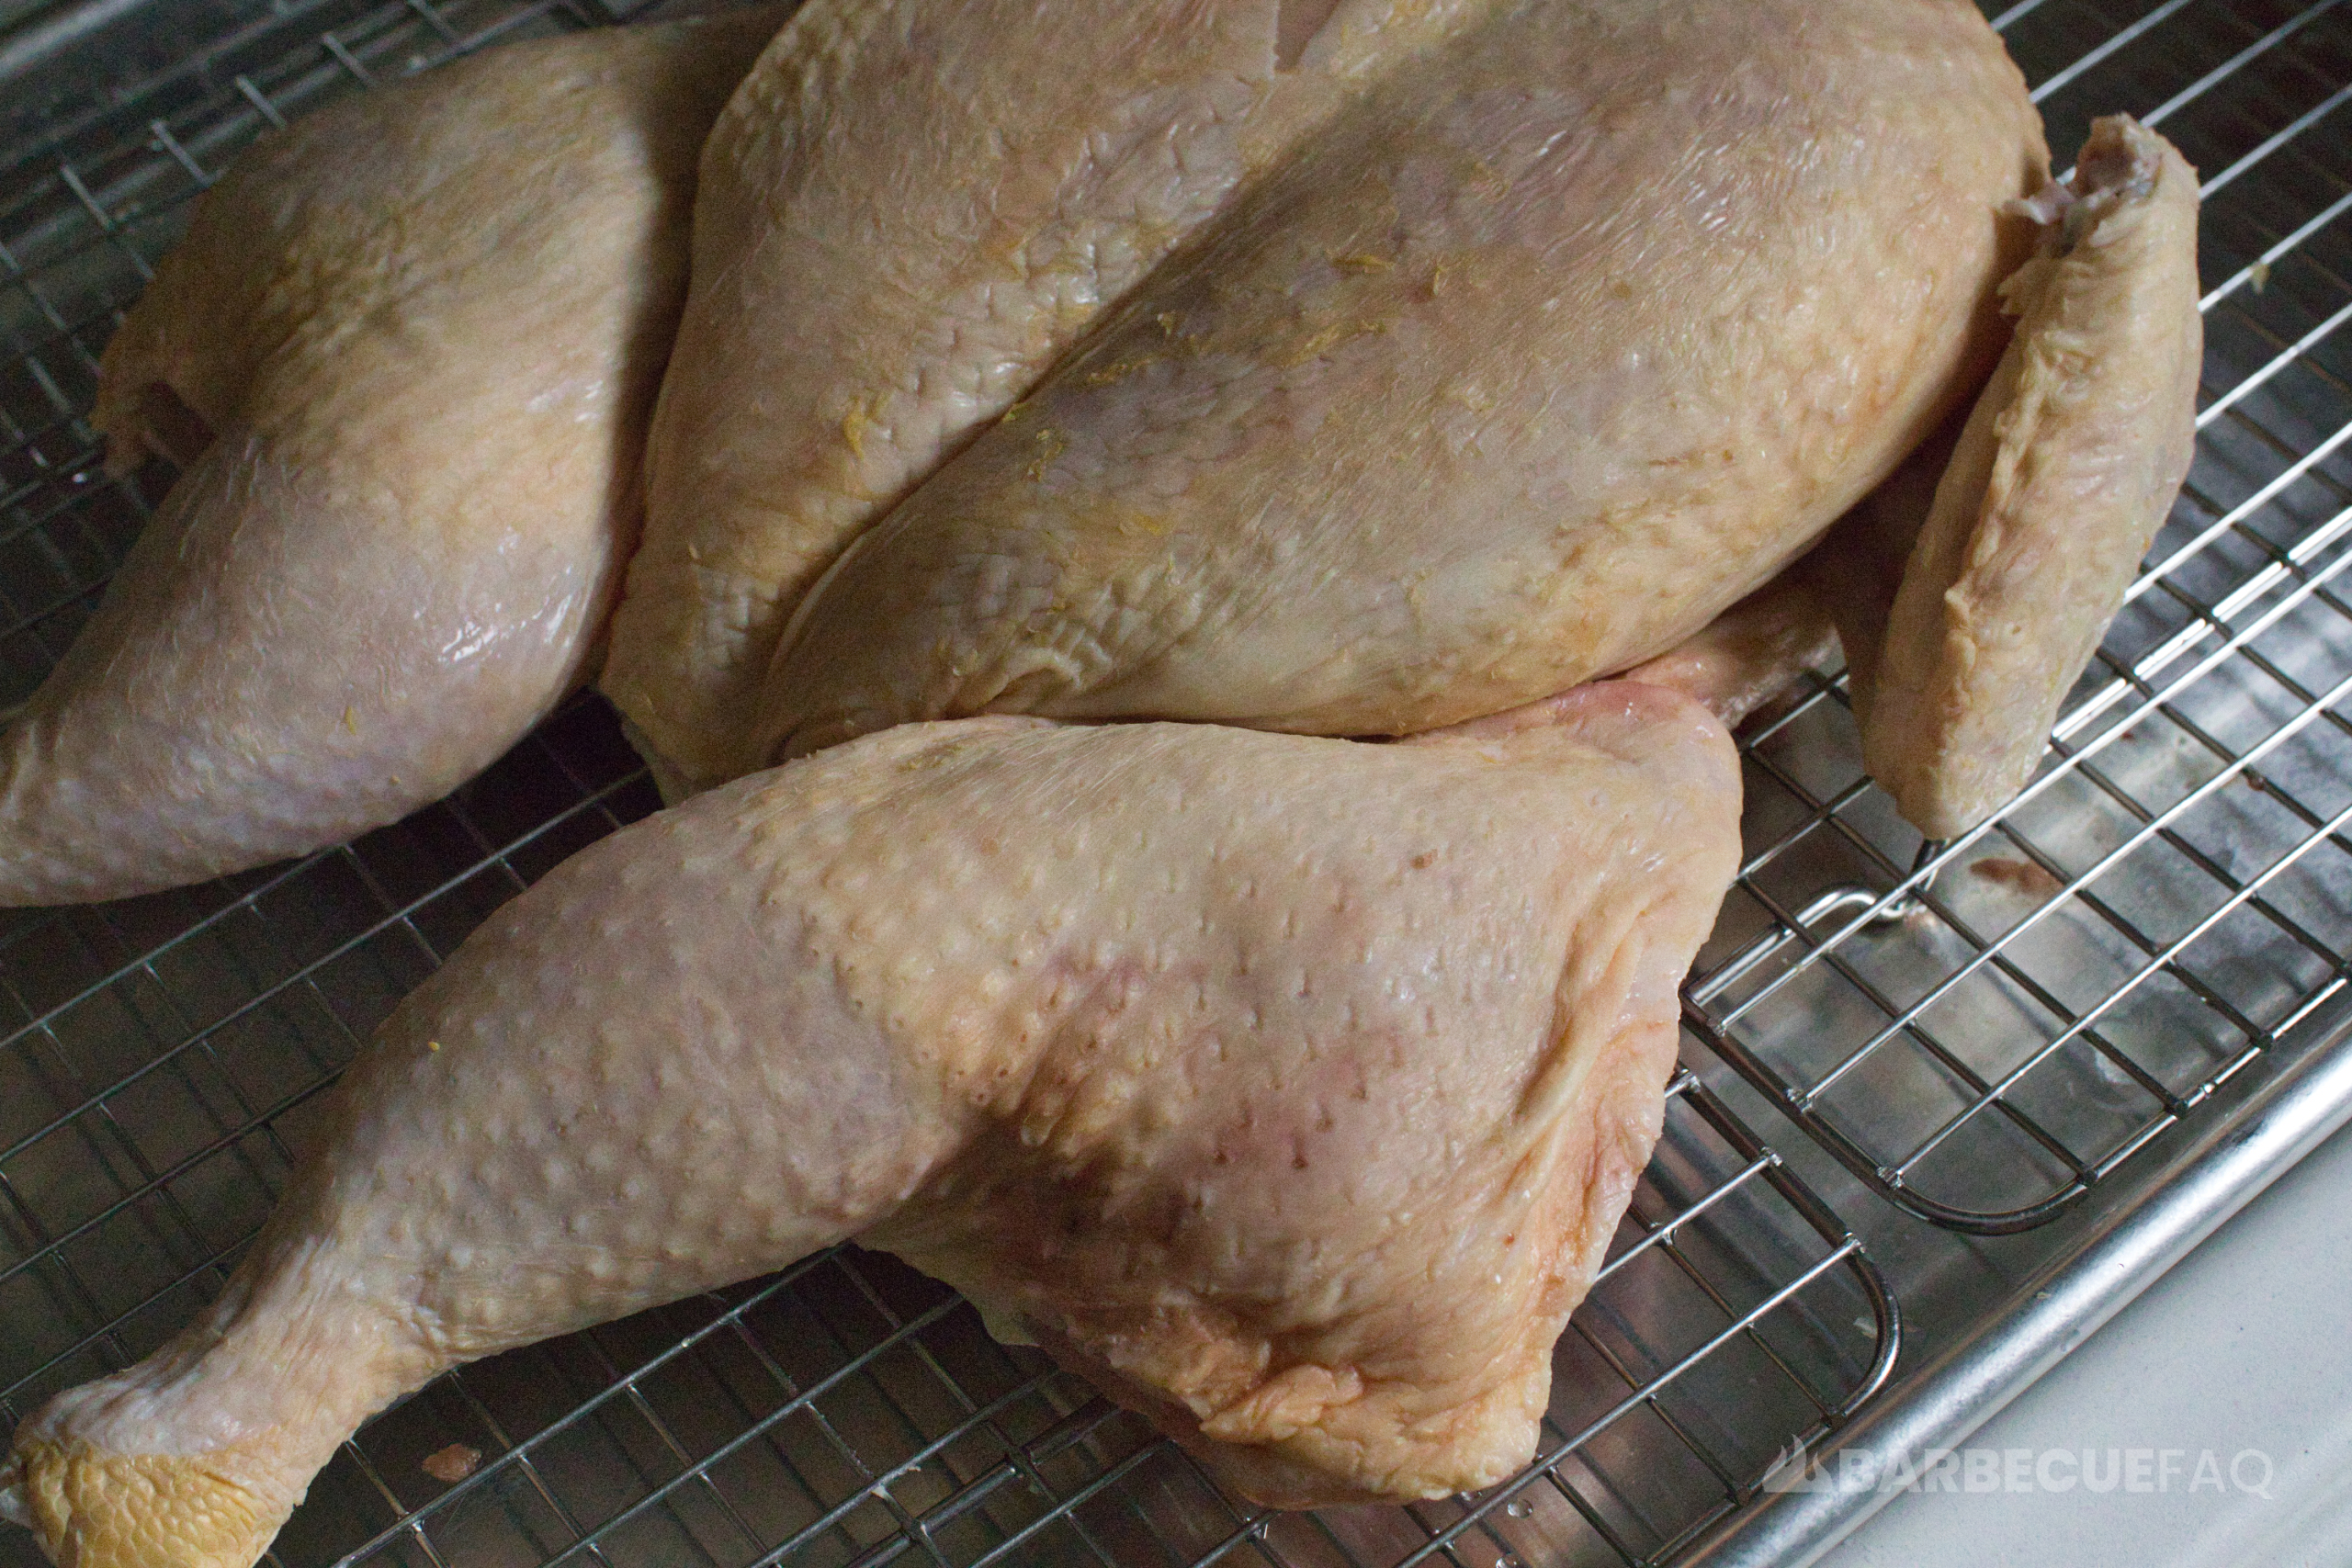
The reason for drying the bird is because the less surface moisture the bird has, the less time it will take for the heat to vaporize the water.
Here’s the chicken skin after pat drying with paper towels:
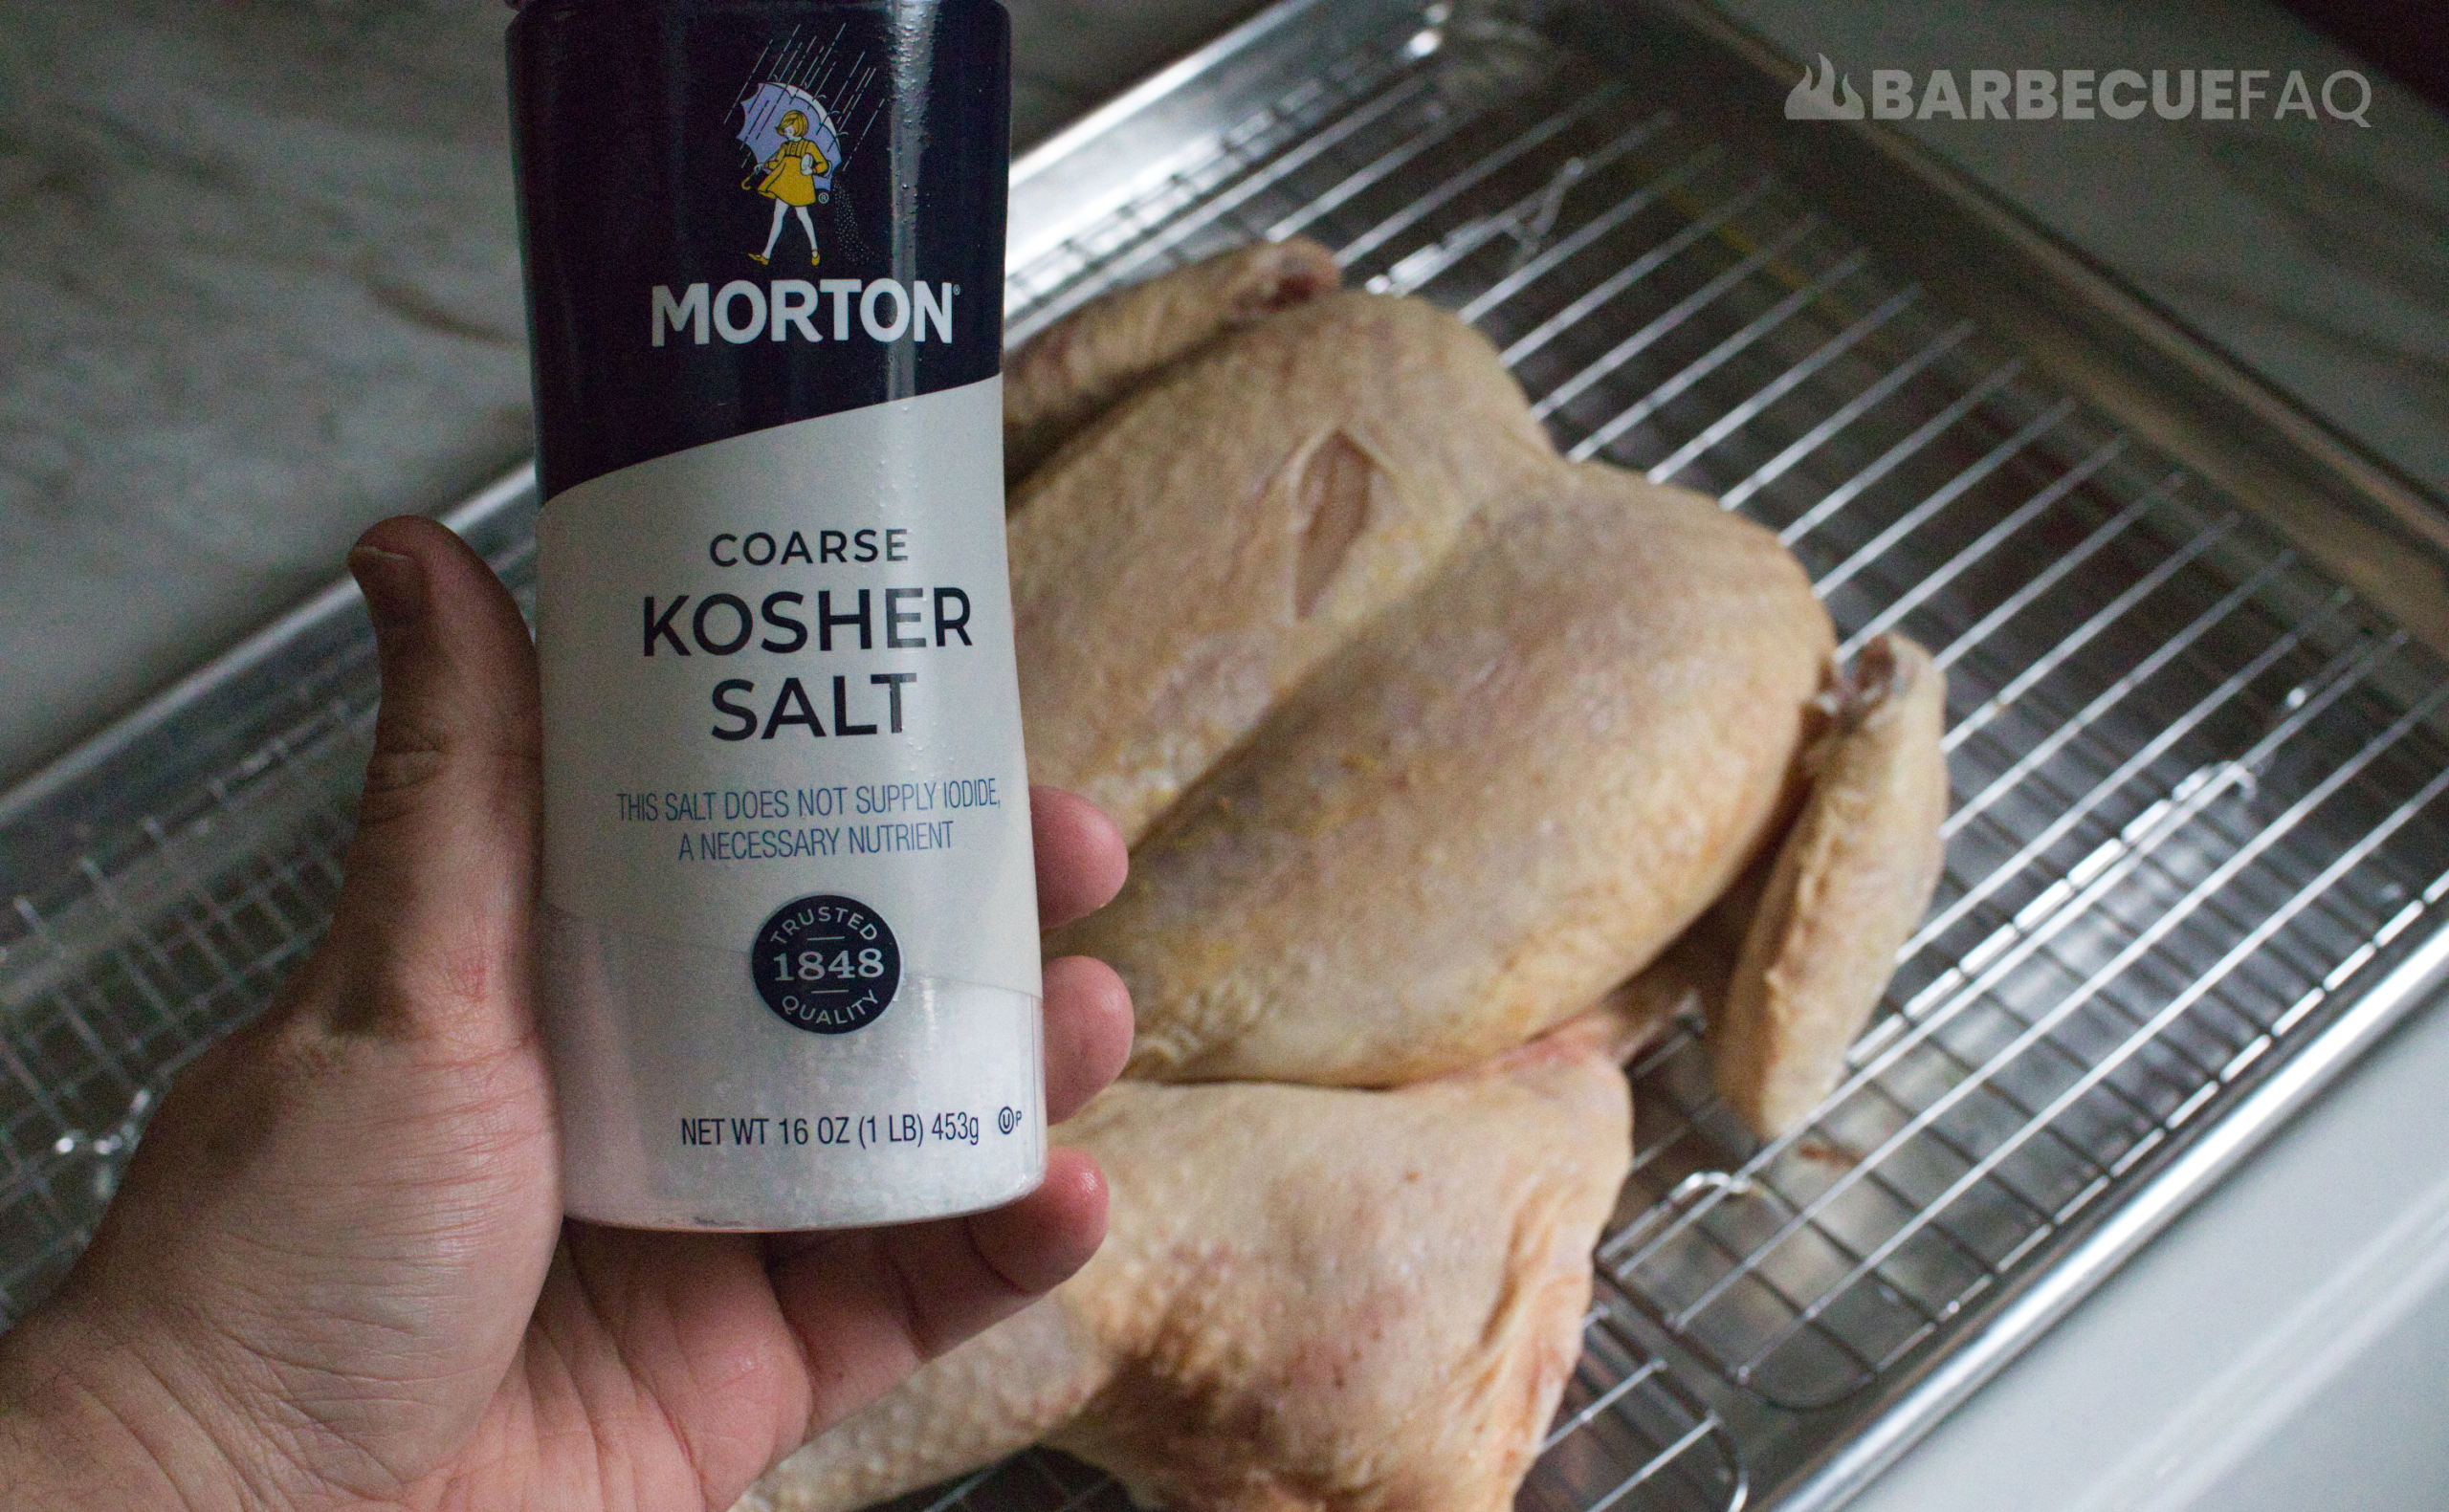
Aside from kosher salt helping with seasoning the bird and enhancing the flavor of the chicken via dry-brining, it also further dries out the skin.
You can equate this to when you go swimming in the ocean. After doing so your skin is dry due to the salt in the water.
In order to dry-brine, all you need is kosher salt.
Put kosher salt all over every part of the bird, including the underside which is now exposed because we spatchcocked the chicken.
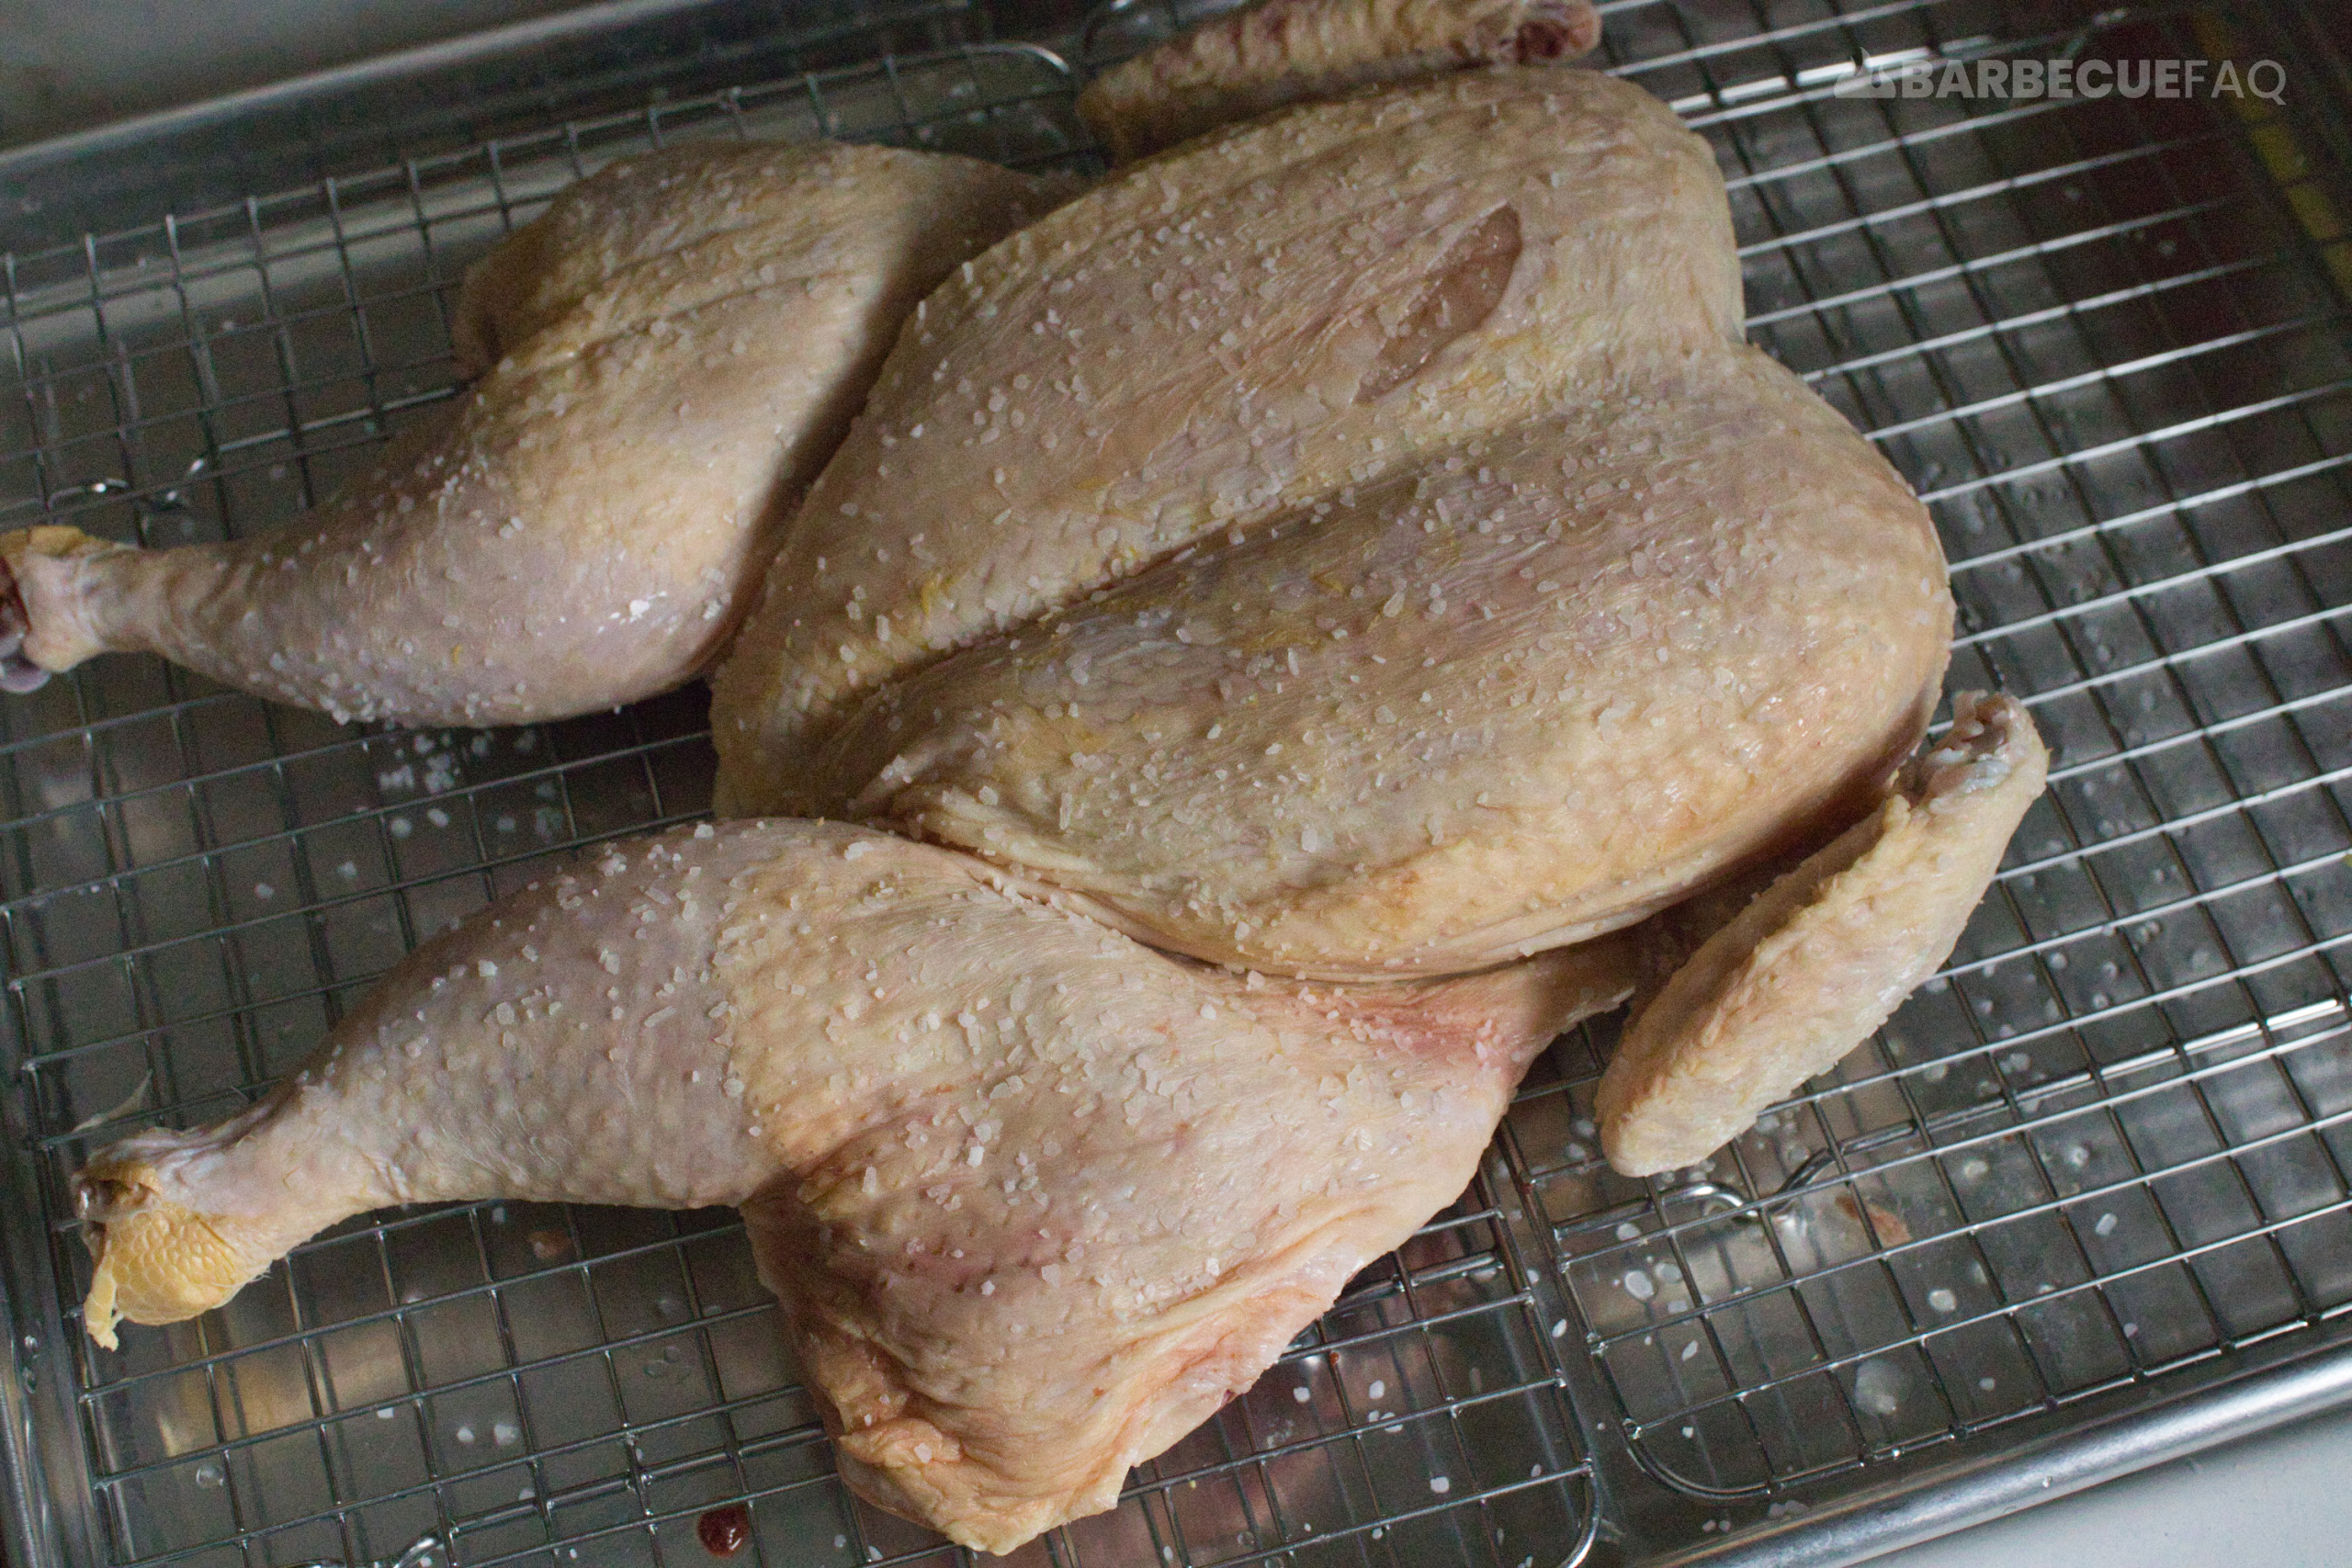
Salt works to draw out moisture through the process of osmosis.
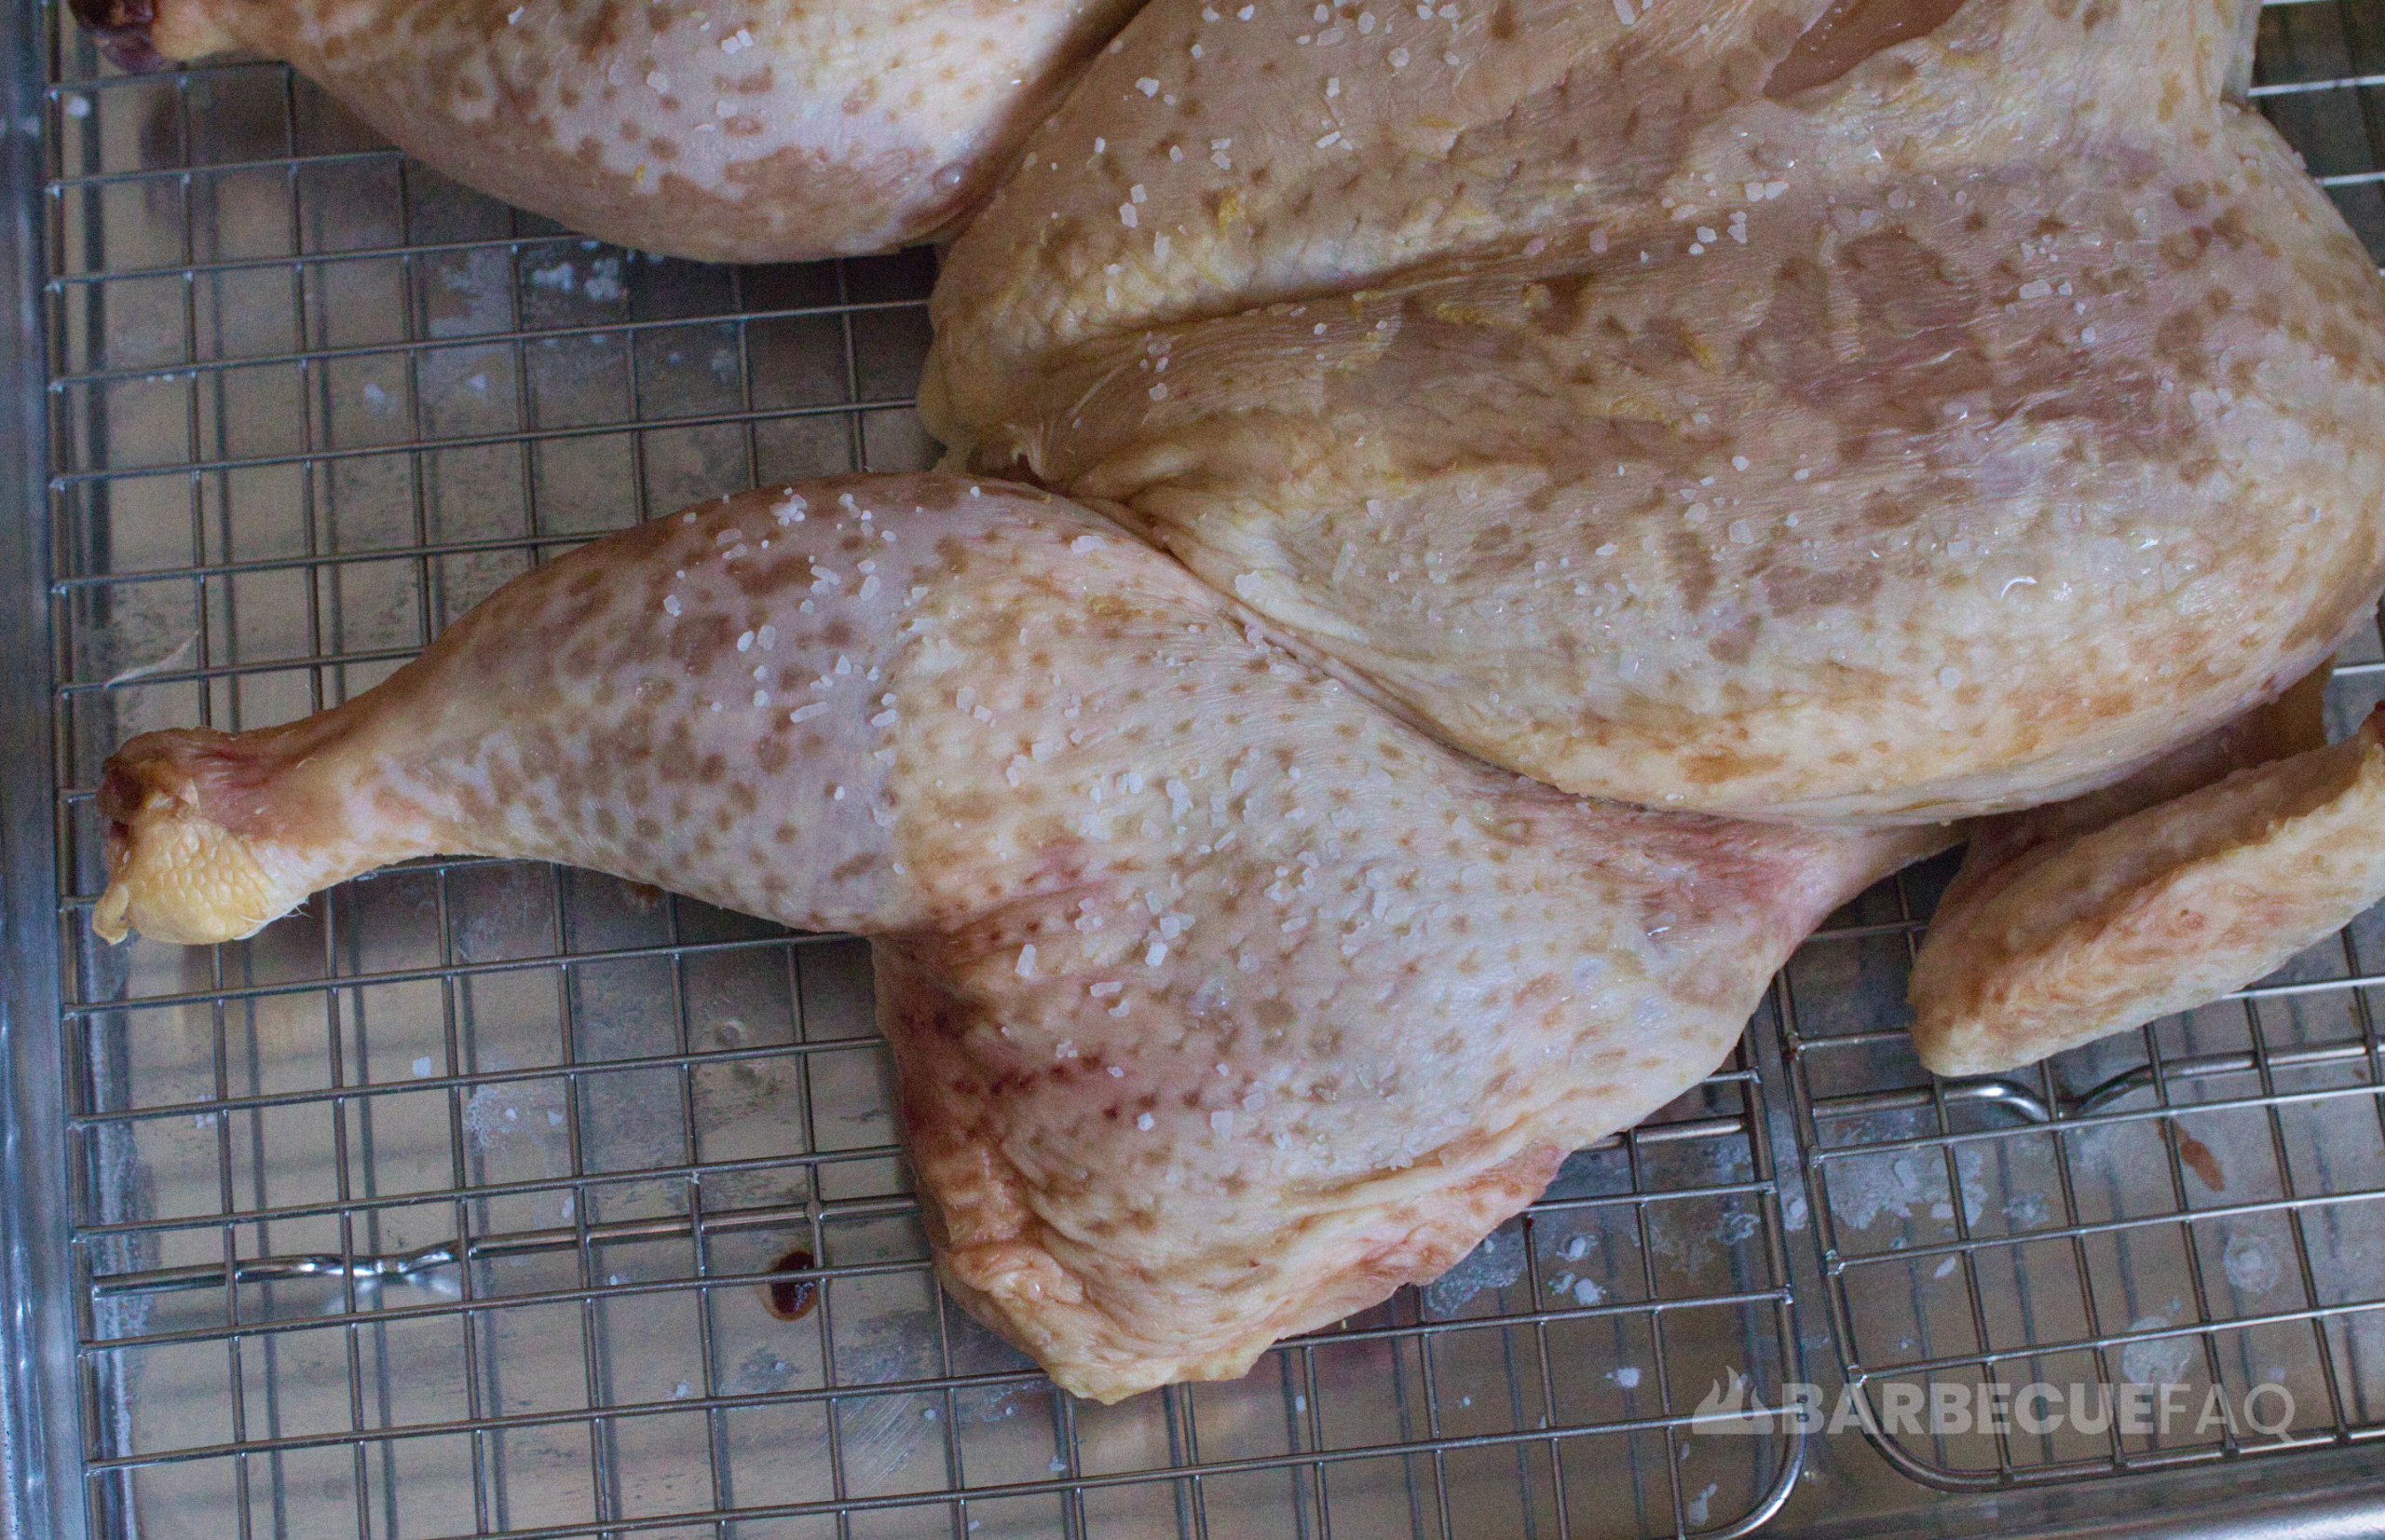
Here’s the chicken skin after 24 hours of air drying with kosher salt:
3. Using a Cooking Oil as a Binder
As the name suggests, the binder will quite literally bind the spices to the surface of the meat.
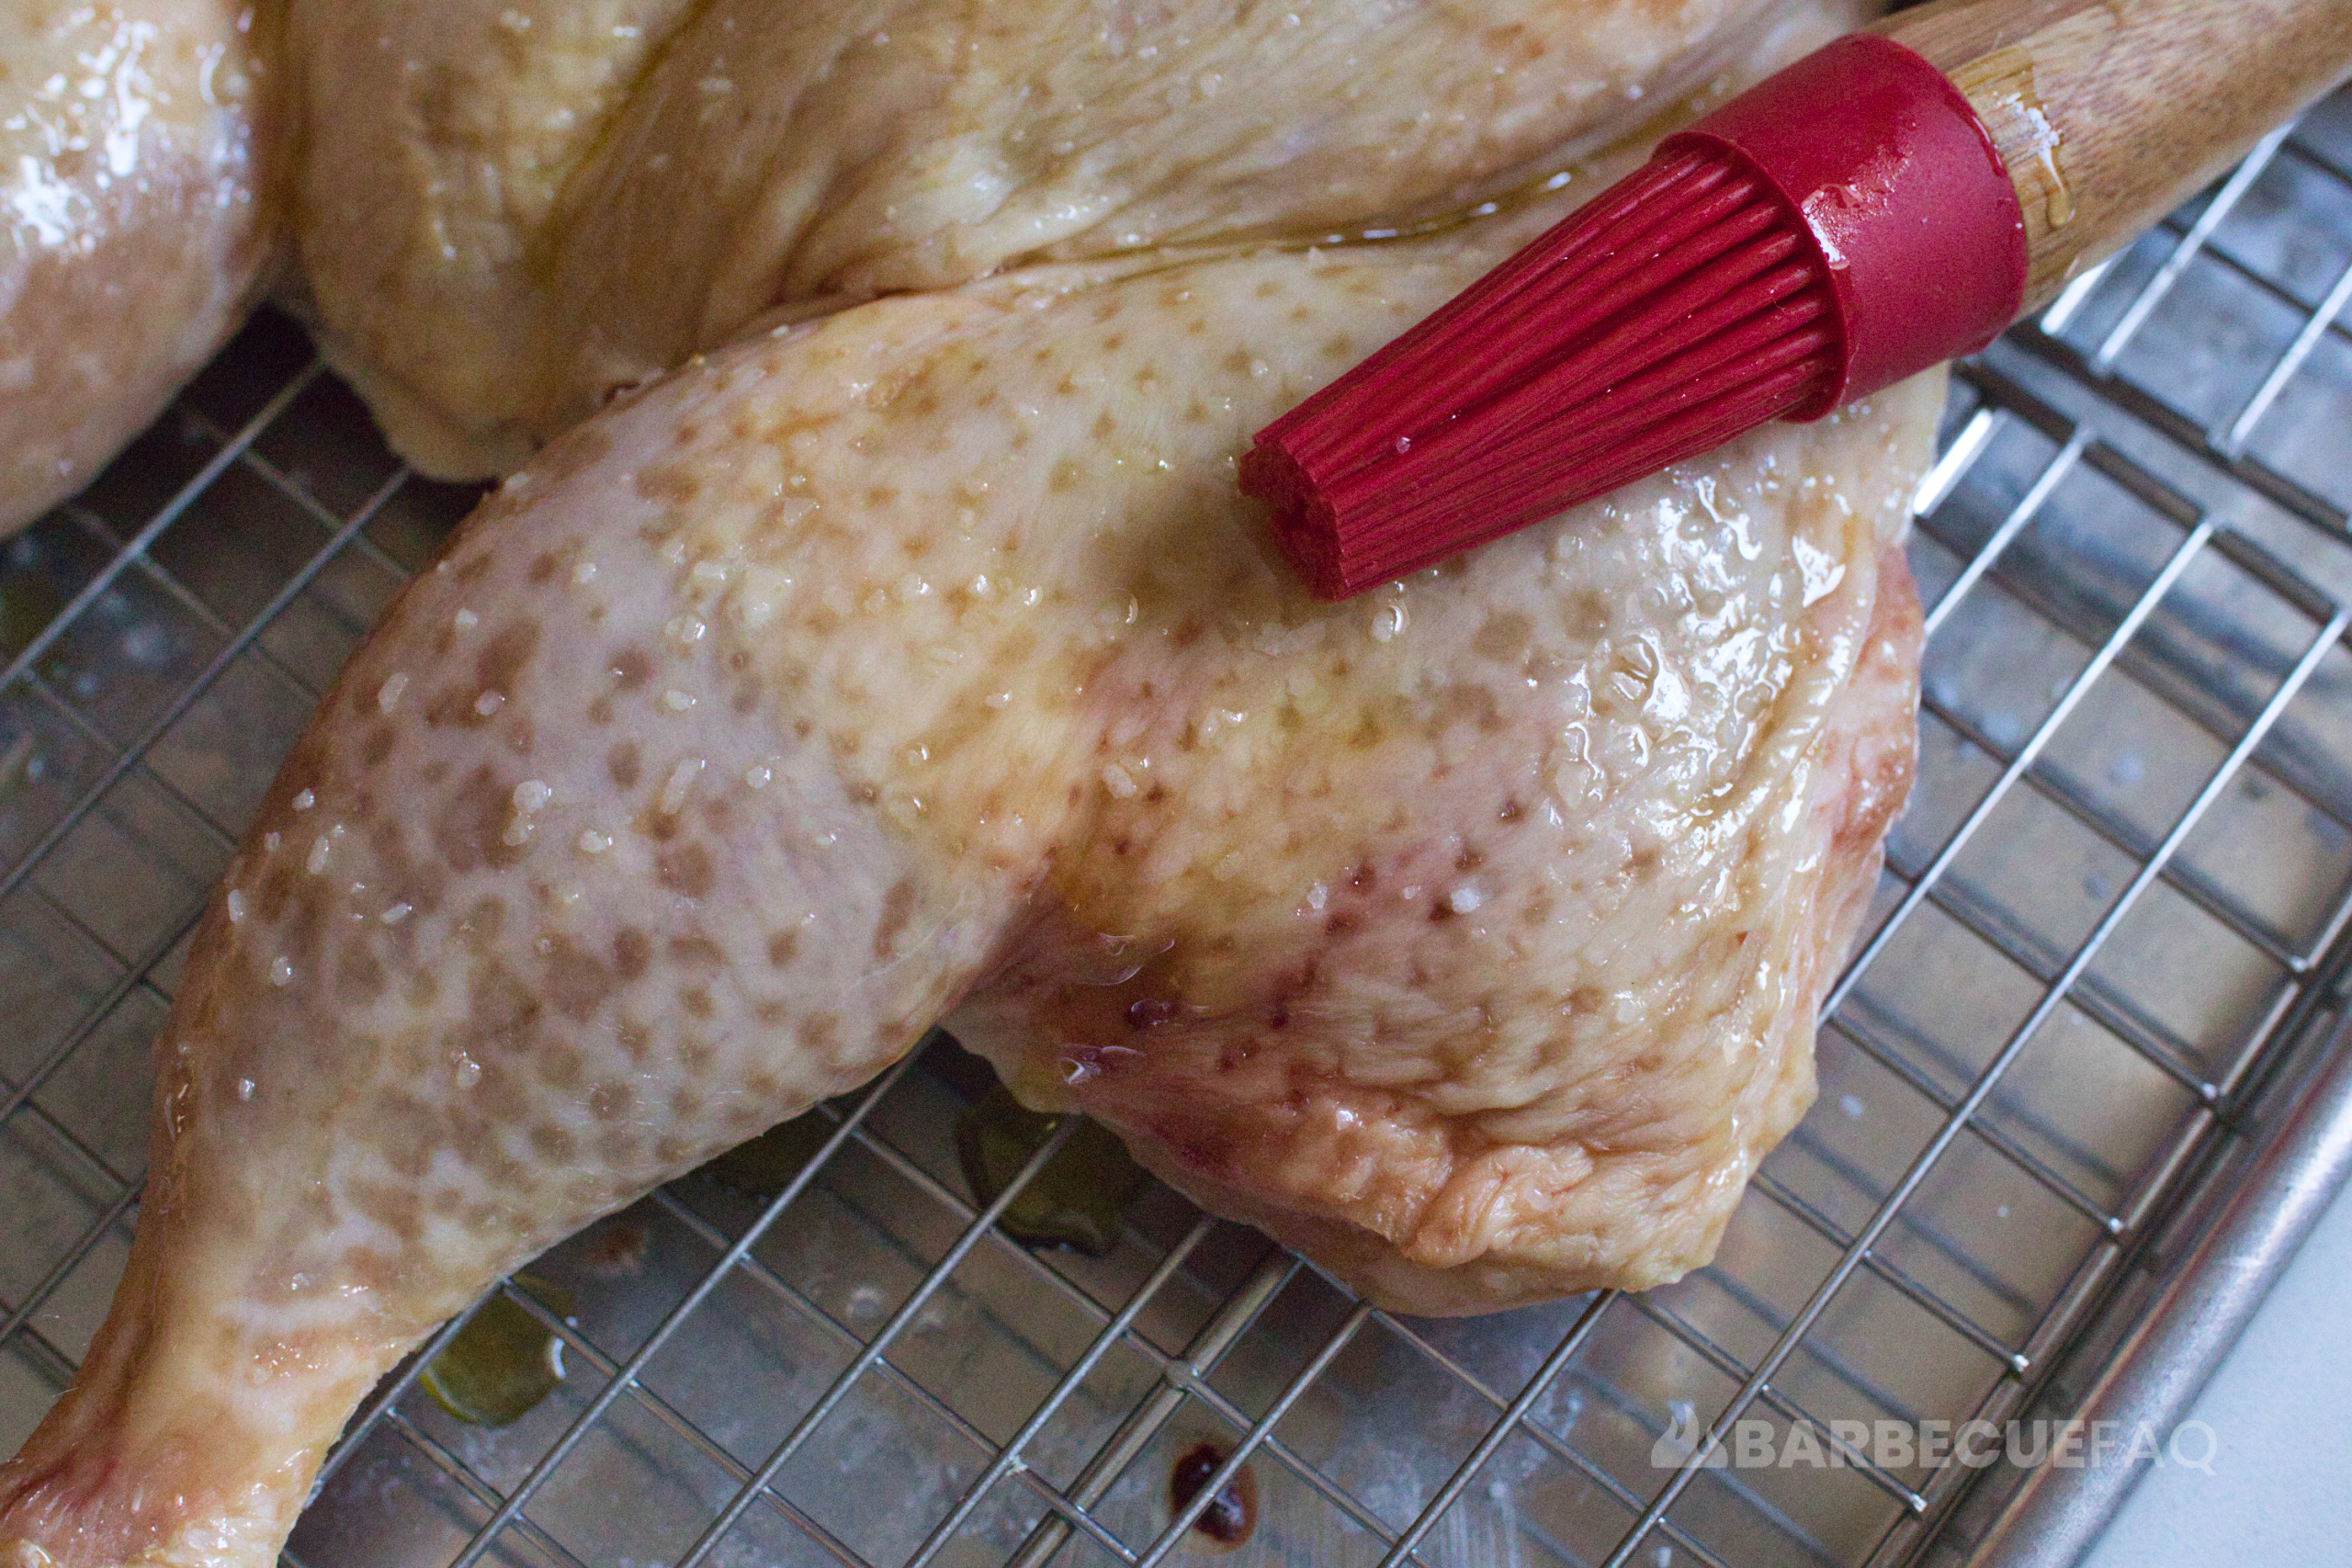
Lots of resources will mention certain binders that don’t make much sense to me though as they contain water. For instance, butter contains milk fat, water, and milk solids.
The oil will aid in flavor, help to brown the surface of the skin, and help to bind the dry ingredients.
You also don’t need a ton, even a thin layer will suffice.
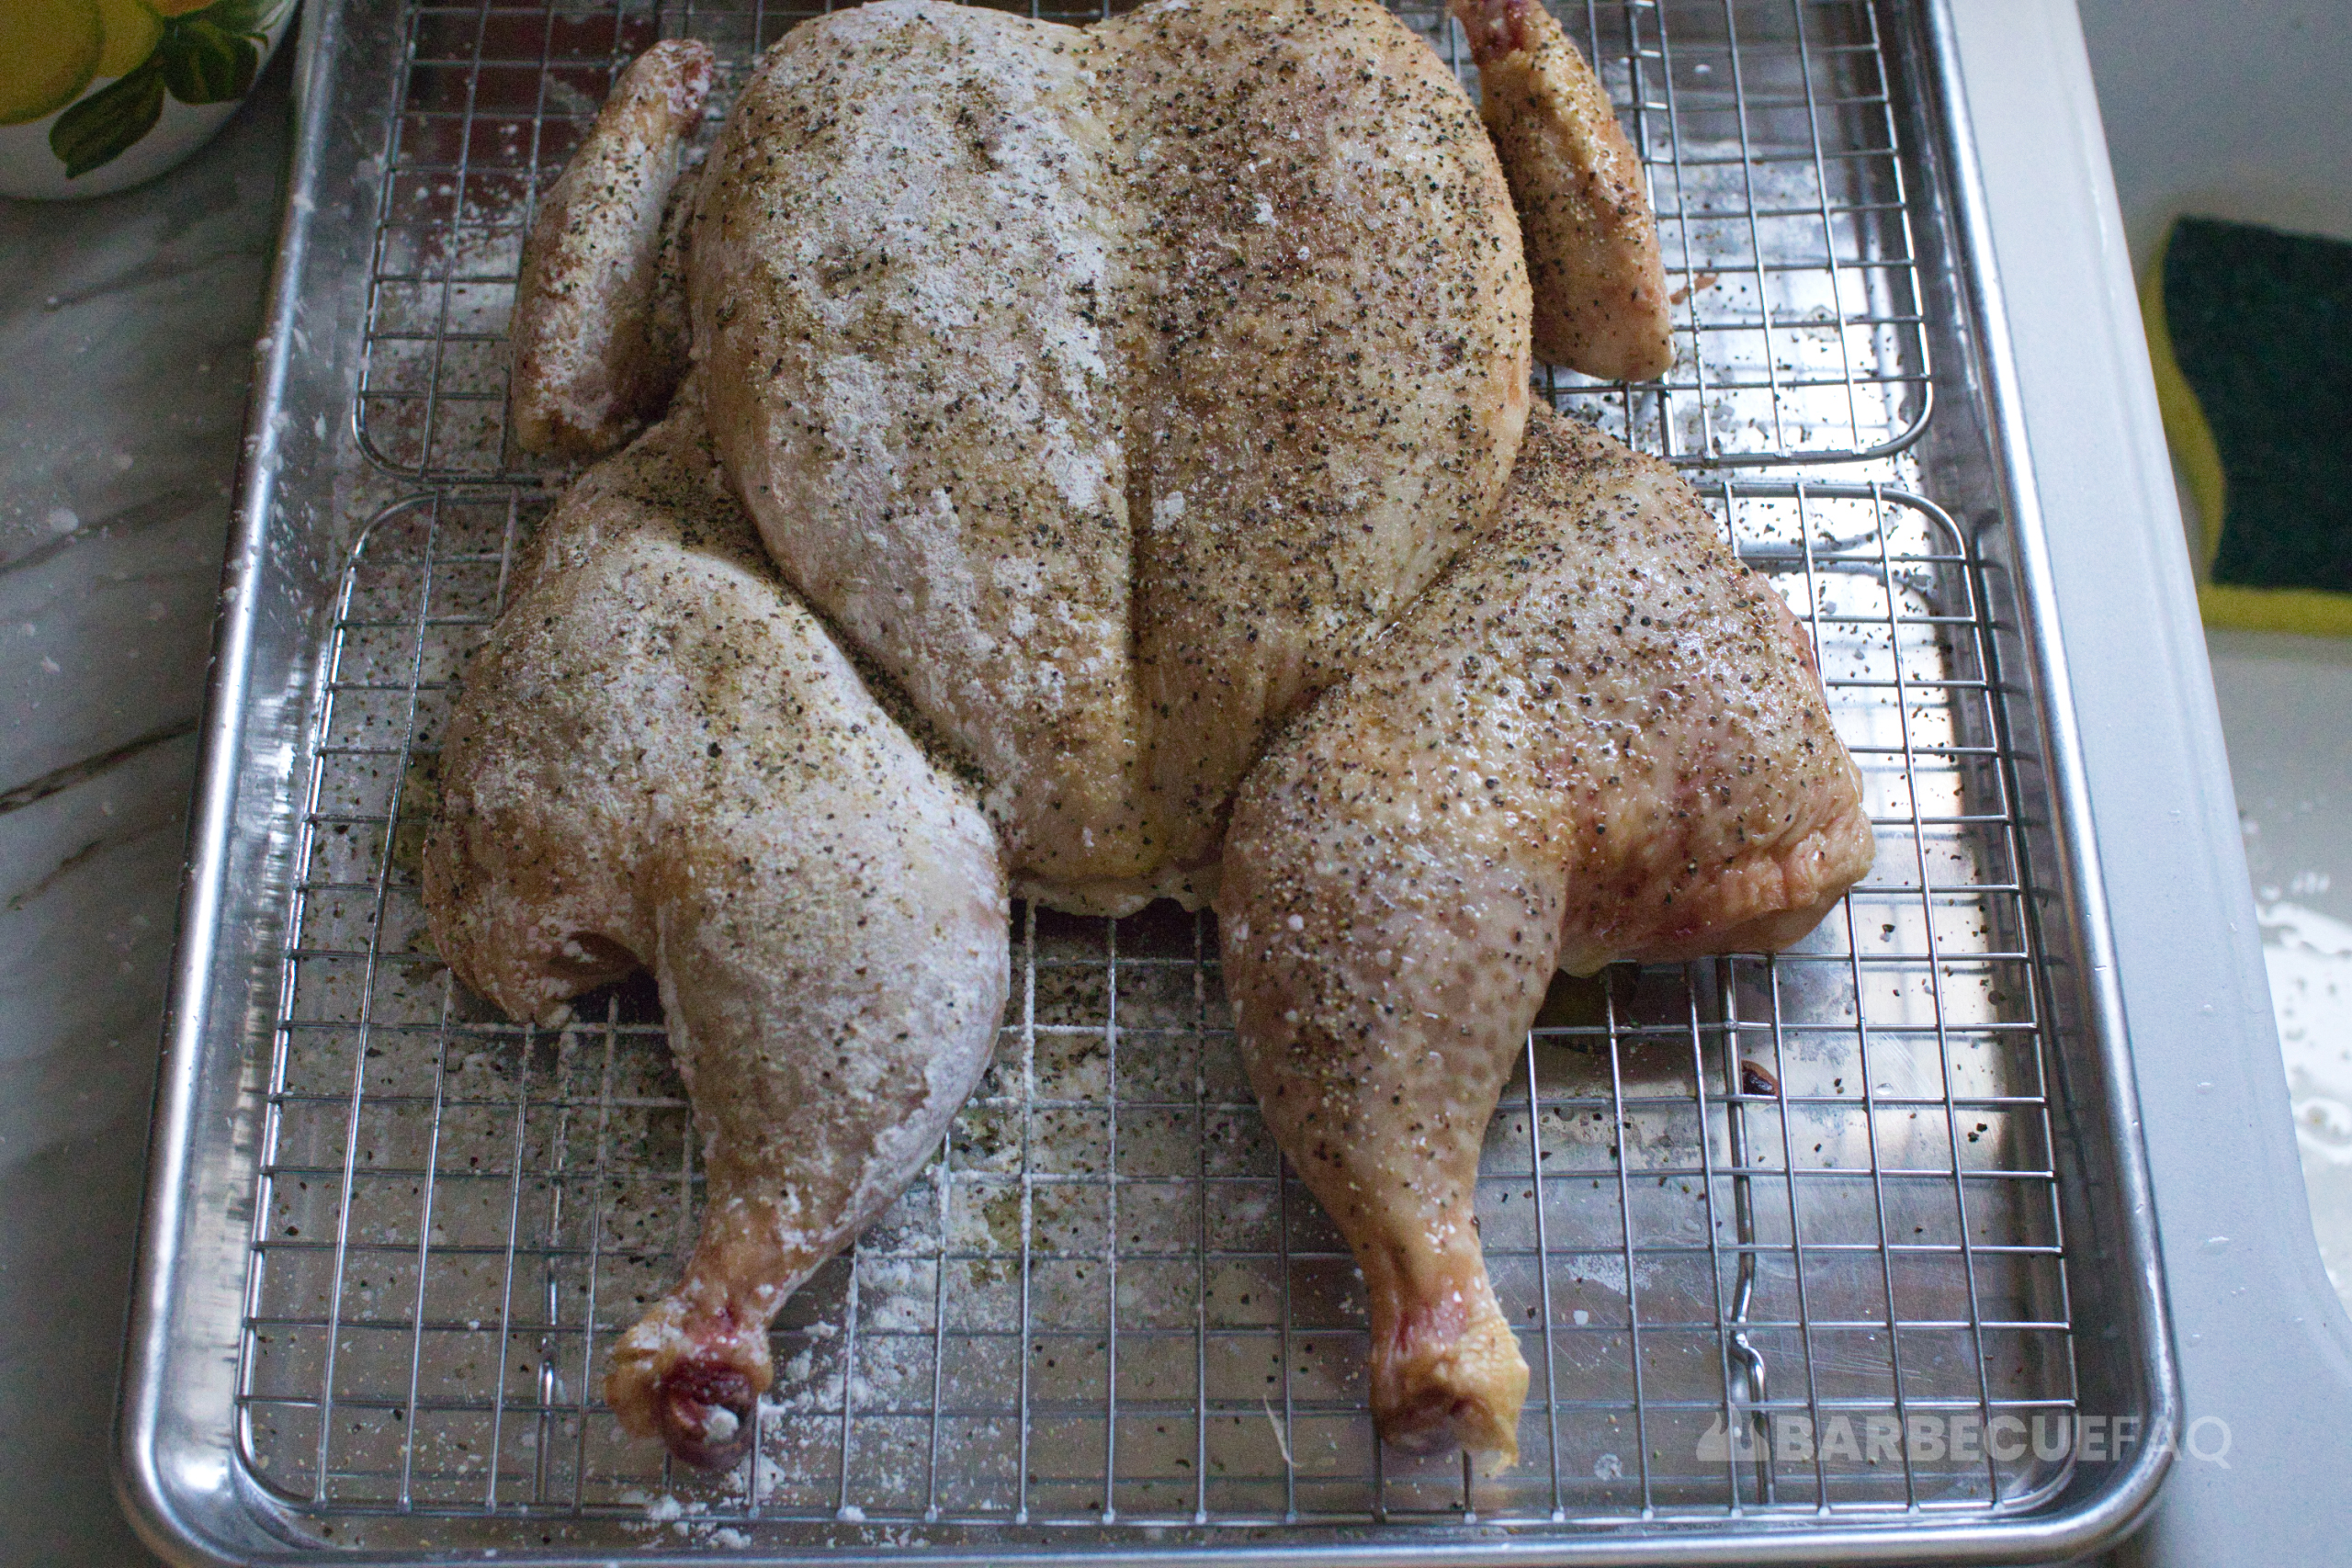
Testing Corn Starch on Half of the Bird
Lots of articles on the internet will specifically tell the Readers to use baking powder on the skin to help create a crunchy exterior.
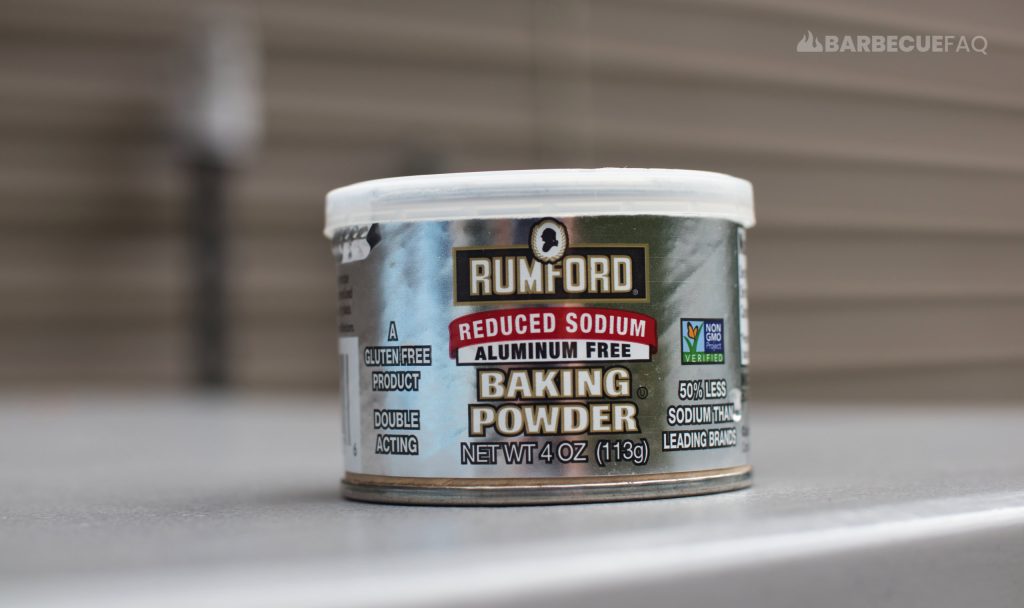
I’ve personally tested a number of dredges with chicken wings – including baking powder – and I can tell you that while it does work, the consistency on the skin isn’t very appetizing.
I personally think it tastes like sand.
For something like a whole chicken though, I’ve never tested using corn starch because the reason cornstarch works so well for my wings is because we’re going to ~200F.
Breast meat is limited by internal temperature and pushes out too much moisture.
These Were My Unbiased Findings
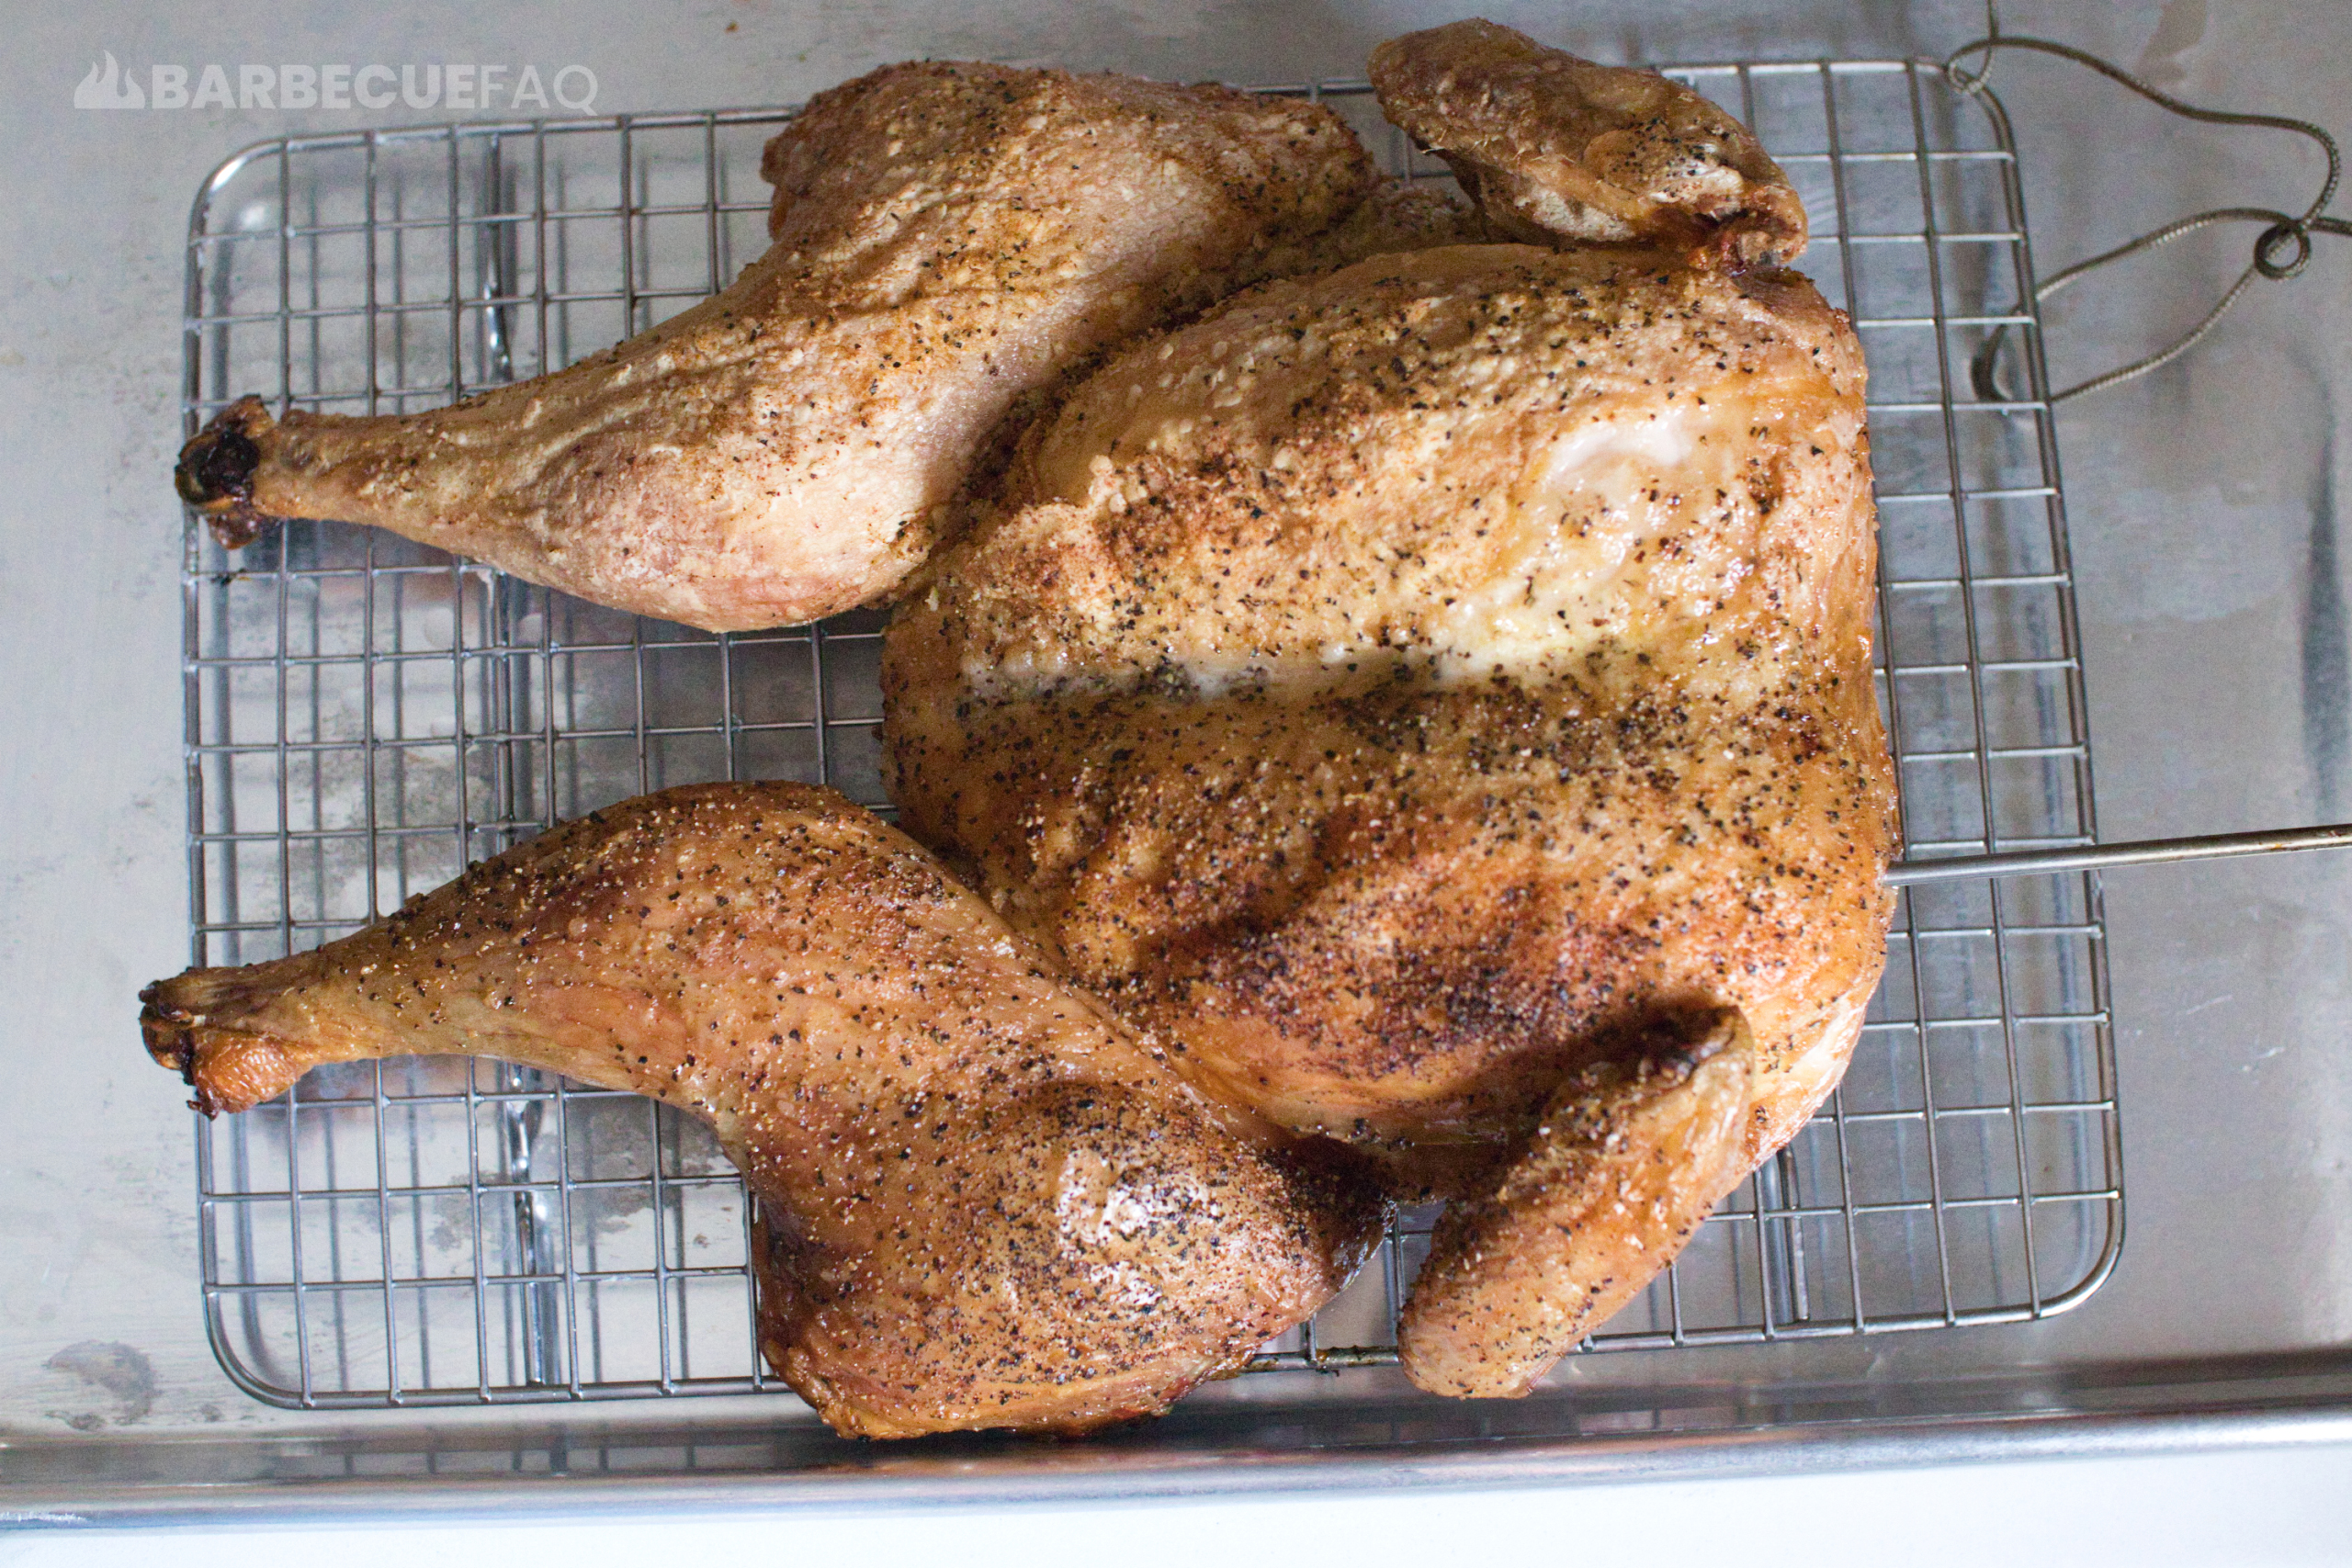
Here’s the bird from top-down:
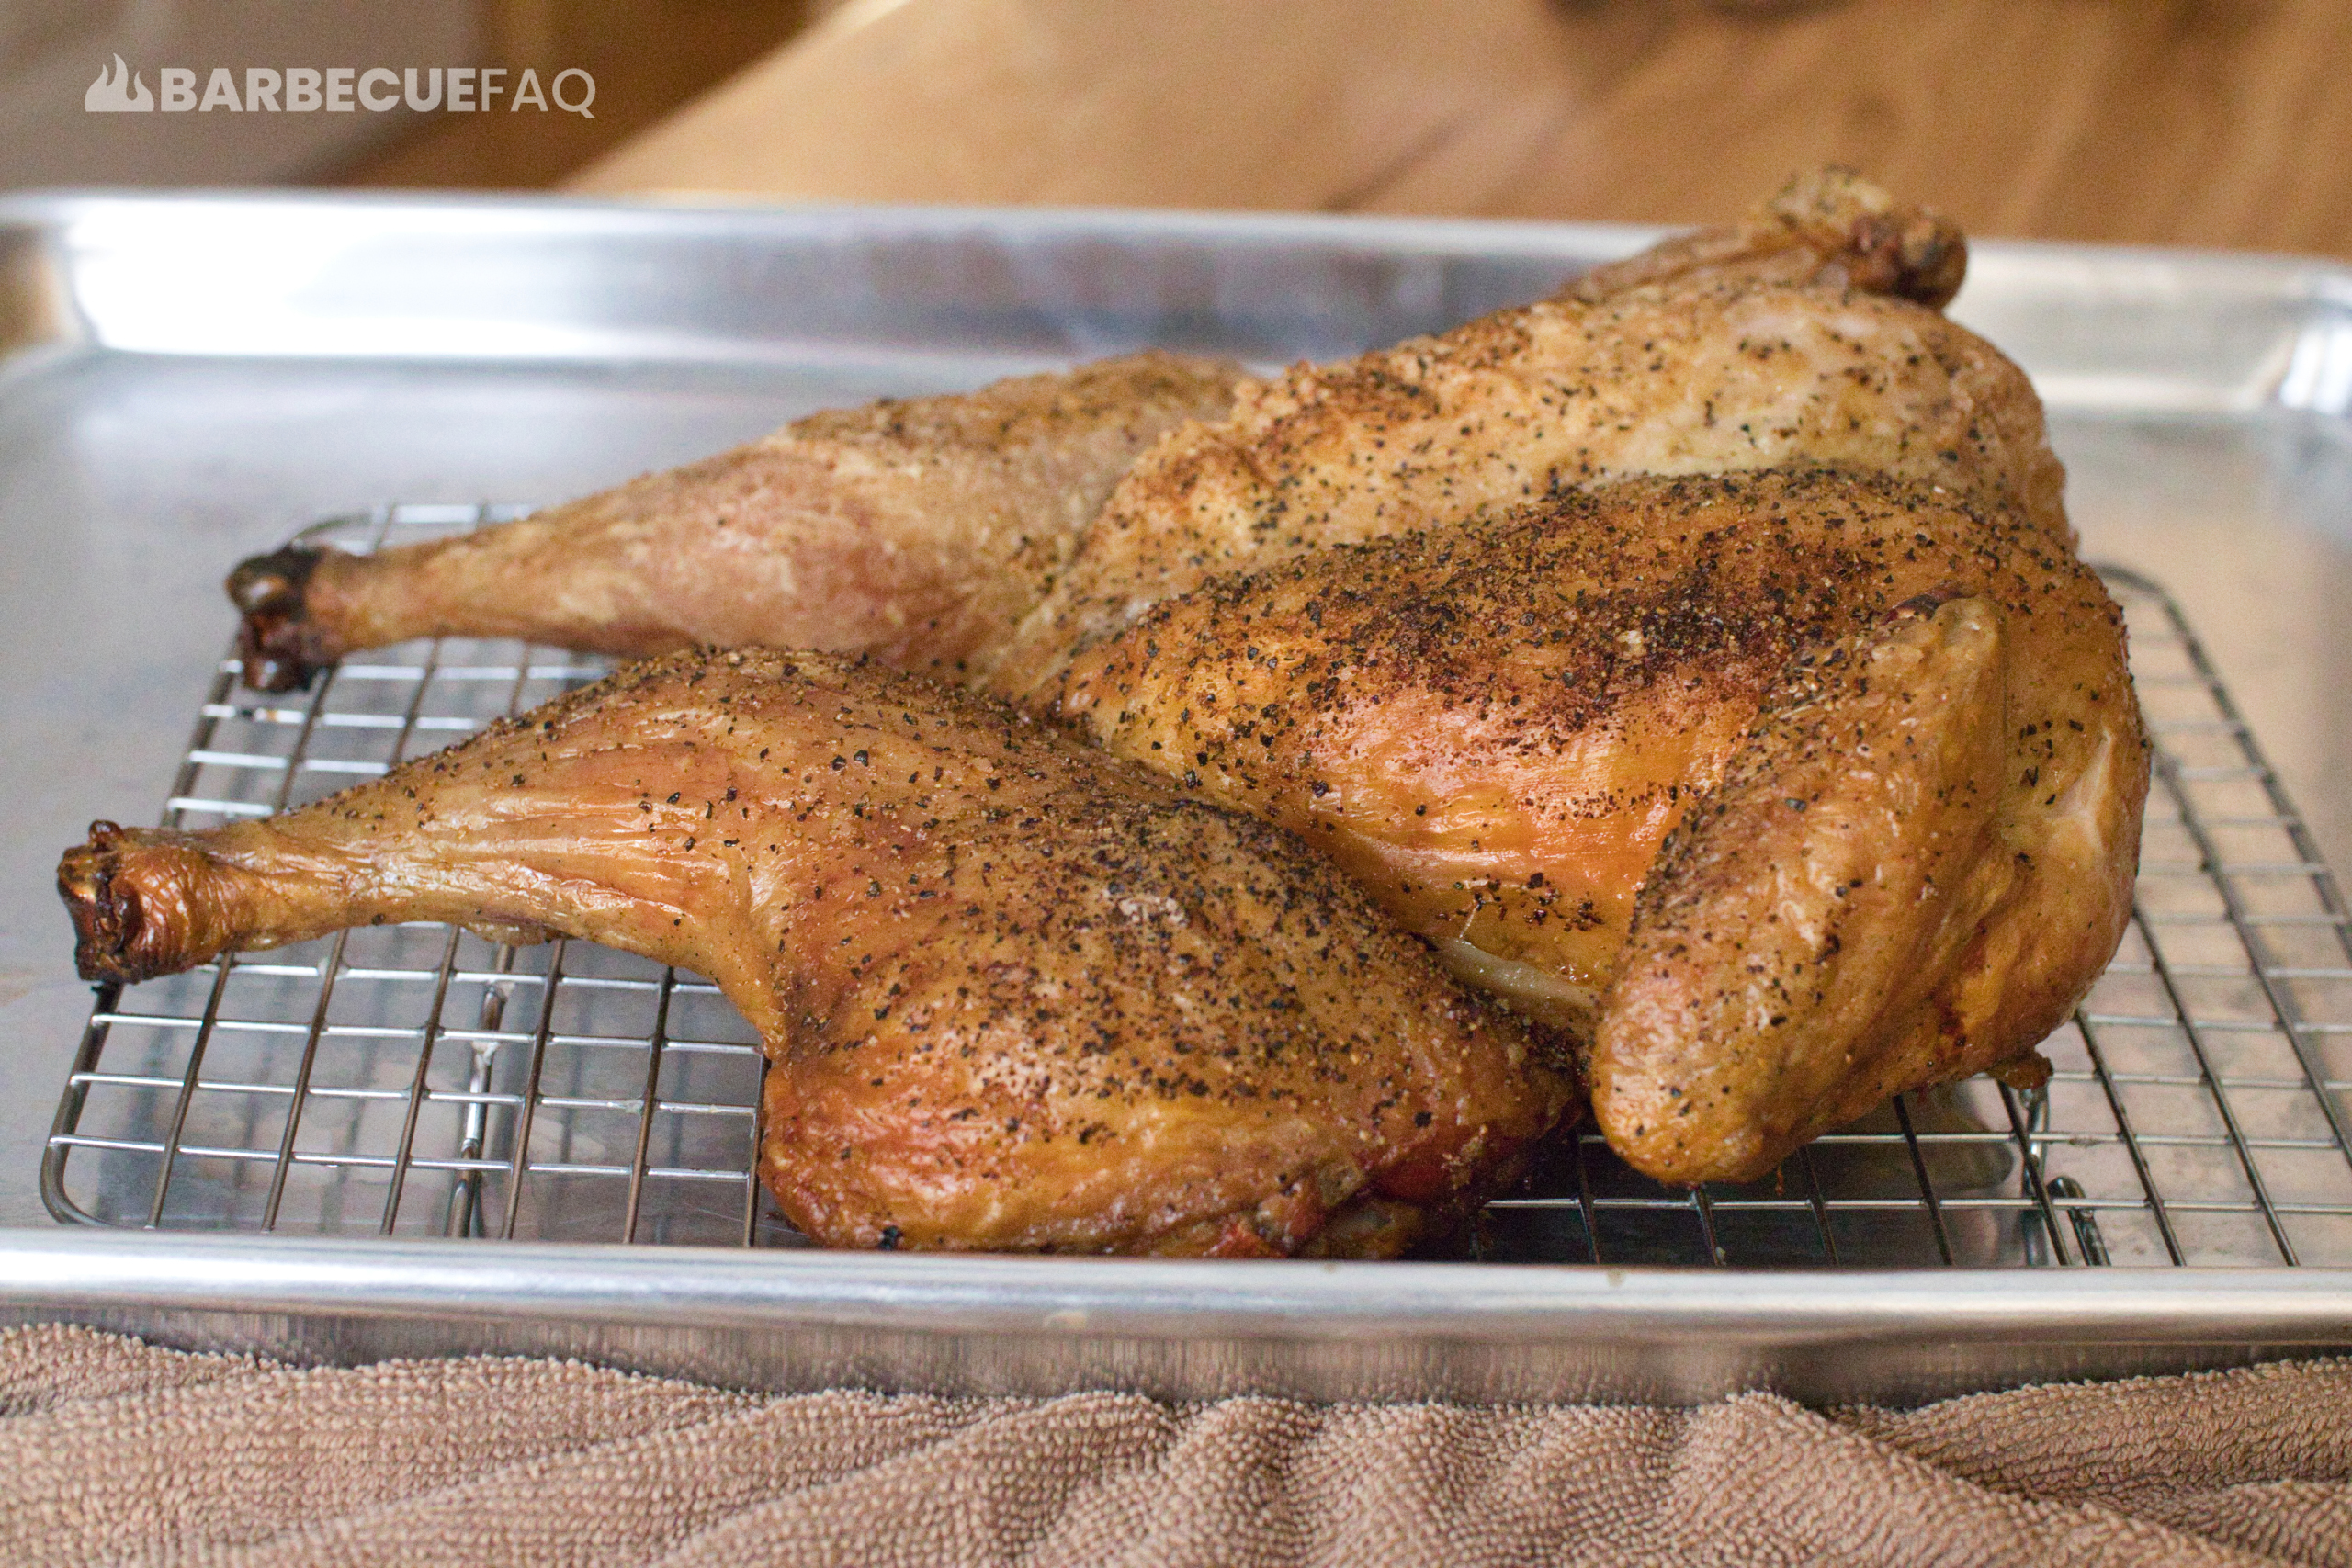
Here’s the half without the corn starch:
Here’s the half with the corn starch:
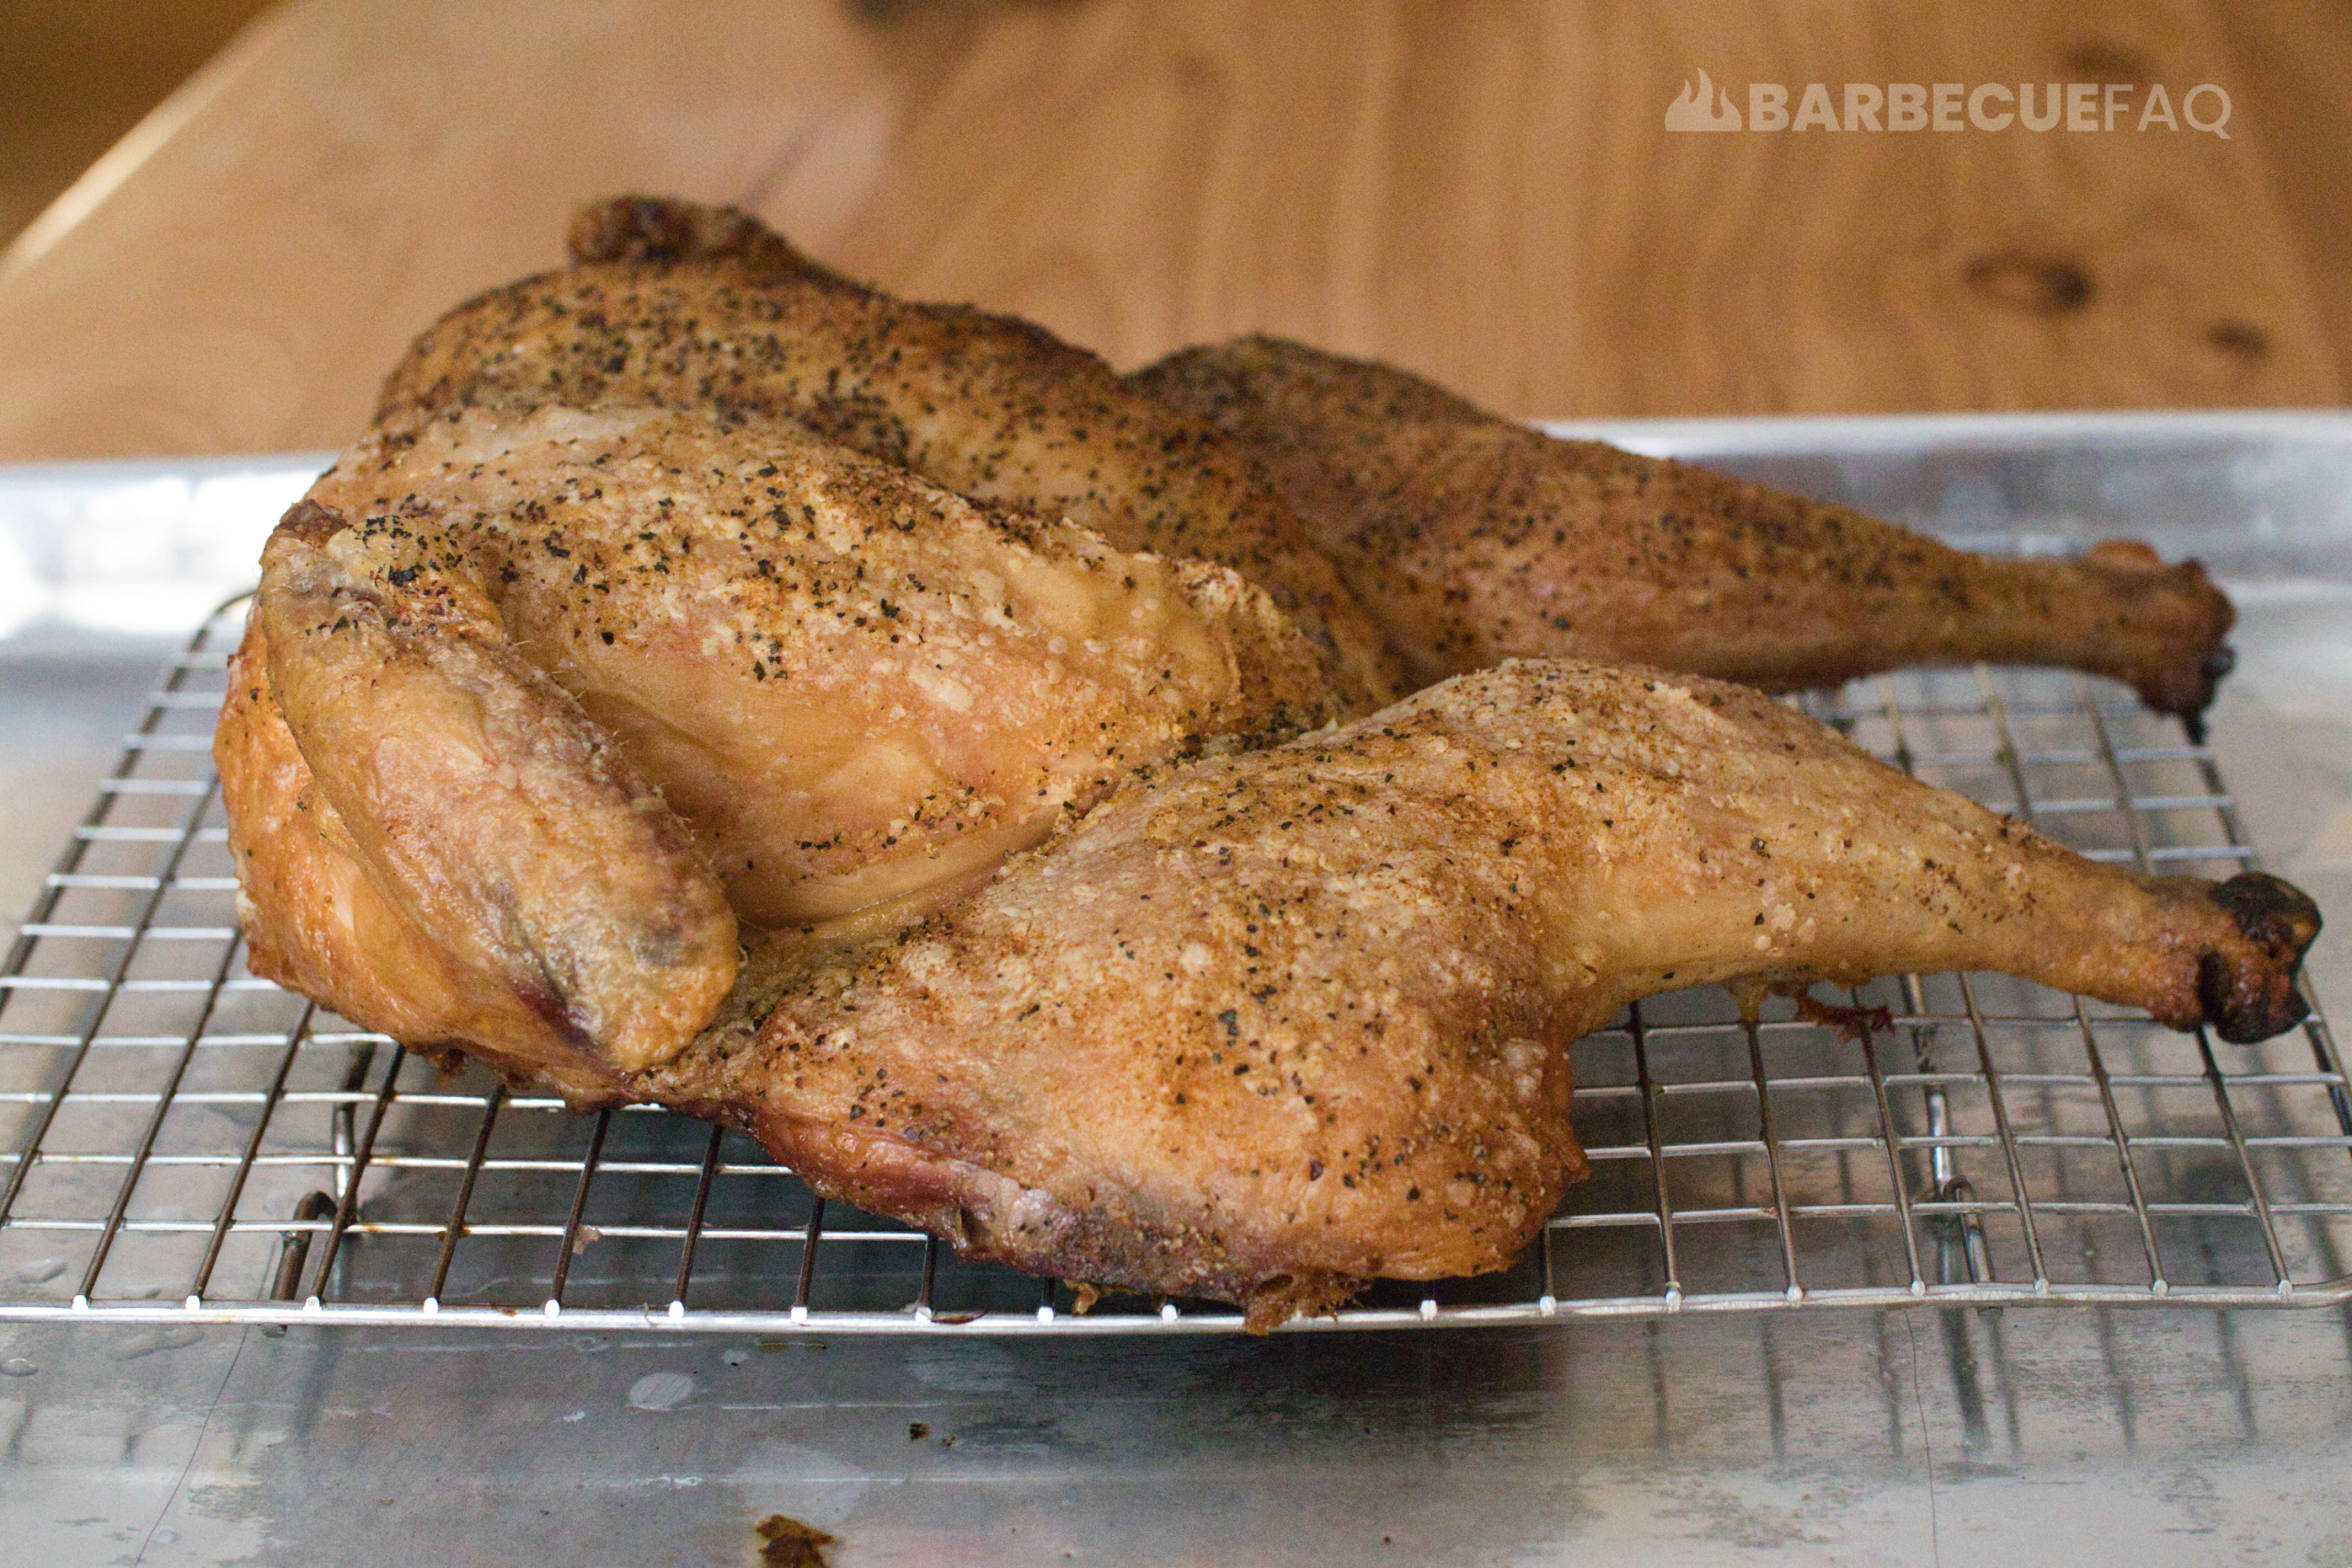
Corn Starch half: Parts like the wings, drums, and thighs achieved crispiness (to some extent) but the color of the breast was pretty lackluster – could be even off-putting to some.
The breast didn’t achieve crispiness by the time it reached 162F, in some spots it was even paste-like; This is likely due to pushing out tons of moisture.
Here’s the leg quarters after removing from the bird:
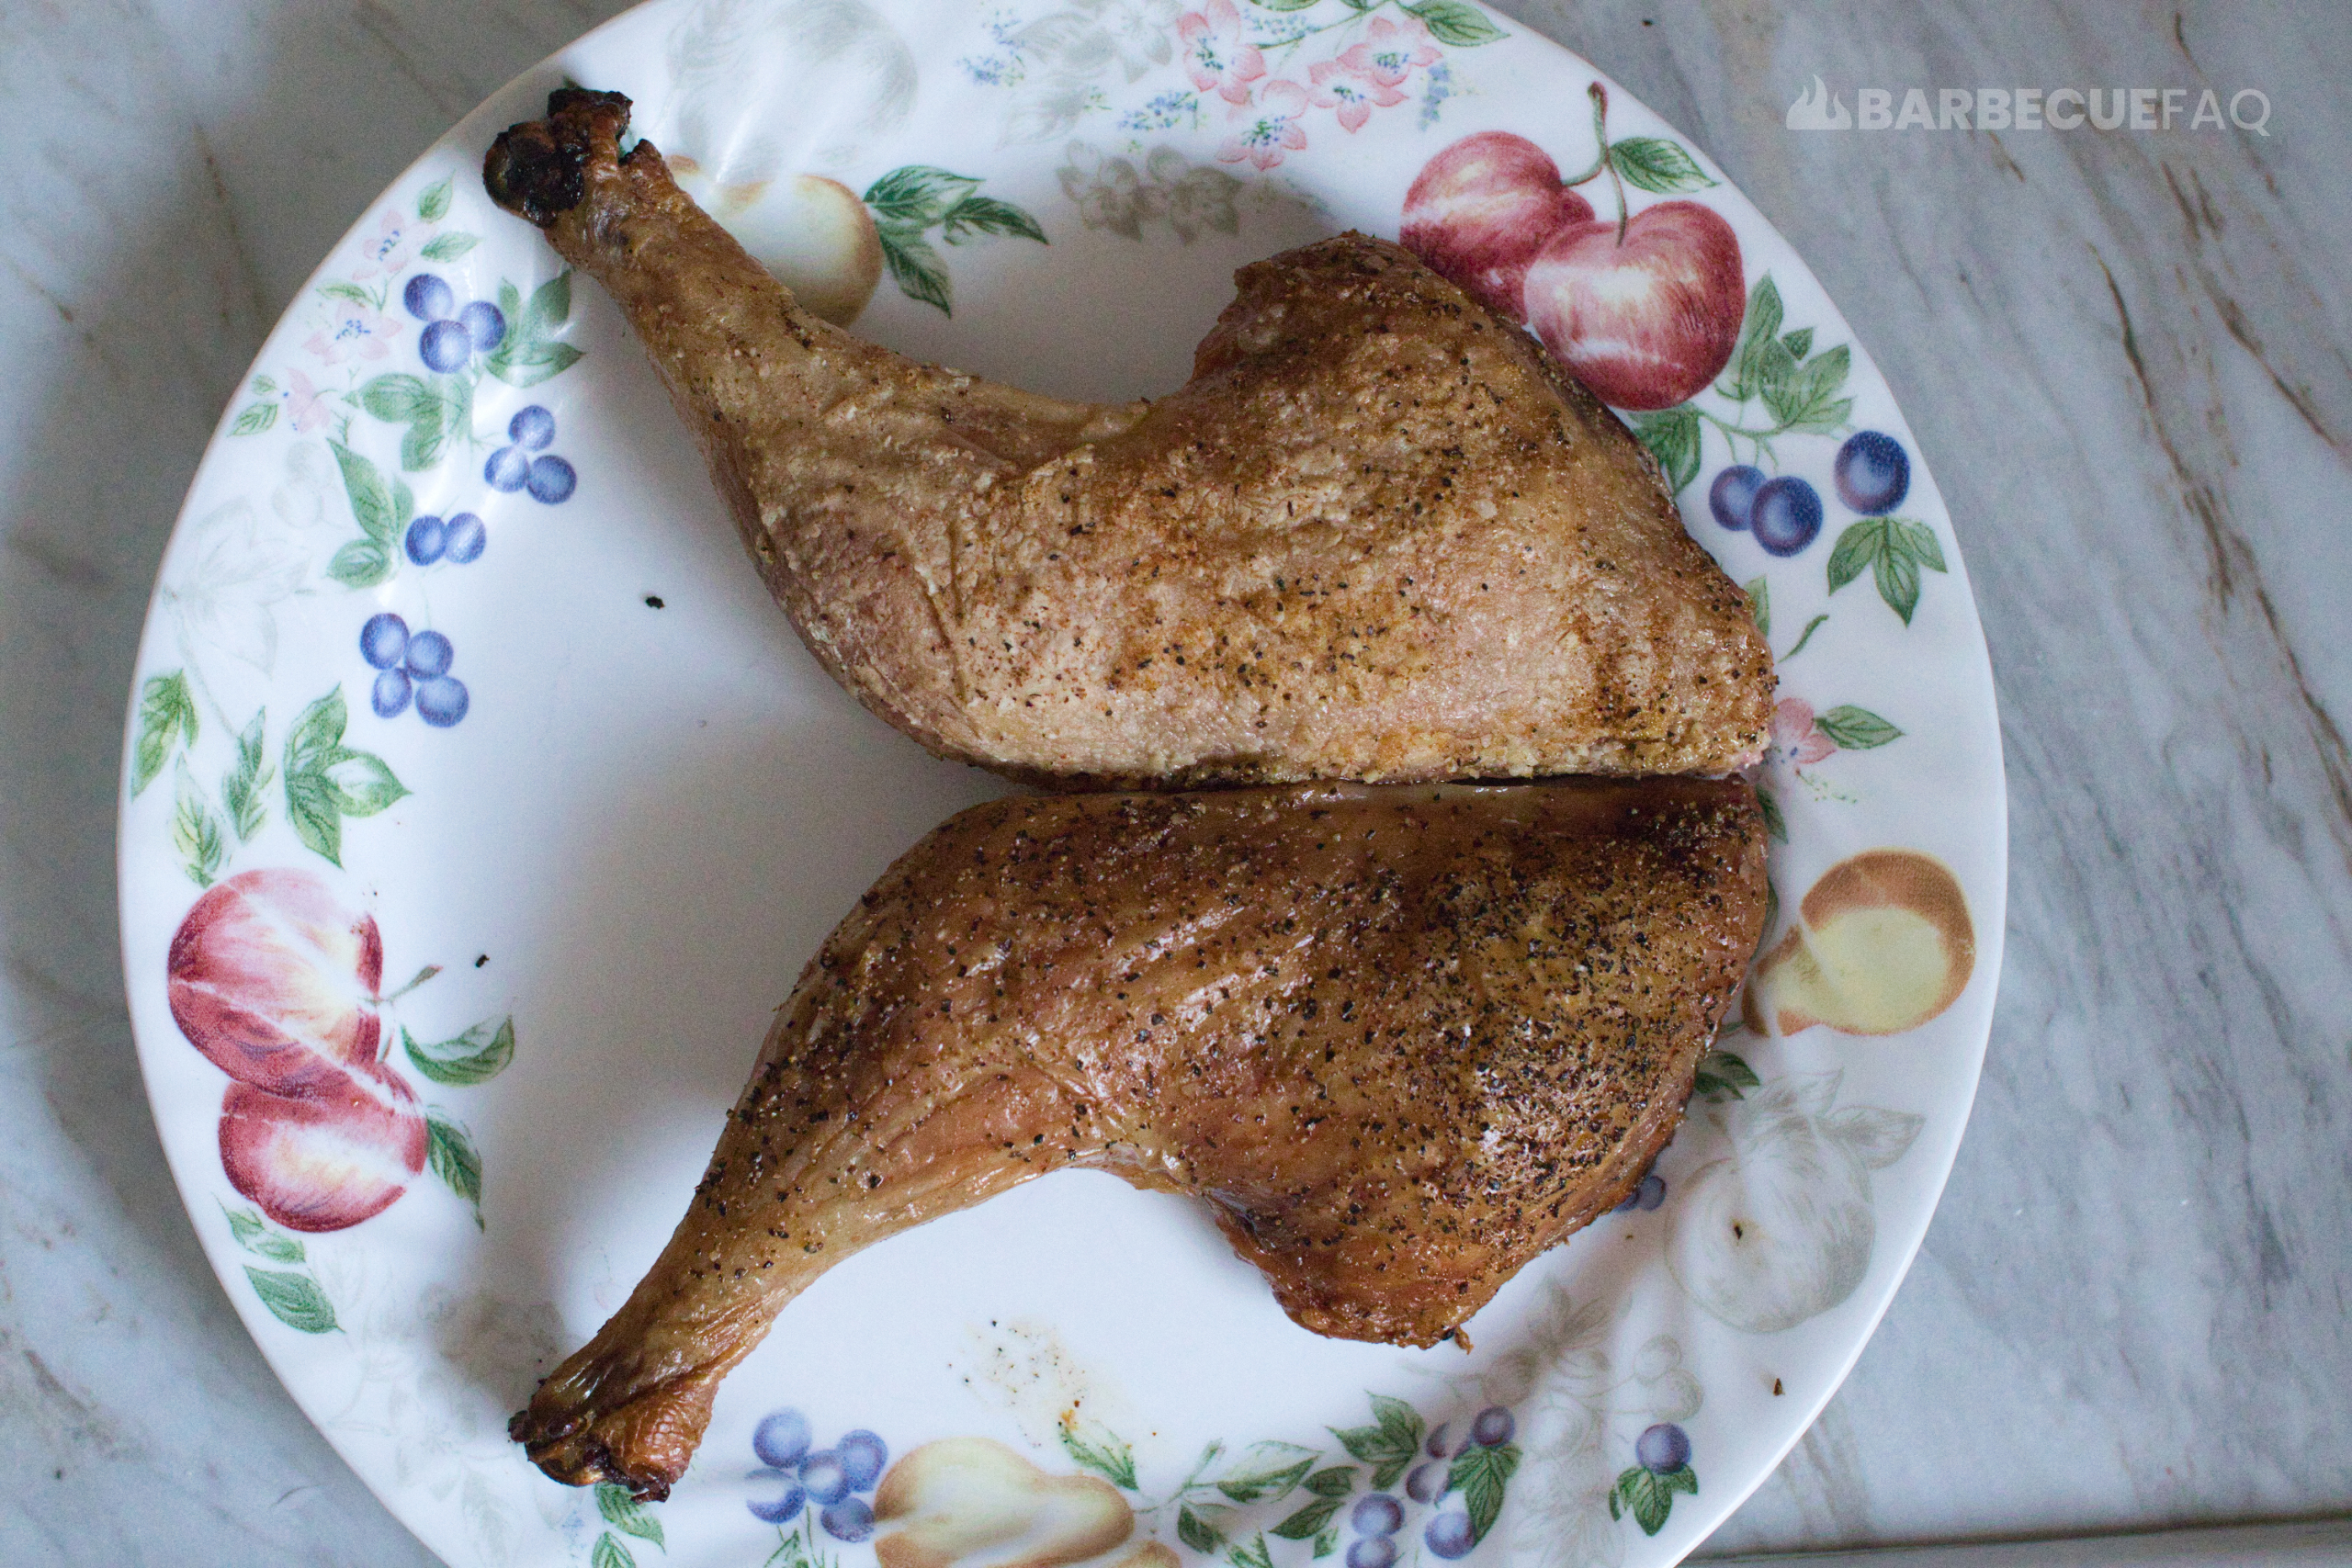
The Half Without the Starch: The breast on this half achieved a golden color that people find desirable. All parts of the chicken had crispy skin – breast, wings, and thighs/drums.
Both halves had juicy and moist meat.
People recommending baking powder for whole chicken do so because it sets up fast and browns. However, this doesn’t change my decision; I know what baking powder tastes like on Chicken skin and it tastes like sandpaper.
Things I’ve Heard of But I’ll Never Do in a Home Kitchen
They’re either too time involved or just simply don’t yield the results we’re after.
Removing Fat from the Underside of Chicken Skin
In the competition barbecue world, something these folks focus on is “bite through skin.”
For example, we’ll look at chicken thighs.
What barbecue competitors will do is physically remove the skin from the chicken thigh.
After doing so, they’ll trim the thigh meat itself and remove and/or scrape excess fat from the underside of the skin and then re-adhere it to the chicken thigh.
The above process is straightforward on something like chicken thighs which are square in shape and the skin tends to be in excess. But for something like a whole chicken or even other parts of the bird like drumsticks or wings, this process is hardly practical.
Wet Brining Chicken
While I think wet brining with an equilibrium brine works wonderfully for creating moist, juicy chicken, it doesn’t create the crispy skin we’re after.
In my opinion the overnight dry-brine (above) is also way less involved.
An equilibrium brine involves measuring quantities of salt/water, acquiring a non-reactive container, and having space in your refrigerator to do so.
A traditional equilibrium brine also tends to yield soft, rubbery skin – the opposite of what we’re after.


