

Cut Wings into Wingettes and Drumettes
Take the wings out of the packaging and then separate the “parts” at the joints.
If you’re unsure of how to do this, here’s an article I wrote.
This recipe used 1 party pack of wings (12 wings, 24 parts)

Ideally the Day Before, Dry Brine
For every 1 lb of wings, toss with:
- 1 tsp Diamond crystal Kosher salt (or 1/2 tsp table salt)
- 1 tsp Baking Powder
Put these on a wire rack on a baking sheet and allow to dry brine overnight or for AT LEAST 2 hours.
2 Hours Later OR the Next Day Set Your Pellet Grill to 425F
Dredge the Wings in Cornstarch
For Every 1 lb of wings, use 2 tbsp of cornstarch.
To a bowl – or in my case, a cheap trash bag – add your cornstarch.
Then add all your wings to the bowl and completely coat the wings in the cornstarch – shake off any excess.

If you prefer to season your dredge, by all means, go for it!
Since I sauce heavily, I don’t bother.
Put Dredged Wings on the Grill
Put the dredged wings on the grill, ensuring none of them overlap.
After 20 minutes, flip the wings over – at this point the cornstarch should be set and not flaking off.

However, If when you go to flip you notice some of the cornstarch isn’t setup, wait another 5-10 minutes before flipping.
If some are more charred, move these to the center of the grill and others towards the hot zones.
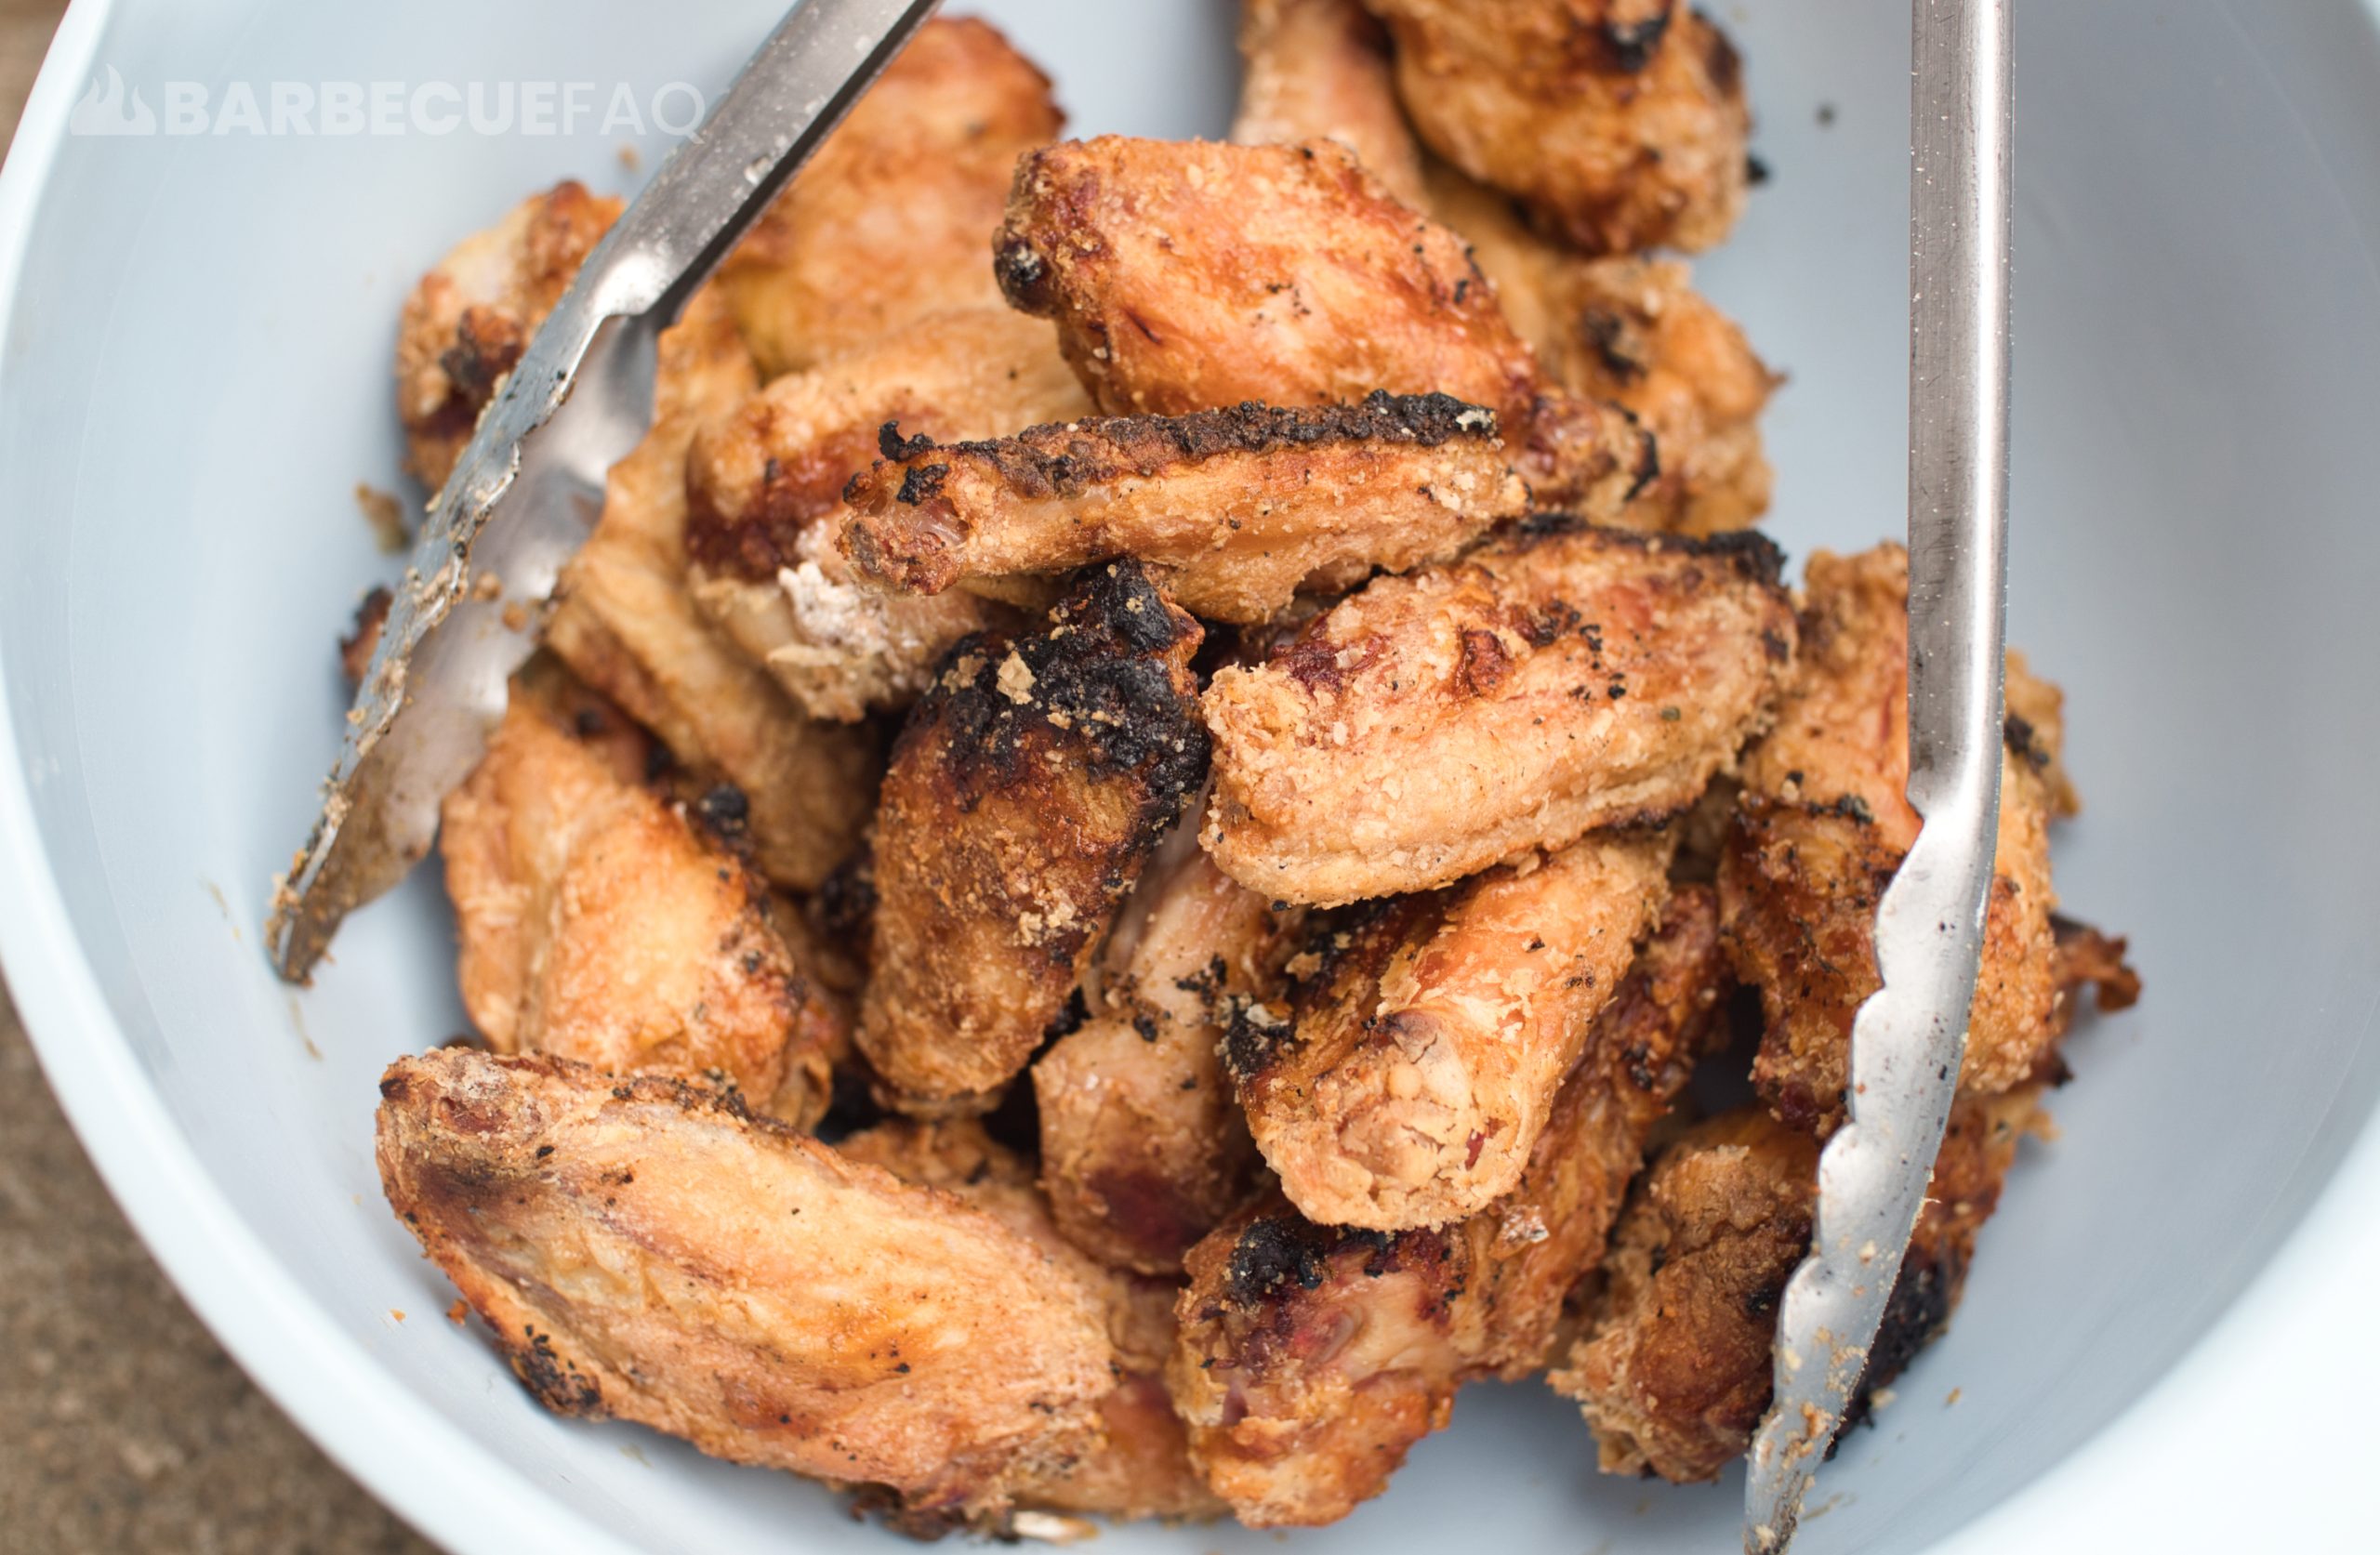
After another 20 minutes, check the wings again. At this point they should be browned, and the skin should look crispy.
The entire cooking process takes ~40 minutes.
The internal temperature you should aim for is 190-200F+.
Saucing the Wings
Get 1-2 cups of your favorite hot sauce or barbecue sauce and add it to a pot.
Set heat to low or medium-low.
Add a half stick of unsalted butter and use a wooden spoon to stir it into the sauce.
Incorporate this butter by melting it slowly into the sauce. Going too hot will cause the milk fat to separate.
Toss the Wings in the Sauce
Take your wings and add them to a large mixing bowl.

Take your sauce and pour the sauce over the wings and toss them in the sauce.
There you have it – crispy / crunch chicken wing perfection!
Crispy Pellet Grill Chicken Wings
Ingredients
- 1 lb chicken wings
Dry Brine (per 1 lb wings)
- 1 tsp Diamond crystal Kosher salt or 1/2 tsp table salt
- 1 tsp Baking Powder
Cornstarch Dredge (per 1 lb wings)
- 2 tbsp Cornstarch
Sauce
- 1 cup Wing Sauce (hot sauce, bbq sauce, etc.)
- 1/2 stick unsalted butter
Instructions
- Separate wings at joints into wingettes and drumettes, discarding wingtips (or save for stock).
- For every 1 lb of wings, toss with 1 tsp Diamond Crystal Kosher salt and 1 tsp baking powder.
- Place on a wire rack over a baking sheet and dry brine for at least 2 hours or overnight.
- The next day or 2 hours later preheat pellet grill to 425F.
- Toss wings in cornstarch (2 tbsp per 1 lb of wings) until completely coated, shaking off excess.
- Place wings on grill in a single layer with no overlap – avoiding hot zones.
- After 20 minutes, flip wings. If cornstarch isn't set, wait 5-10 minutes before flipping.
- Cook another 20 minutes until browned and crispy, moving charred wings to cooler zones if needed.
- Wings are done when internal temperature reaches 190-200F.
- Heat 1-2 cups sauce with half stick unsalted butter on low-medium heat, stirring slowly until butter melts and incorporates.
- Toss cooked wings in sauce and serve.
2 comments
Wayne Bowlen
Very informative. Can wait to give it a go.
Dylan Clay
Happy to help Wayne!