The reason people opt to reverse sear is because it improves a few aspects of the steak:
- Creates less of a thermal gradient – aka, even doneness or “wall to wall” slices.
- Far better control of internal temperature too, especially when trying to achieve medium-rare.
- Tends to create a better crust since it further dries out the surface before searing
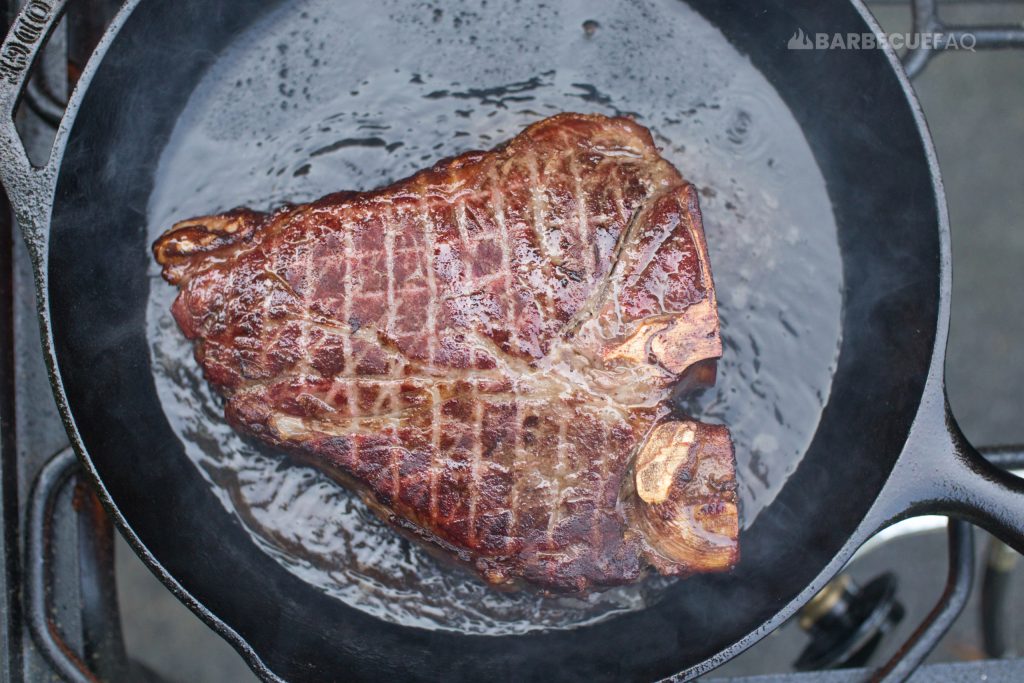
However, there are downsides:
- It takes far longer.
- It doesn’t work super well for thin steaks; Which most retail cuts of steak are cut to ~0.75-1 inch thick.
Dylan’s Suggestion: If you have the time – I’d suggest reverse searing any cut of steak that’s 1+ inches thick.
Any steak that’s less than 1″ thick, I’d opt to sear the traditional way.
Regardless of Method, We Sear for Flavor
Searing causes steak to go through Maillard reactions.
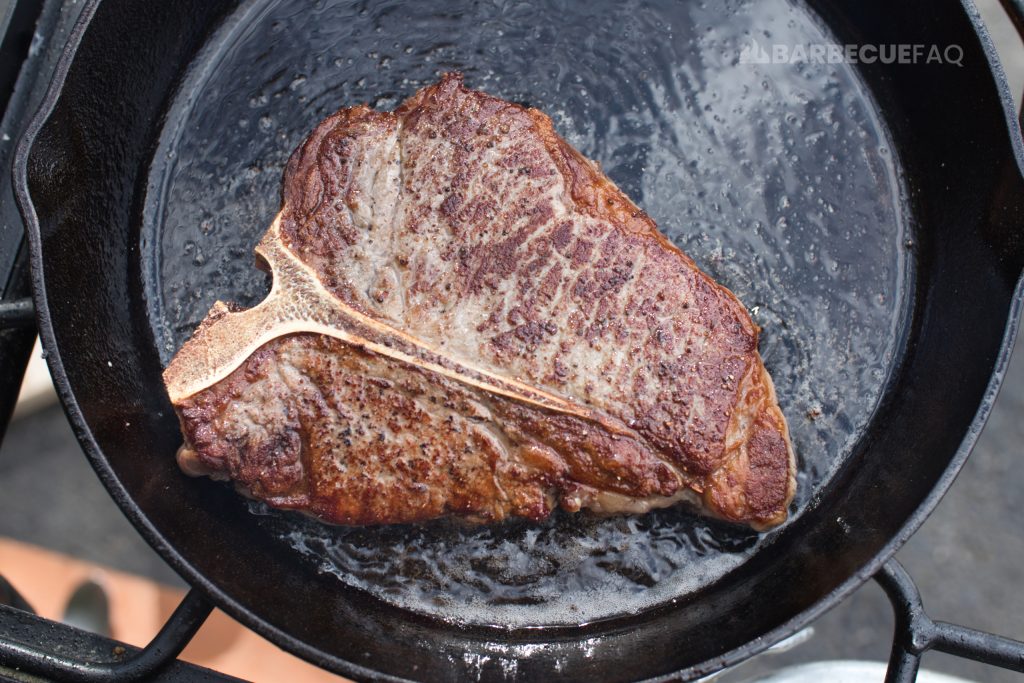
These Maillard reactions – which people often refer to as a “browning” – are chemical reactions between amino acids and simple sugars.
The result of maillard reactions (apart from color change) are new flavors and aromas that improve the eating experience.
That’s why you sear steak and why you brown food before slow roasting.
Note: Searing does absolutely nothing to create a moisture barrier and doesn’t “lock in juices.”
Moisture is expelled via heat and the denaturing of proteins. Cooking steak to certain internal temperatures is what causes the meat (muscle tissue) to expel free moisture.
Types of Heat with Regards to Steak or Cooking in General
There are 2 forms of heat we need to concern ourselves with:
- Convective heat
- Radiant heat
Convective heat is heat that surrounds the steak from all sides.
Radiant heat is the direct transfer of heat and it doesn’t rely on a medium like air to carry the heat.
That’s somewhat hard to picture, so here’s a diagram:
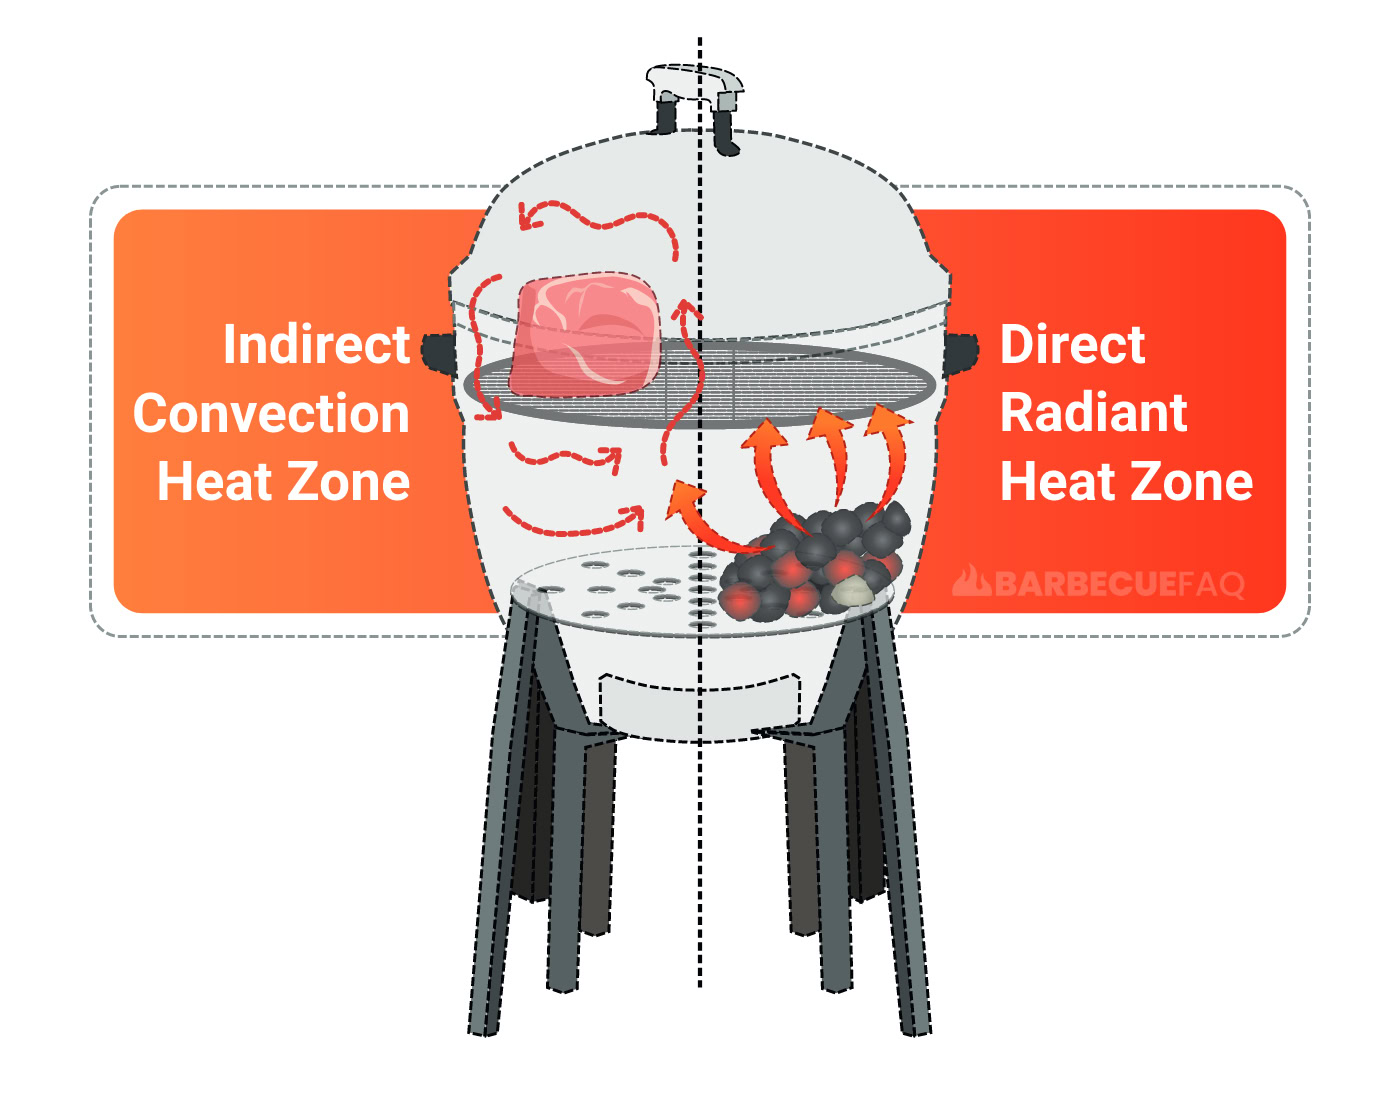
The meat placed in the “indirect” zone is receiving convective heat via the movement of air.
If the meat was placed directly above the charcoal, it would be experiencing radiant heat.
Reverse Searing is Manipulating this Heat
A reverse sear is:
- Start in convective heat
- Finish in Radiant heat
VS a regular sear:
- Start in radiant heat
- Finish in convective heat OR carryover via resting
What is the Standard Way of Searing?
The normal way of searing steak is to first sear the outside of the meat – often people will say to give it a “hard sear.”
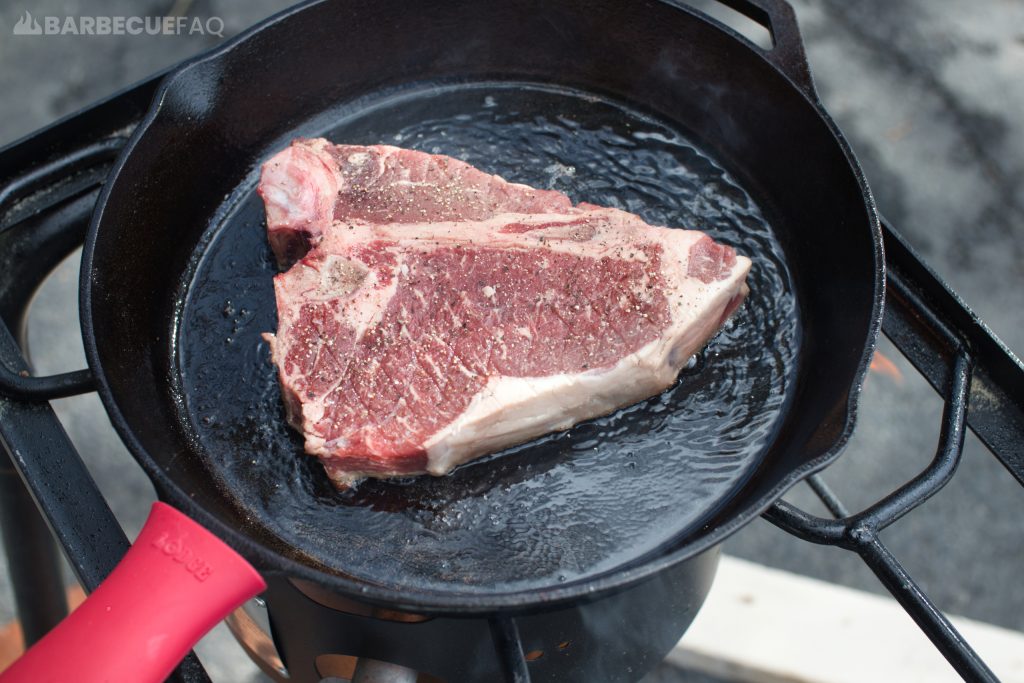
Then the goal is to simply take the meat from a cold internal temperature to near your finishing temperature.
When a crust is formed, you now want to offer the meat convective heat from your oven or the “indirect” zone of your grill.
OR if it’s a thin cut of steak, you simply rest it to allow carry-over cooking to occur.
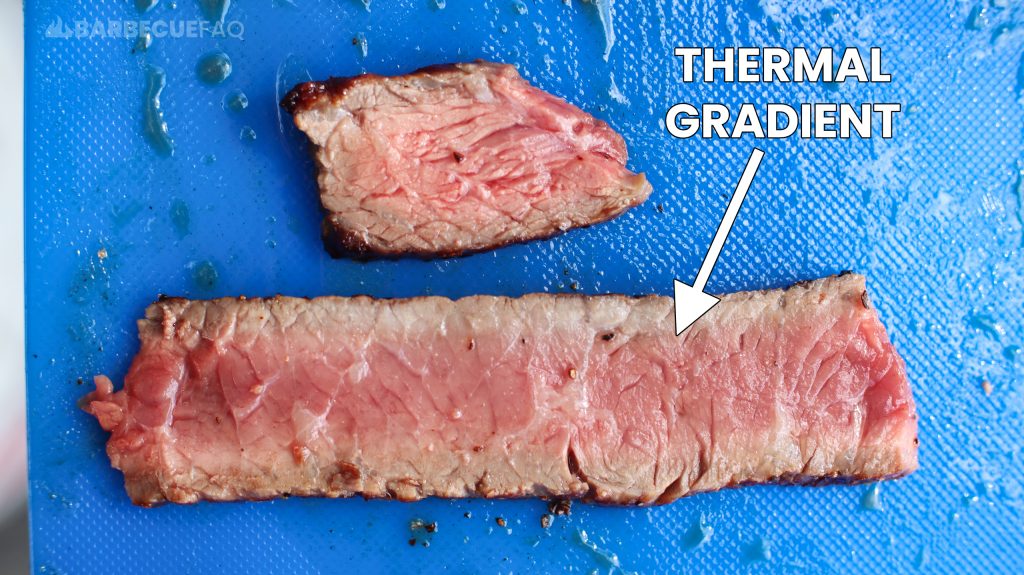
The result is less even heating and a “gradient” of doneness:
What is a Reverse Sear?
A reverse sear takes the standard method above and reverse it.
Instead you’d start by placing the steak in the convective heat – like in your oven or on your grill, away from the radiant heat.
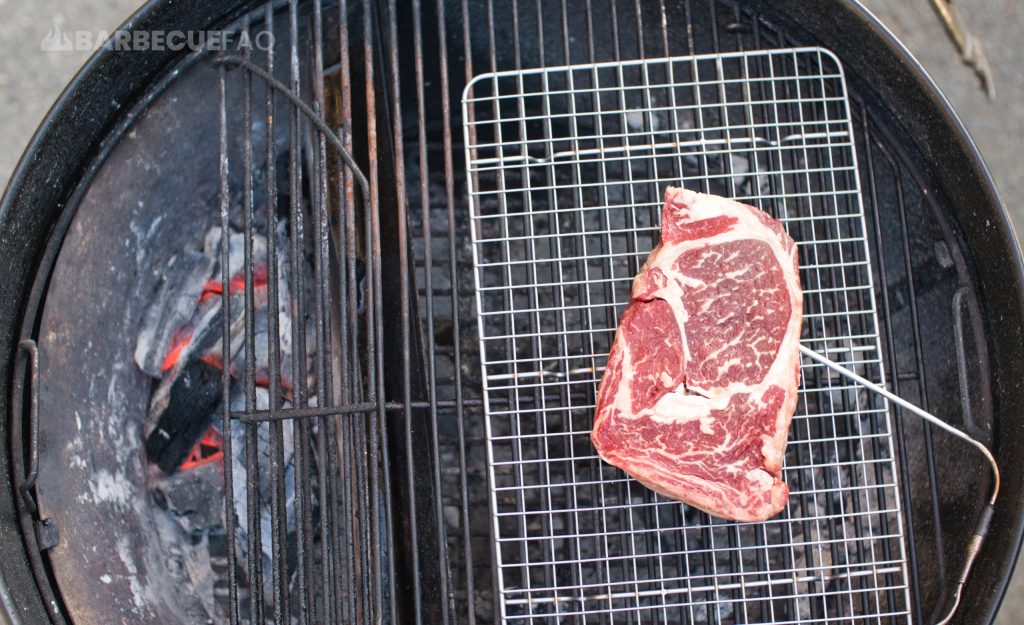
Once you’re near your desired finishing temperature (roughly ~5-10F below), you take it out of the convective heat – allow it to rest for 5-7 minutes to minimize carryover – and then place it on the radiant heat.
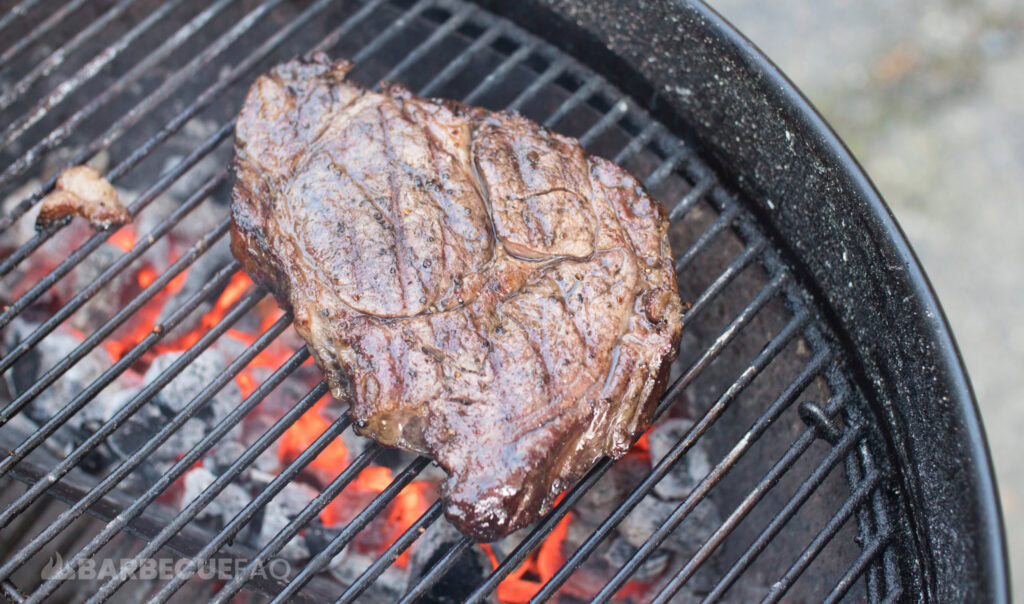
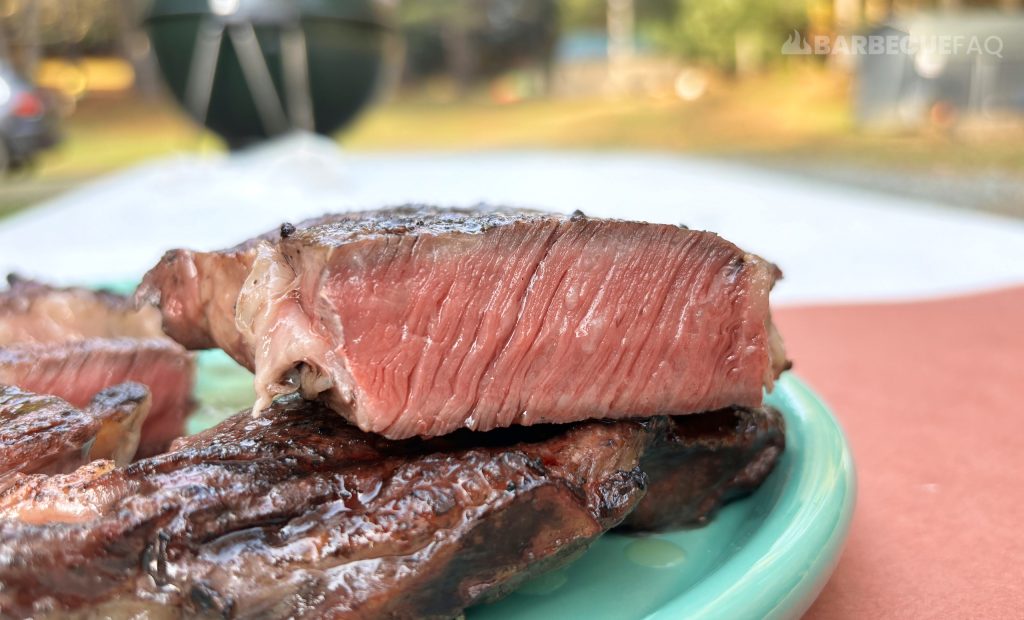
The result is more wall-to-wall doneness and minimal grey-band:
If you’re a beginner to cooking steak, I’d definitely recommend that you reverse sear.
Side-note on Reverse Searing’s History: Most people have heard of this method from J. Kenji López-Alt; While I think the information Kenji shares is wonderful – he is not the founder of this method (even though People speak as though he was).
Here’s a video from Harvard University where-in Harold McGee discusses Justus von Liebig’s false claim that searing “locks-in” in Juices. In passing he also mentions how even in the 1800s this method of cooking to temperature first and then searing was popular.
Where-as it has only become popular in the past 20-ish years by Modern Chefs (like Kenji).


