
Start with a 10-13 lb Packer Brisket or Trim it Down to Size
You’ll struggle to fit a 15-20 lb packer brisket on the weber kettle.
I’d also suggest getting at least a choice or prime grade brisket just to prevent it from drying out.

Keep in mind, if you’re only able to get huge packer briskets, no sweat!
Trimming will allow you to remove as much weight/size as necessary to fit on the Weber kettle.
Other “Stuff” to Look For
Look for stuff like this in the packaging:
- A trimmable fat cap (pictured below)
- An even-ish flat muscle (pictured below)
- Good marbling in the flat muscle
Here’s a picture of the fat cap side:

Here’s a picture of what I mean by even-ish flat:

I also try to avoid:
- Shoddy butcher work
- “Trimmed” briskets
- You do not want the point removed
Trimming the Brisket
I have a tutorial on this that I can’t condense here – be sure to check it out.
The goals really are:
- Remove hard fat that won’t render.
- Round edges of flat and remove thin meat.
- Bring fat cap down to 1/4″ thick.
- Remove scraggly meat like the “mohawk”
Here’s the fat side before (left) and after (right):

Here’s the meat side before and after:

Simple Dry Rub for Brisket
For this recipe I used roughly:
- 1-2 Tablespoon(s) cracked peppercorns on both sides
- 1-2 Tablespoon(s) Morton’s kosher salt on both sides
- 1-2 Tablespoon(s) Lawry’s on both sides
Here’s a few of my other rub recipes that work well for brisket:
Get Your Weber Kettle to 250F
There are a number of different ways to smoke on a charcoal grill like the Weber kettle – what you have will determine the method you use.
Start with your vents wide open – once you hit 225F in the indirect zone, close your exhaust vent half way.
Put your Brisket on indirect:

If you followed my trimming guide – put the hump side closest to the fire.
All I had was cherry wood so that’s what I used – add a new wood chunk every 45-60 minutes.
Close the lid and ensure the exhaust vent is over the meat.
Checking on the Brisket 4-5 Hours Later
At this point I can start to tell that the meat is nearing the color I like where the outside starts to look like a meteorite.
As indicated by the picture below, I can tell that spot can likely render more simply because the color change hasn’t occurred on the surface.

I waited another hour for a total of 6 hours of smoke.
I also like to wrap when the thickest part of the flat is at least 175F+ as this means we’re basically out of the stall.

Foil Boating the Brisket @ 175F Internal
Set your oven or electric smoker to 250F.
Lay out two sheets of heavy duty aluminum foil, place the brisket fat side up in the center of the foil.
Crinkle the edges of the foil around the brisket.

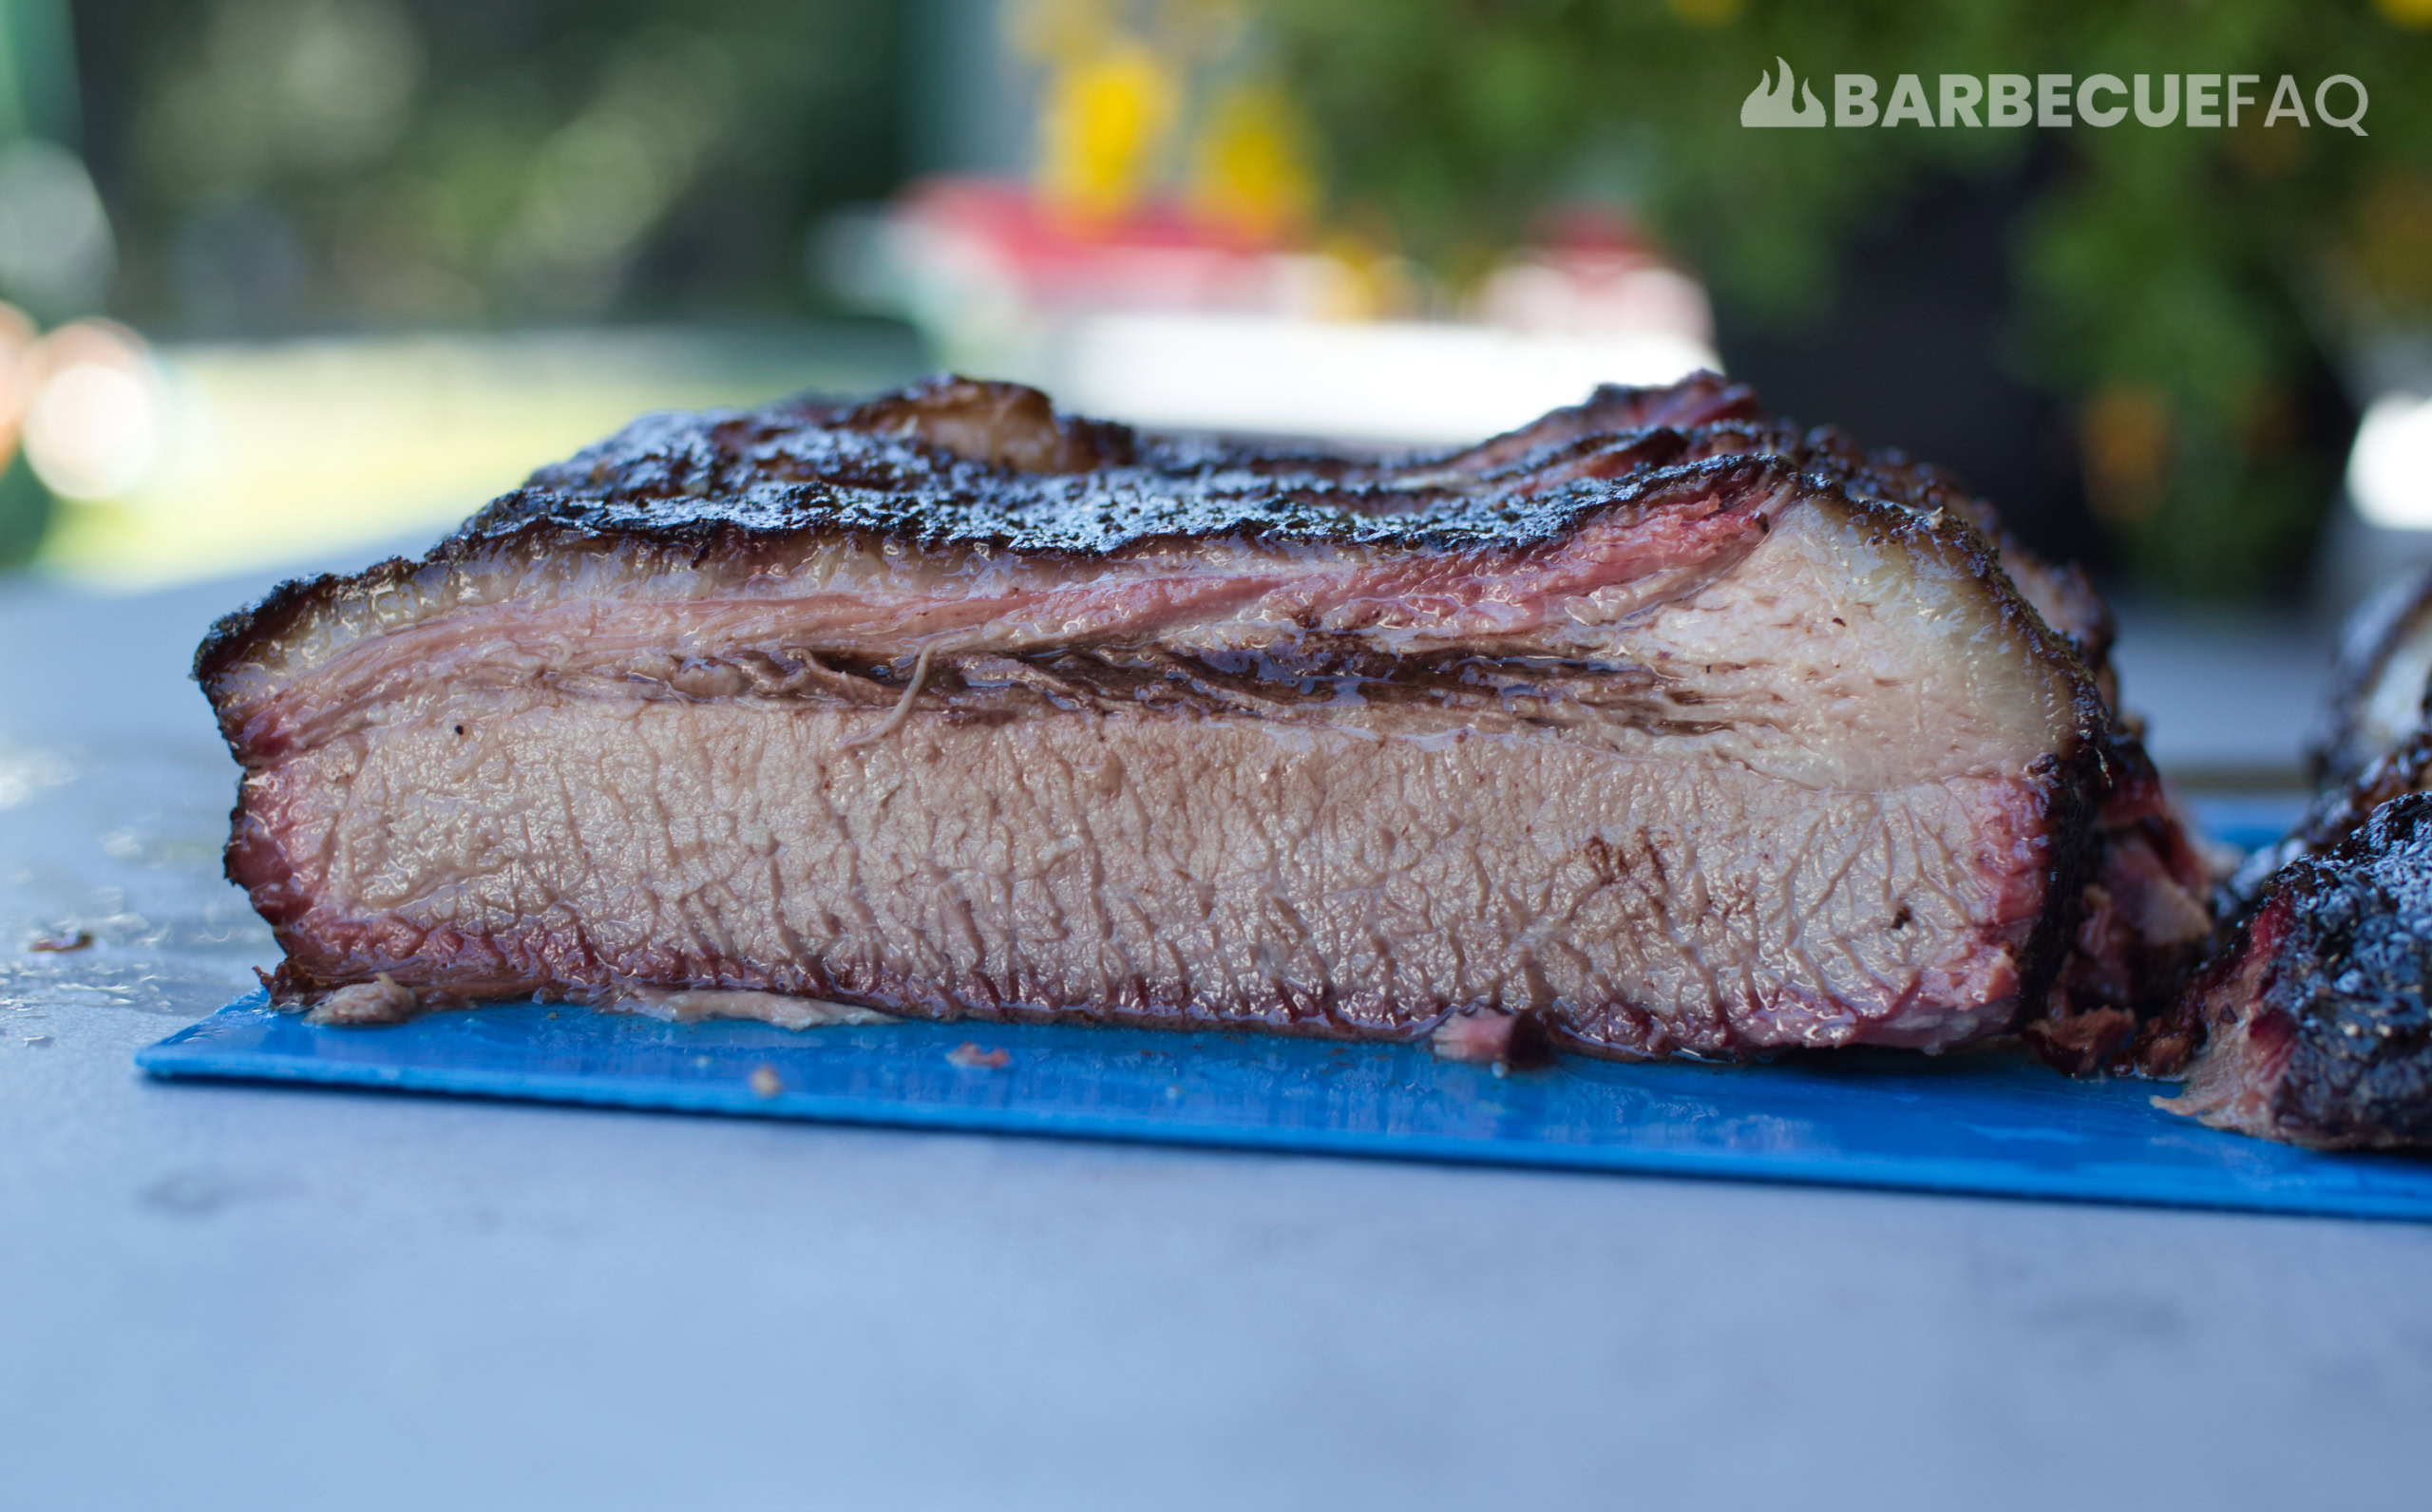
The biggest benefit of foil boating is that you continue to render the fat on top.
As fat renders, it collects in the boat which then confits the meat side of the brisket.
This results in tender meat, wonderfully rendered fat, and a better bark.
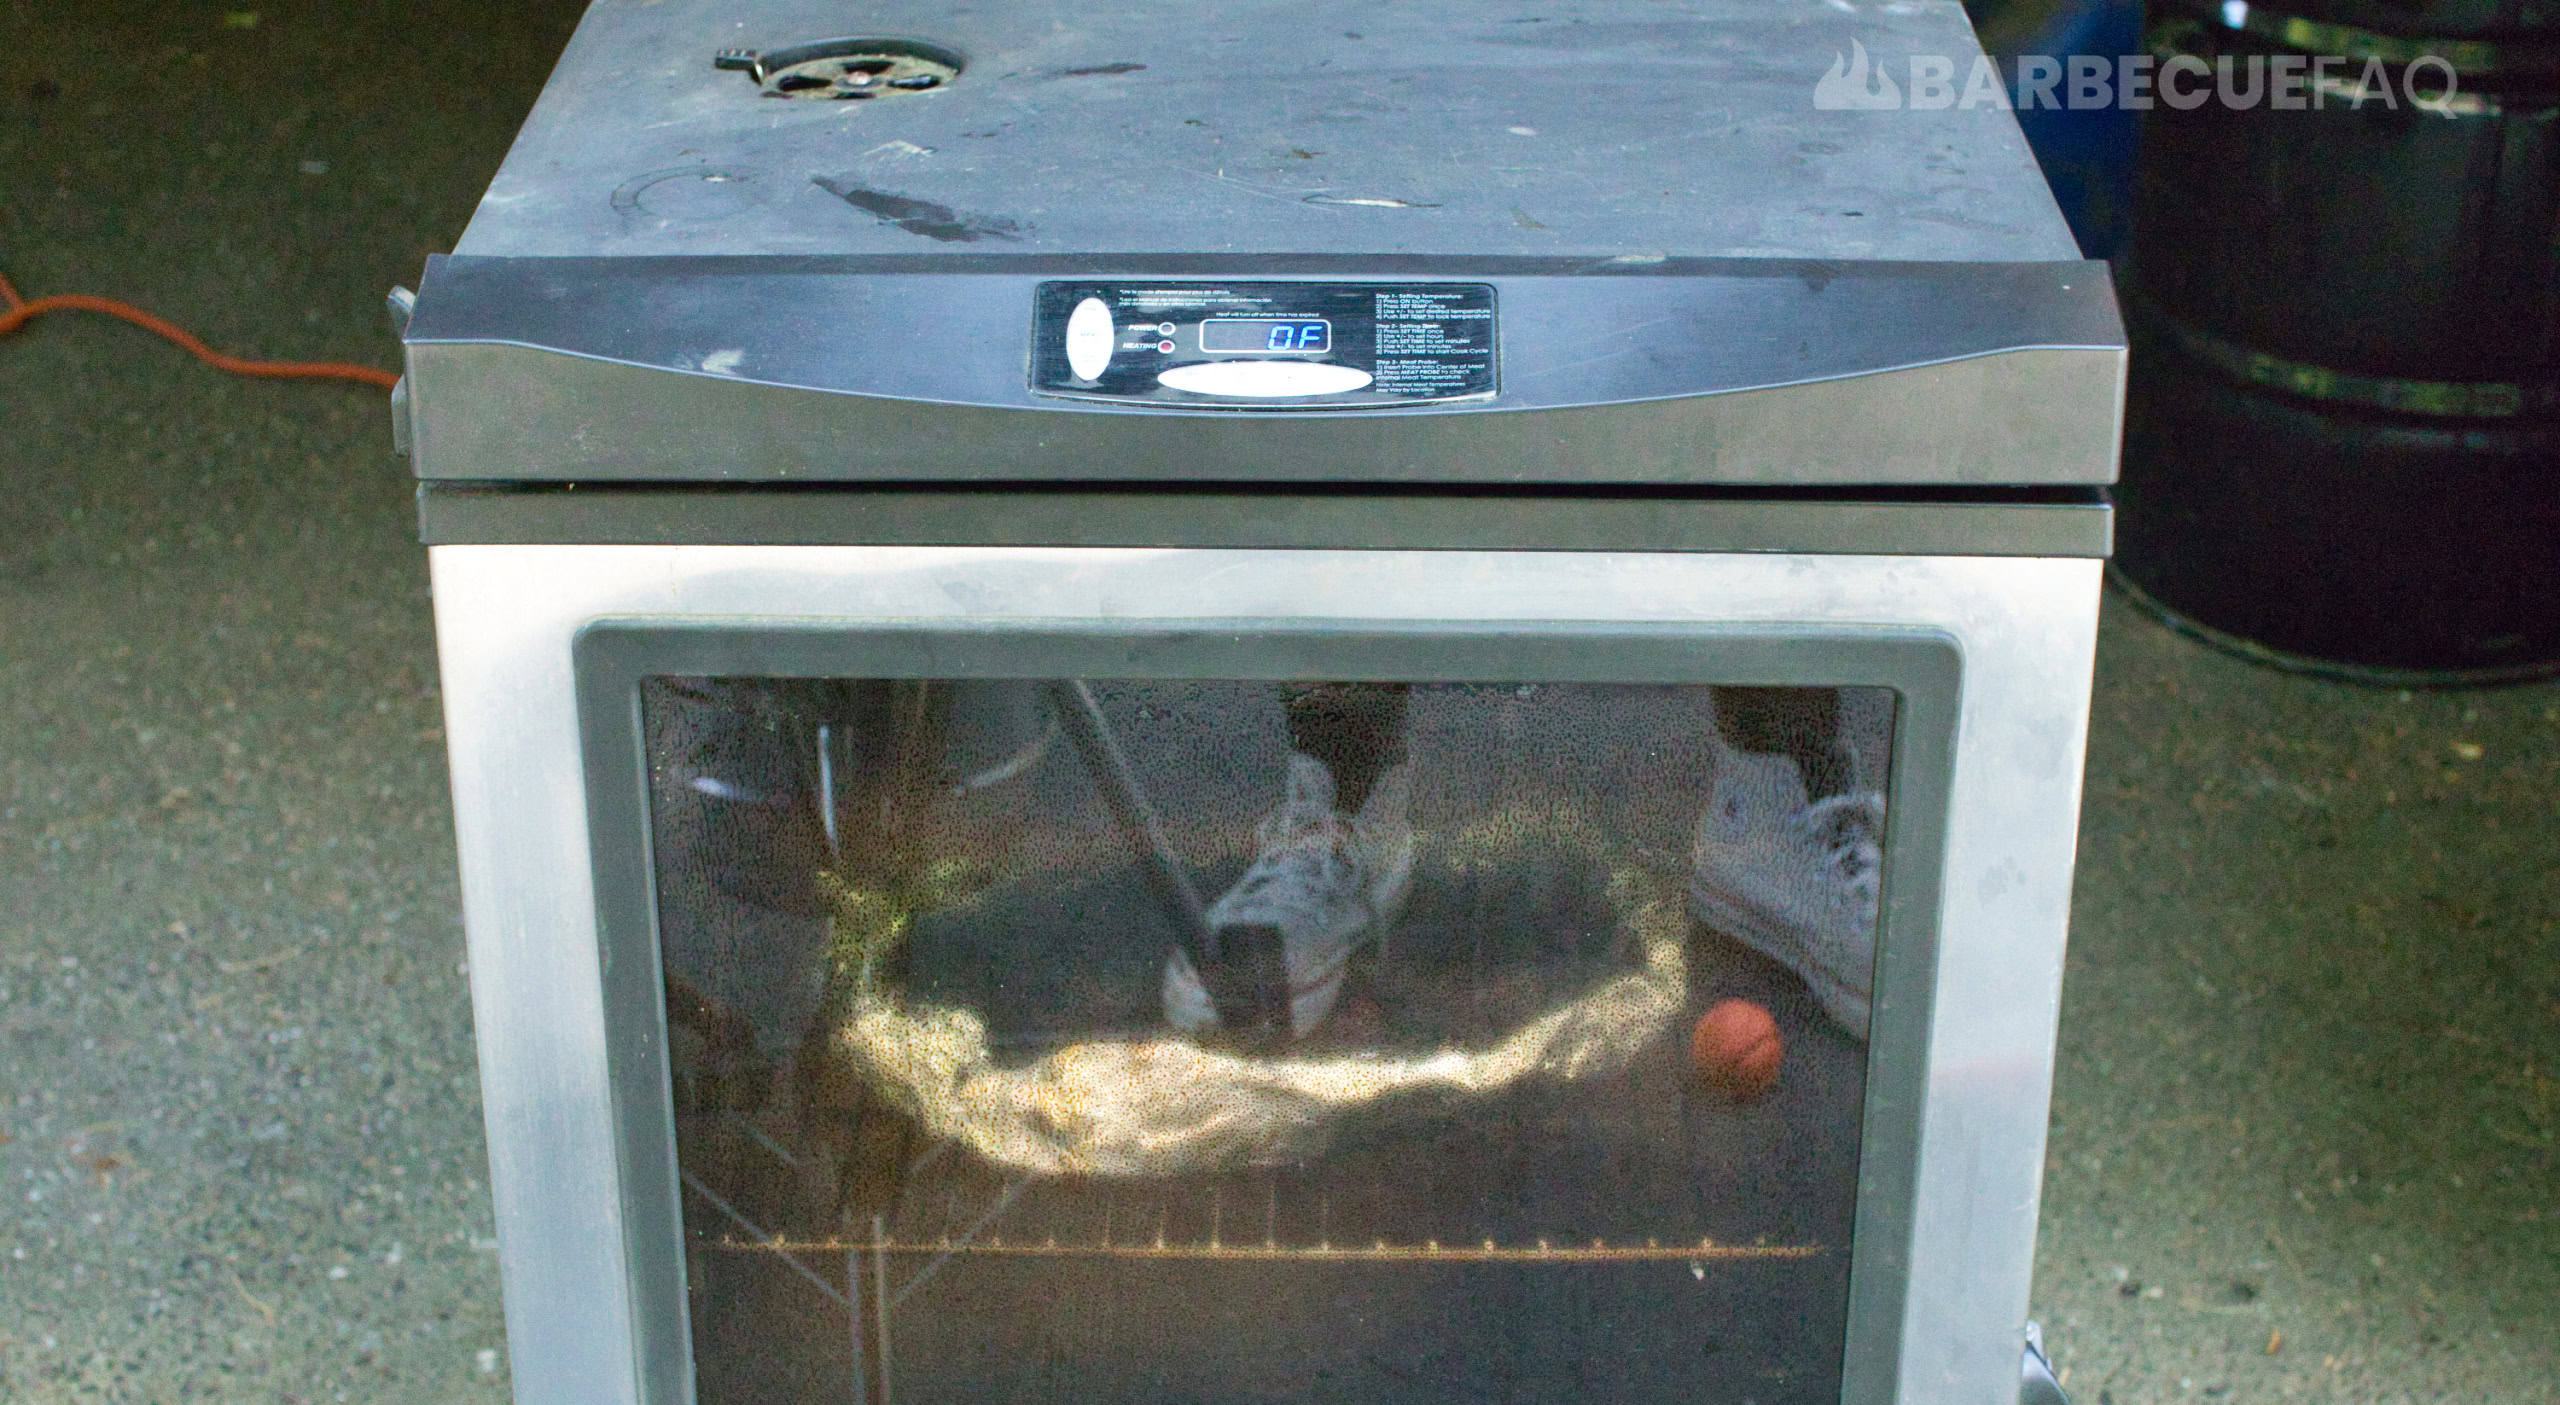
Finishing in Your Oven or Electric Smoker
Charcoal is more expensive than electricity and at this point the meat won’t take on anymore smoke – so we transfer to the Oven or electric smoker to finish the meat.
Set the oven or electric smoker to 250F.
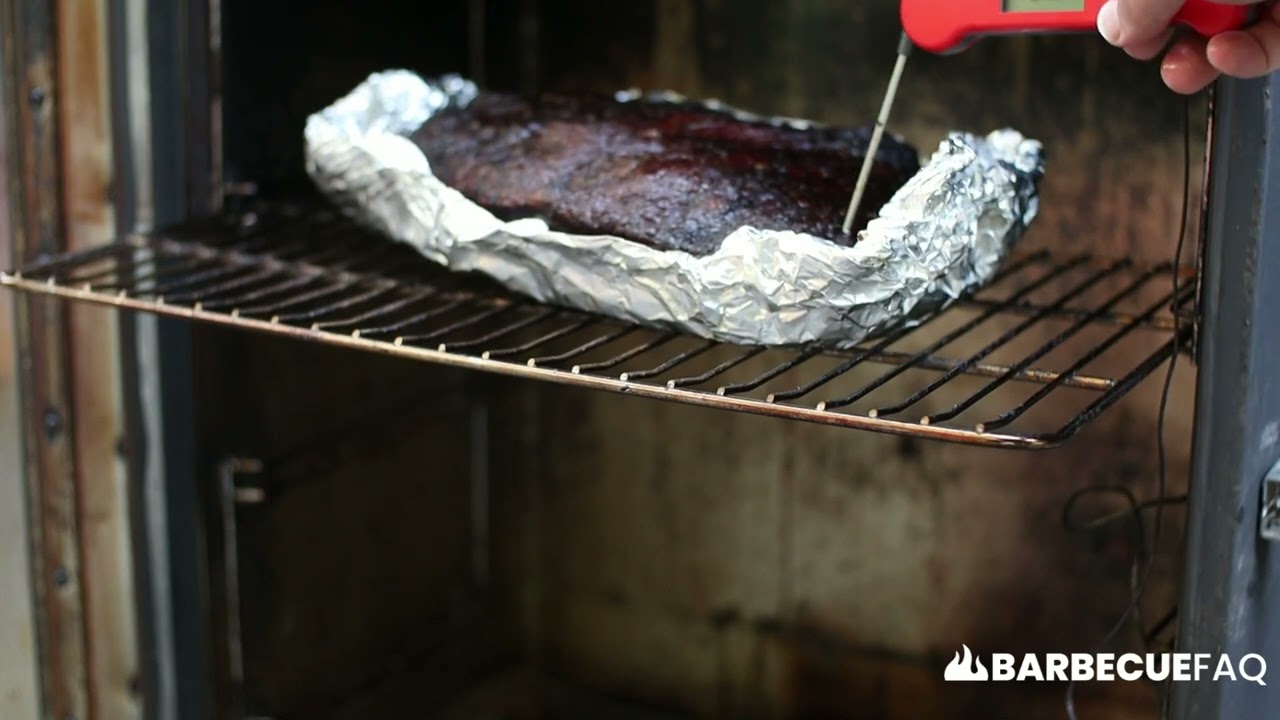
At this point, all we’re waiting for is for the meat to be probe tender. Typically this occurs somewhere in the internal temperature range of 195 – 205F.
This took 4 more hours and reached 204F.

The goal though is probe tenderness – that’s hard to understand so I made a video.
In the video I completely let go of the probe (on purpose) and dropped it through the meat and punctured a hole in my foil boat – you can even hear the tallow falling on the drip pan.
I did this just to illustrate a point – there should be no resistance.
Resting Your Brisket
I smoked this brisket a day in advance so I held it overnight (explained below).
If you’re eating it the same day – rest for 2 hours (until around 150-165F) in the foil boat and then slice and enjoy!
Hot Holding the Brisket Overnight
All this means is we’re keeping the internal temperature above 140F for food safety.
Since we smoked to tenderness, I let the brisket rest for 2 hours and then programmed my elecric smoker to 175F.
I know from testing that this keeps my internal temperature at roughly 150F.
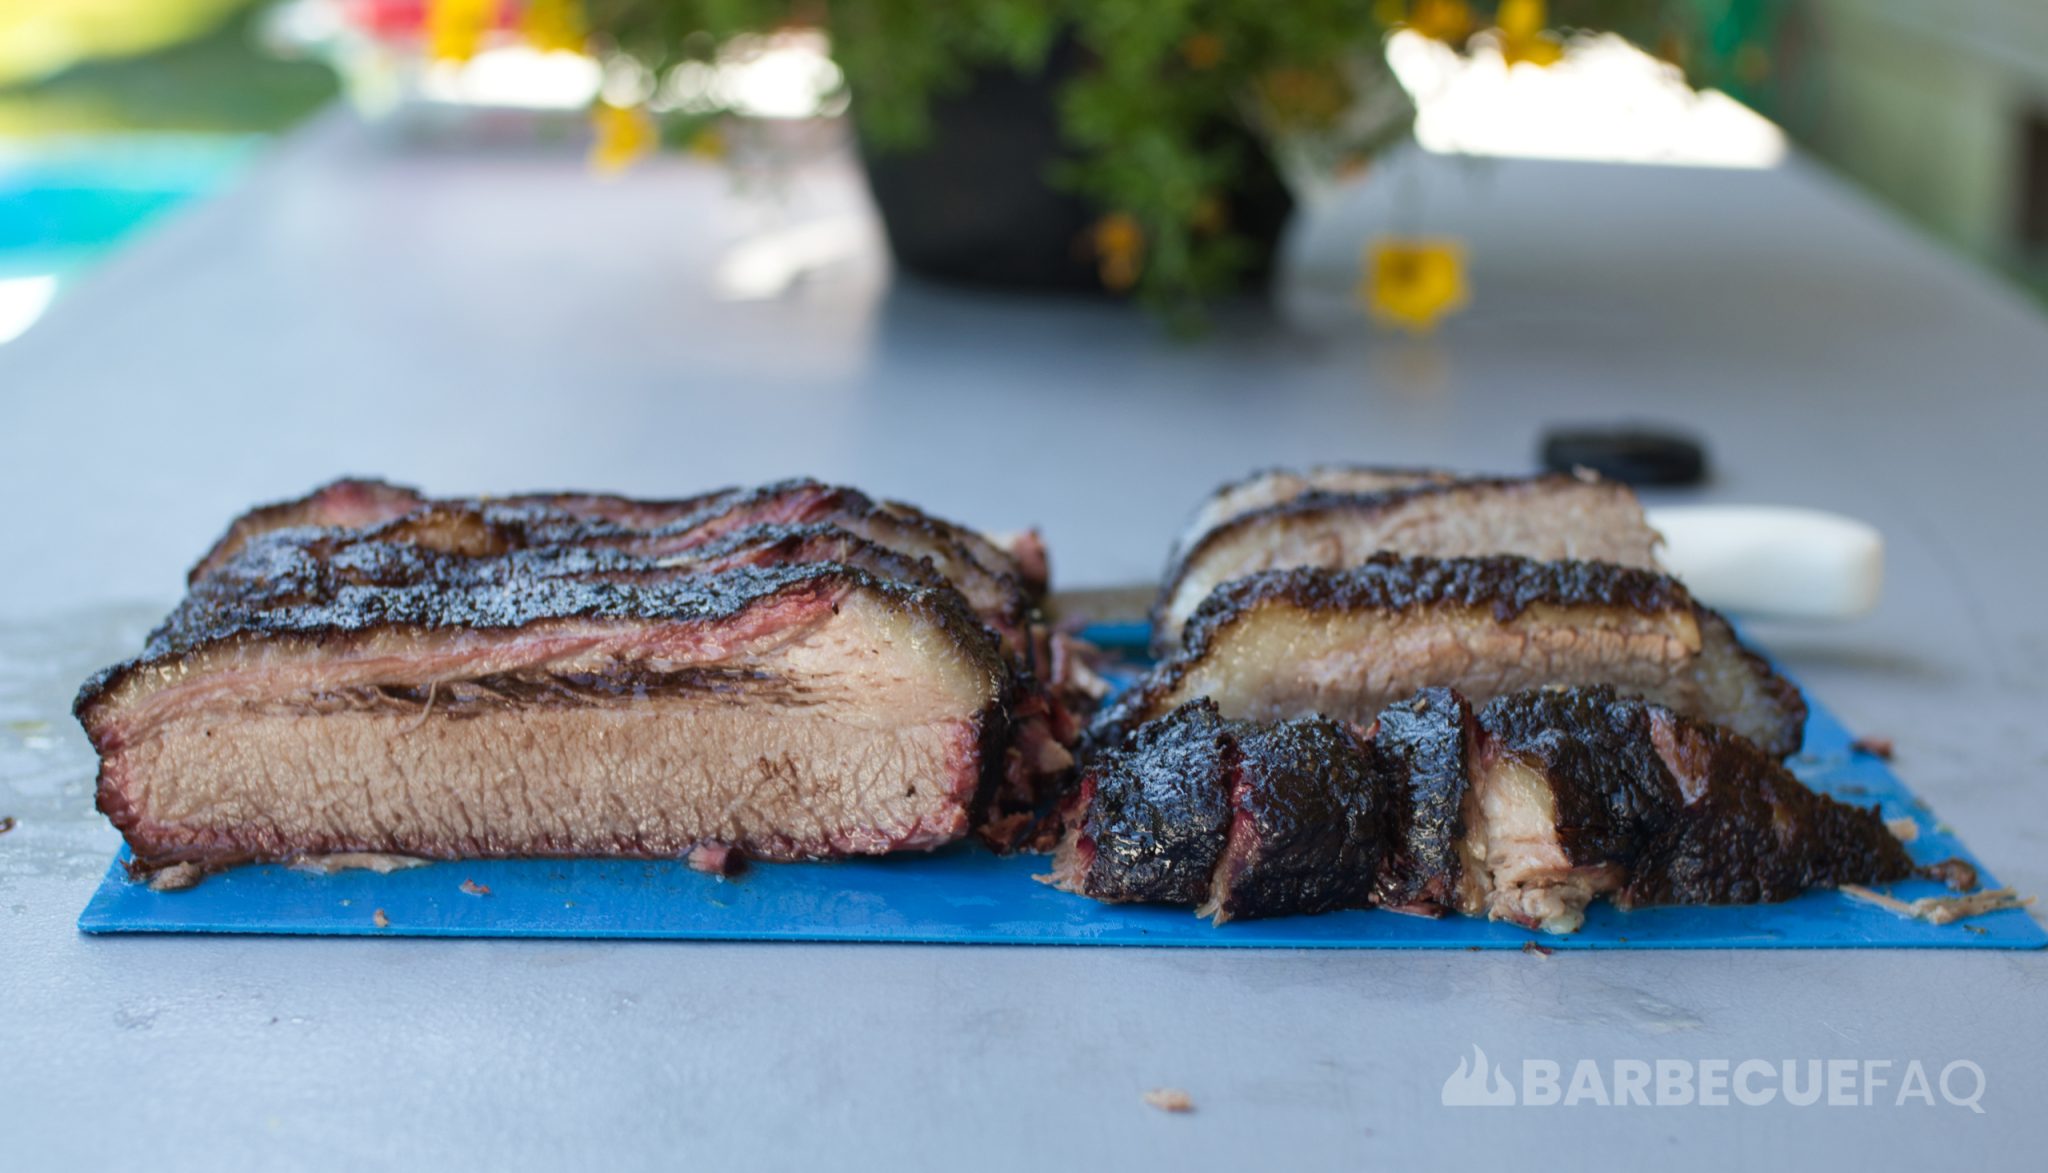
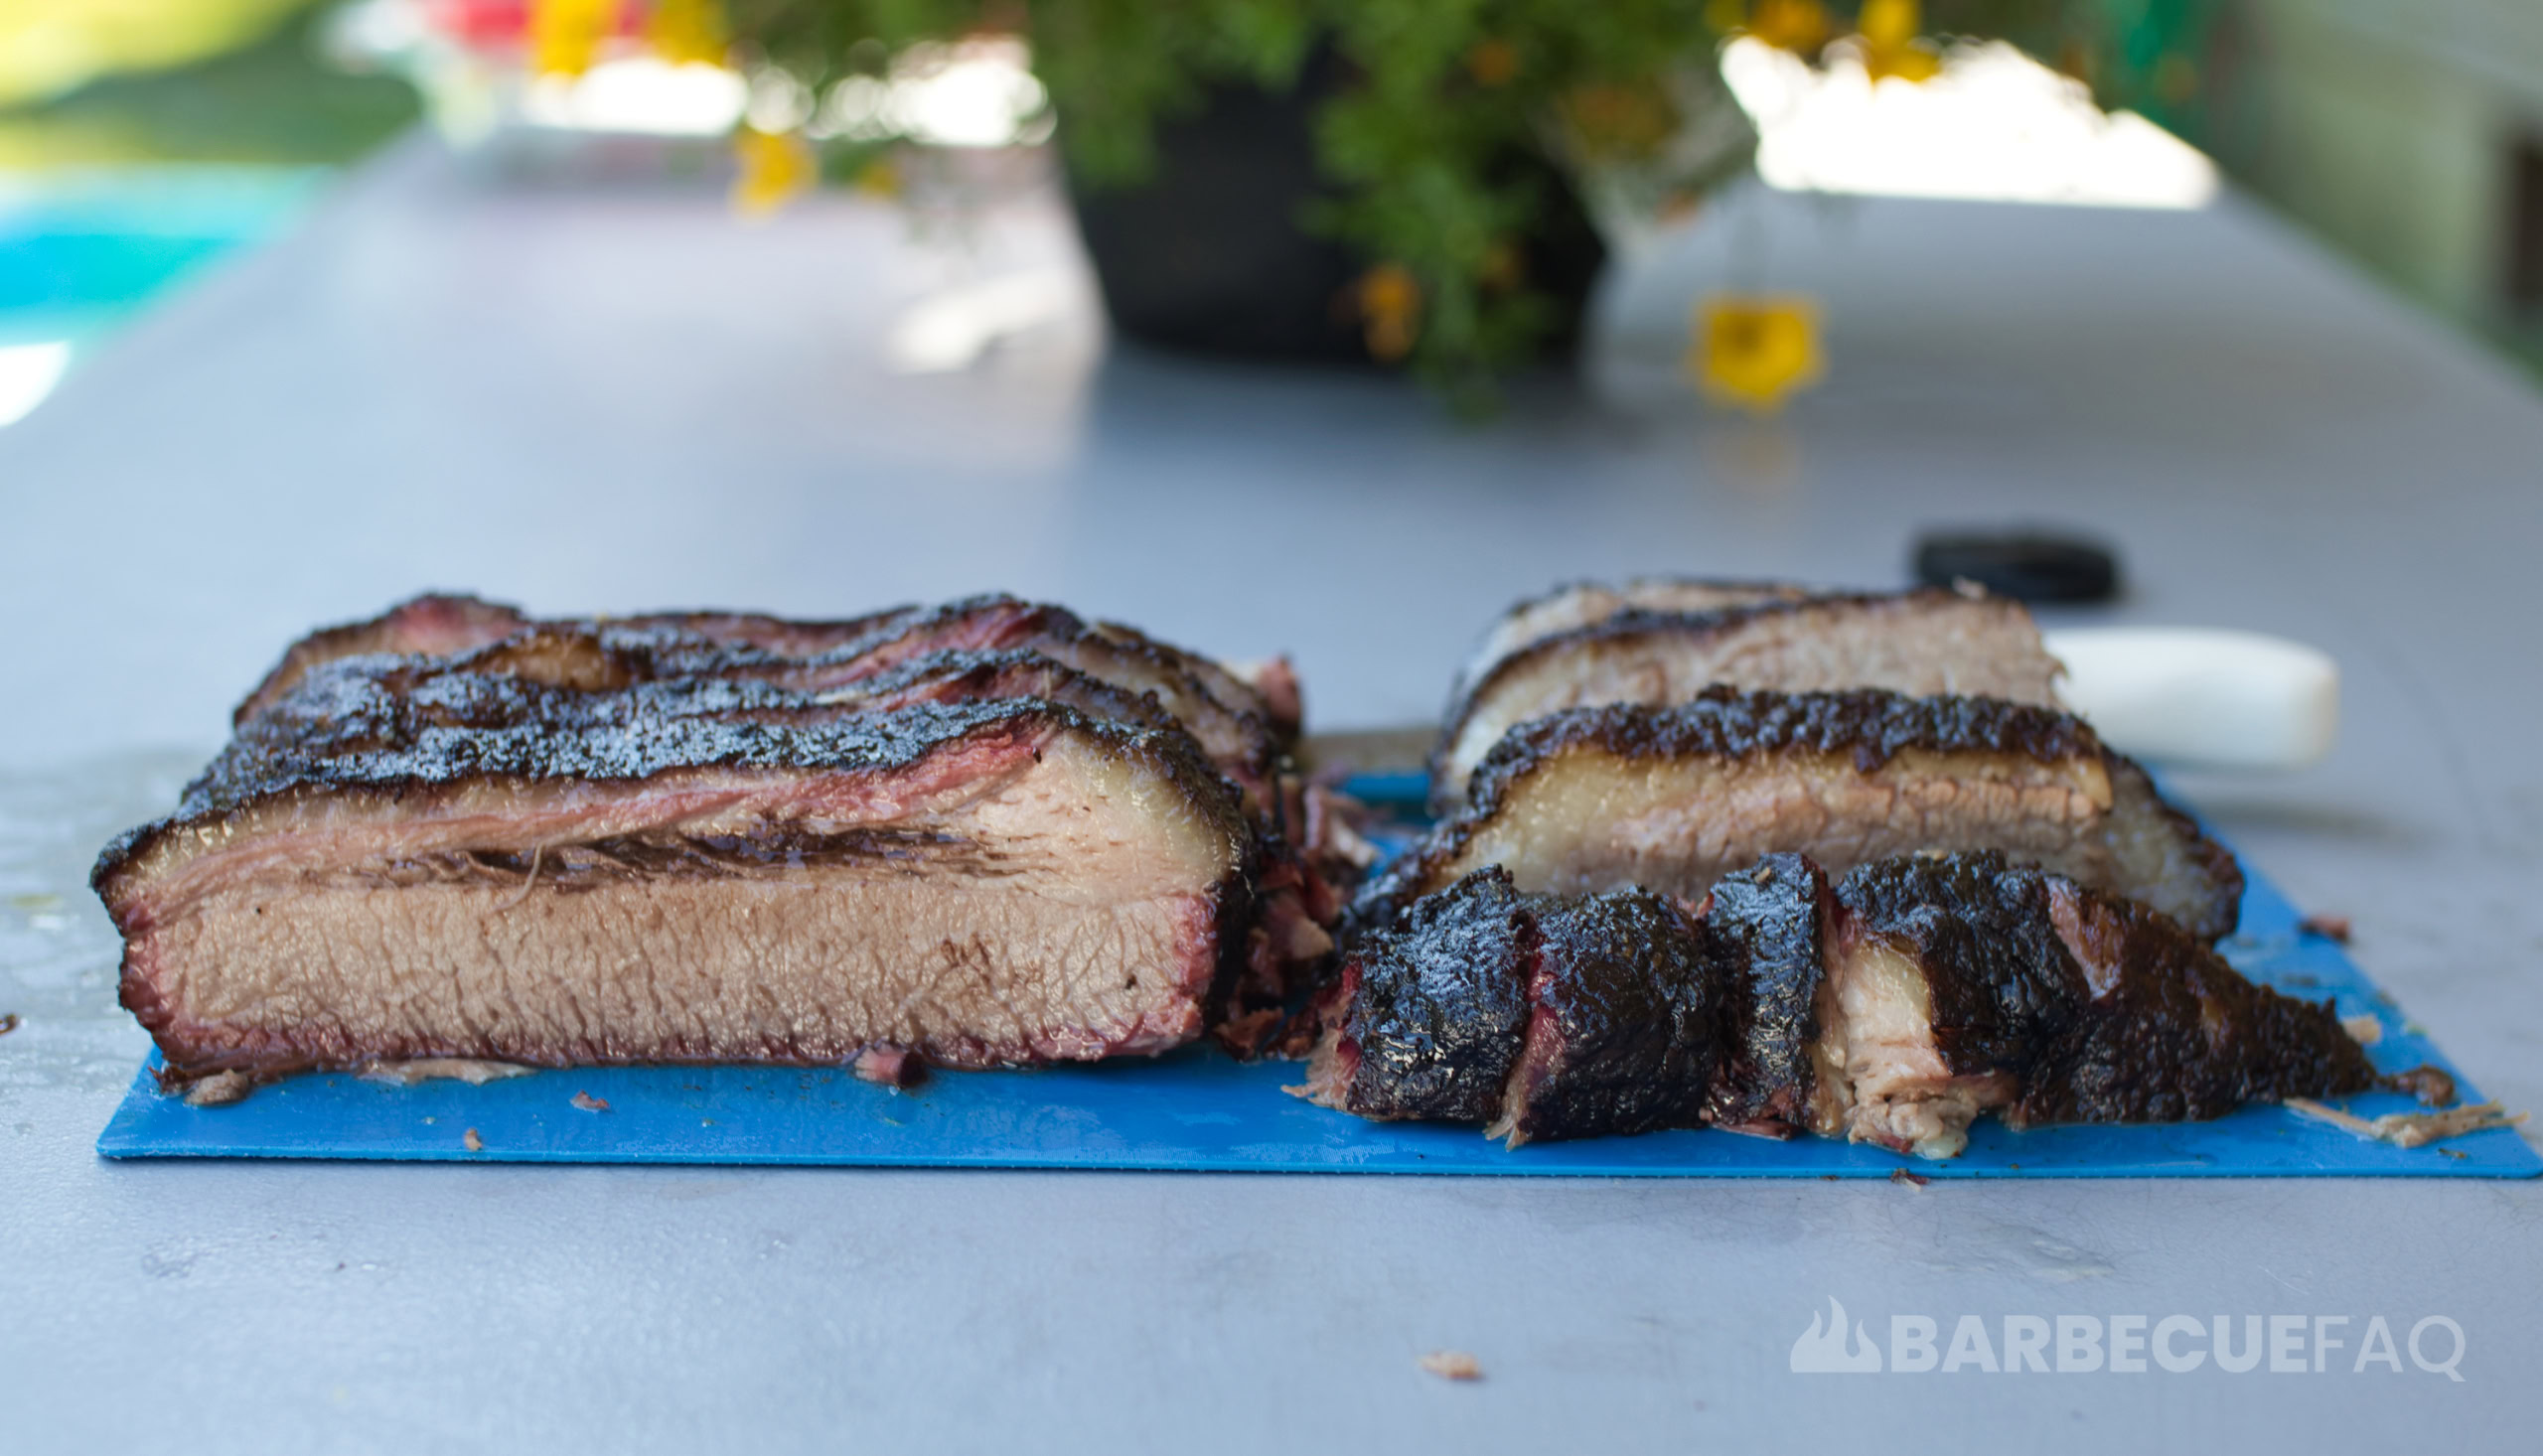
Slicing Brisket After Resting
Separate the muscles by cutting the brisket in half:

You can then slice the muscles individually.
Here’s my full guide to slicing to see how the grain of the muscles run differently.
Smoked Brisket on the Weber Kettle
Ingredients
- 12.58 lbs Choice Grade Brisket
Dry Rub
- 1-2 Tbsp Kosher salt Morton's
- 1-2 Tbsp Black peppercorns
- 1-2 Tbsp Lawry's seasoning salt
Instructions
- Remove brisket from cryovac packaging.12.58 lbs Choice Grade Brisket
- Trim brisket to your preference. You want roughly 1/2 – 1/4" on the fat cap. Remove the deckle fat from the meat side and round off the flat to make the meat even.1-2 Tbsp Kosher salt, 1-2 Tbsp Black peppercorns, 1-2 Tbsp Lawry's seasoning salt
- Apply dry rub to both the meat side and fat side. Place in your fridge until Weber Kettle is ready.
Smoking the Brisket
- Get your smoker to 250F.
- Once the grill has stabilized, place a hardwood chunk on the coals and allow it to smolder.
- Bring the brisket outside and place in the cool zone of the smoker – opposite of your fire.
- Check on the meat every hour. Add a new hardwood chunk every hour you check the meat.
- After 6 hours I was happy with the outside of the meat. The thickest part of the flat muscle was also probing 175F – which is far into the stall.
- Foil boat the brisket. Lay out two sheets of heavy duty aluminum foil and place the brisket meat side down. Crinkle the edges of the foil so that they surround the brisket and the fat cap is exposed.
- Every hour check the internal temperature at the thickest part of the flat. Once it reaches around 195F, start checking the entire brisket for probe tenderness.
Resting the Brisket / Holding the Brisket
- Once the meat is probe tender, take off the smoker to rest for 2 hours. If you're opting to hold overnight, place in your smoker or oven at 140F overnight.If you're using a cooler, first preheat the cooler with boiling water. Wrap your brisket in butcher paper and an old towel. Pour out the water and place the meat in the cooler.
Slicing the Brisket
- Slice the brisket against the grain. First separate the flat muscle from the point muscle but slicing in half. The two muscles have two different grain directions – pictured above – slice against them.

13 comments
Brent G
Holy heck is this a great article / recipe. Lots of useful information that a lot of others tend to leave out. Thanks Dyl!
Dylan Clay
Happy to help Brent!
James
Very informative and much less parochial than many others I have seen. Thanks.
Dylan Clay
Happy to help James!
Karly Diewald
Hi, Is there a Max time to hold in the oven? Could I hold for 12 hours? Do I slice immediately when I remove form oven or do I rest again?
Appreciate your help. Thank you
Dylan Clay
Hey Karly,
So I personally hold for 12+ hours without an issue. Somewhere above I should of linked to an article for holding but in case you missed it, or I forgot, be sure to check that one out here.
Essentially, the goal with holding is to be above 140F; When the meat is between 40-140F, it enters the “food safety danger zone” where bacteria grow quite rapidly.
In terms of slicing, as soon as you take the meat out of the holding oven, you can slice – technically what you did with the holding aspect is a form of a extended rest. Here’s a copy/paste from my article referenced above:
There are two ways to look at holding:
1. If you find there is still some resistance in the brisket at 205°F, simply drop the temperature of the holding oven to 145°F and place the brisket in without a rest. This way carry over cooking occurs over the 10+ hour hold which will eliminate any tightness that may exist.
2. If there is no resistance, rest the brisket for 2 hours until the internal temperature is at around 160°F. Then place the brisket in the holding oven at 145°F until you’re ready to serve.
Karly Diewald
Amazing. Thank you so much for your help and details. I’ll let you know how it goes.
David
Simply amazing. You’re an amazing person!
Dylan Clay
Cheers David!
Piyanat Saengem
This guide was super useful, thanks so much!
Dylan Clay
No problem Piyanat, happy to help!
Shane
Thanks for this article, explained everything really well!
Dylan Clay
Thanks Shane, happy to help!