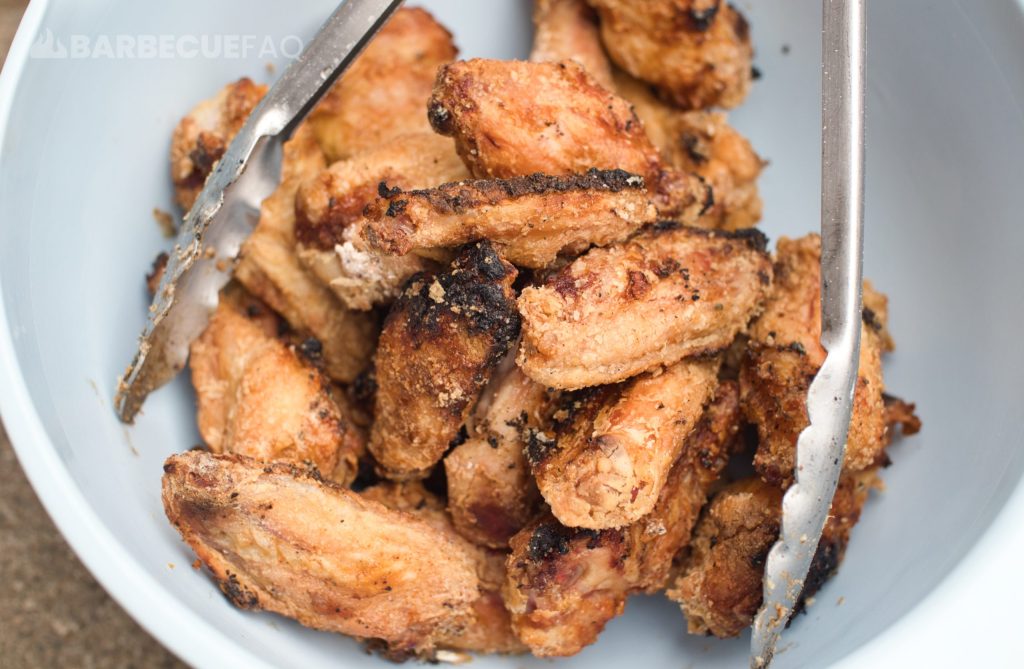
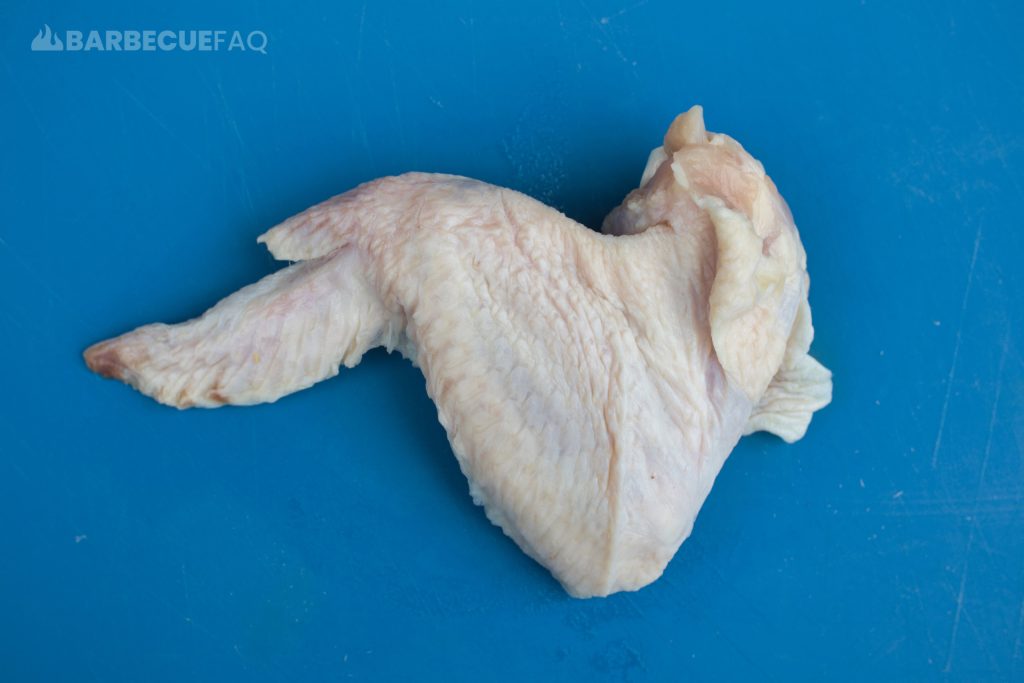
Why Wet Brining Isn’t Ideal for Chicken Thighs
Now, while “wet” brining does work – I do have qualms with using it for something like bone-in, skin-on chicken thighs.
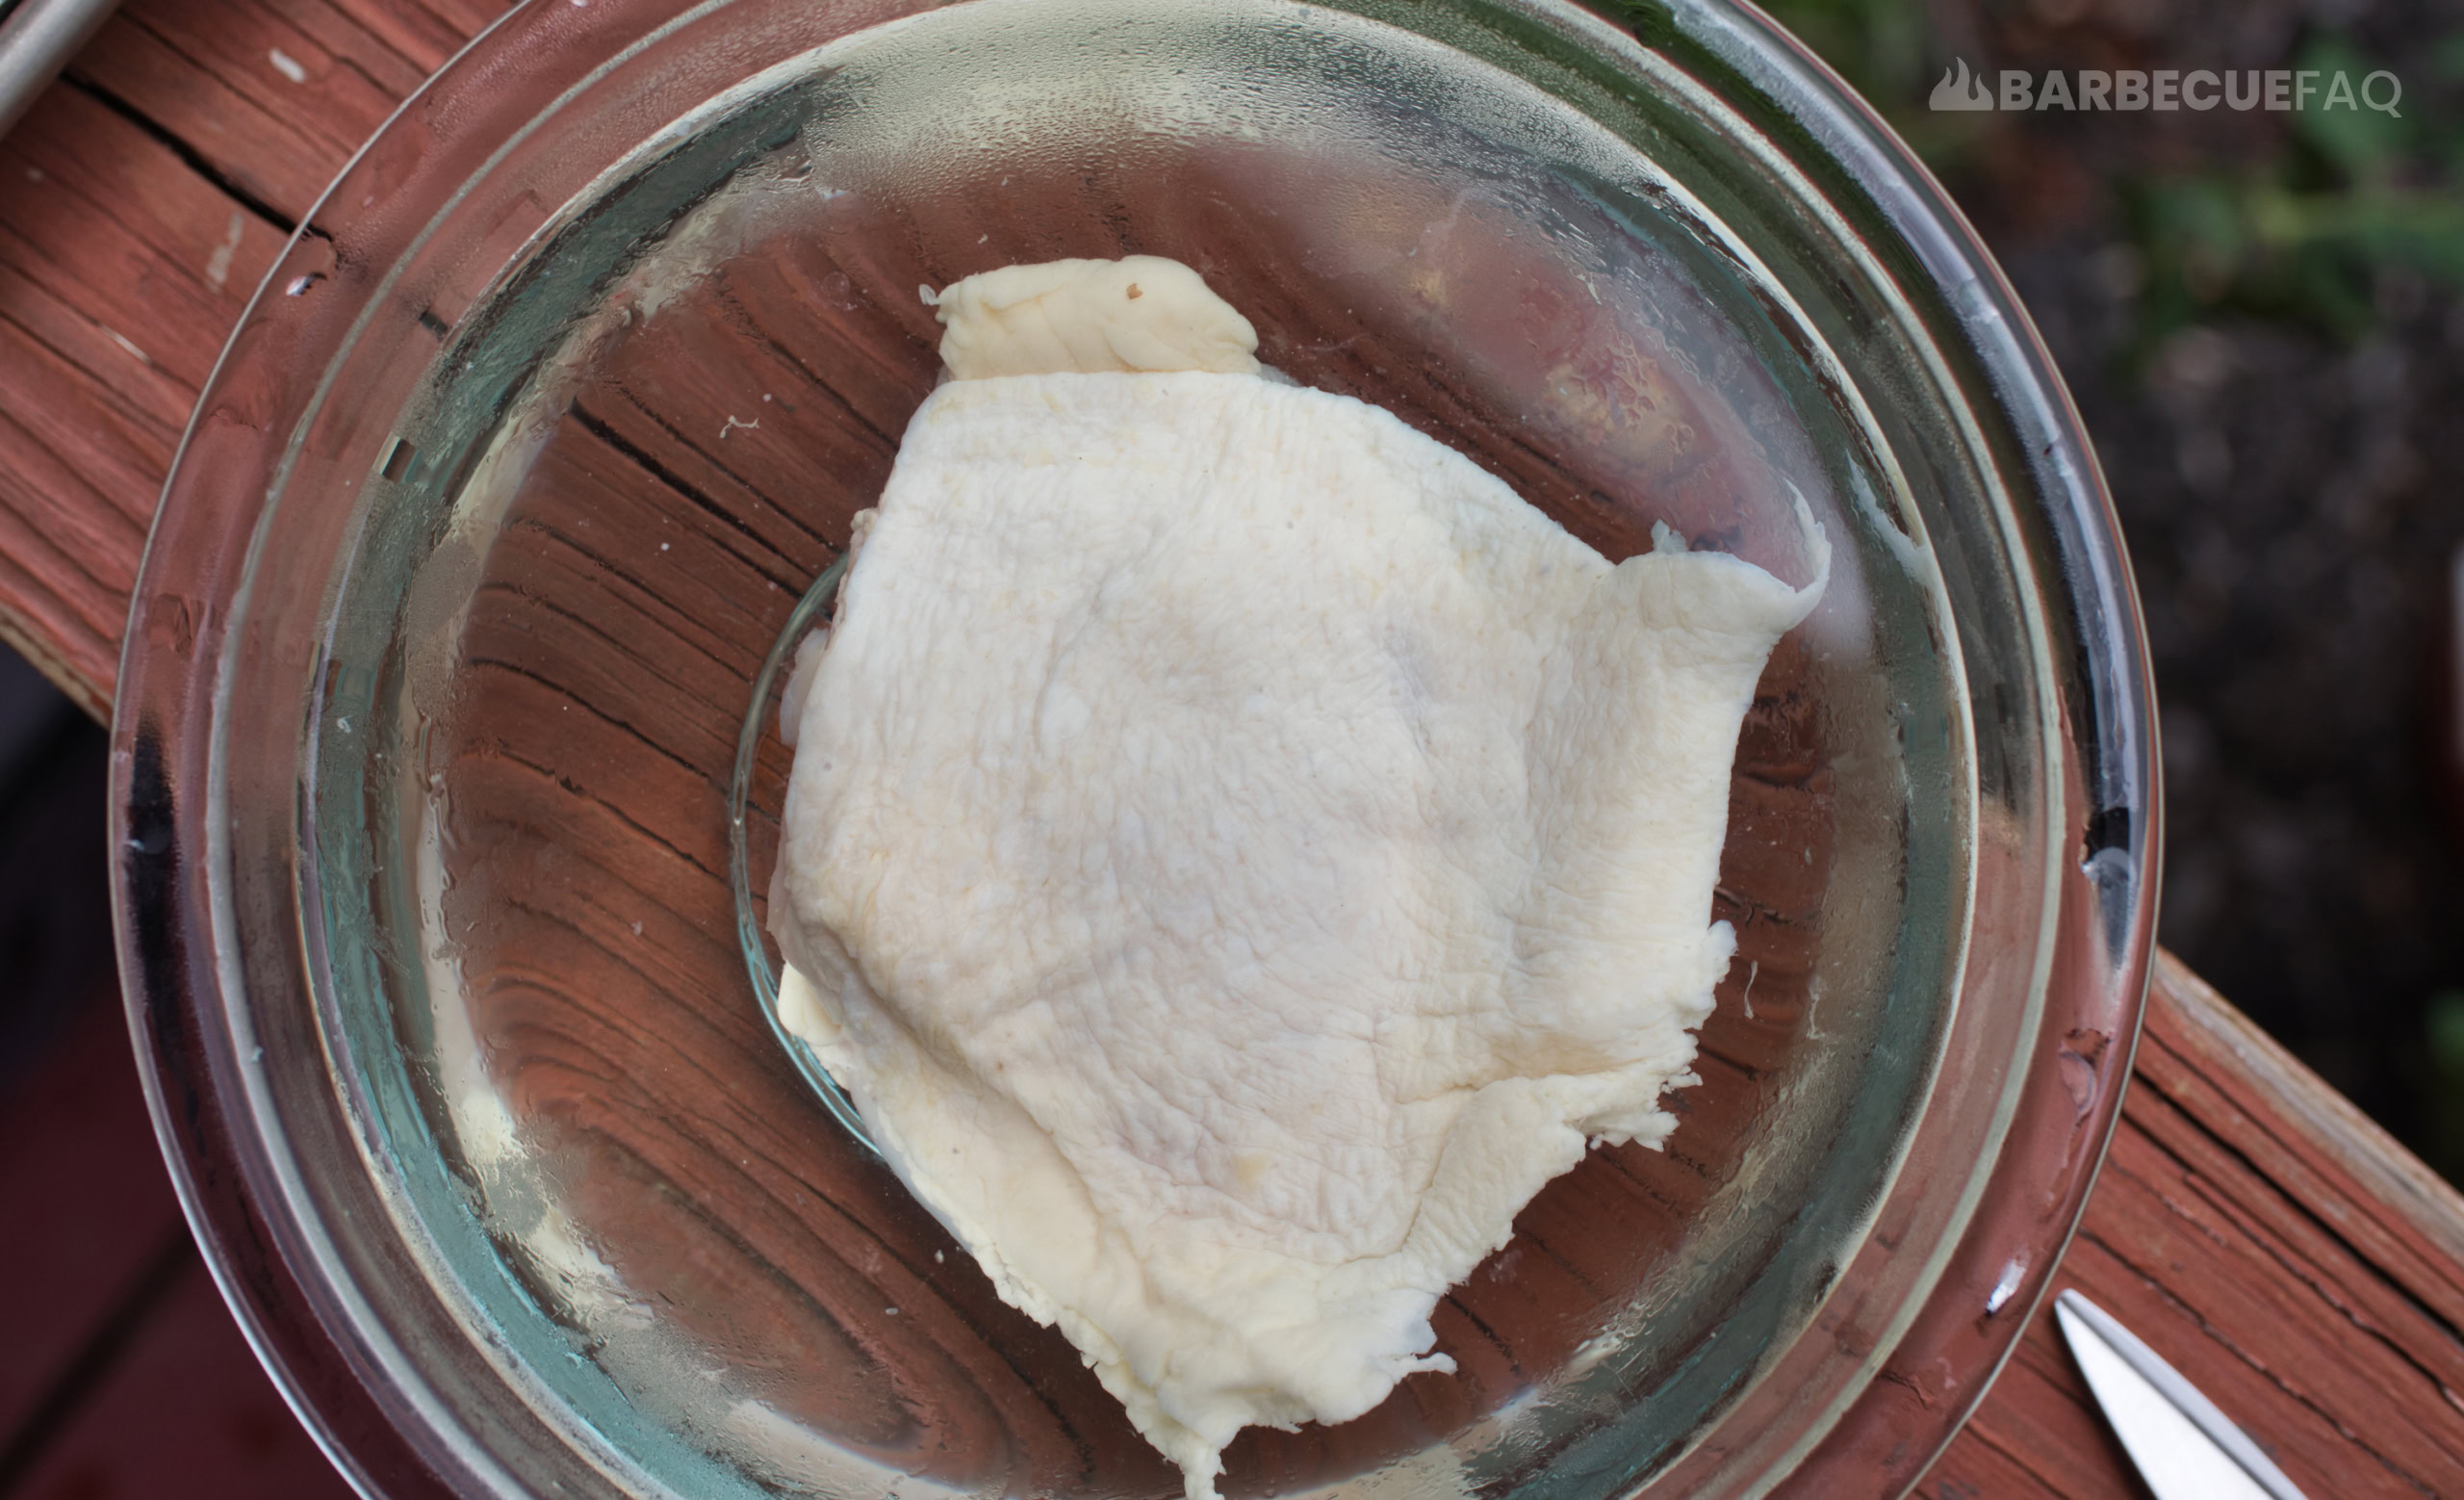
My goal with chicken thighs is to create:
- Moist/juicy/tender meat, accompanied by
- crispy/crackly skin.
While wet brining can certainly produce the perception of moist meat, the diffusion process pulls in excess water that can wash out the flavor of the chicken.
This is in a similar vein to ordering liquor and having it watered down. The actual flavor becomes lost due to the water.
The traditional wet brine also won’t result in crispy skin – rather the end result will be soft and rubbery.
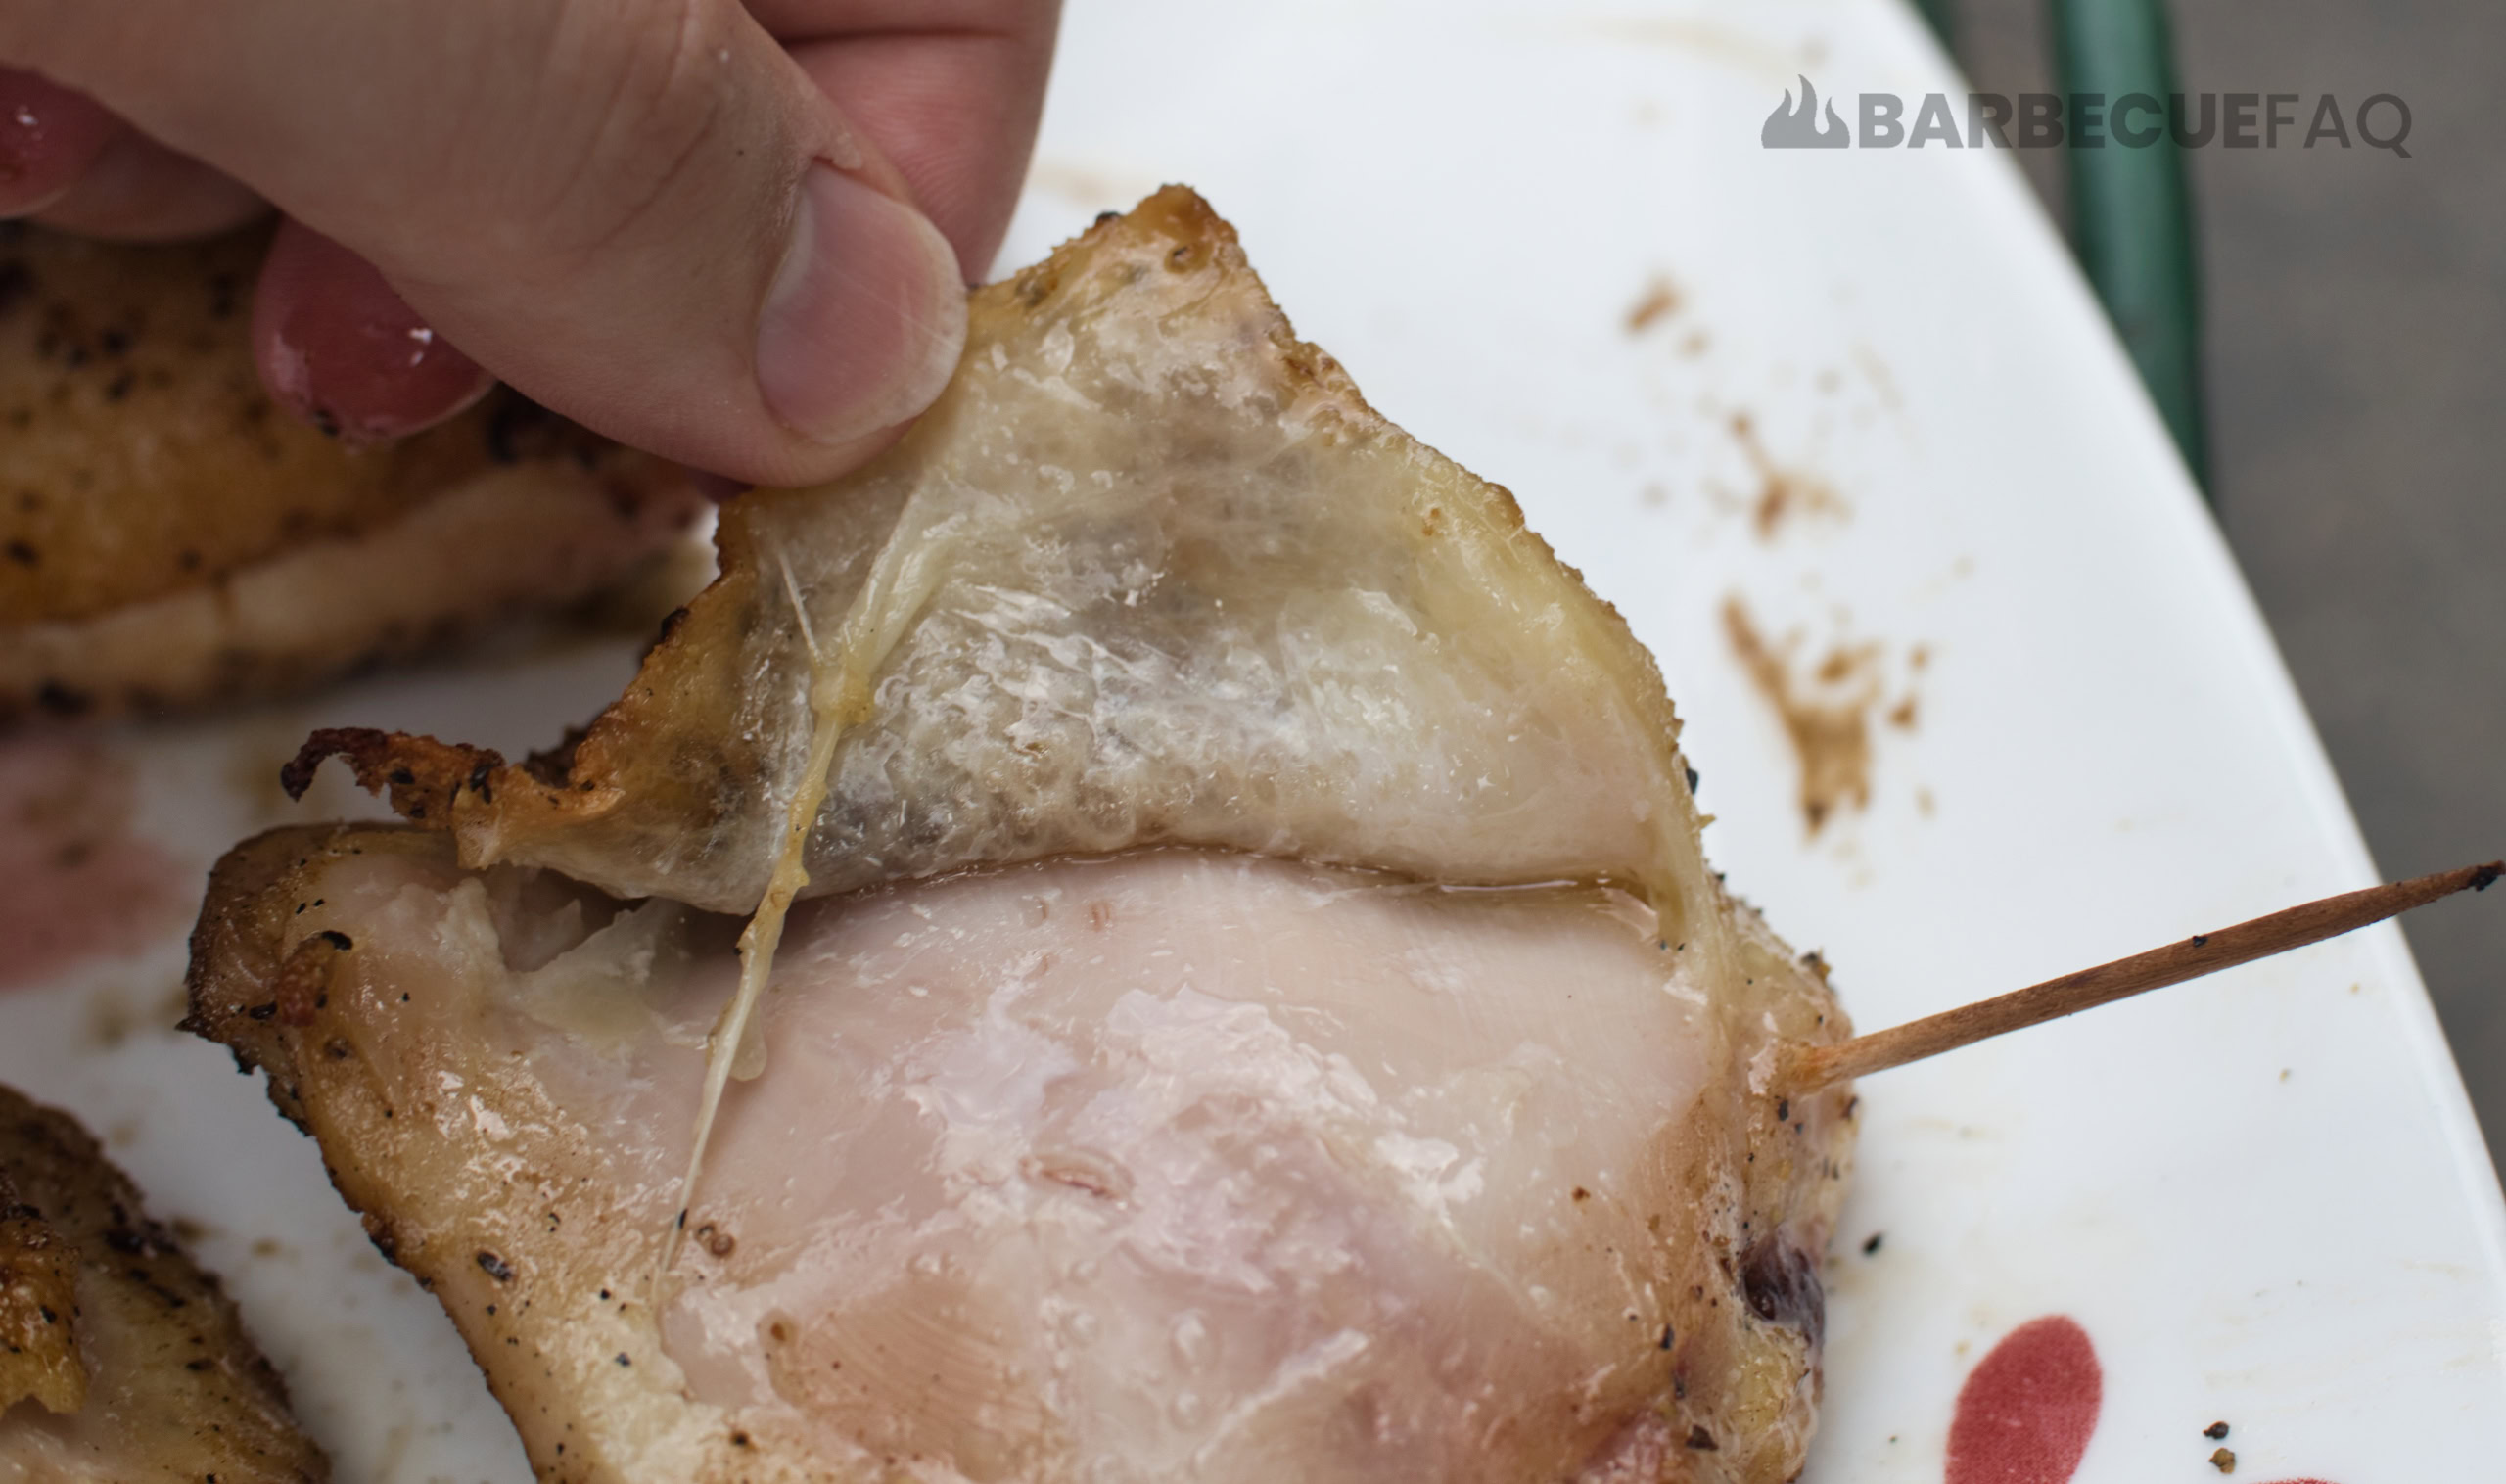
Here’s another chicken thigh, dry-brined and cooked to 185F internal:
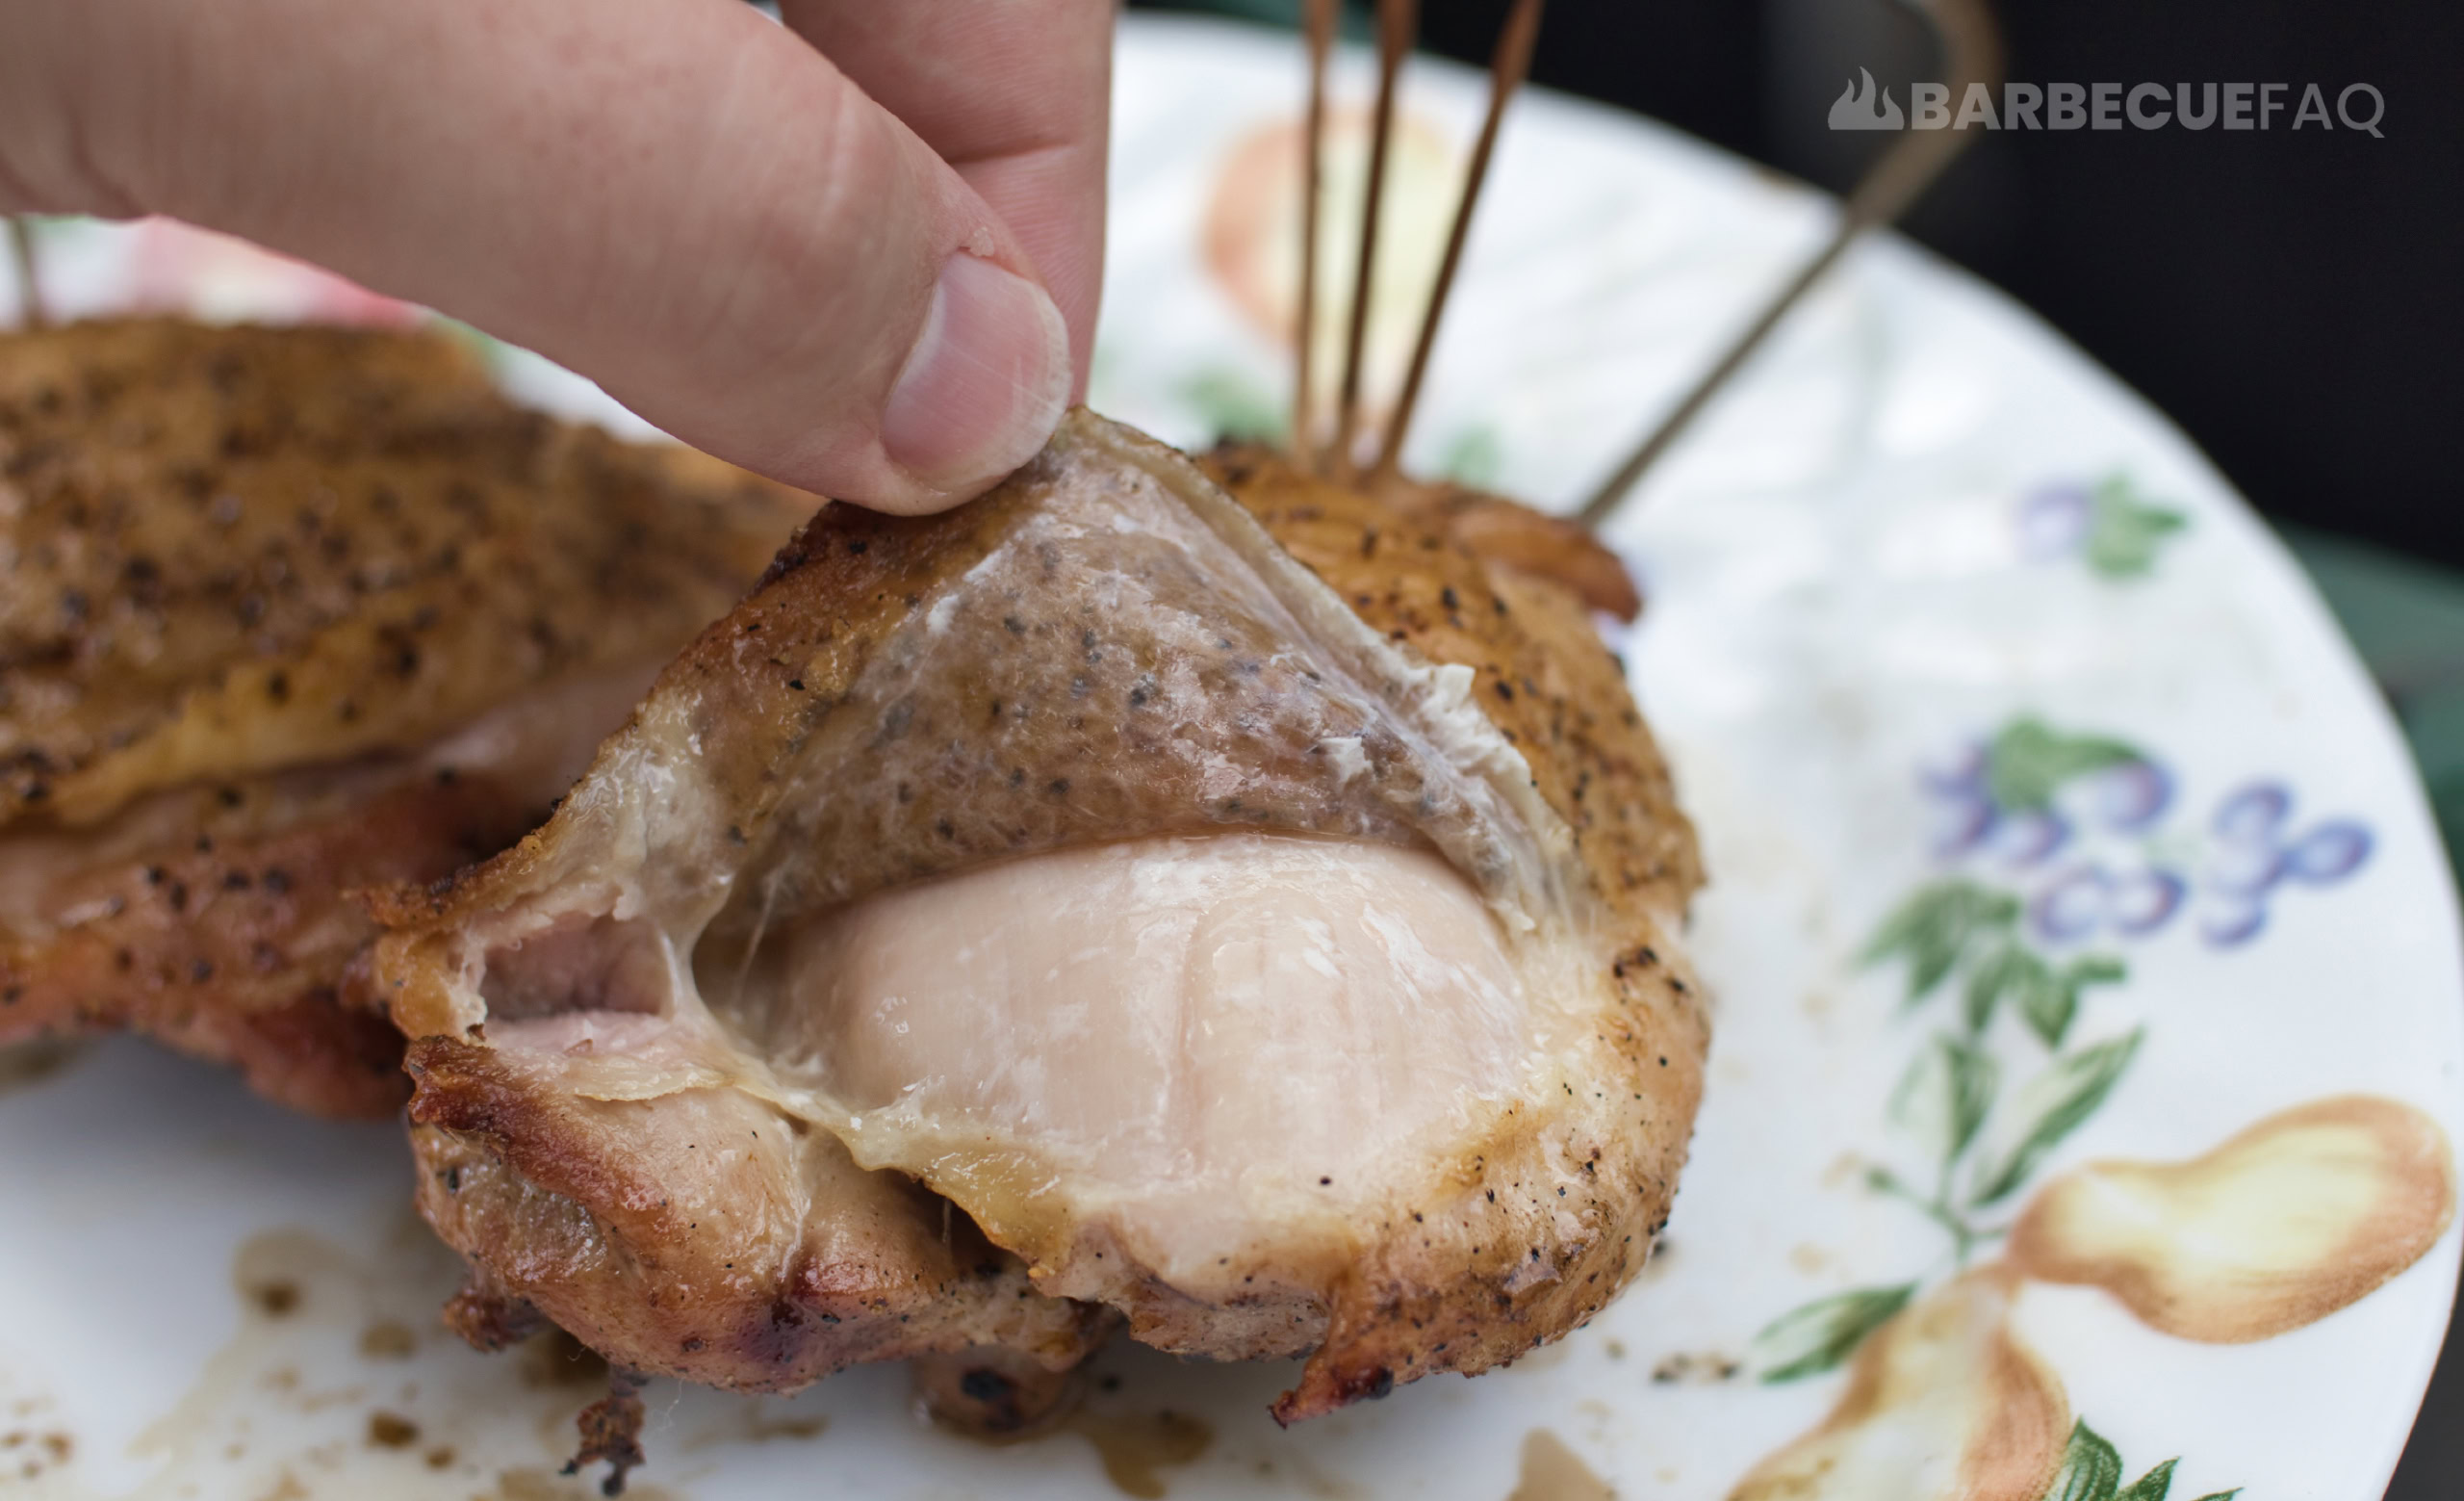
Far better fat render on the skin.
Also worth noting: Brining any cut of meat – even chicken thighs – is sort of an involved process.
You need:
- Space in your refrigerator to store the meat and the salt-water solution.
- The meat also needs to be submerged in this solution.
- You need to measure specific quantities of salt and water to equilibrium brine with.
- You need a non-reactive container.
With dry brining, all you need is kosher salt (non-exacting values either), a baking sheet, and a wire rack.
What is Dry Brining?
In essence, “dry” brining is a brine without the added water (the above “brine” people now differentiate as a “wet” brine since it uses water).
Lean meat (muscle tissue) contains roughly 60-70% moisture (water), 10-20% protein, 2-22% fat, and 1% ash.
Meaning, we can take advantage of the effects of osmolarity by salting the meat and using the natural moisture content within the lean meat.
This way we don’t “water” down the flavor of the meat – rather we’re enhancing the flavor via the salt.
When you go to dry brine chicken thighs, what will happen is:
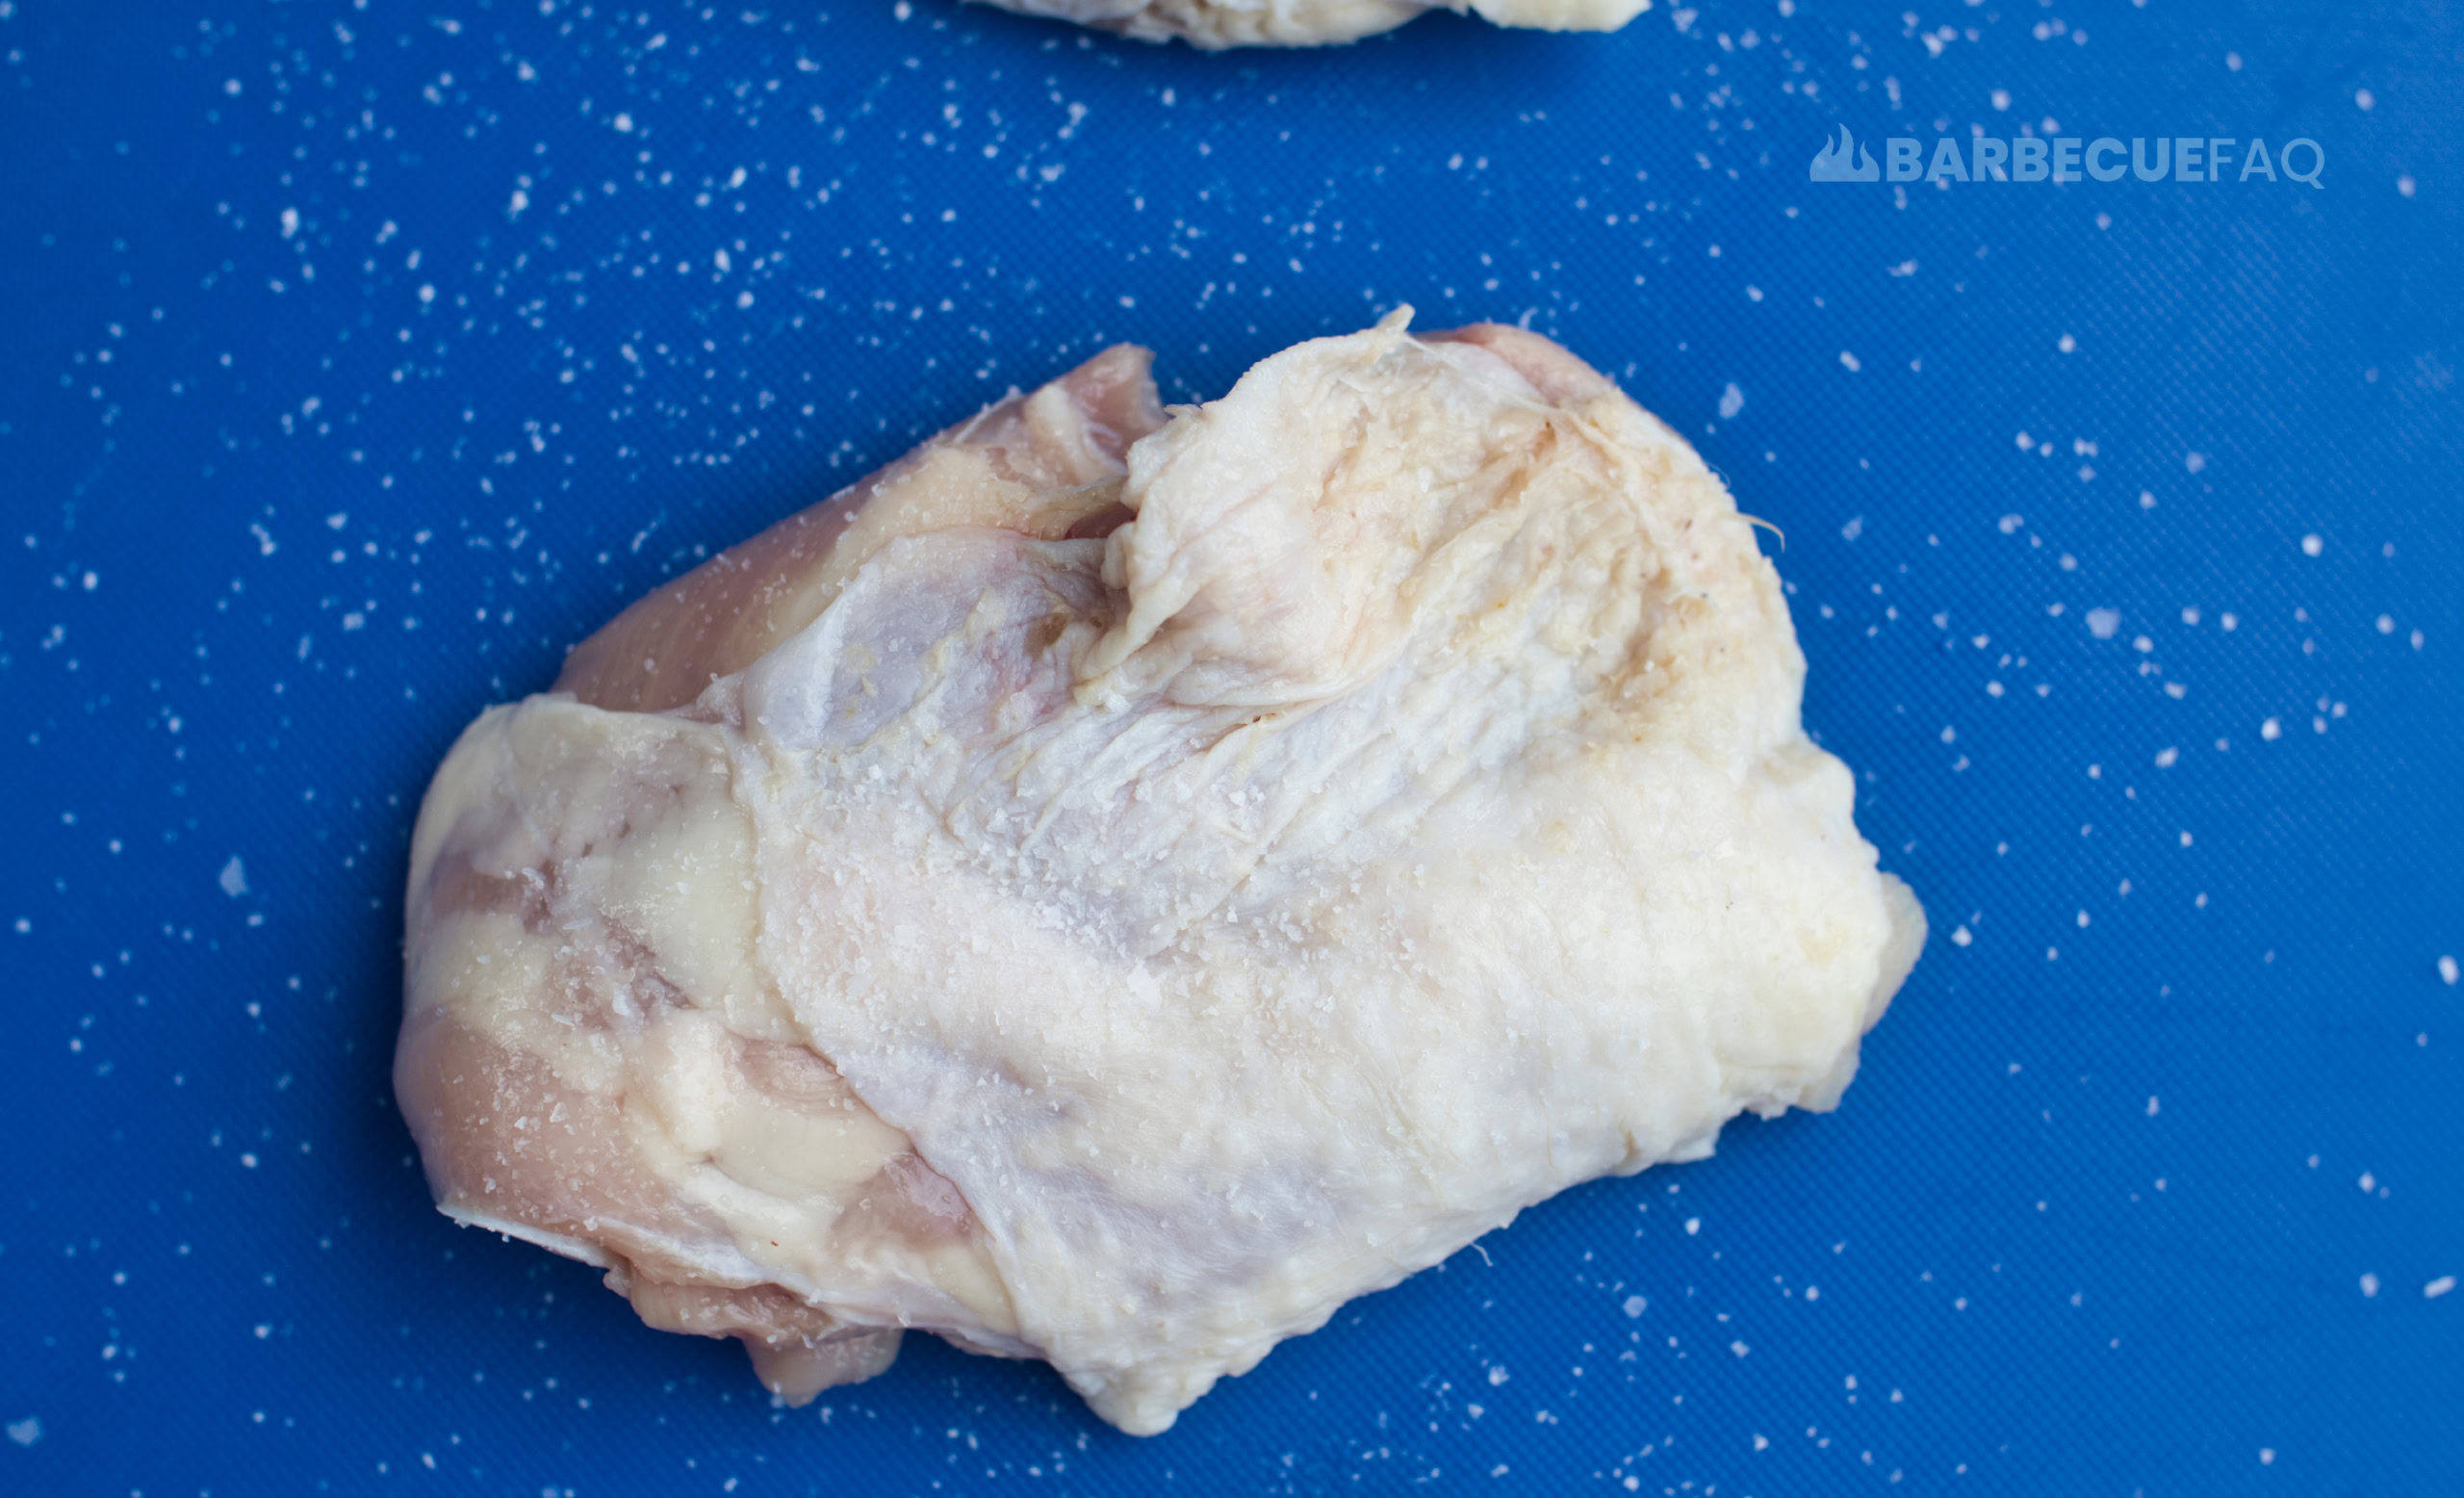
- You salt all the surfaces of the thighs – the skin and the meat.
- Moisture from the thigh will pool/bead on the surface as it’s drawn out by the salt.
- Given enough time, the salt will dissolve in the moisture (since salt is water soluble).
- That salt-water solution will then re-absorb back into the chicken thigh via osmosis and diffusion.
- The salt then denatures the proteins – allowing them to hold onto moisture better.
The result is more moist/flavorful chicken thighs and crispy/crackly skin.
How to Dry Brine Thighs
You’ll need:
- Kosher salt – either Diamond Crystal or Morton’s.
- Wire Rack
- Baking Pan
- Paper towels
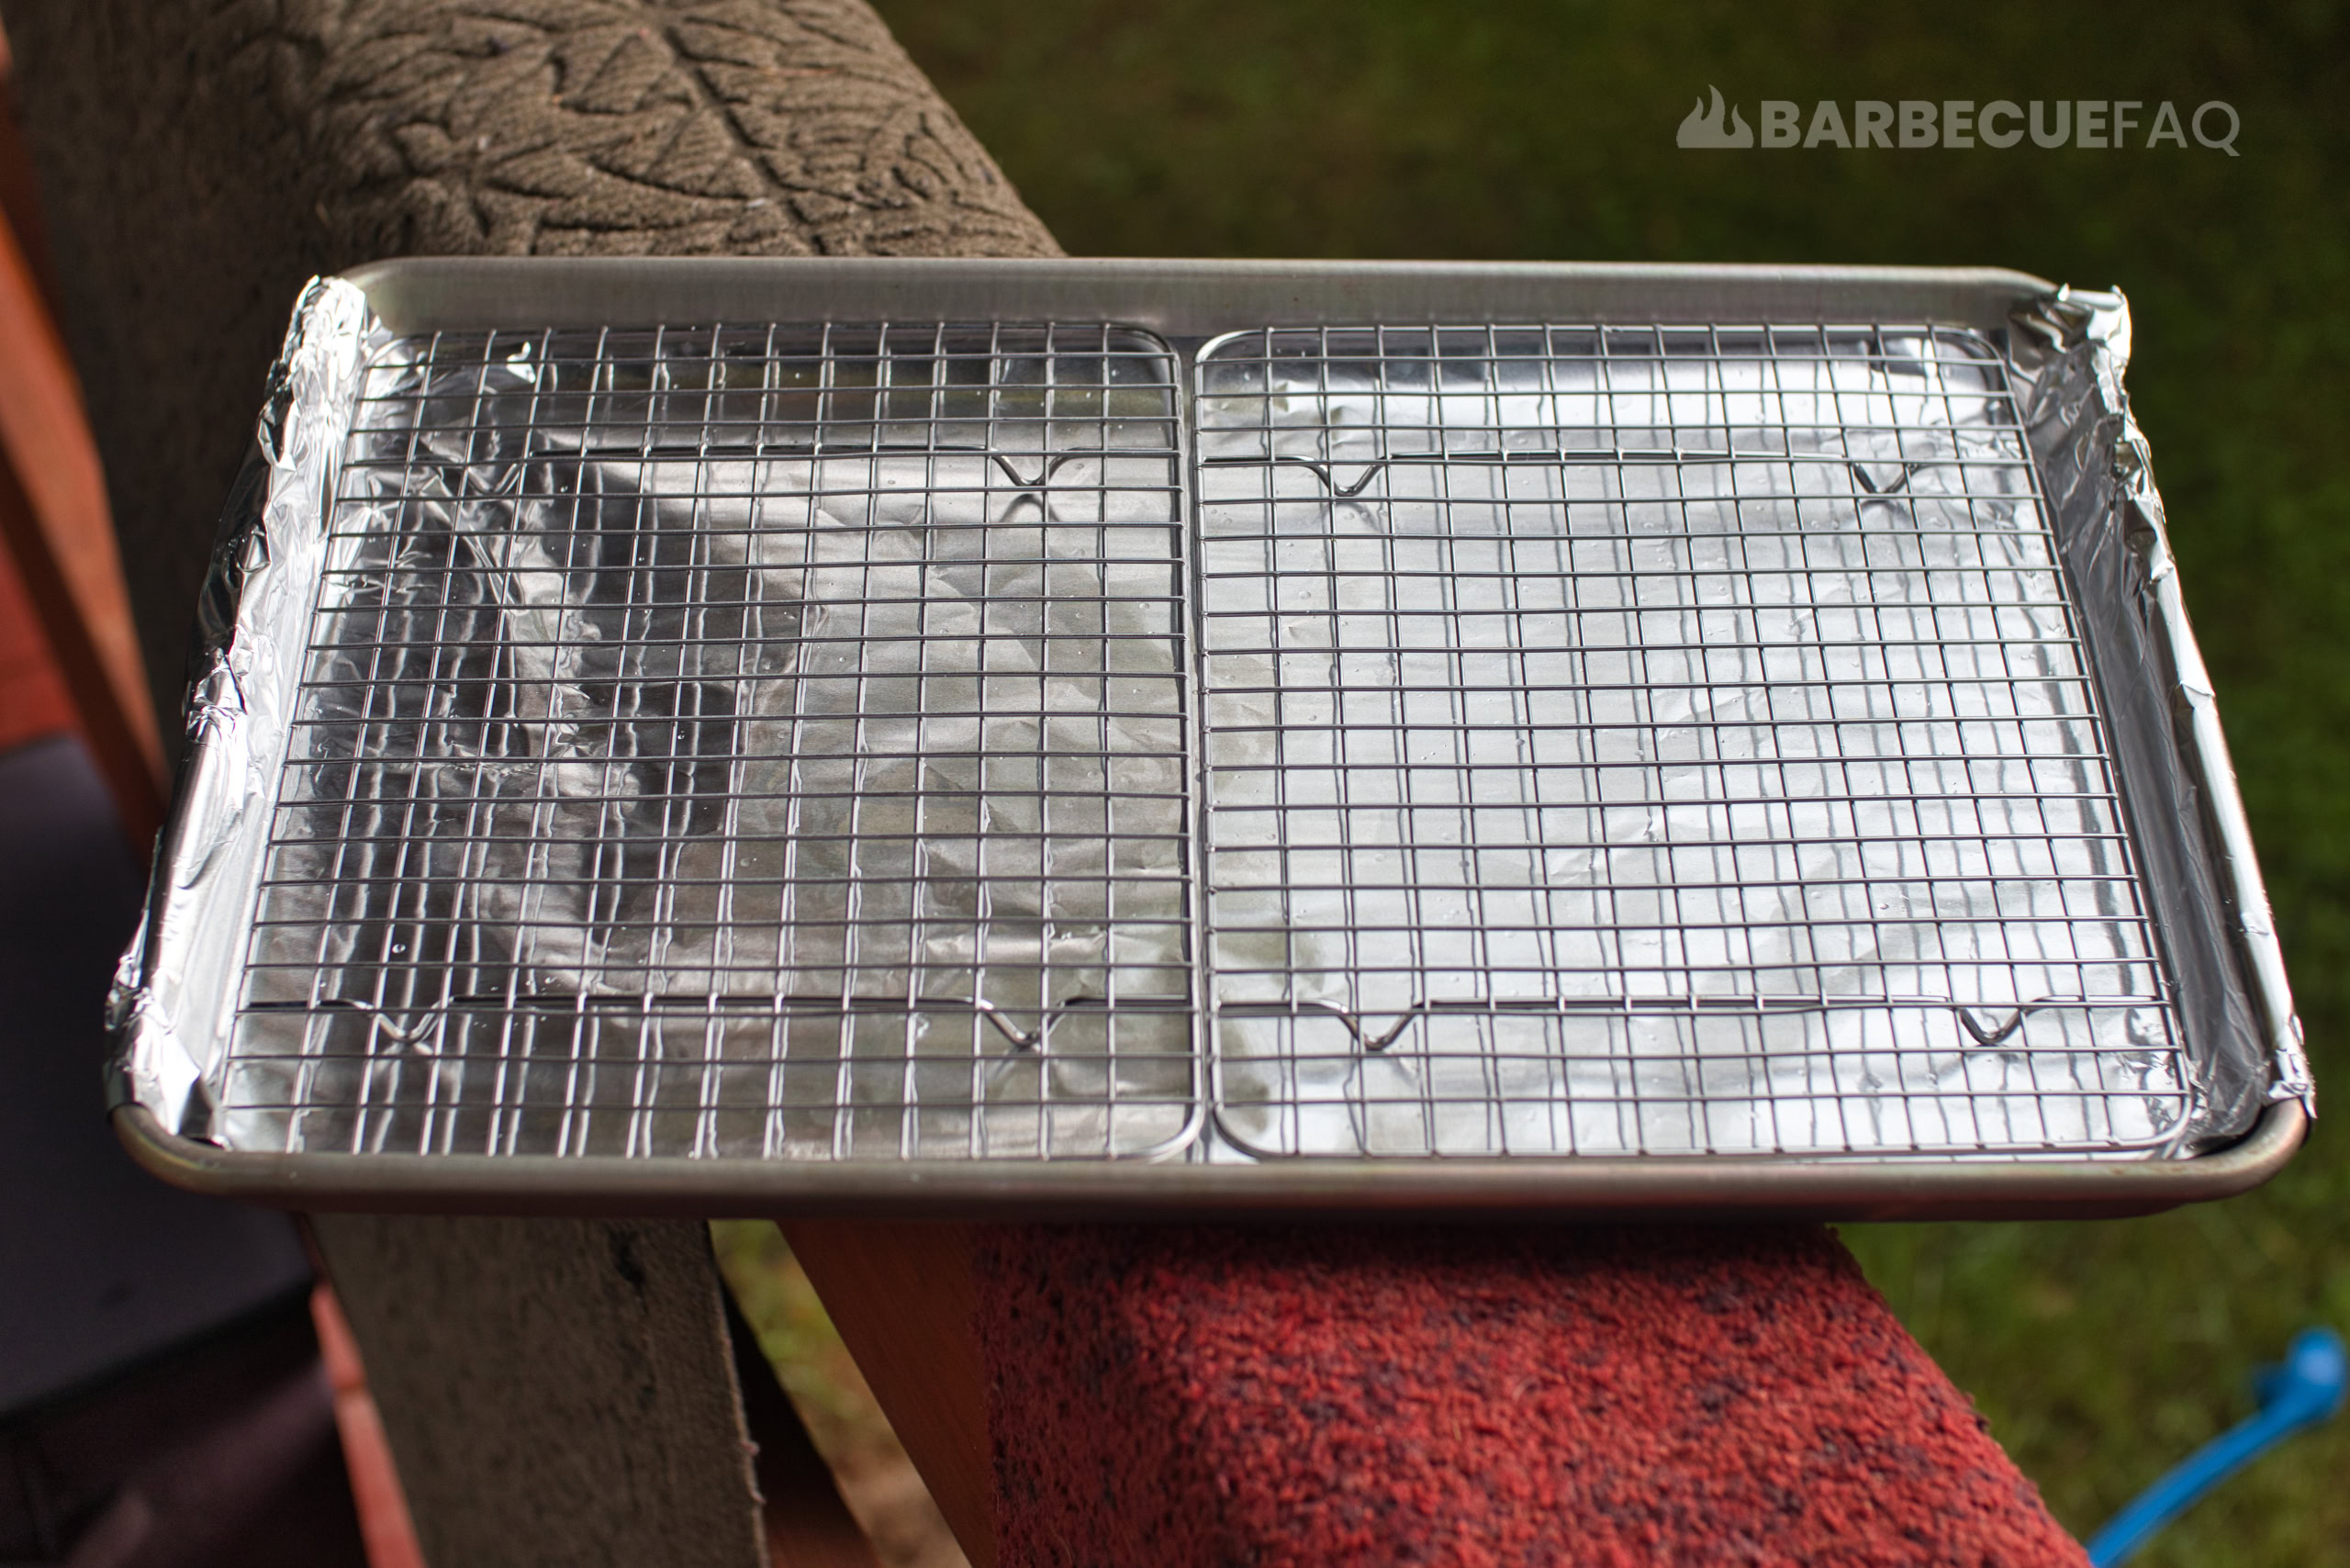
1. Take out your baking sheet and place your wire racks on top.
2. Open your package of chicken thighs and place the thighs on top of paper towels.
Your goal is to pat dry all surfaces of the chicken thigh, including the skin.
This helps with air drying and speeds up the process.
3. Take out your salt and salt all surfaces of the meat – the skin and the meat side.
Dry brining won’t ever call for an exact amount of salt to use; Rather, you’re eye-balling the amount. The goal being to season evenly and to cover all sides and surfaces of the meat.
If I were to estimate, I’d say it’s about a pinch or two per side.
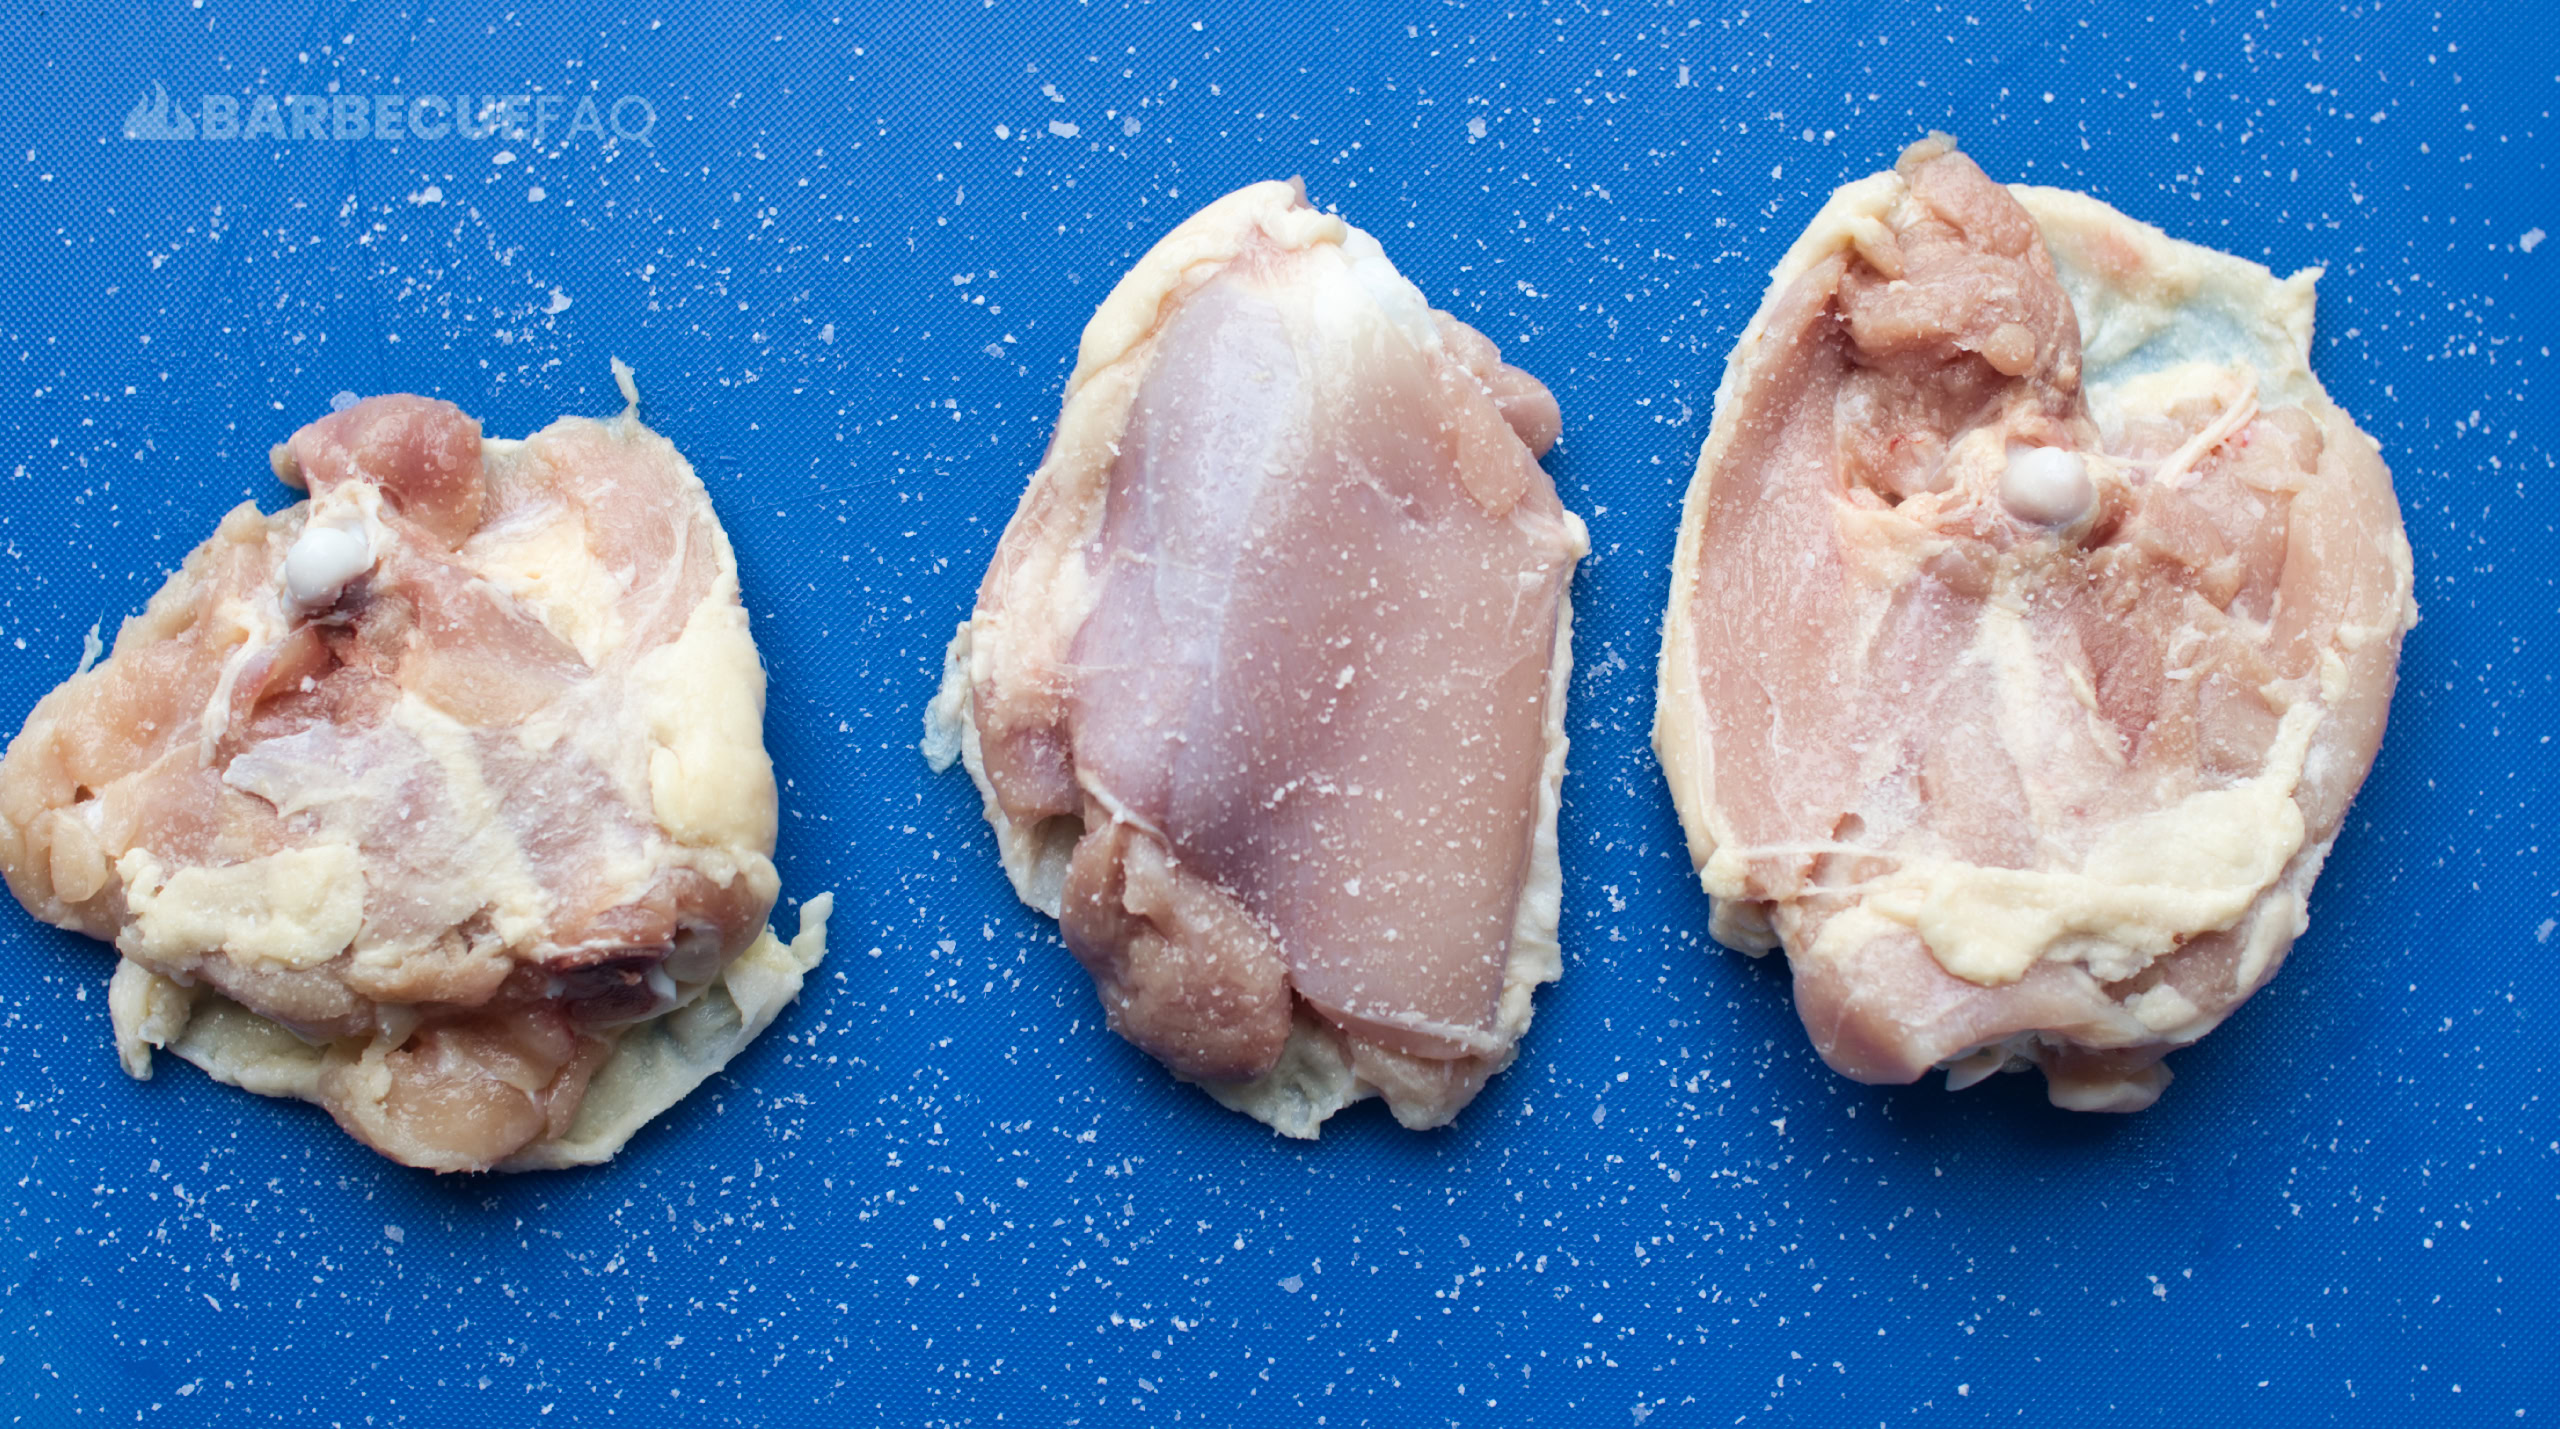
If you’re heavy handed – I’d suggest investing in some Diamond Crystal Kosher salt as it’s more forgiving due to being less dense.
4. Once all surfaces are salted, place the now salted chicken thighs on top of the wire rack.
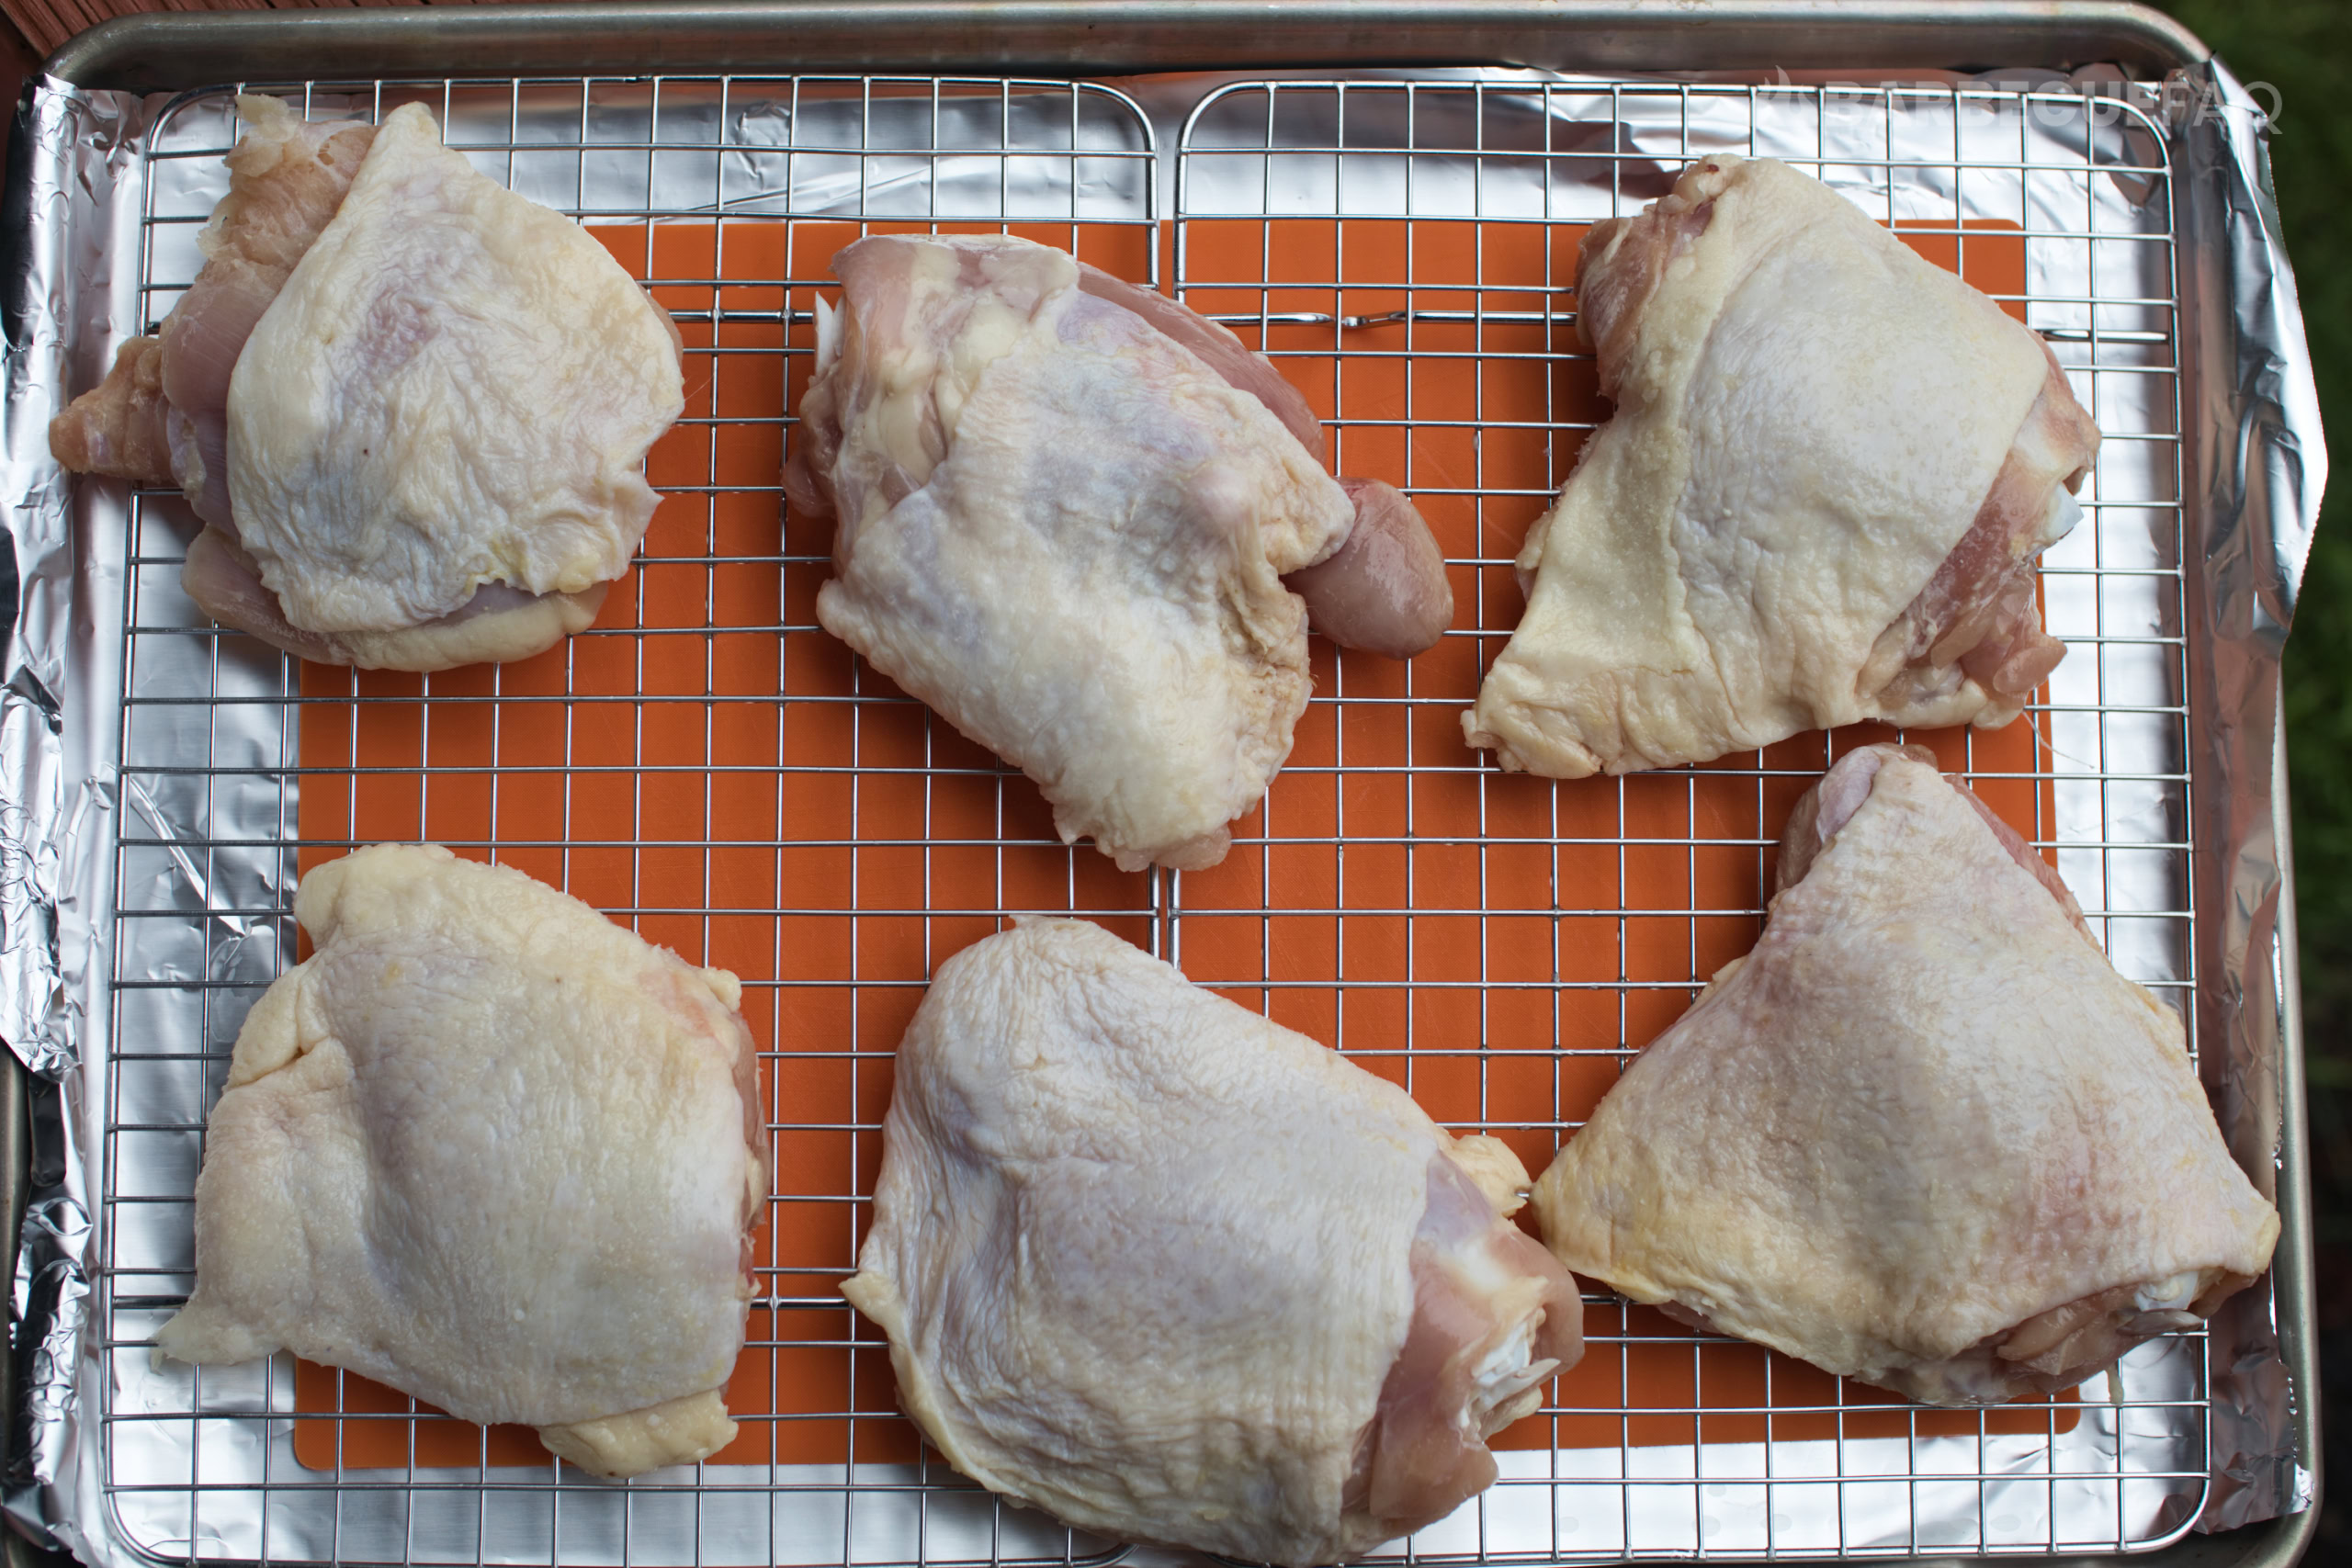
5. Place the baking sheet with the chicken thighs on the bottom rack of your refrigerator.
I like to loosely cover with butcher paper.
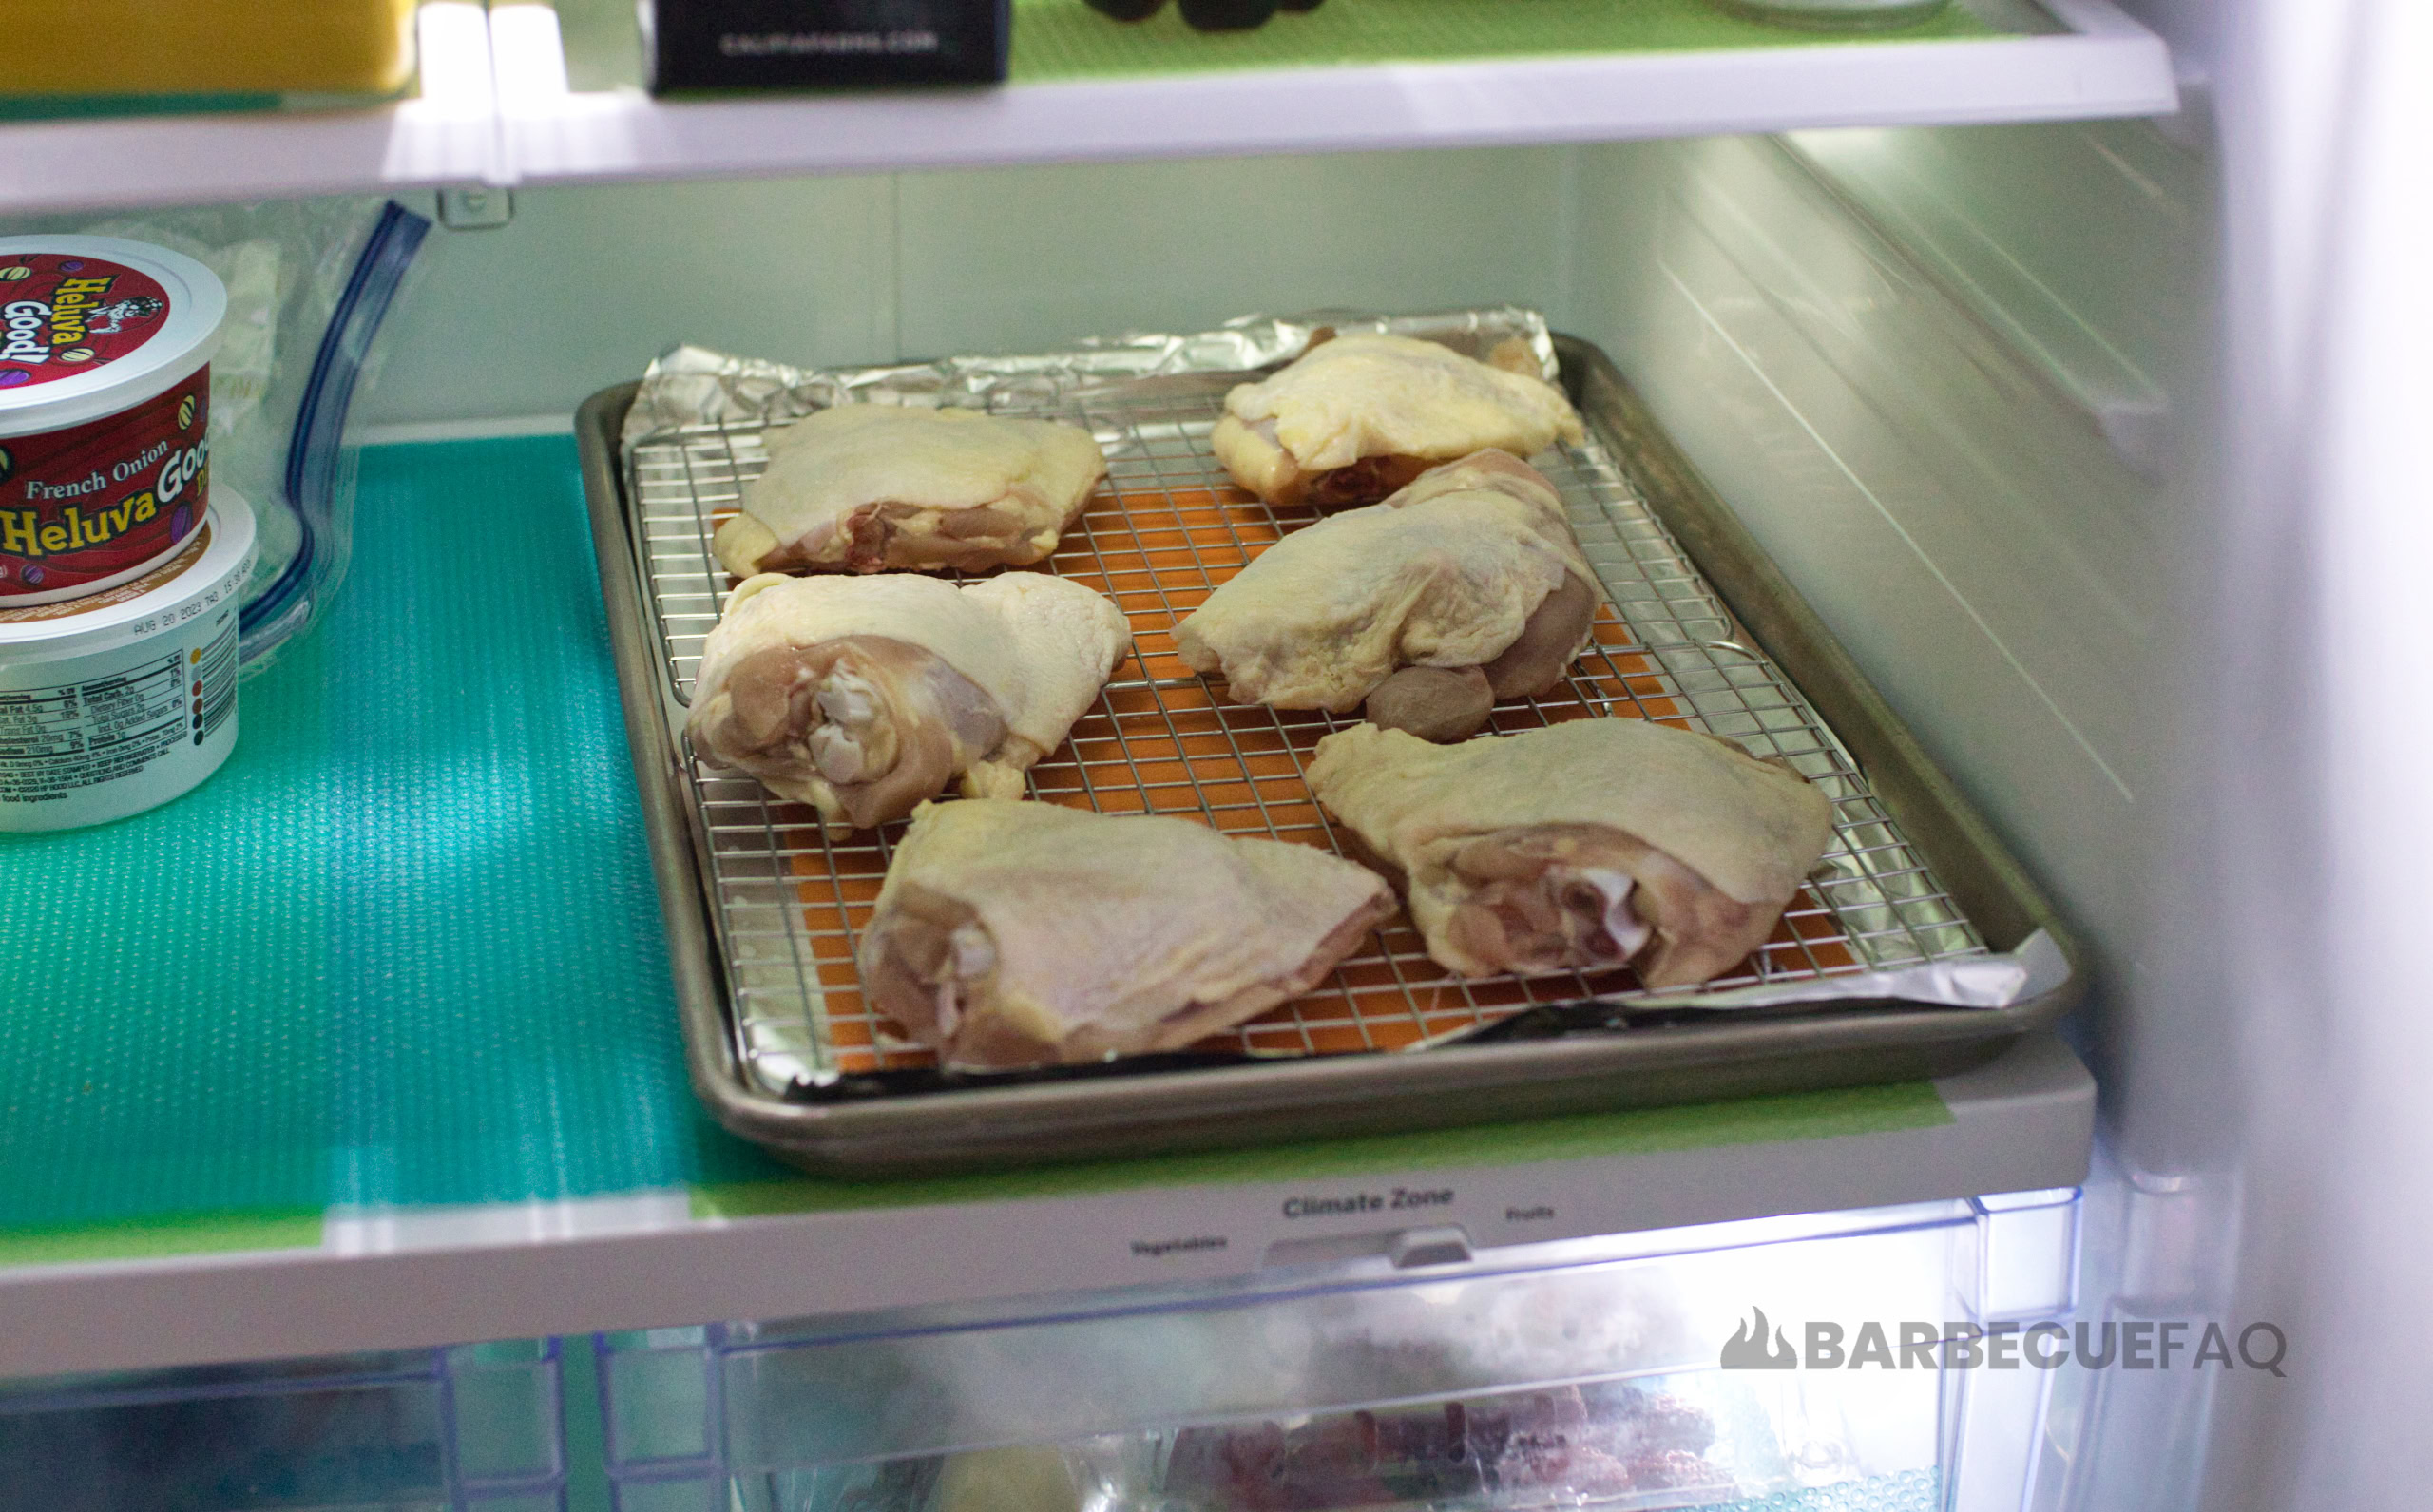
6. Dry brine Like this for at least 2 hours but overnight is ideal (usually 16+ hours).
Both air drying and dry brining take time but if you’re pressed for time, 2 hours is how long it takes for salt to actually penetrate meat.
Here’s the skin the next day:
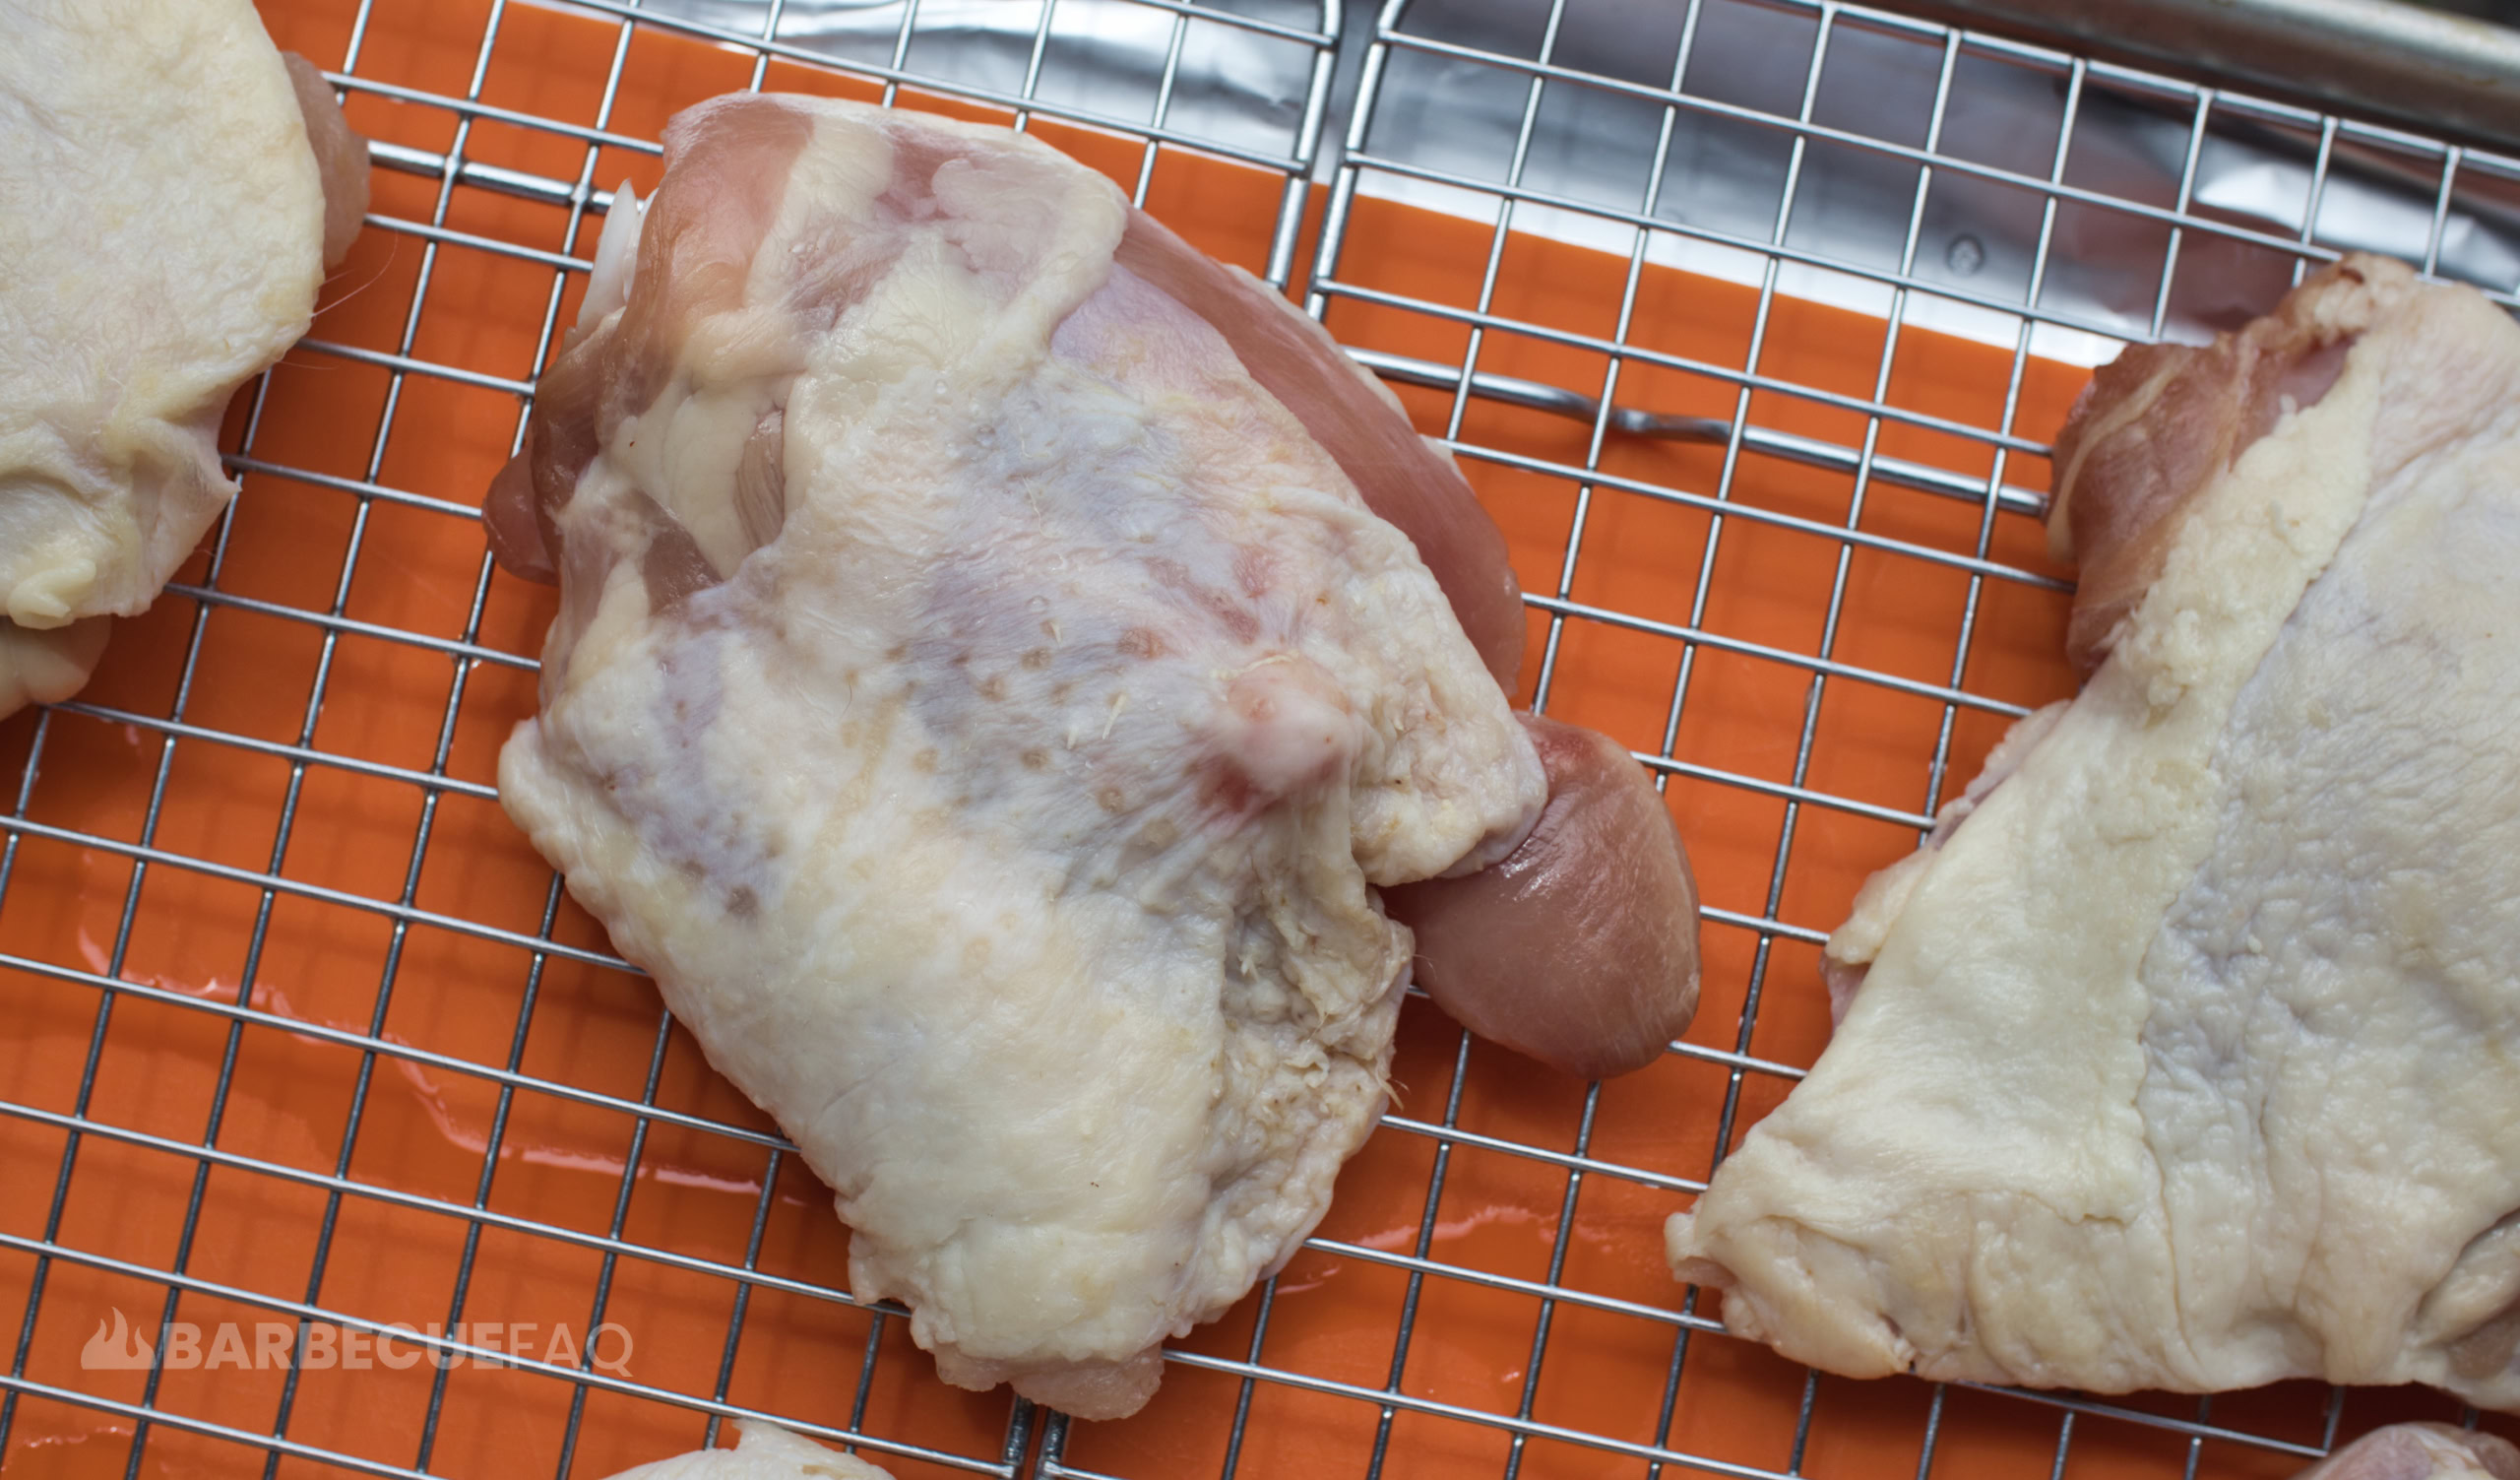
From research by Dr. Greg Blonder, we can see that salt was capable of penetrating meat:
- 30 minutes = 0.11 – 0.15 inches
- 1 Hour = 0.19 – 0.23 inches
- 2 Hours = 0.27 inches
- 24 hours = 0.66 inches
In that same article of Dr. Blonder he found that diffusion rates of salt also increased at higher temperatures; Which for chicken thighs is a good thing since they’re pushed to around 190F+.
Thigh meat breaks down when cooked to higher internal temperatures, stays juicy, and you also render more skin fat.


