1. Start skin-side down
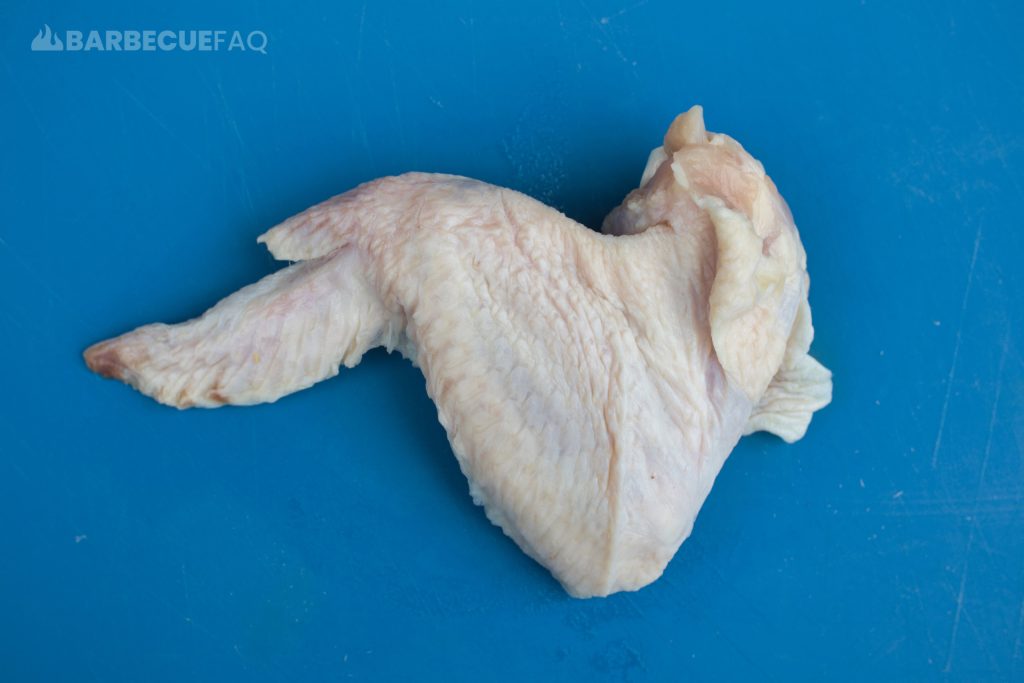
The bone-in side, regardless of having skin or not, will look like this:

2. Locate the femur bone
The bone (the head of the femur) or joint will be exposed on bone-in thighs; It will physically protrude from the meat.

Using the tip of your knife, make an incision across the length of the bone.
Keep the knife as close to the bone as possible so that you’re maximizing your edible meat yield.
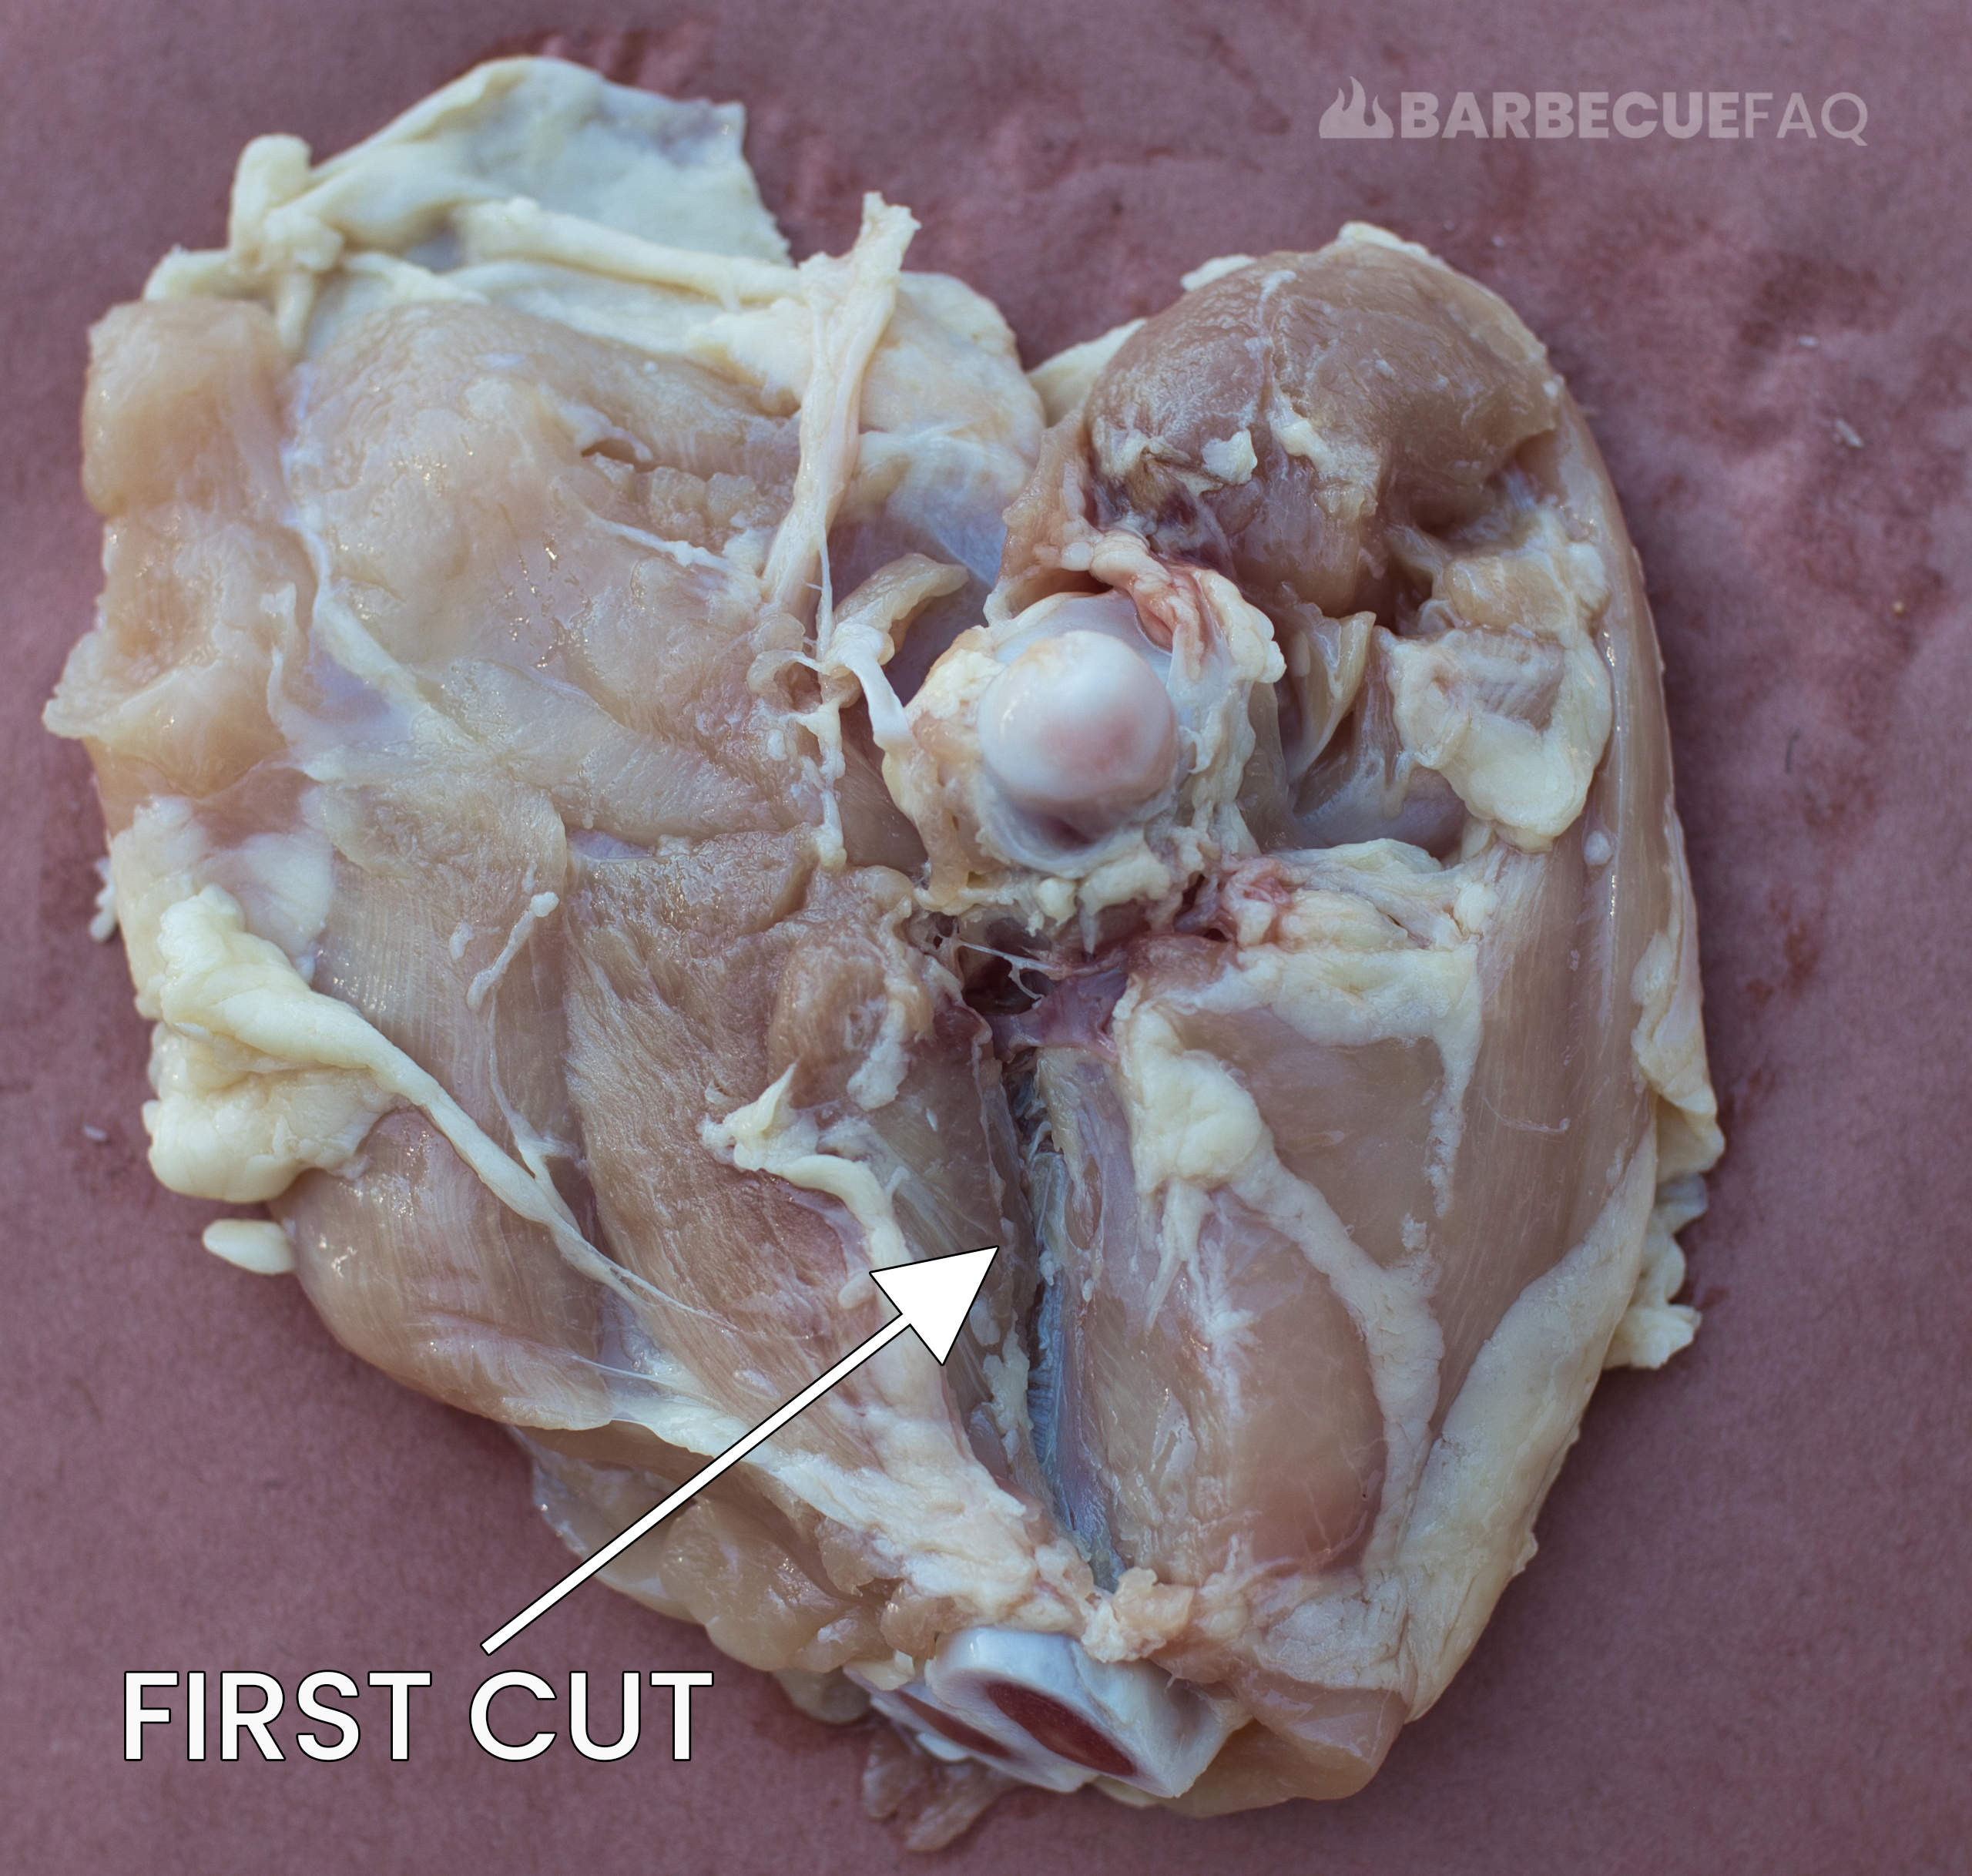
Ensure you’re not entirely cutting through the length of the muscle. You’re simply cutting superficially to remove the bone.
3. Continue by making quick cuts with the tip of your knife across the top of the bone
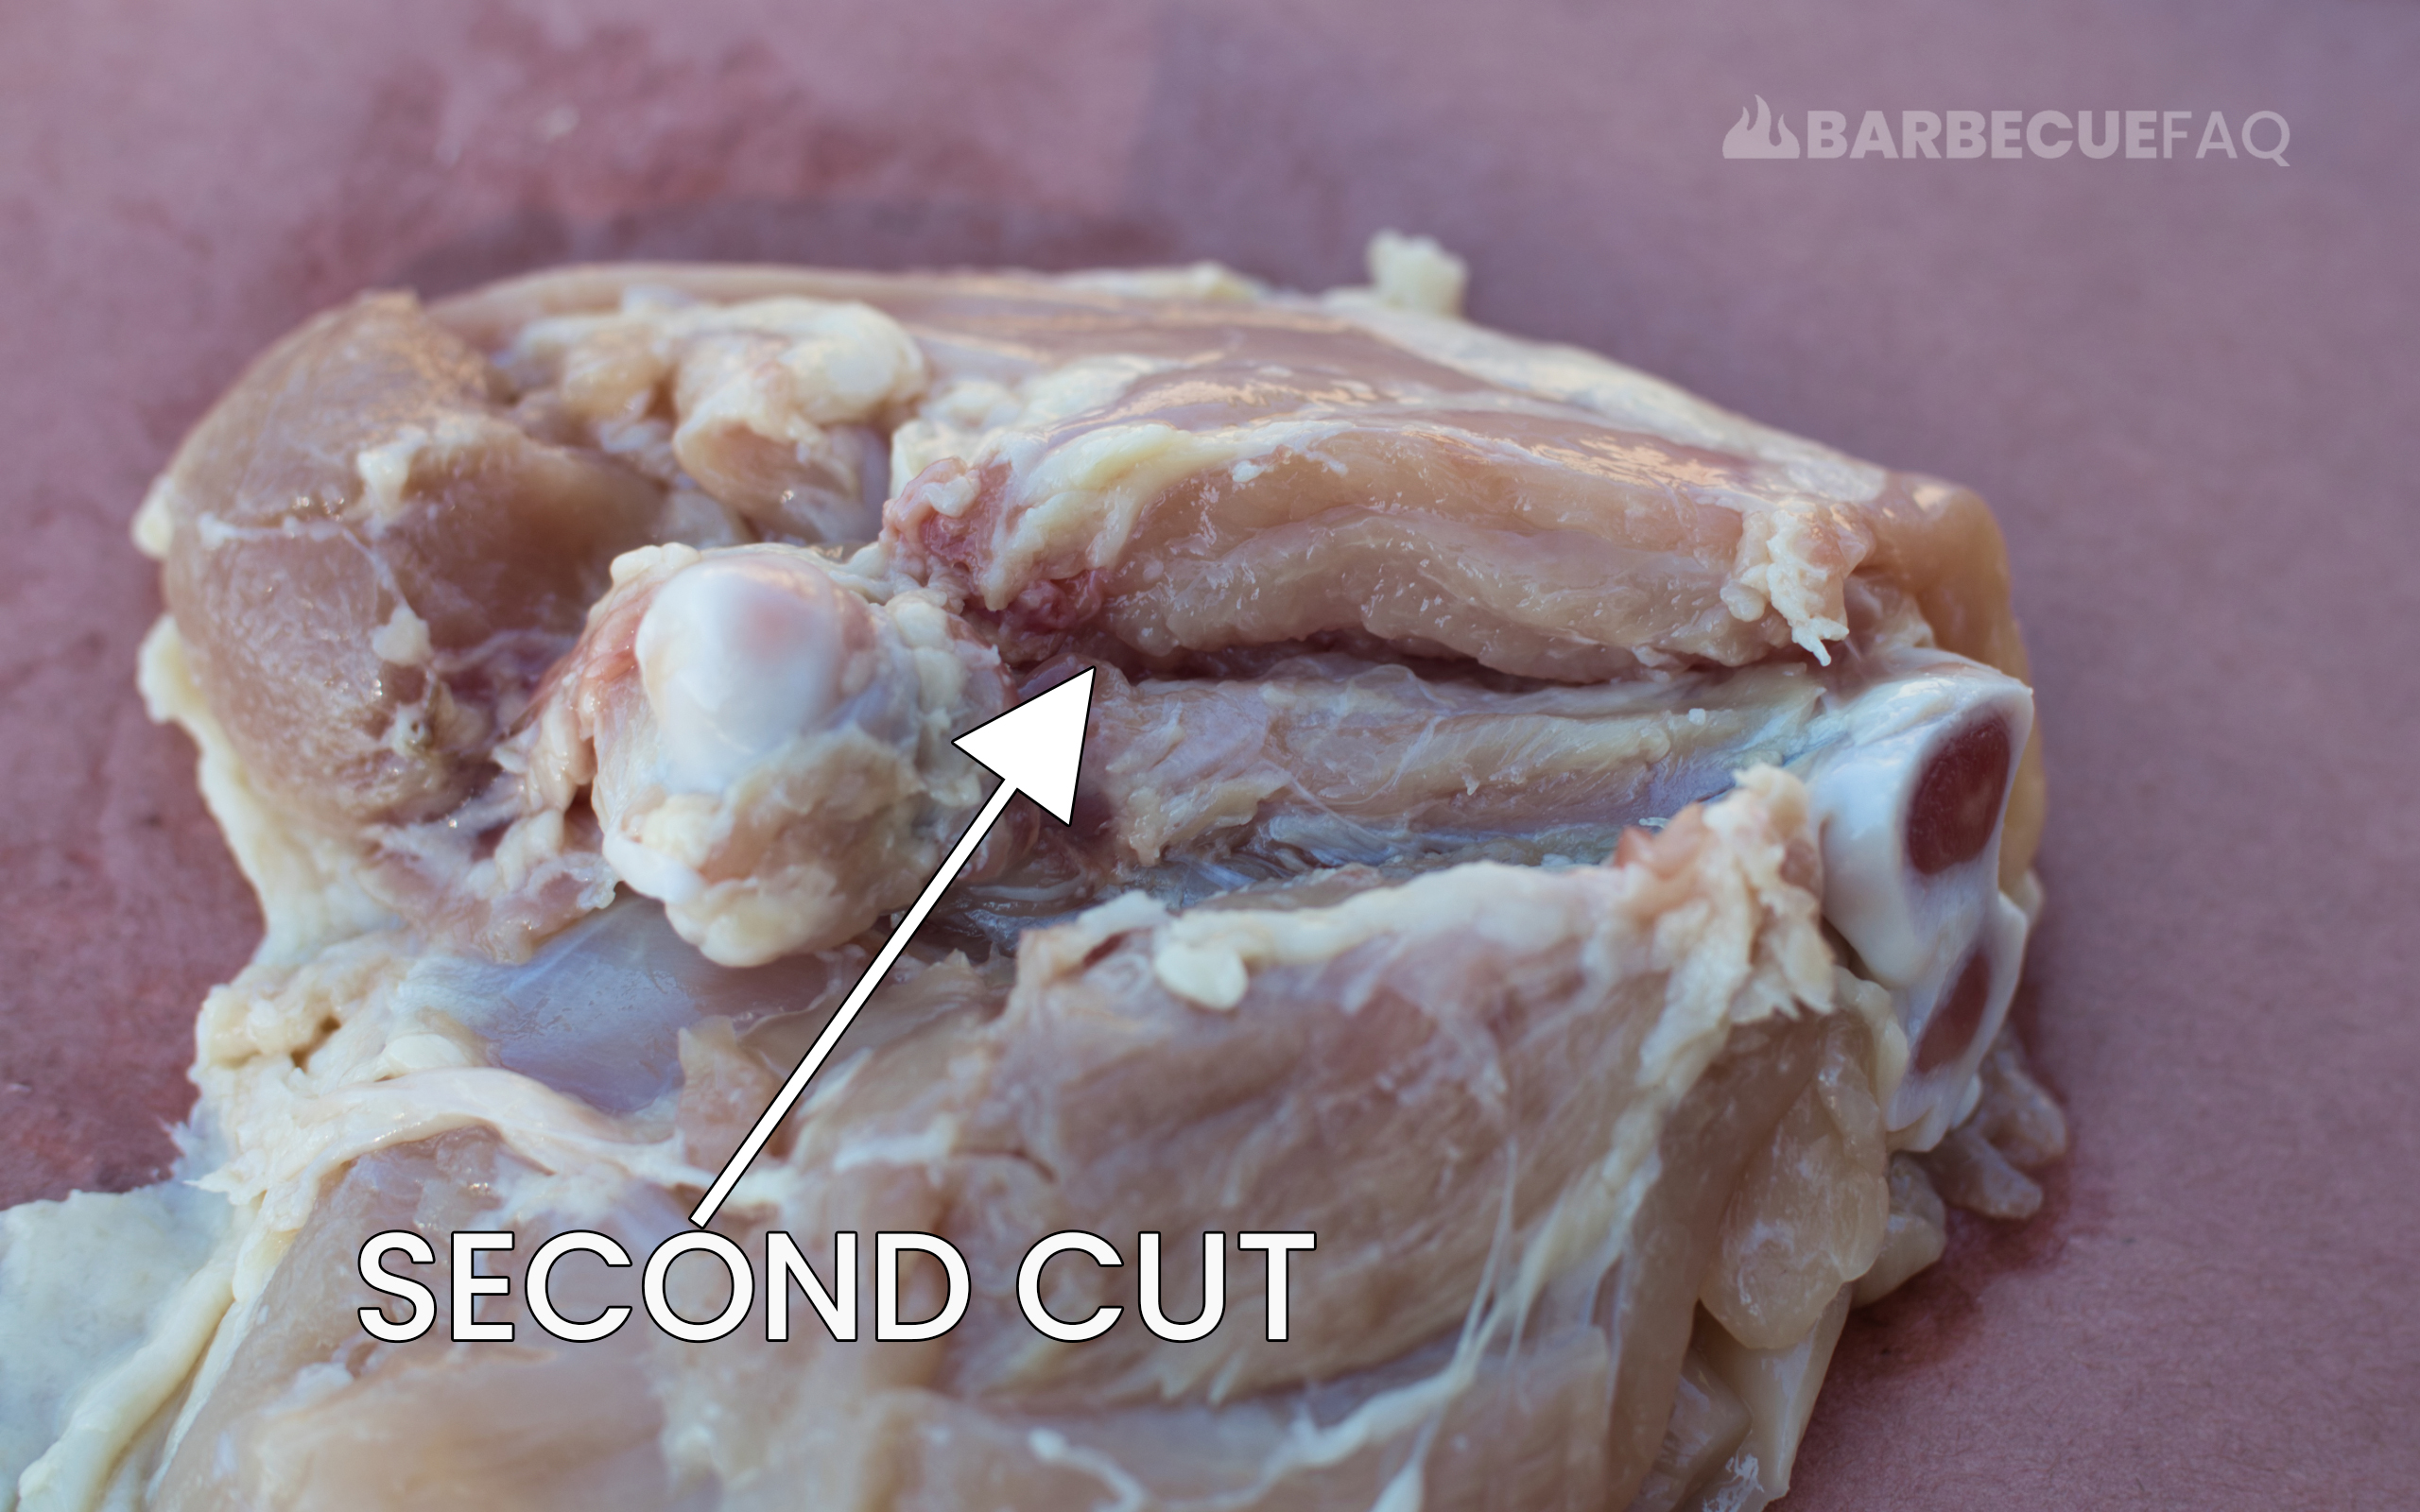
Then, use the bone as an inflection point so that the lean meat is off to one side – You can actually layer the lean meat on top of itself.
The femur should be then off to the other side.
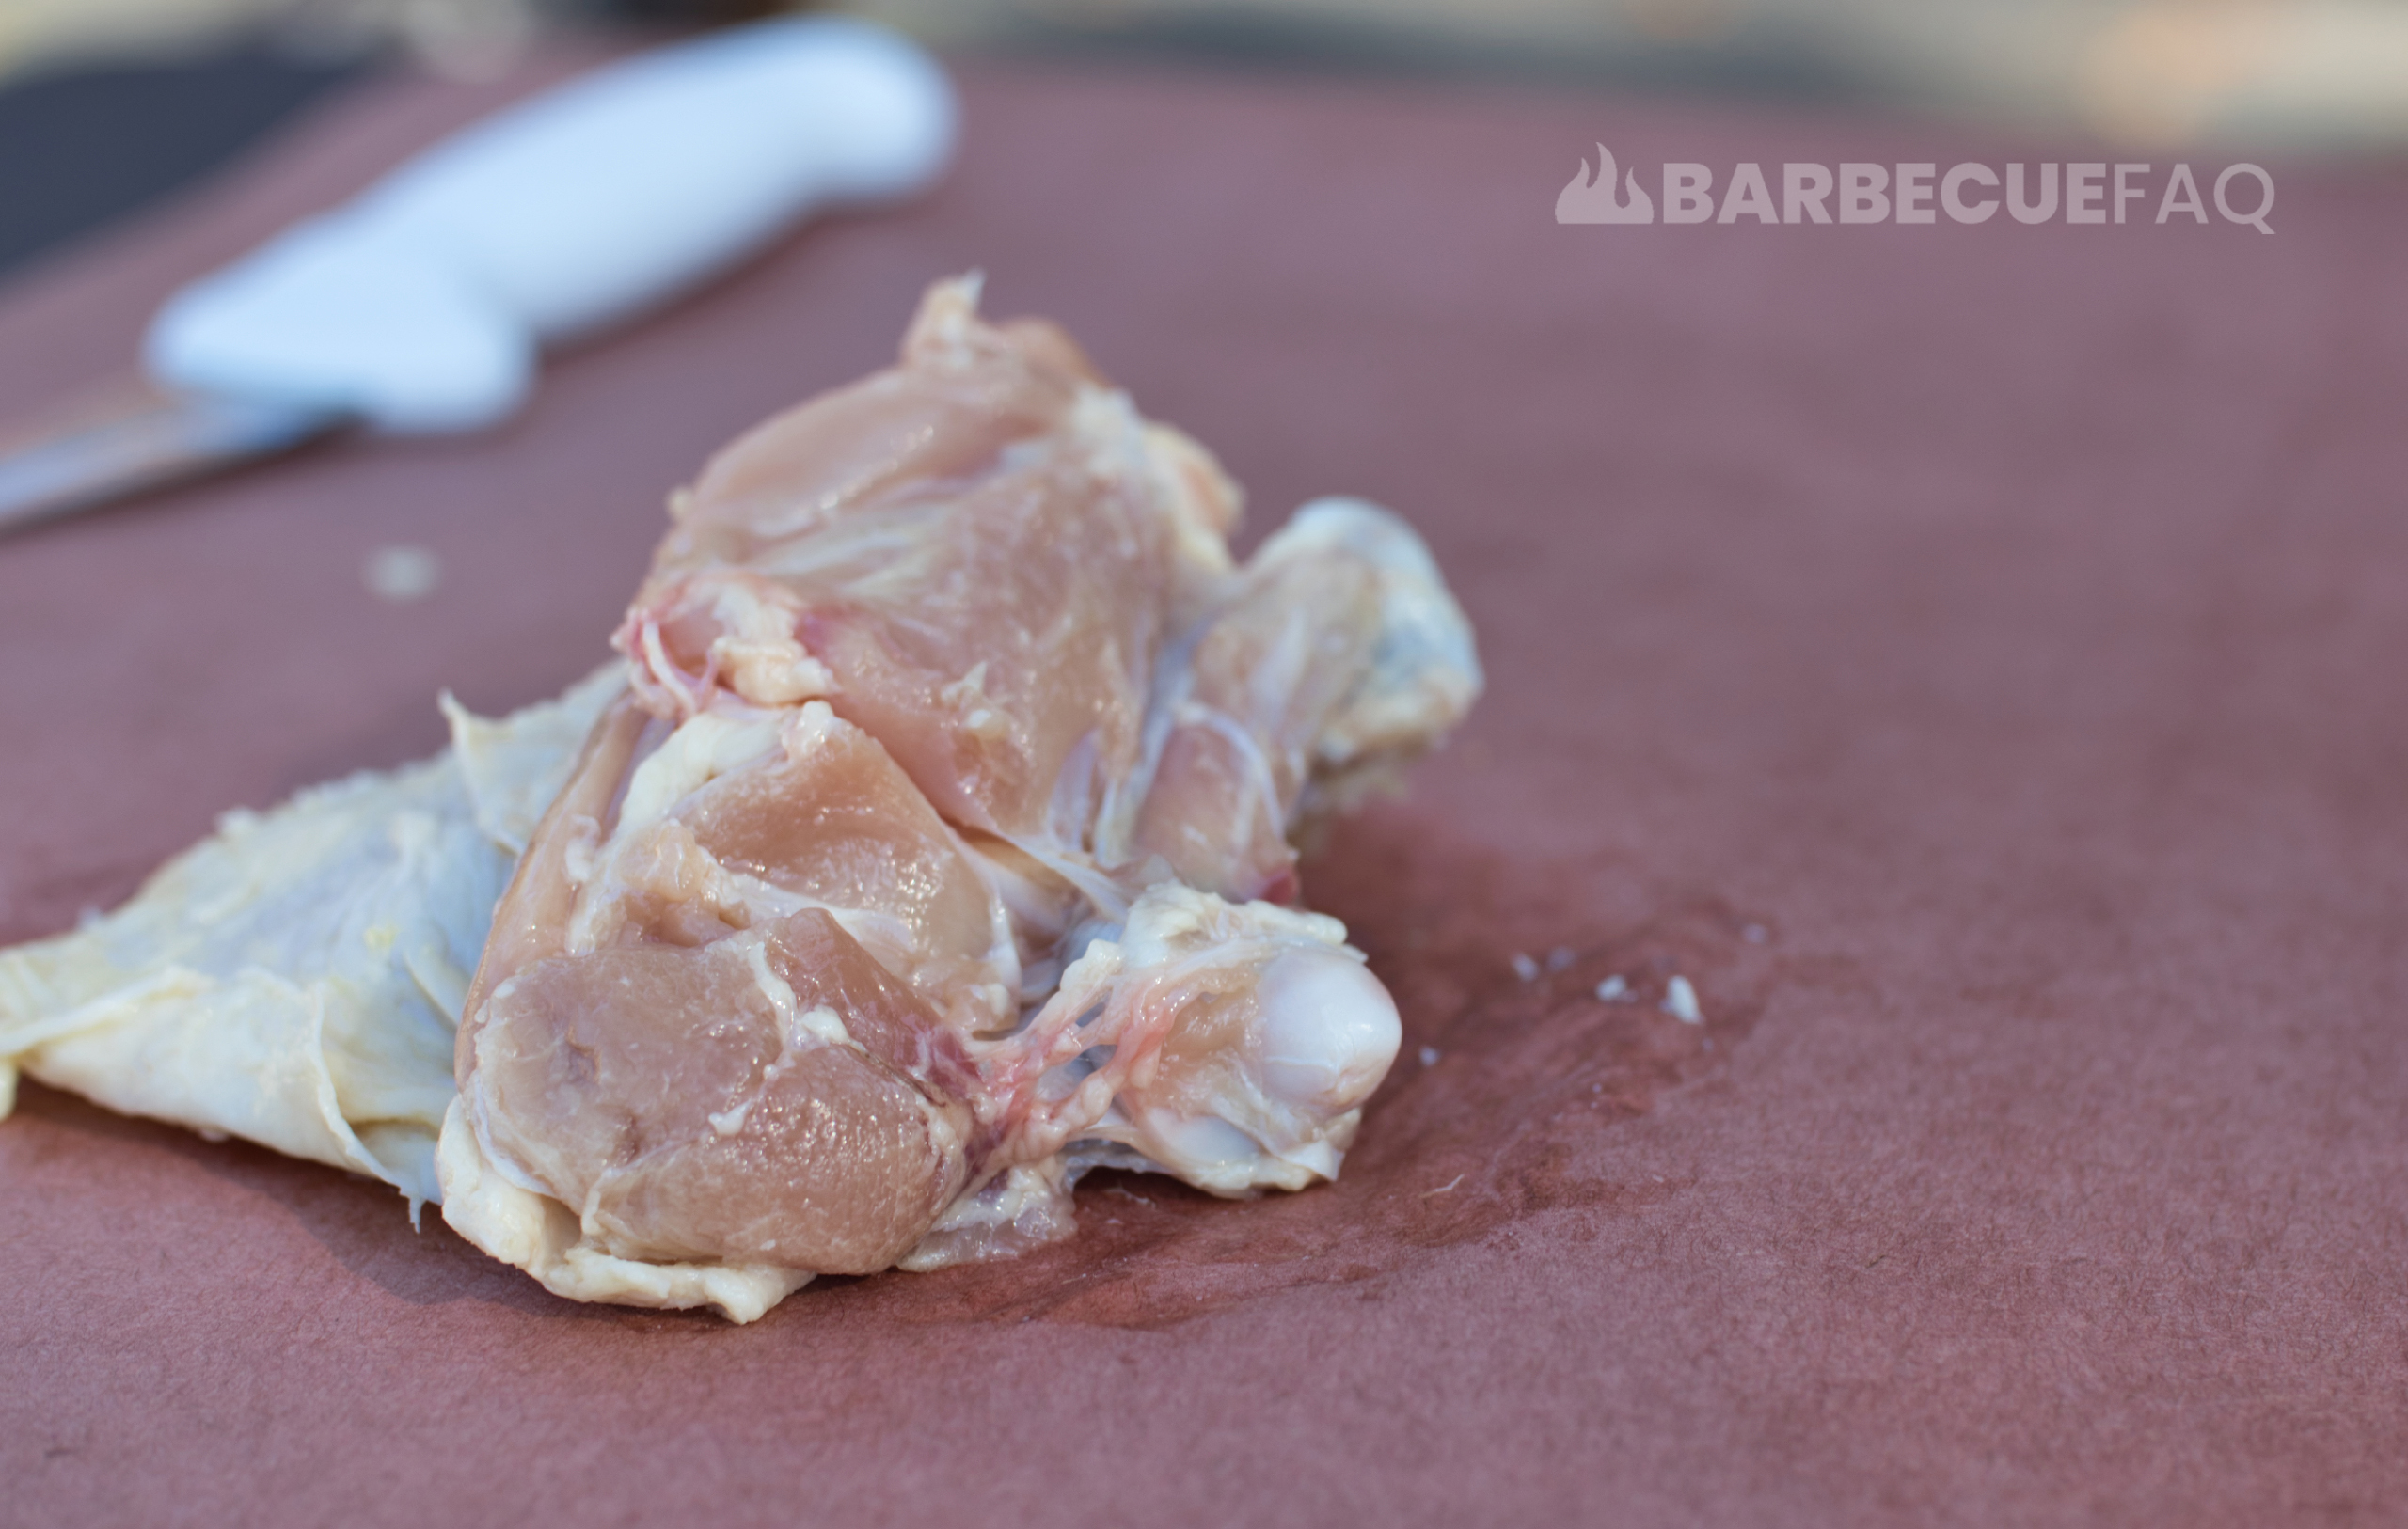
I’ve seen way too many guides where they say to make a cut to the left and right of the bone, but then you’re left with a good portion of meat still on the bone.
Here’s the wrong way to do it, just so you can see what I mean:

Here’s the bone removed:
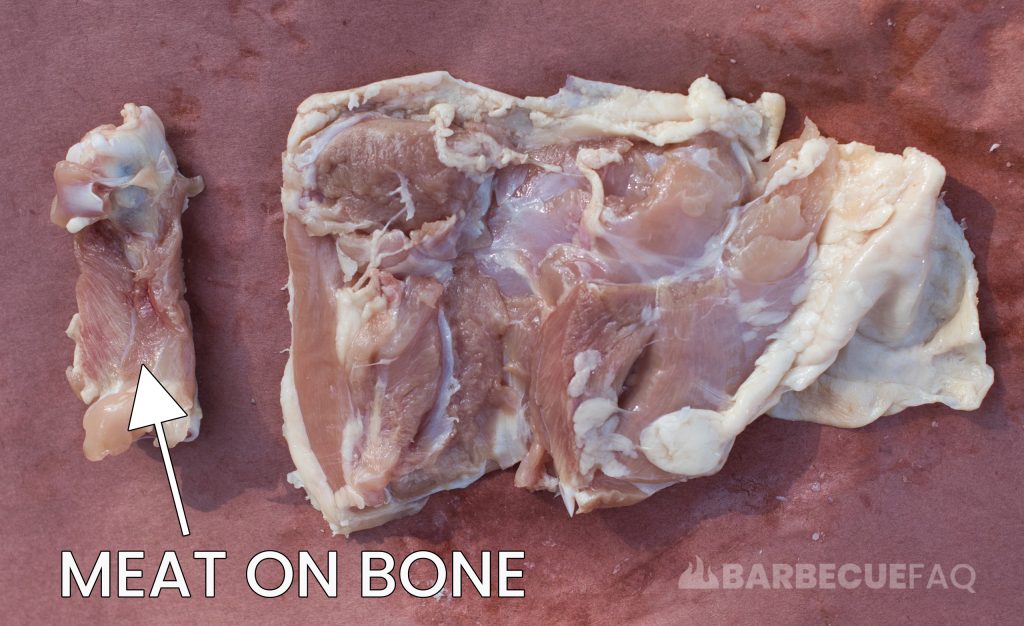
Don’t do the above.
4. Use the tip of your knife to follow the back-side of the bone
From there you can cut and pull the bone away from the meat.

Due to how slippery chicken can be I prefer just to use the tip of my boning knife to make quick incisions at the bone until the bone is removed.
5. Optionally, remove the cartilage
This is something that most guides miss or fail to mention.
There is cartilage that sits next to the bone that will remain on the chicken, even when the bone is removed.
You can simply take your knife and slice this portion off.
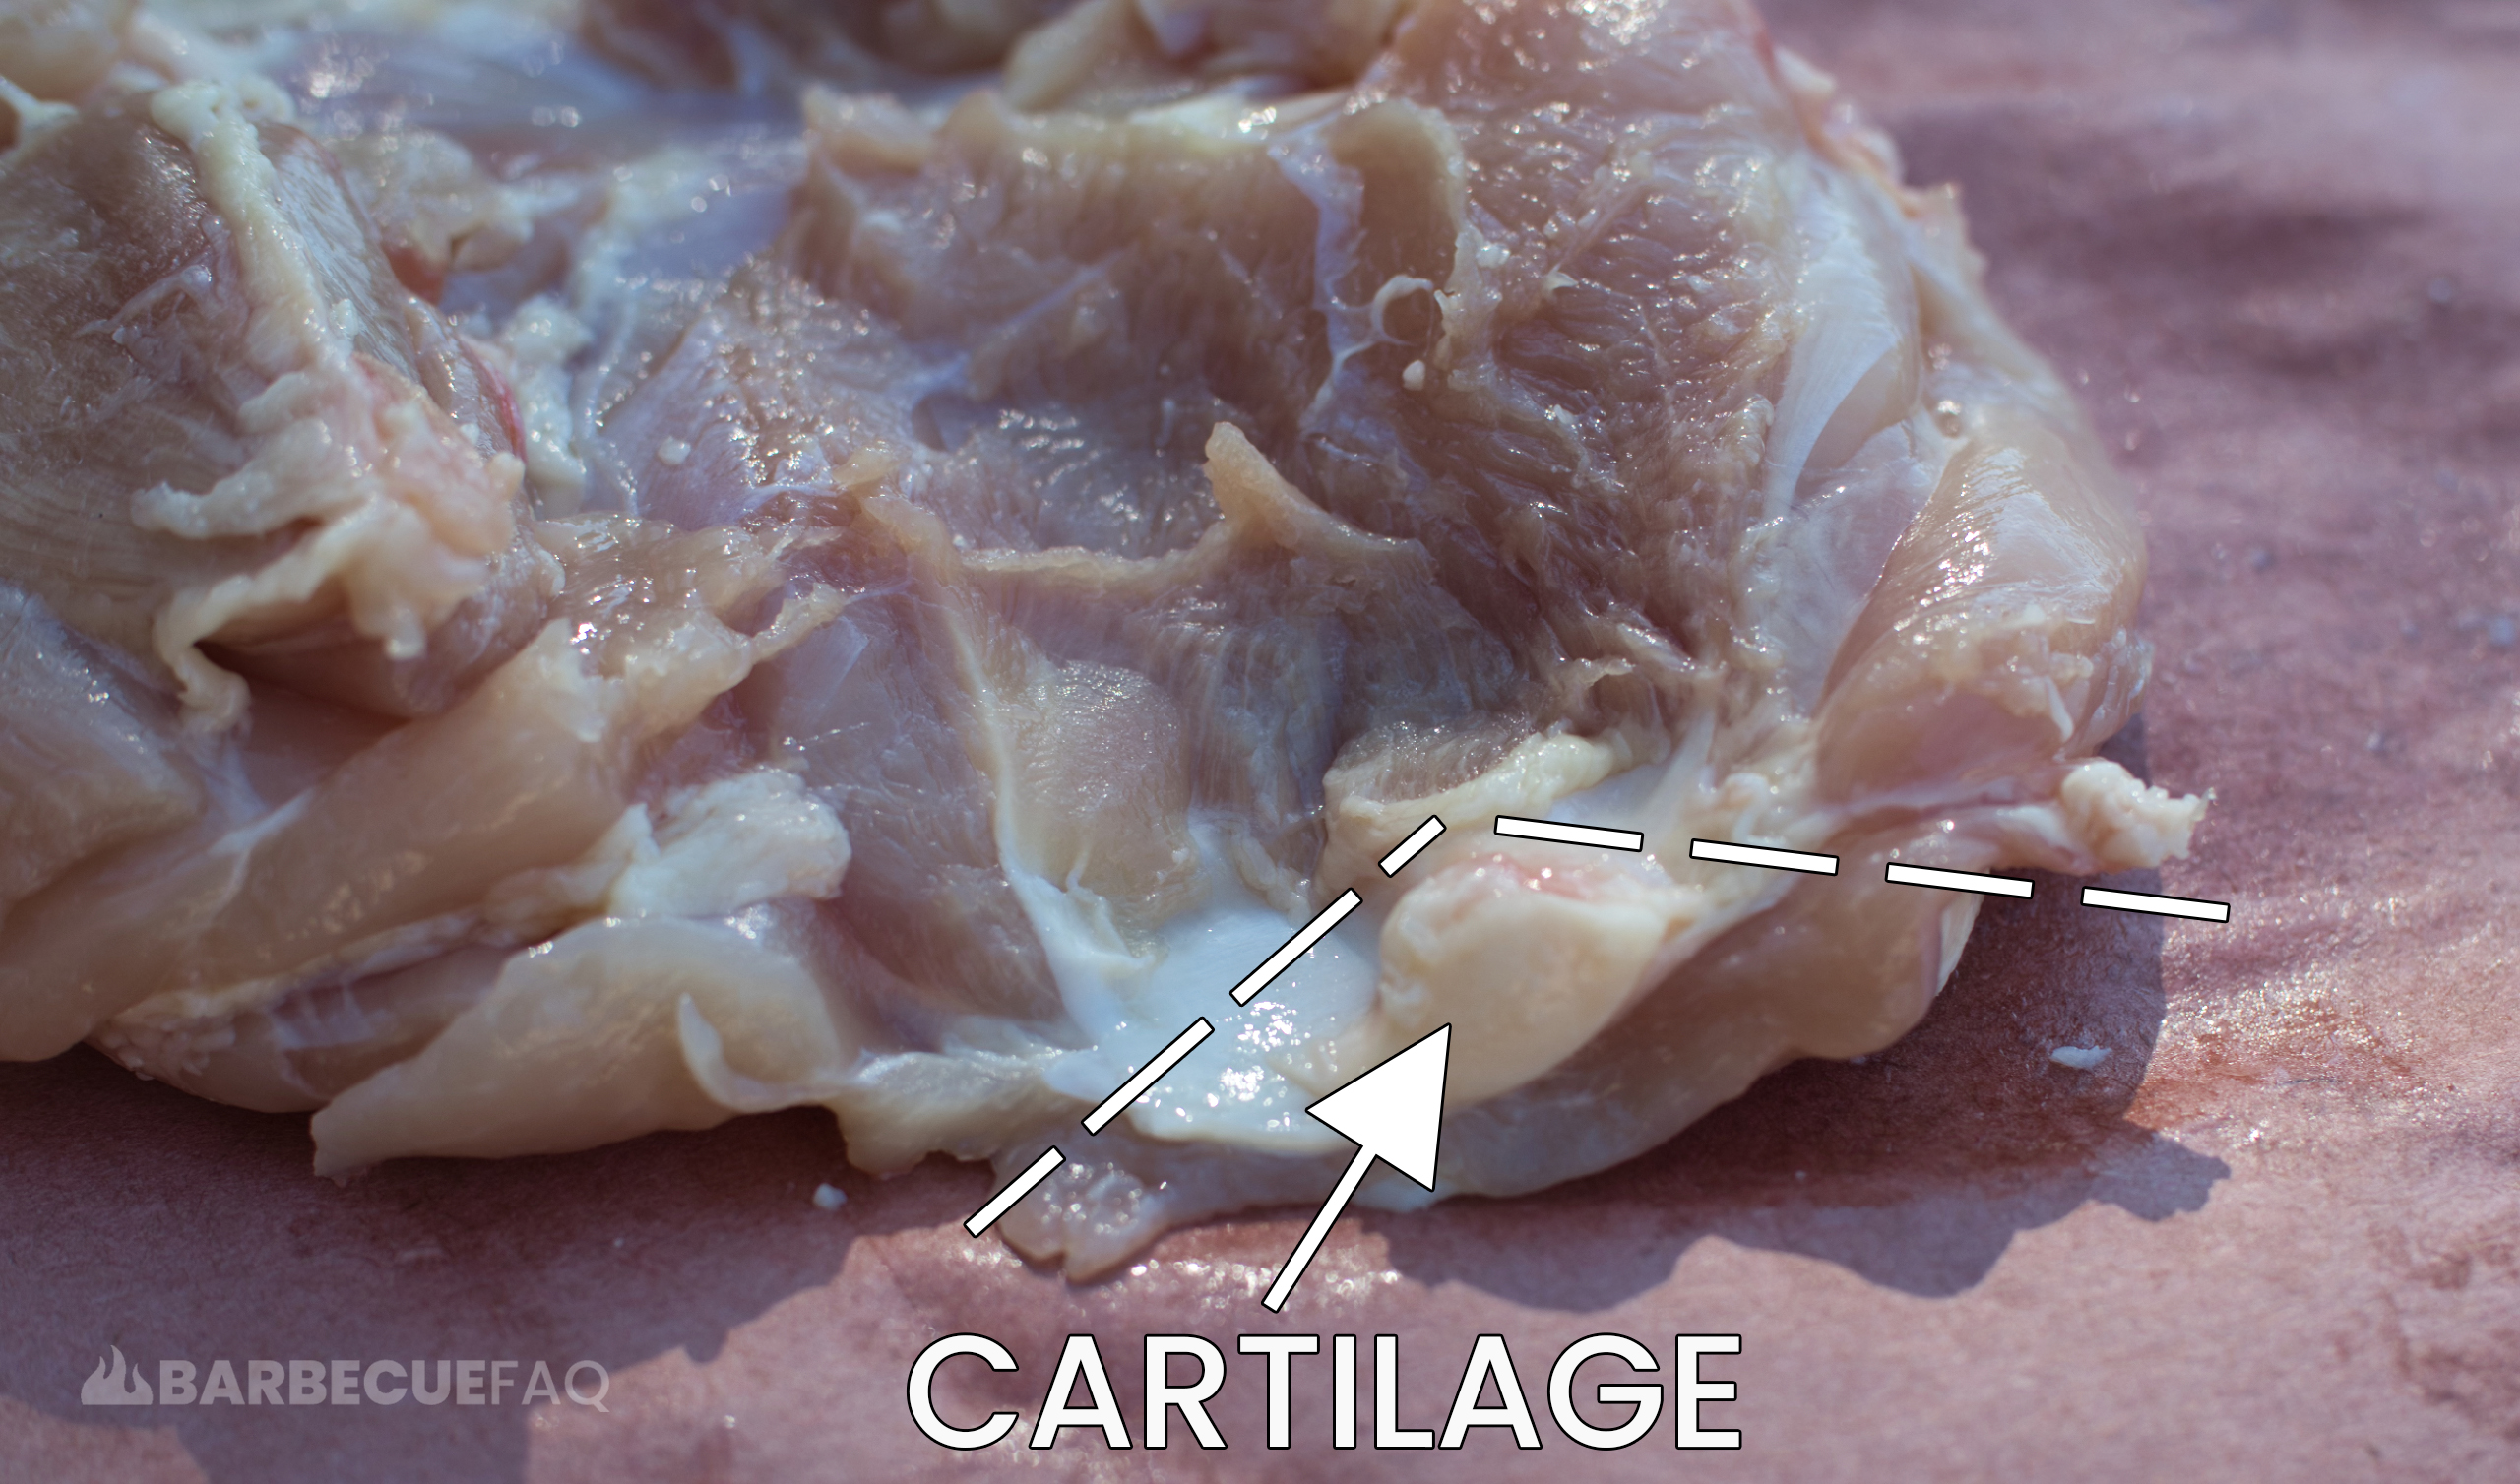
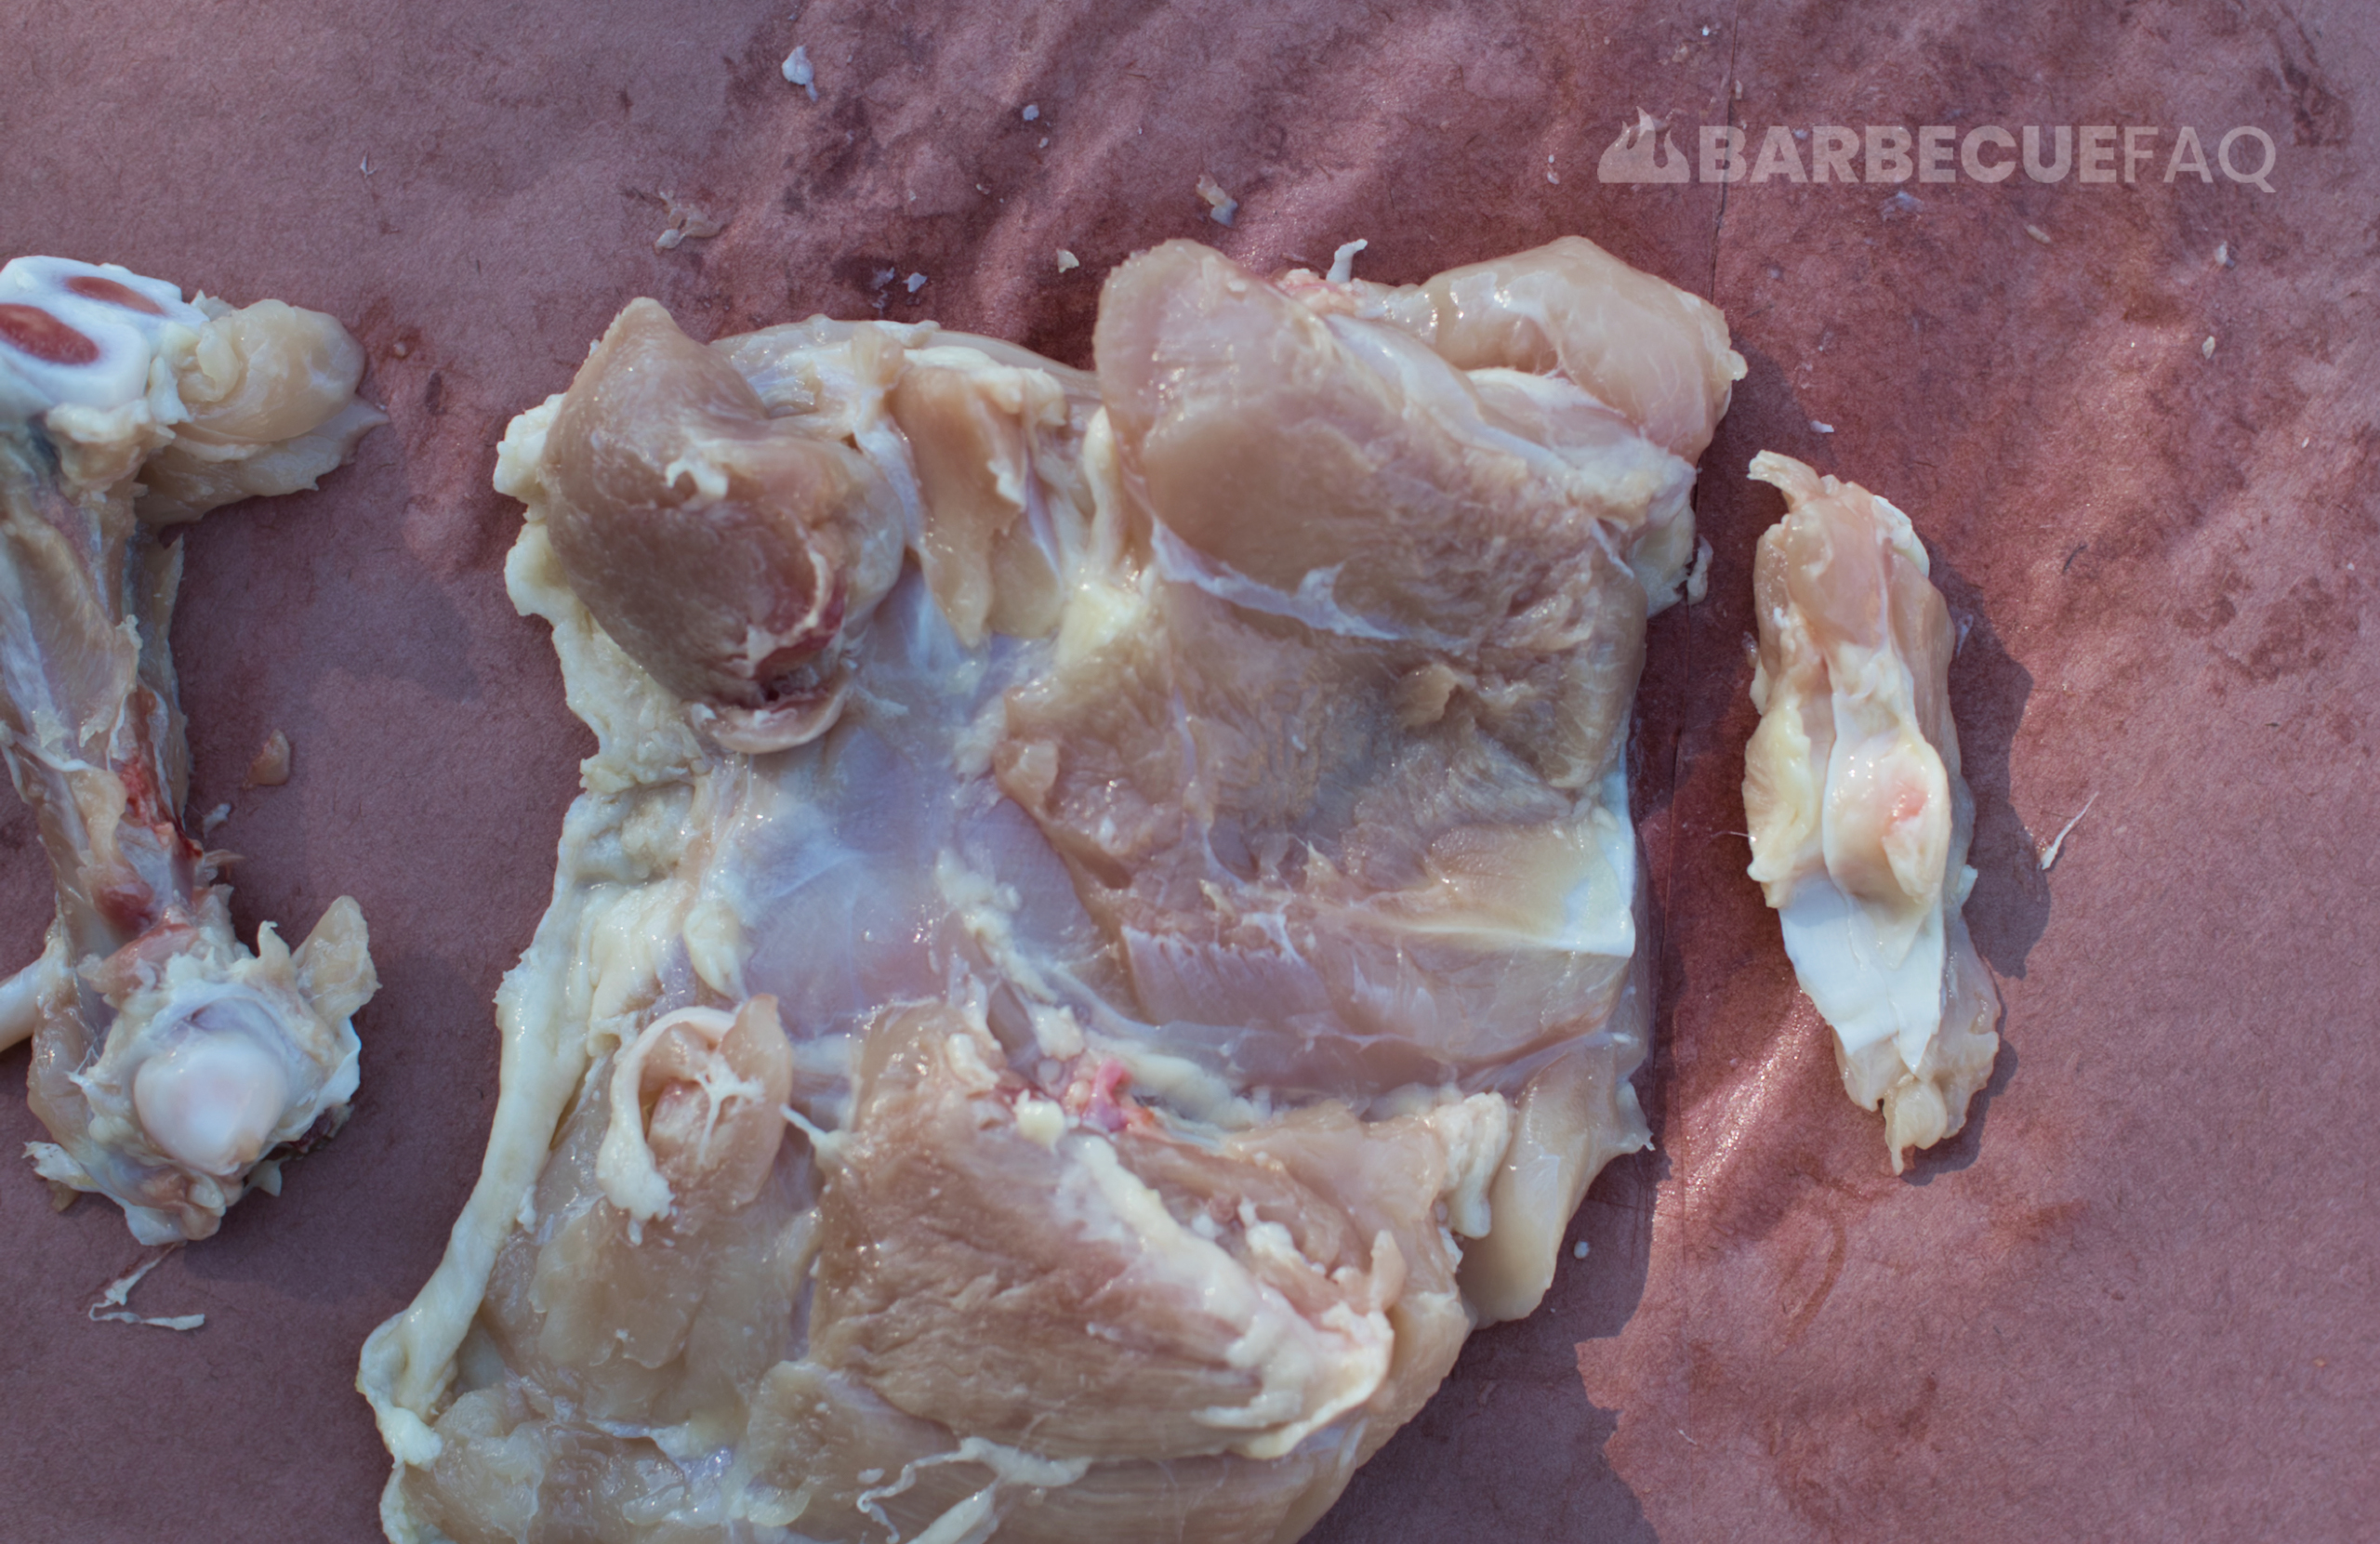
Here’s the thigh deboned and cartilage removed:
What About Removing the Skin?
The skin of chicken thighs will typically have one “open-end” as well as an end that’s attached to the fat/meat.
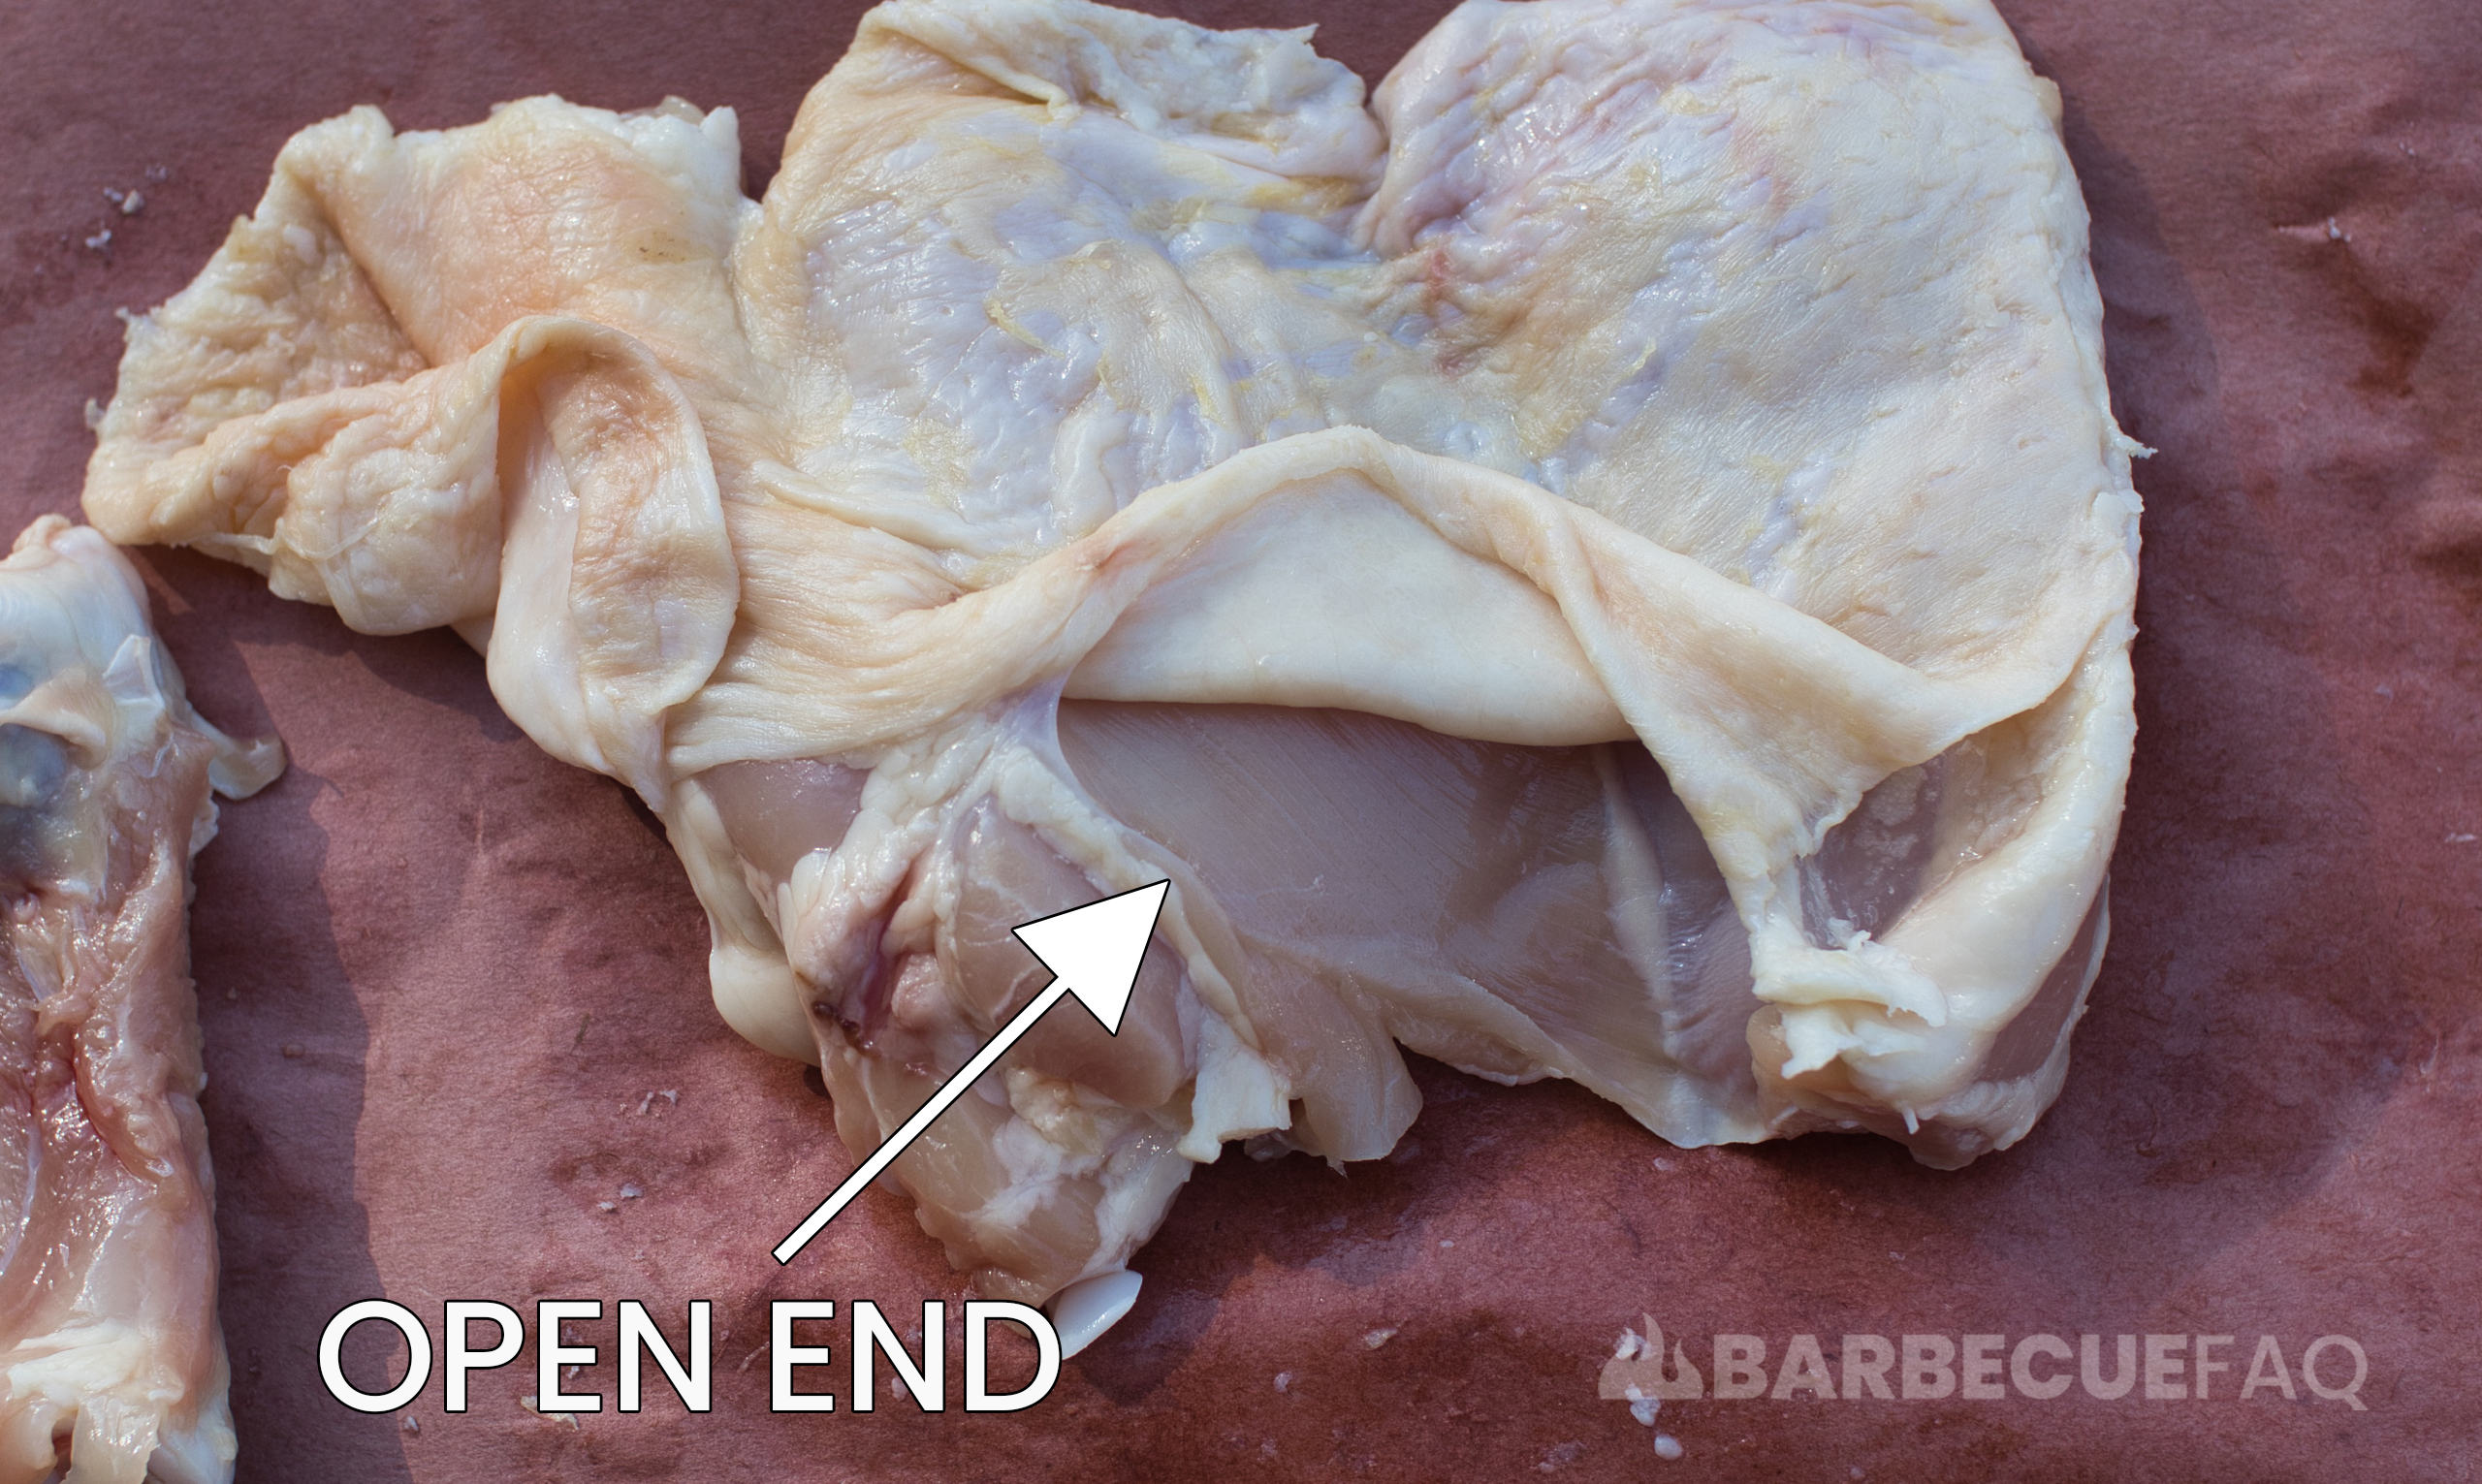
From the open end simply peel back the skin until it reaches this attachment point.
From there, you can either use your knife to slice the skin off or use your hands to pull and tear the skin from the meat.


