Which Cuts of Beef to Use for Jerky?
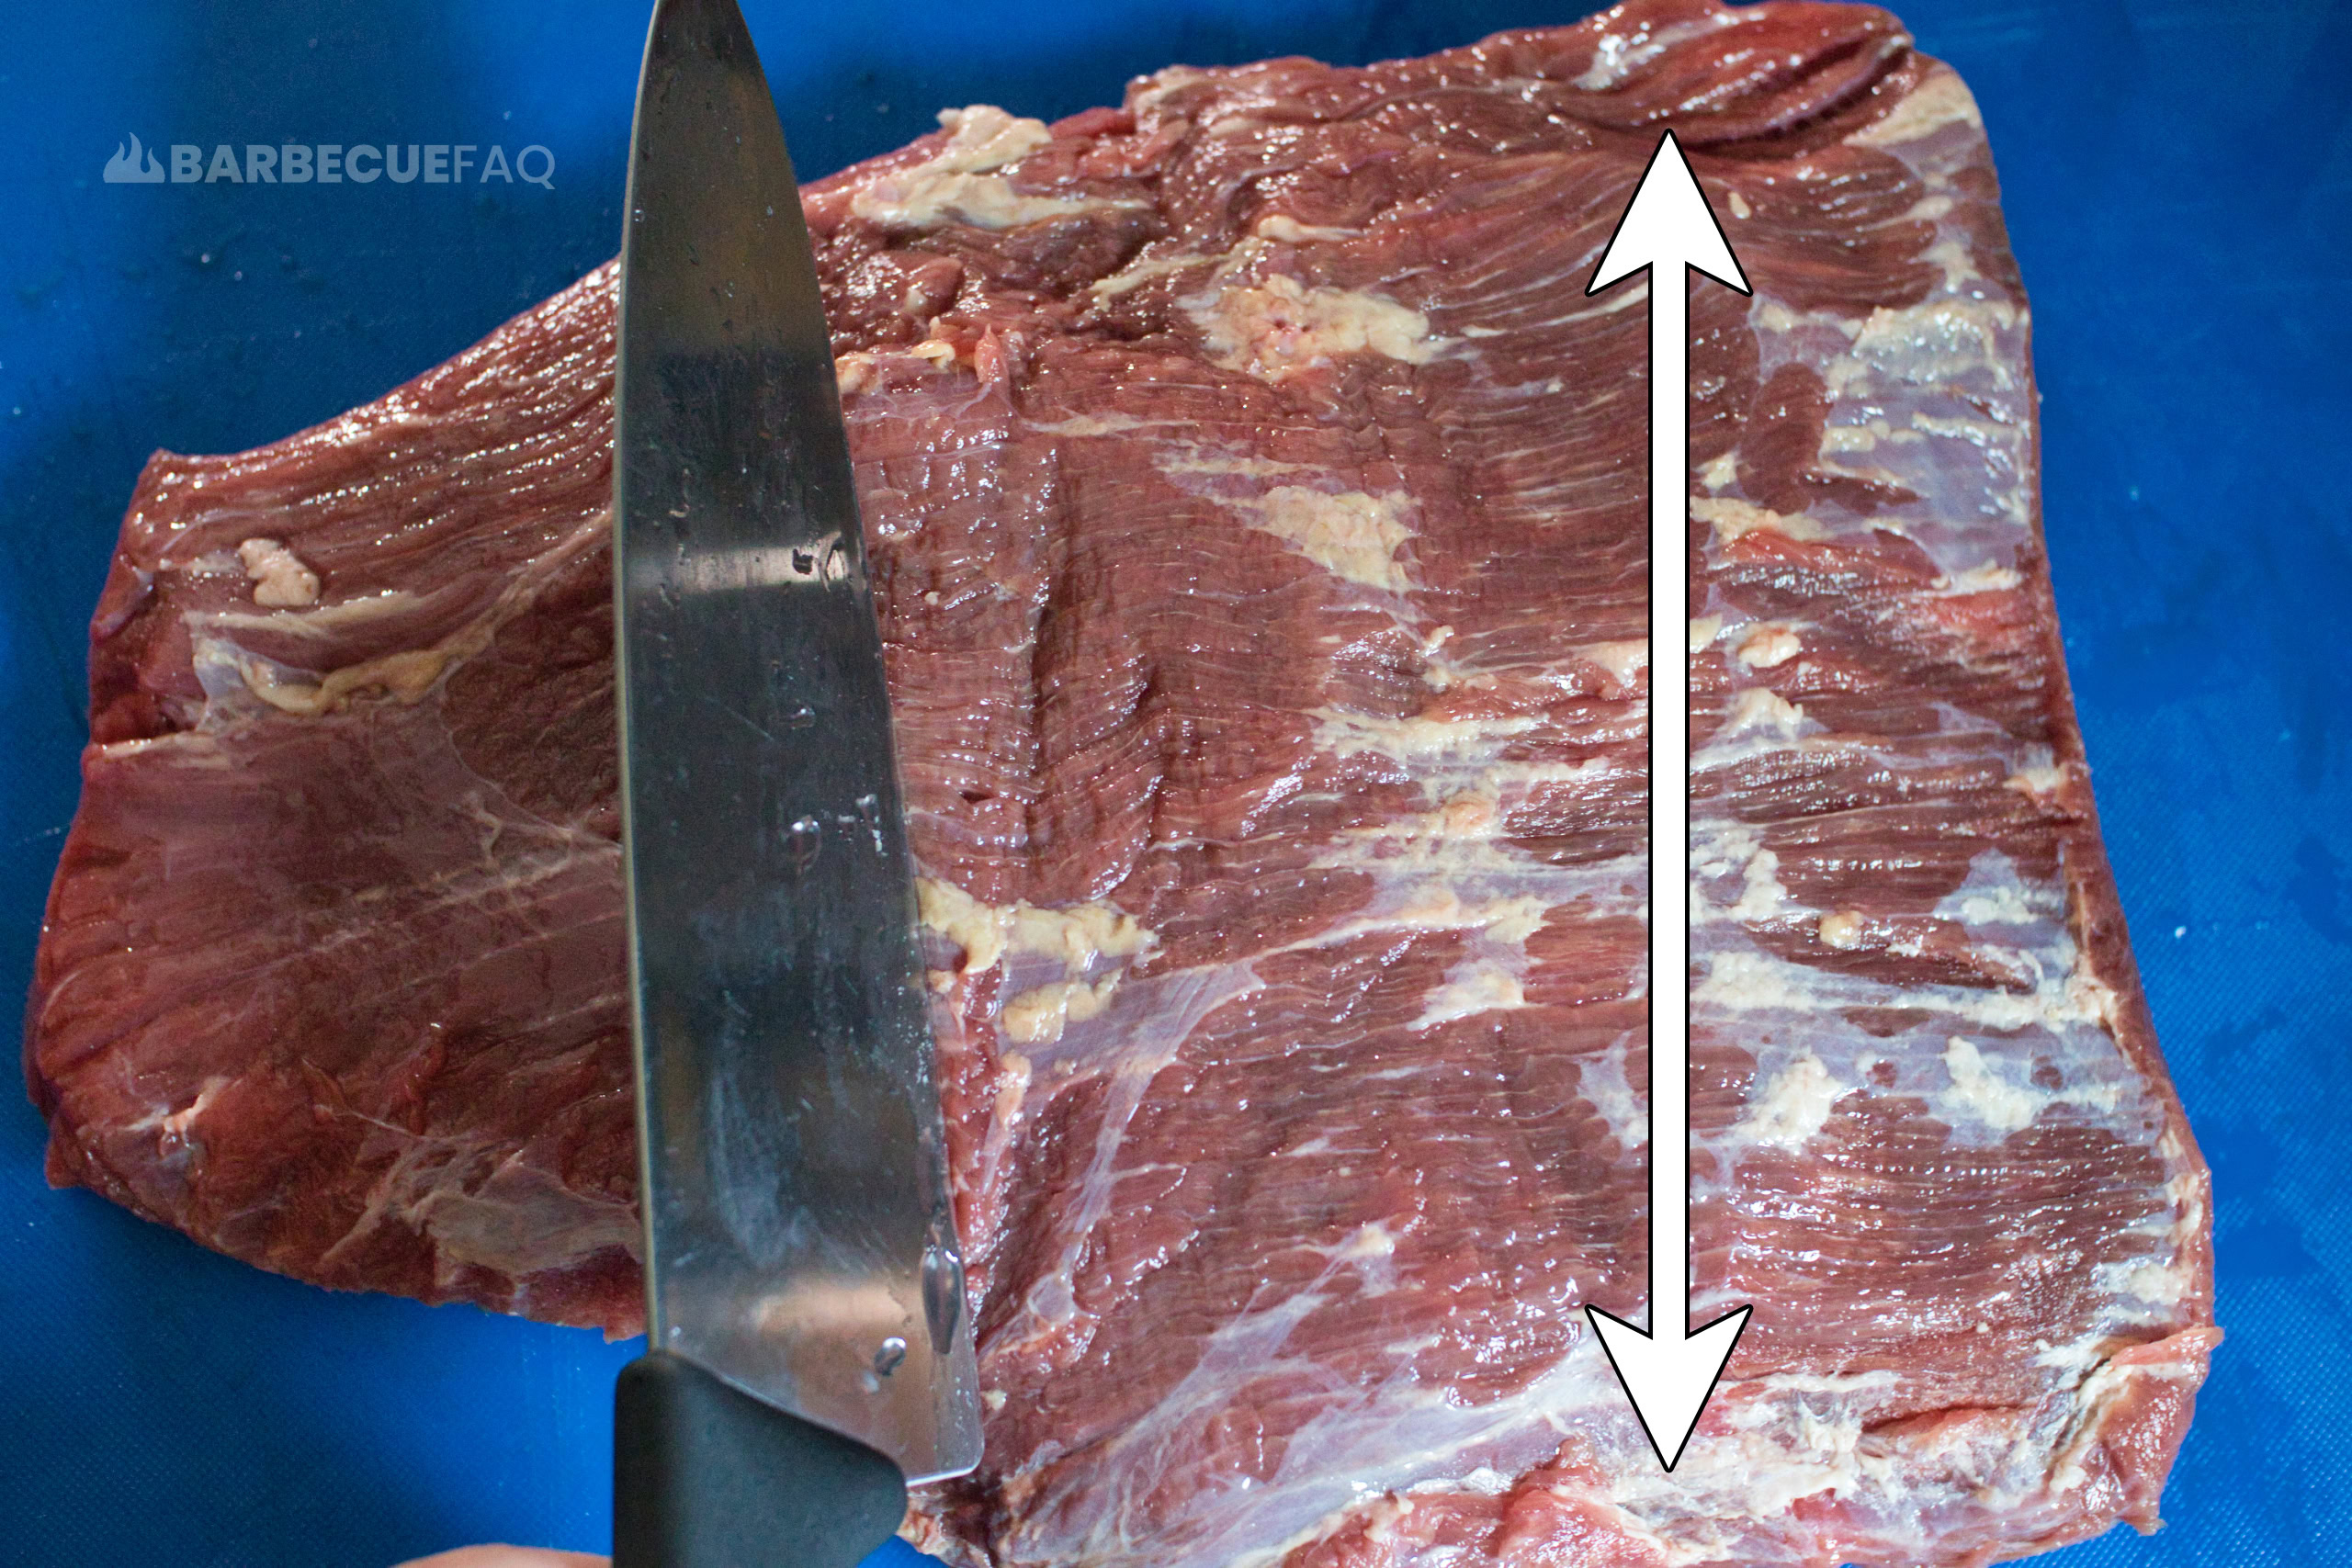
For this article, I used brisket flat.
Other good alternatives include:
- Top round
- Flank steak
- Bottom round
- Eye of round
Slice Jerky Meat
If any fat or silverskin, remove it.
- If you like jerky with a tug – slice with the grain.
- If you like soft/tender jerky – slice against the grain.
Slice the meat to around 1/8″ – 1/4″ thick.
Sweet and Spicy Marinade Ingredients
This recipe is for 1 lbs of jerky meat; Rather than scaling, work in 1 lb batches.
- 3 Tablespoons Teriyaki Sauce
- 1.5 tbsp Worcestershire Sauce
- 1/3 cup molasses
- 1 tbsp crushed red pepper flakes
- 1/2 tbsp ginger powder
- 1/2 tbsp 16 mesh black pepper
- 1/2 tbsp granulated garlic
- 1.5 tbsp Diamond Crystal Kosher
- 1/3 cup water
Combine these ingredients in the specified quantities into a bowl.
Ensure that the molasses and kosher salt have completely combined and then marinate for at least 2 hours, ideally overnight.
Heat Treating the Beef Jerky to Improve Texture via Lower Dehydration Temperature
If you don’t care about this step, skip it – just dehydrate at 160F until the jerky is done.
I like my jerky soft – one of the better ways to achieve this is by dehydrating at a lower temperature (around 130F).
Pre-heat your oven to 350F.
Line a baking sheet with aluminum foil and then place metal cooling racks on top:
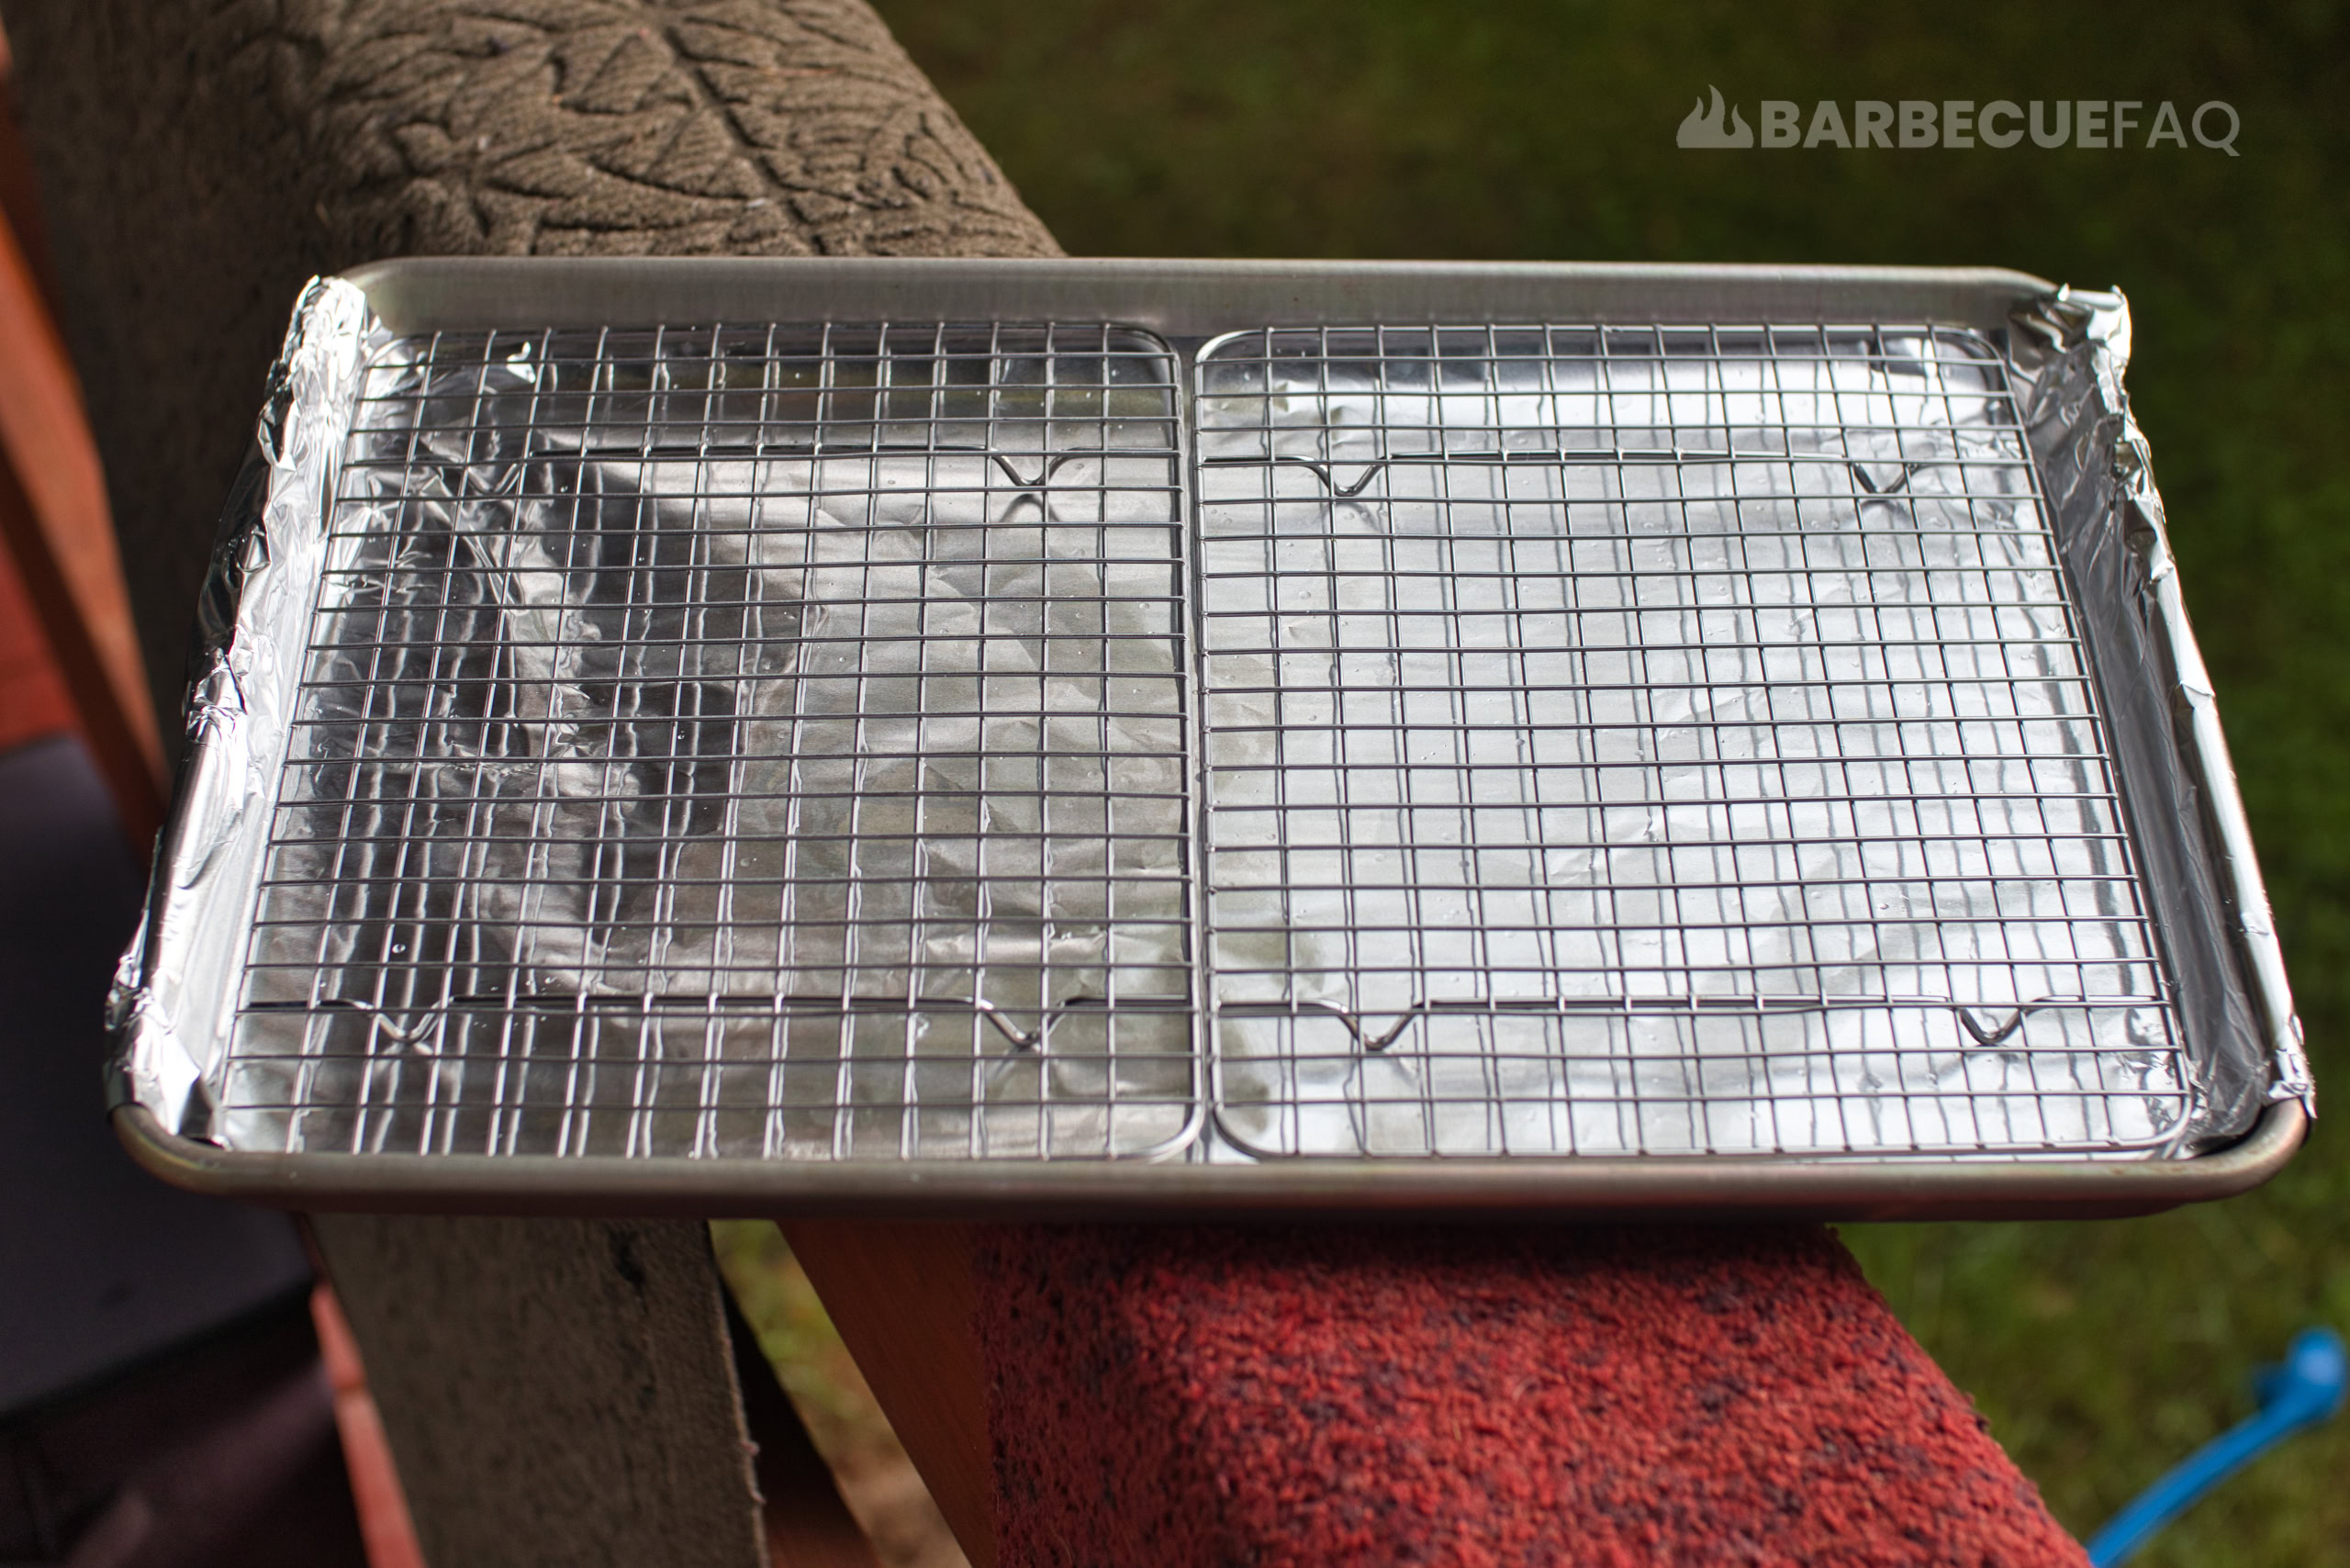
Place marinated beef jerky on top of the cooling racks.
Once your oven is at 350F, put your baking sheet in the oven on the middle rack for 10 minutes.
While your meat is heat treating, get your dehydrator setup to 120-130F.
Dehydrating the Beef Jerky
Lay the jerky strips on the trays of the device and again, ensure none of it is overlapping.
Then dehydrate for 3 hours before checking for doneness.
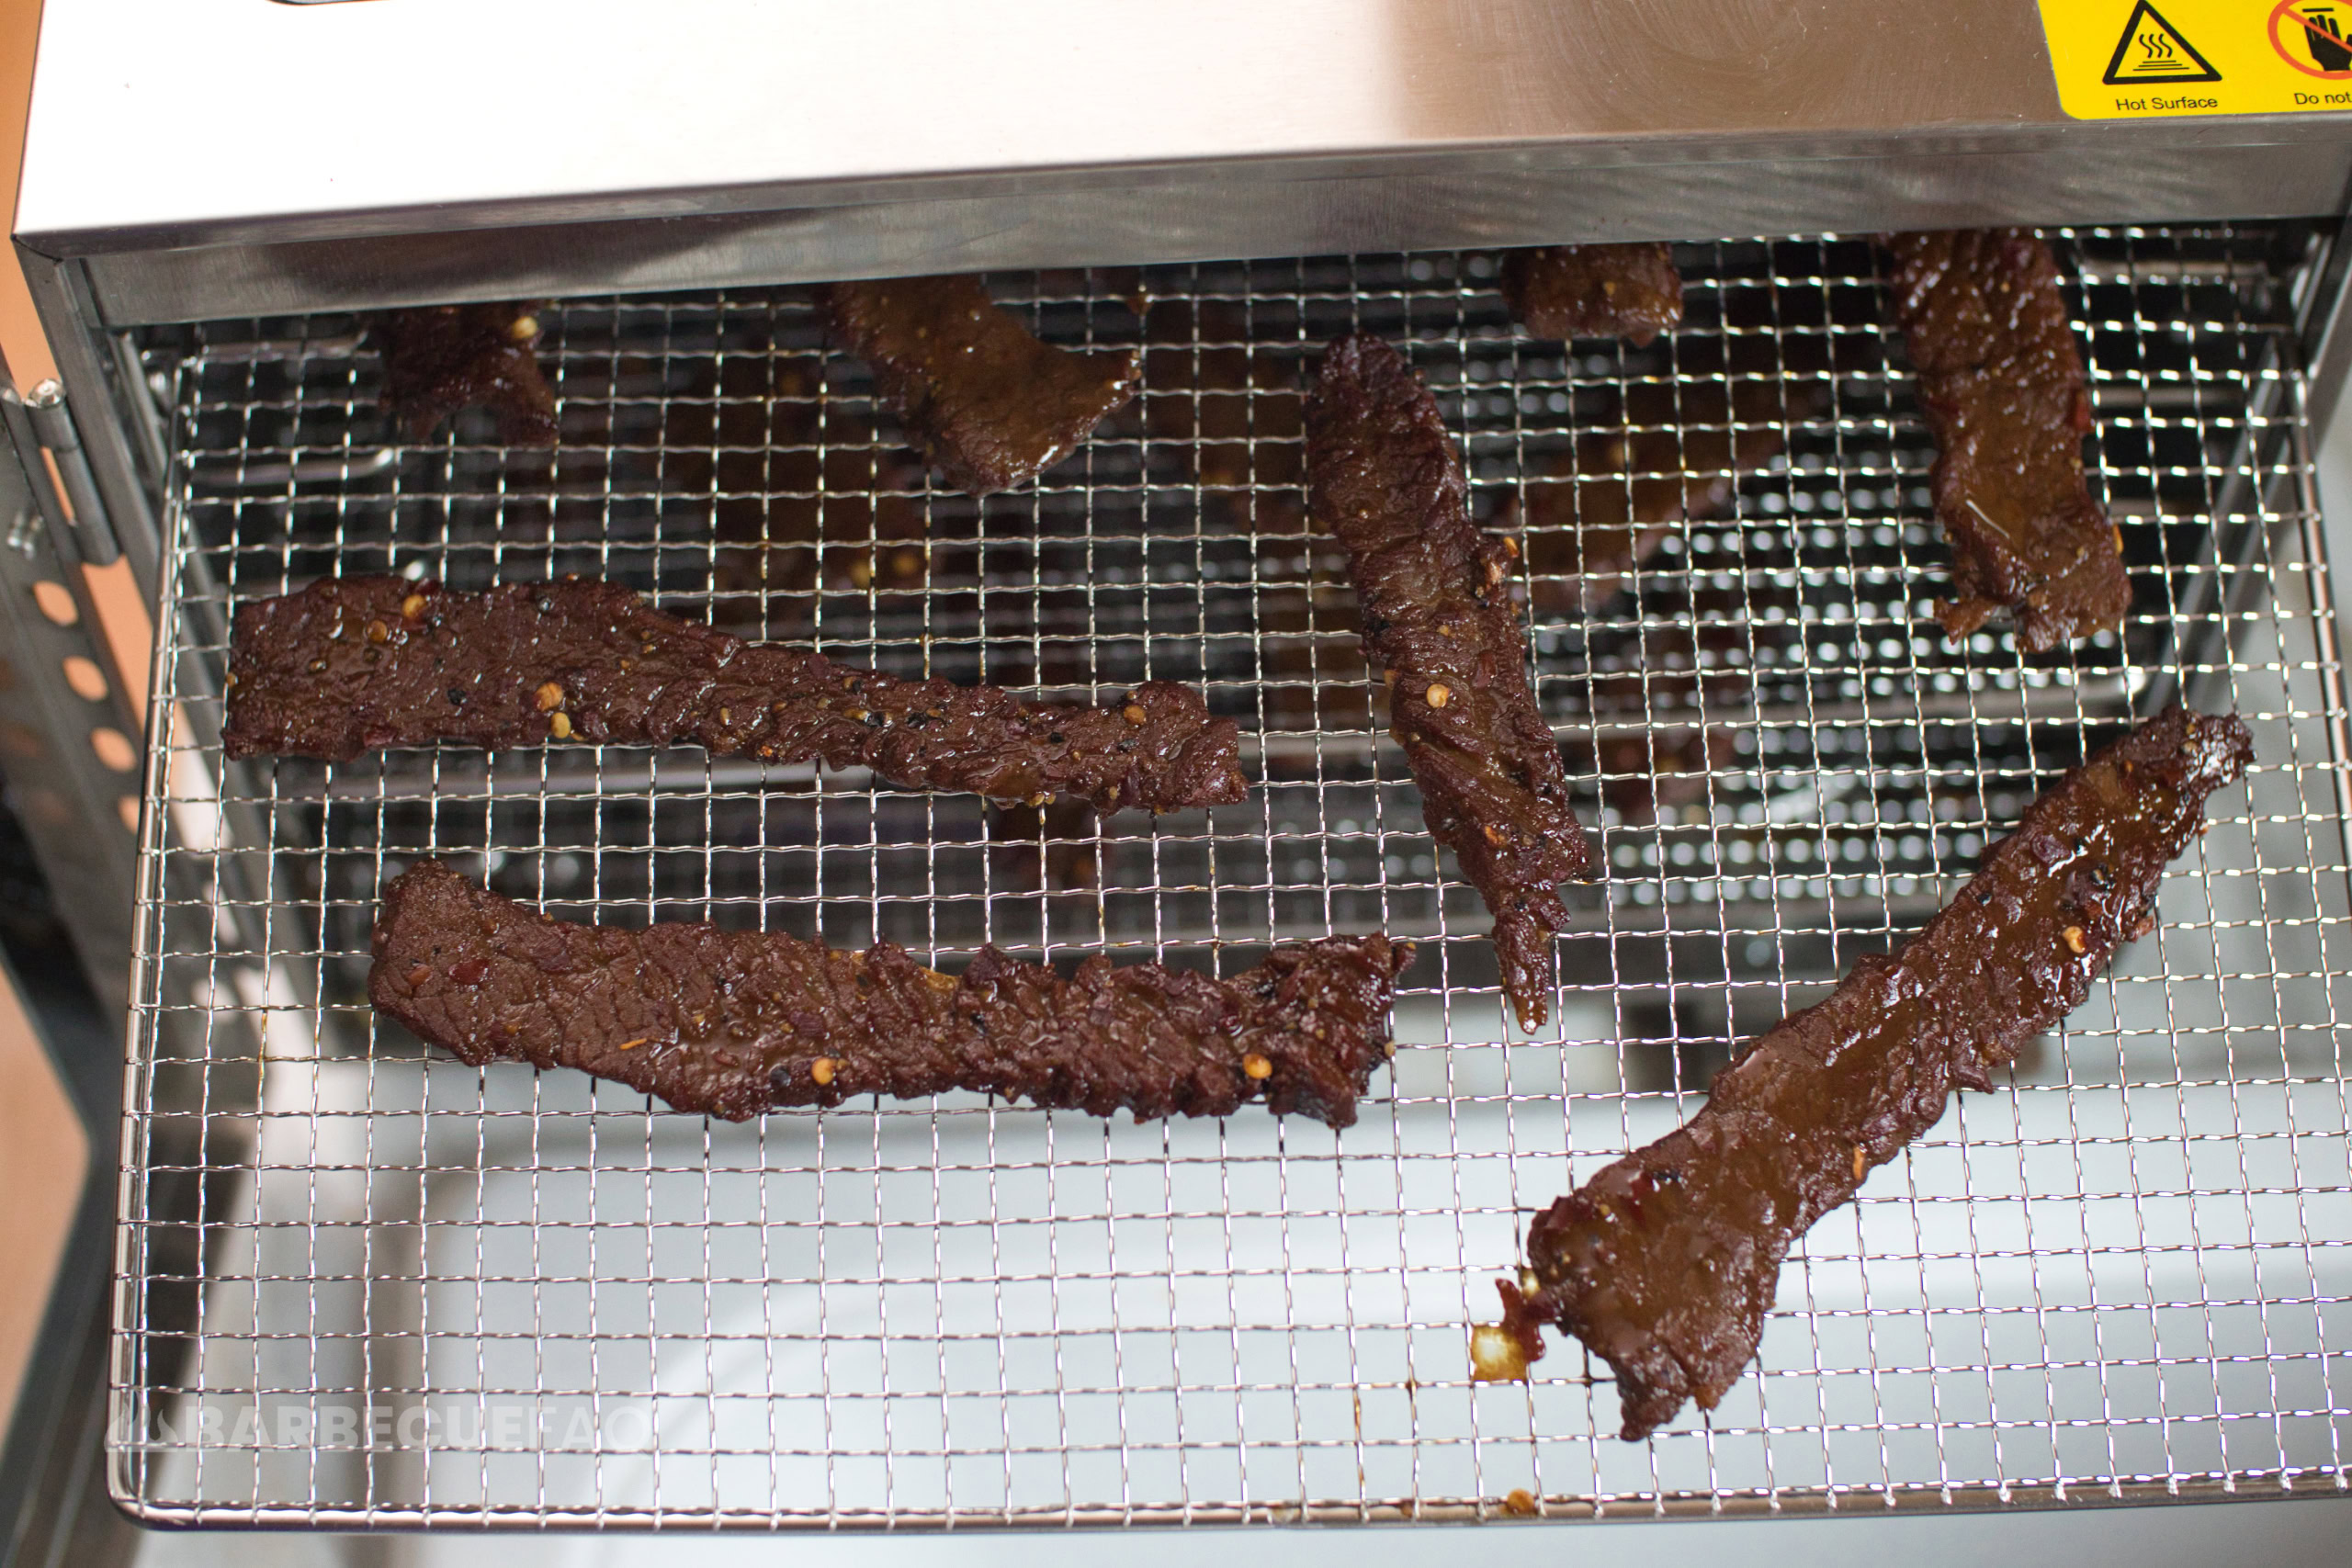
Checking on the Beef Jerky
Typically it takes around ~3-5 hours to fully dehydrate beef jerky – depending on how thick you sliced it and the temperature you use to dehydrate at.
What I do is set a timer for 3 hours and then start checking.
What you’re looking for is what I call “spider webbing.”
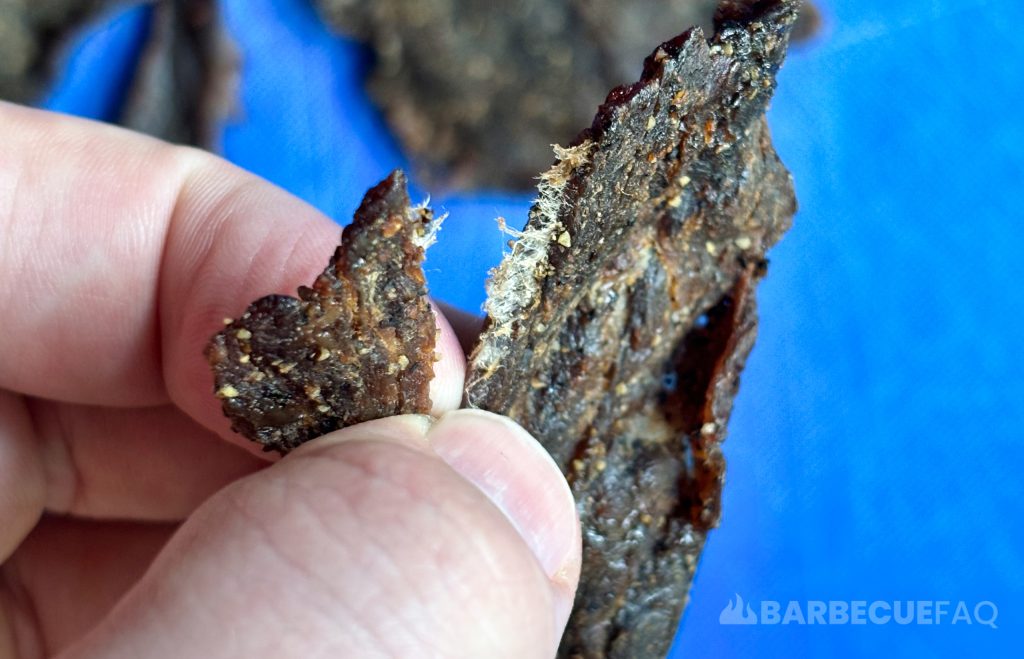
The tear shouldn’t feel rubbery and it shouldn’t appear wet.
If it is, return to the dehydrator and check again in 30 minutes.
Bagging the Jerky
When you initially go to take the beef jerky out of the dehydrator and place it in a ziplock bag, leave the bag open to allow moisture out of the bag.
Leave the top open for 10-20 minutes and then zip close the bag after.
Then store in a cool, dark place.
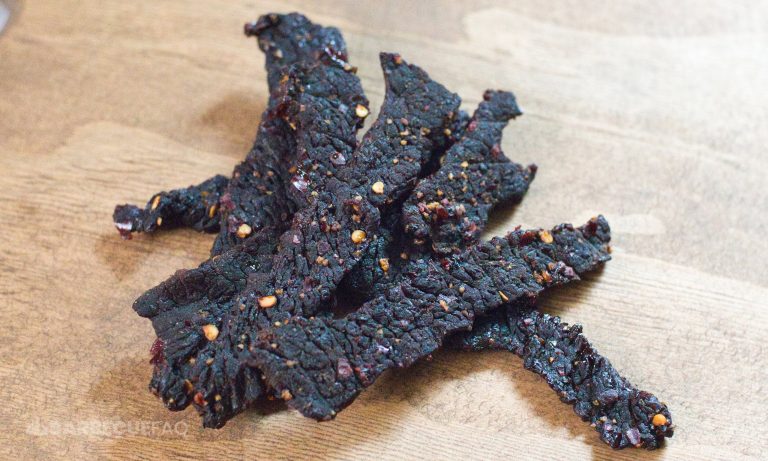
Sweet and Spicy Beef Jerky
Ingredients
- 1 lb Brisket flat or similar lean meat
Marinade
- 1.5 tbsp Diamond Crystal Kosher Salt
- 1/3 cup Water
- 1/3 cup Molasses
- 3 tbsp Teriyaki Sauce
- 1.5 tbsp Lea and Perrins Worcestershire Sauce
- 1 tbsp Crushed red pepper flakes
- 1/2 tbsp Ginger Powder
- 1/2 tbsp 16 Mesh Black Pepper
- 1/2 tbsp Granulated Garlic
Instructions
Slicing the Jerky Meat
- If your meat is thawed, put in freezer for 30-60 minutes. If your meat is frozen, defrost in refrigerator until the meat is somewhat frozen/malleable.1 lb Brisket flat
- Trim the meat, removing any exterior fat/silver skin.
- Slice the jerky between 1/8 – 1/4" thick.Identify the grain direction of the meat and slice either with or against it. If you prefer soft jerky, slice against the grain. If you like jerky with a bit of "tug" slice with the grain.
Create Sweet and Spicy Jerky Marinade
- Combine the ingredients in the specified quantities in a bowl. Ensure the molasses and the kosher salt are well combined.1/3 cup Water
- Put your sliced jerky meat in a ziplock bag or non-reactive container. Then put your marinade into the bag with the jerky.
- Roll the bag on top of itself to force out air, then close the bag. Leave the bag in your refrigerator overnight. My jerky marinated for 16 hours.
Pre-heating Jerky for Lethality
- Pre-heat your oven to 350F.
- Take out baking pans and line it with aluminum foil. Then put oven safe cooling racks on top of the pan so that the jerky is elevated.
- Arrange the jerky on the cooling racks so that they don't overlap.
- Place temperature probe in the thick piece you sliced. You want the probe to reach the thermal center of the meat.
- Once the oven is pre-heated, put the baking pan on the middle rack and wait for the thick piece to reach 158F internal. When the thick piece is 158F, the thin pieces are also 158.
- While waiting for the jerky to reach 158F, get your dehydrator to 130-140F. My dehydrator has a preset for 131F so that's what I used.
Dehydrating the Jerky
- Once the jerky reaches 158F, take the jerky out and start placing them on the dehydrator trays. You want the jerky so that it's not overlapping and so that they aren't touching.
- Simply wait for the jerky to be done. As you might expect, thin jerky finishes faster than thick jerky. If you sliced thin, check after 3 hours of dehydrating and then every 30 minutes to an hour after that.
Checking for Doneness
- When checking for doneness, bend the jerky to expose the muscle fibers. If you see hues of red/pink, the meat is visibly moist, or it's rubbery, it needs to dehydrate longer.
- If the bend is dry and has white spider-webbing, it's considered done.
- As the jerky finishes, put into a sandwich baggy with the top open. This way you prevent condensation from happening inside the bag and you allow heat/moisture to escape. Once it's cool, close the bag and store in a cool/dry/dark place.
- For longer storage, use a freezer bag/vacuum sealer with food-grade desiccant bags.




2 comments
Grace D.
Incredibly useful guide and your recipe is great. I’m a big fan heat so I added another tablespoon and it was perfect.
Dylan Clay
Happy to help Grace!