Recipe for the Dough
This is after testing TONs of dough recipes.
I stumbled across this article from “Richard Eagle Spoon” and used Joe’s calculator – his article is worth the read if you’re a pizza nerd (like me).
My only qualm is I find the 16″ to be too thin, even with the medium thickness setting. Rather, I prefer his 16″ medium stretched to ~14″, which lands more near the Lehmann thickness (~0.1″) and the chew I like.
For 3 x ~14 inch Pizzas – medium thickness
- 799g King Arthur AP flour (see notes please*)
- 20g table salt
- 2g instant yeast
- 11.2g granulated white sugar
- 16g fat (I used vegetable oil)
- 496g cold tap water
Sugar is used to aid in browning from the oven, if you don’t want to use, omit.
“Fat” could be olive oil, avocado oil, vegetable oil, Crisco, etc. Don’t use butter because butter contains water, which will mess with the dough.
Personally I prefer vegetable oil because it’s cheap.
Flour Notes
Joe uses King Arthur AP Flour which has a protein content of 11.7%. This protein content + type of flour results in a tender bite and slight chew. I think he’s correct that this specific flour is best.
If you were to use say Gold Medal – the pizza will taste different because the protein content is lower.
If all you have is Gold Medal AP flour + King Arthur Flour Bread Flour use 363g Gold Medal AP and 436g King Arthur Bread Flour; This way the protein content will be close to King Arthur Flour’s AP.
Actually Making the Dough
I prefer to do this by hand – even though I have a stand mixer.
In a large mixing bowl add your dry ingredients:
- 799g flour
- 20g salt
- 2g yeast
- 11.2g sugar
Once these are combined, add your COLD water and then fat.
- 496g cold tap water
- 16g fat
All we’re trying to do is combine all the ingredients in the bowl so that we can knead it on a work surface. In the bowl I use one of those silicone spatulas – it just helps get everything out of the bowl.
You want to leave very little flour behind. The dough will be wet and sticky, use this to remove all your flour as best you can.
Once combined dump on your work surface and begin kneading the dough for ~10 minutes.
Do not add more flour to the dough.
If it’s super sticky to the touch, that’s normal; Just let it sit for ~5-ish minutes, then come back and it’ll be easier to work with.
Once smooth and kneaded, put back in your mixing bowl for ~30 minutes and cover with a damp dish cloth.
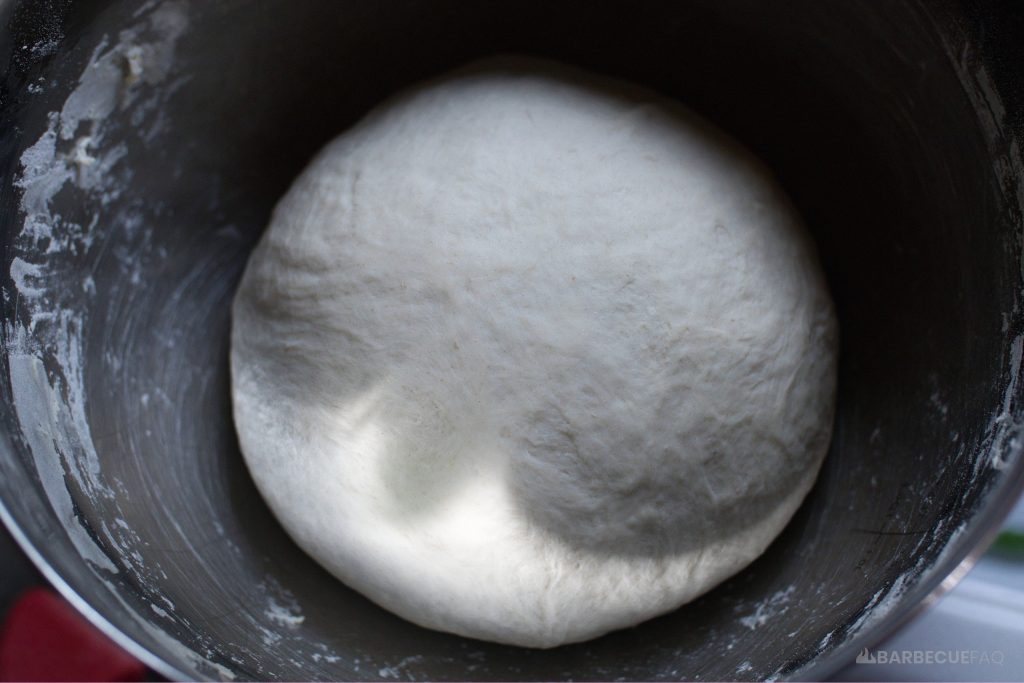
Then separate into equal sized dough balls (weigh the ball, divide by 3 = ~438g).
When you form the individual dough balls, put them in the balls of your hand and then use your fingers to pull it into itself. This creates tension on the surface – then pinch the bottom closed.
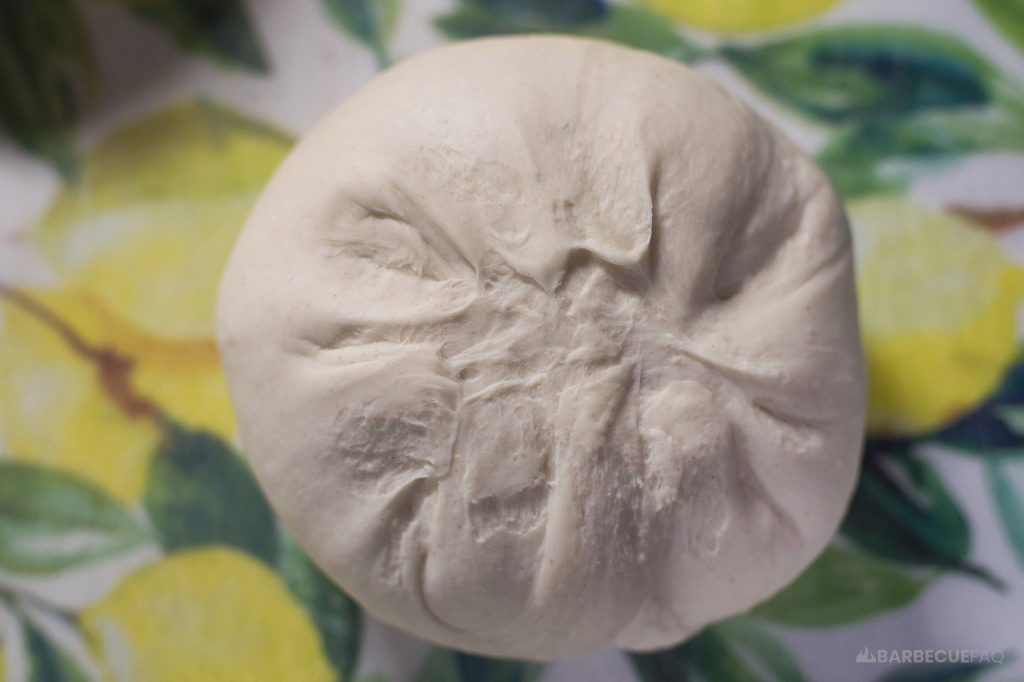
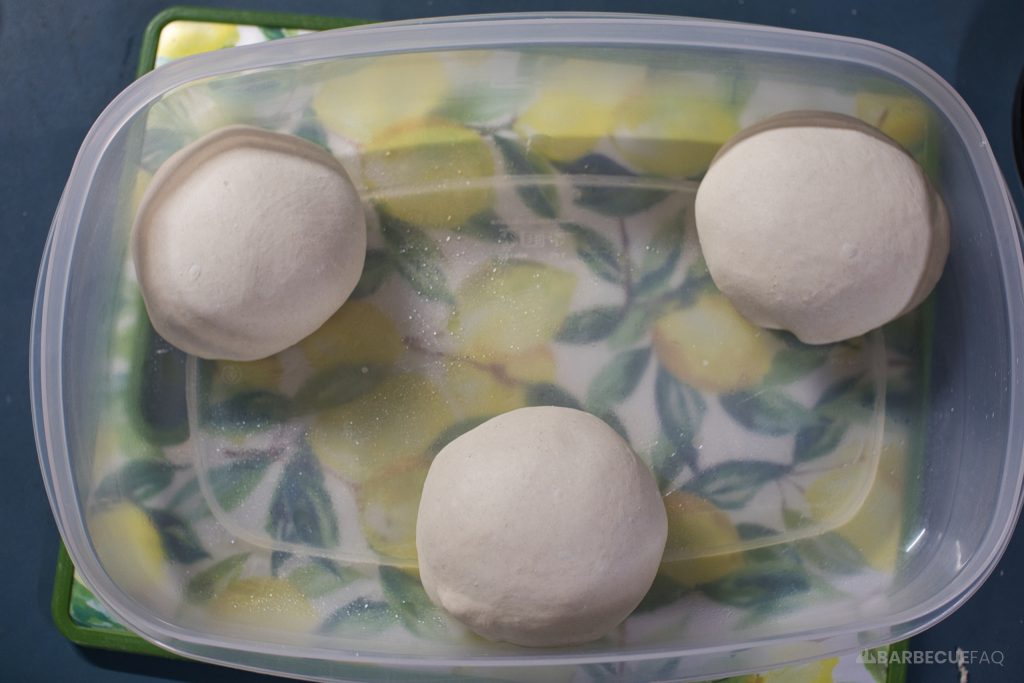
Grab a large Tupperware container or individual containers, grease the interior with a thin layer of oil and then put the dough balls in.
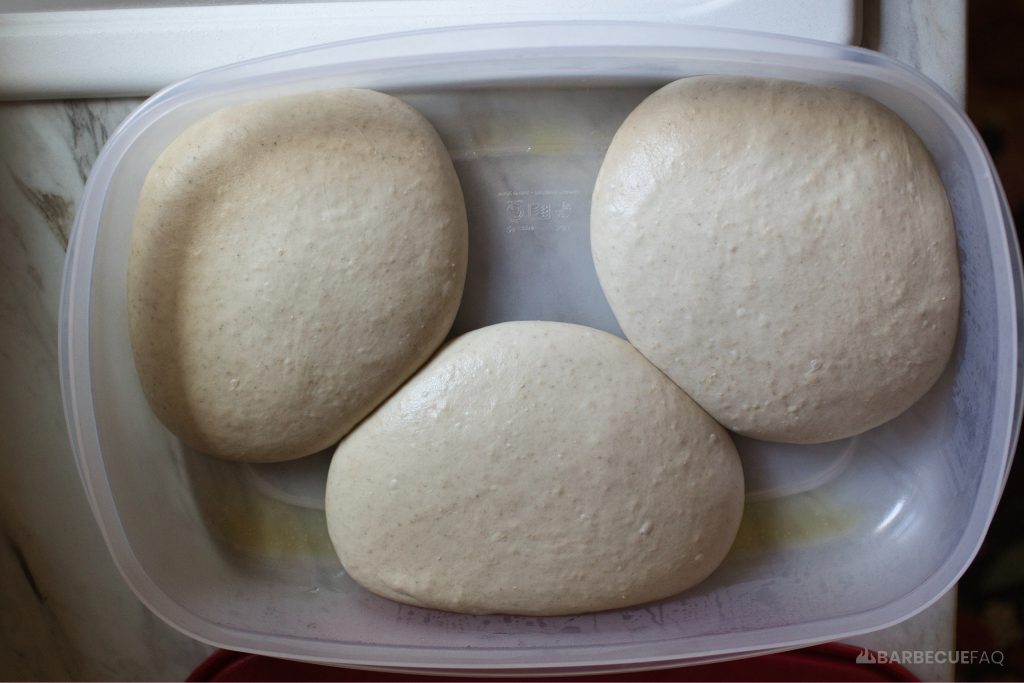
These are going to COLD ferment in your refrigerator for 3 days.
This is why we’re not doing any “stretch and folds” – the dough will have a long while to develop gluten.
I know the above is annoying to hear – but it does make a difference – even taste-wise. You could opt to do stretch and folds, even use more yeast and warm water but the dough will taste more “bread-y.”
The day you intend to make Pizza, take the proofing container(s) out of the fridge 3-4 hours before baking (leave covered) and put on the counter to come to room temp (~70F internal – verify with a probe thermometer if you can).
I almost always make the dough Wednesday afternoon as this is ideal for the timing.
You’d allow it to ferment for 3 days, then take out 3-4 hours prior to baking so you’re making pizza at 4-7 pm or however you time it.
For the Sauce
I’ve similarly tested tons of stuff and the basics taste the best.
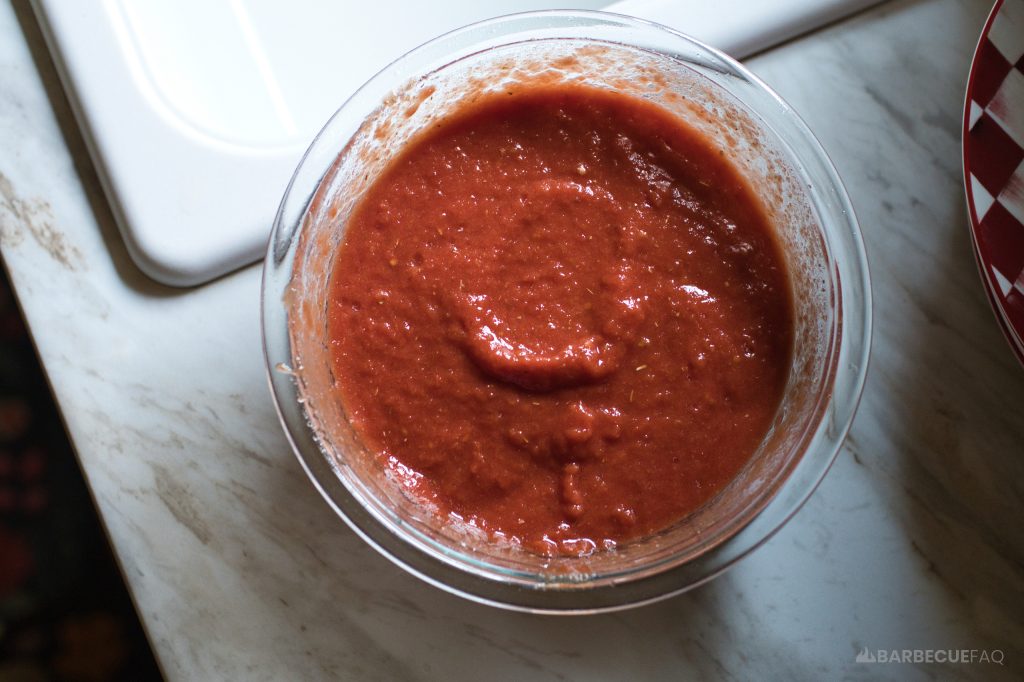
- 1 can (28 oz.) crushed tomatoes
- whatever your favorite brand is, use it. My favorite where I live is Cento. Assume 1×6 oz. ladle scoop per 16″ pizza, this is enough sauce for nearly 5 pizzas.
- 1 tbsp white sugar – This really depends on the tomatoes, I think Cento need it.
- 1 tsp table salt
- 1-2 tsp Oregano – start with 1 tsp, allow to marry ~15 minutes to re-hydrate, taste and add more if you think it needs it. I only use 1 tsp.
Use an immersion blender to combine – you can even do so directly in the can – I only do this for ~12 seconds at most.
I would suggest not cooking the sauce here – but if the tomatoes you’re using are watery it can be useful to simmer for ~10 minutes to remove water.
I also agree with Joe – the more you cook it the more it tastes like Pasta sauce.
Any sauce that you don’t use, don’t worry, this freezes and thaws perfectly fine.
For the Cheese
Also tested tons of stuff here – and this section is what I do as a home cook because I ain’t buying expensive cheese.
Use either:
- Galbani whole milk mozzarella, pre-shredded
- Grocery store brand whole milk mozzarella, pre-shredded
The Galbani tastes better and melts better.
I buy the pre-shredded stuff because it keeps longer in the fridge where-as the fresh will eventually mold – which you could also freeze.
You can also do a 50/50 with part-skim, pre-shredded mozzarella too but personally I just use whole-milk. It tastes better, it browns better, and you don’t need a ton.
The reason people do a 50/50 split is the oil from the whole milk – but just use less and spread evenly and you’ll be fine.
Preheat Oven to 550F
If your oven has the option to use “Convection” or “Convection bake” use it – this circulates more air and will improve browning as it adds ~20-25F to your oven.
Heat in your oven will be transferred differently than mine – meaning where you set your racks can matter; In most cases it’s just the center rack position.
In mine, it’s 1 rack lower – I find the browning is better, but If I use the very bottom rack, it’ll burn.
Put your baking steel on the rack and allow it to pre-heat for ~45-60 minutes.
Stretch Your Dough
Take some AP flour and toss onto the surface of the dough (the balled shape), on the sides, and on your work surface where you intend to stretch.
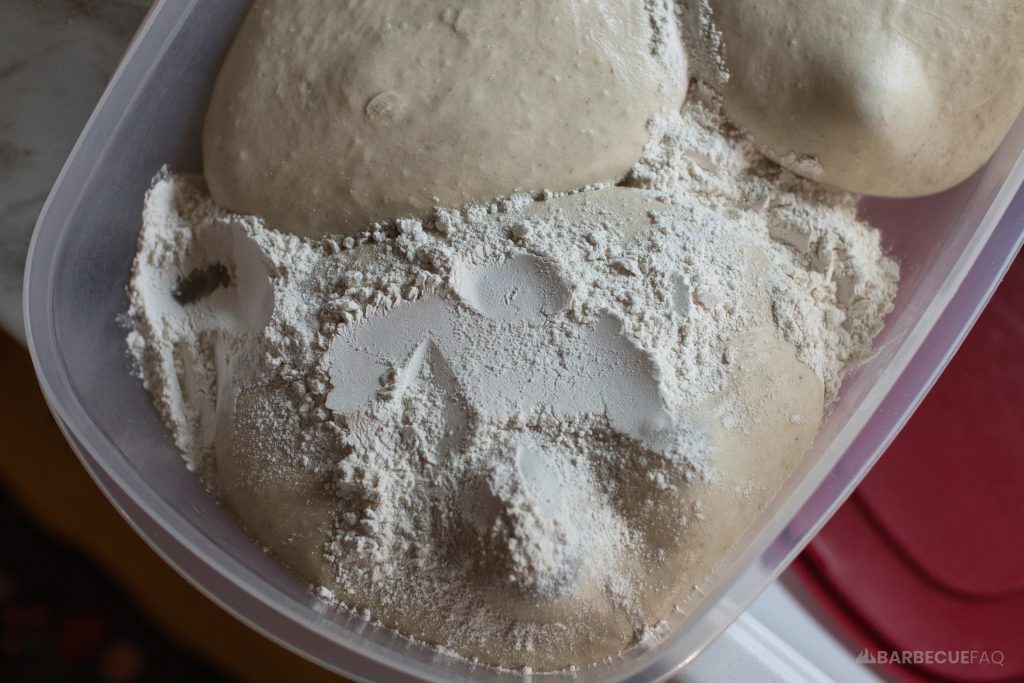
Use a bench scraper or spatula to lift the dough ball from the proofing container – maintaining the circular shape.
If you proofed in the same container, they are likely stuck together, just use your bench scraper or spatula to separate carefully with the flour – they’ll be fine.
The top of the ball is still the top and the bottom is still the bottom.
I agree with Joe – the pizza “looks” better when the top stays as the top.
Begin stretching out your dough by pressing out the crust first and then pressing in the center.
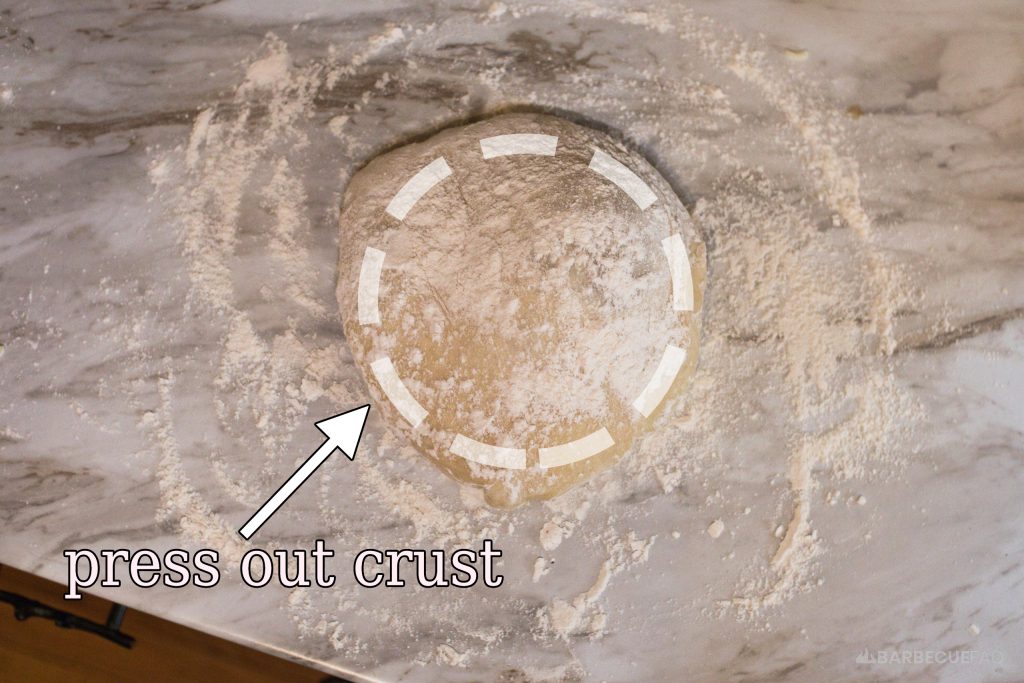
Keep repeating this process until it’s the size of your palm or bigger.
You may need to flip over, and repeat the above: form the crust, press out the middle.
Just remember to flip back over so the top is the top.
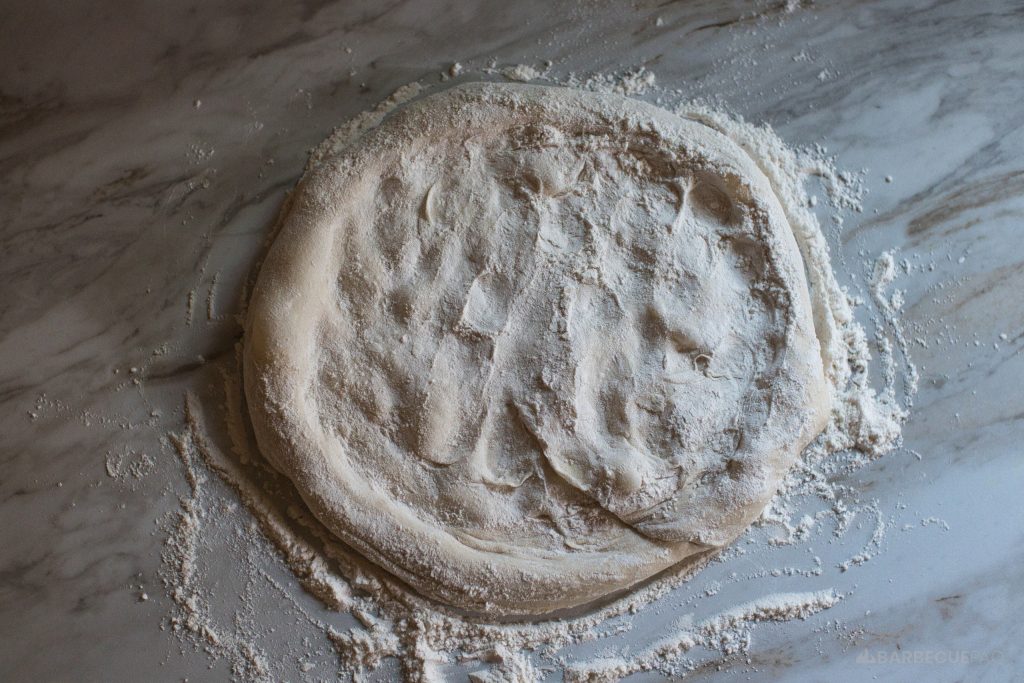
From there, put the dough on your knuckles and begin stretching – holding the dough up to the light helps a lot to avoid thin spots.
I also like to work over my kitchen sink so that the excess flour falls into the sink and not my floor.
With this dough + protein content it will essentially stretch itself – especially if you left out to proof for 3-4 hours.
During this time is also where you’re removing flour from when you floured the work surface – this will happen naturally.
You’re stretching until it’s at ~14 inches.
Prepping the Launch
Take ~2-3 pinches of semolina flour and put onto your peel and spread out evenly.
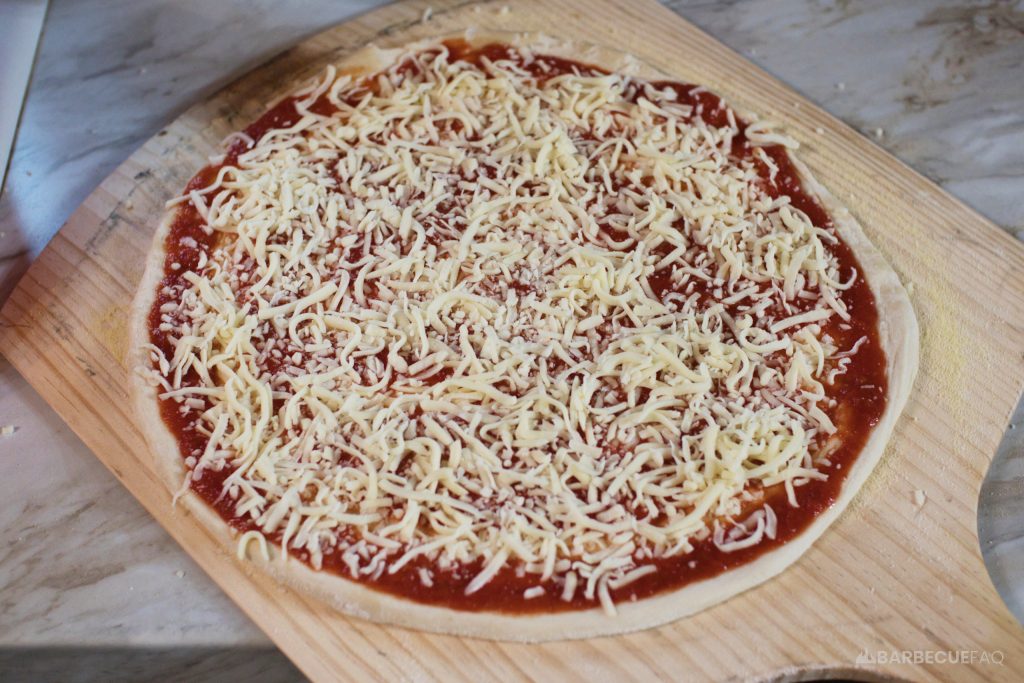
Put your stretched pizza dough onto the semolina.
Use a 6 oz ladle and spread out your sauce evenly, leaving an edge for your crust.
Spread out 2-3 handfuls of galbani shredded mozzarella and evenly spread; I have big hands so I use 2 handfuls – if you have smaller hands, use 3.
Before launching, do a shimmy with the peel, if the pizza slides back and forth easily, it’ll slide when you go to launch.
If it doesn’t slide, identify the edge that snags and toss some semonlina underneath and then re-test.
Then open your oven, start at the back, tilt your peel up slightly and allow your pizza to glide. Once it catches start pulling backward while still tilted until the entire pizza is on the peel and then close the door.
Bake for ~3 Minutes then Rotate
I find the front of my oven is often hotter than the back so I like to use a large spatula and rotate the pie 180 degrees after 3 minutes.
Then close the door and bake another ~3 minutes.
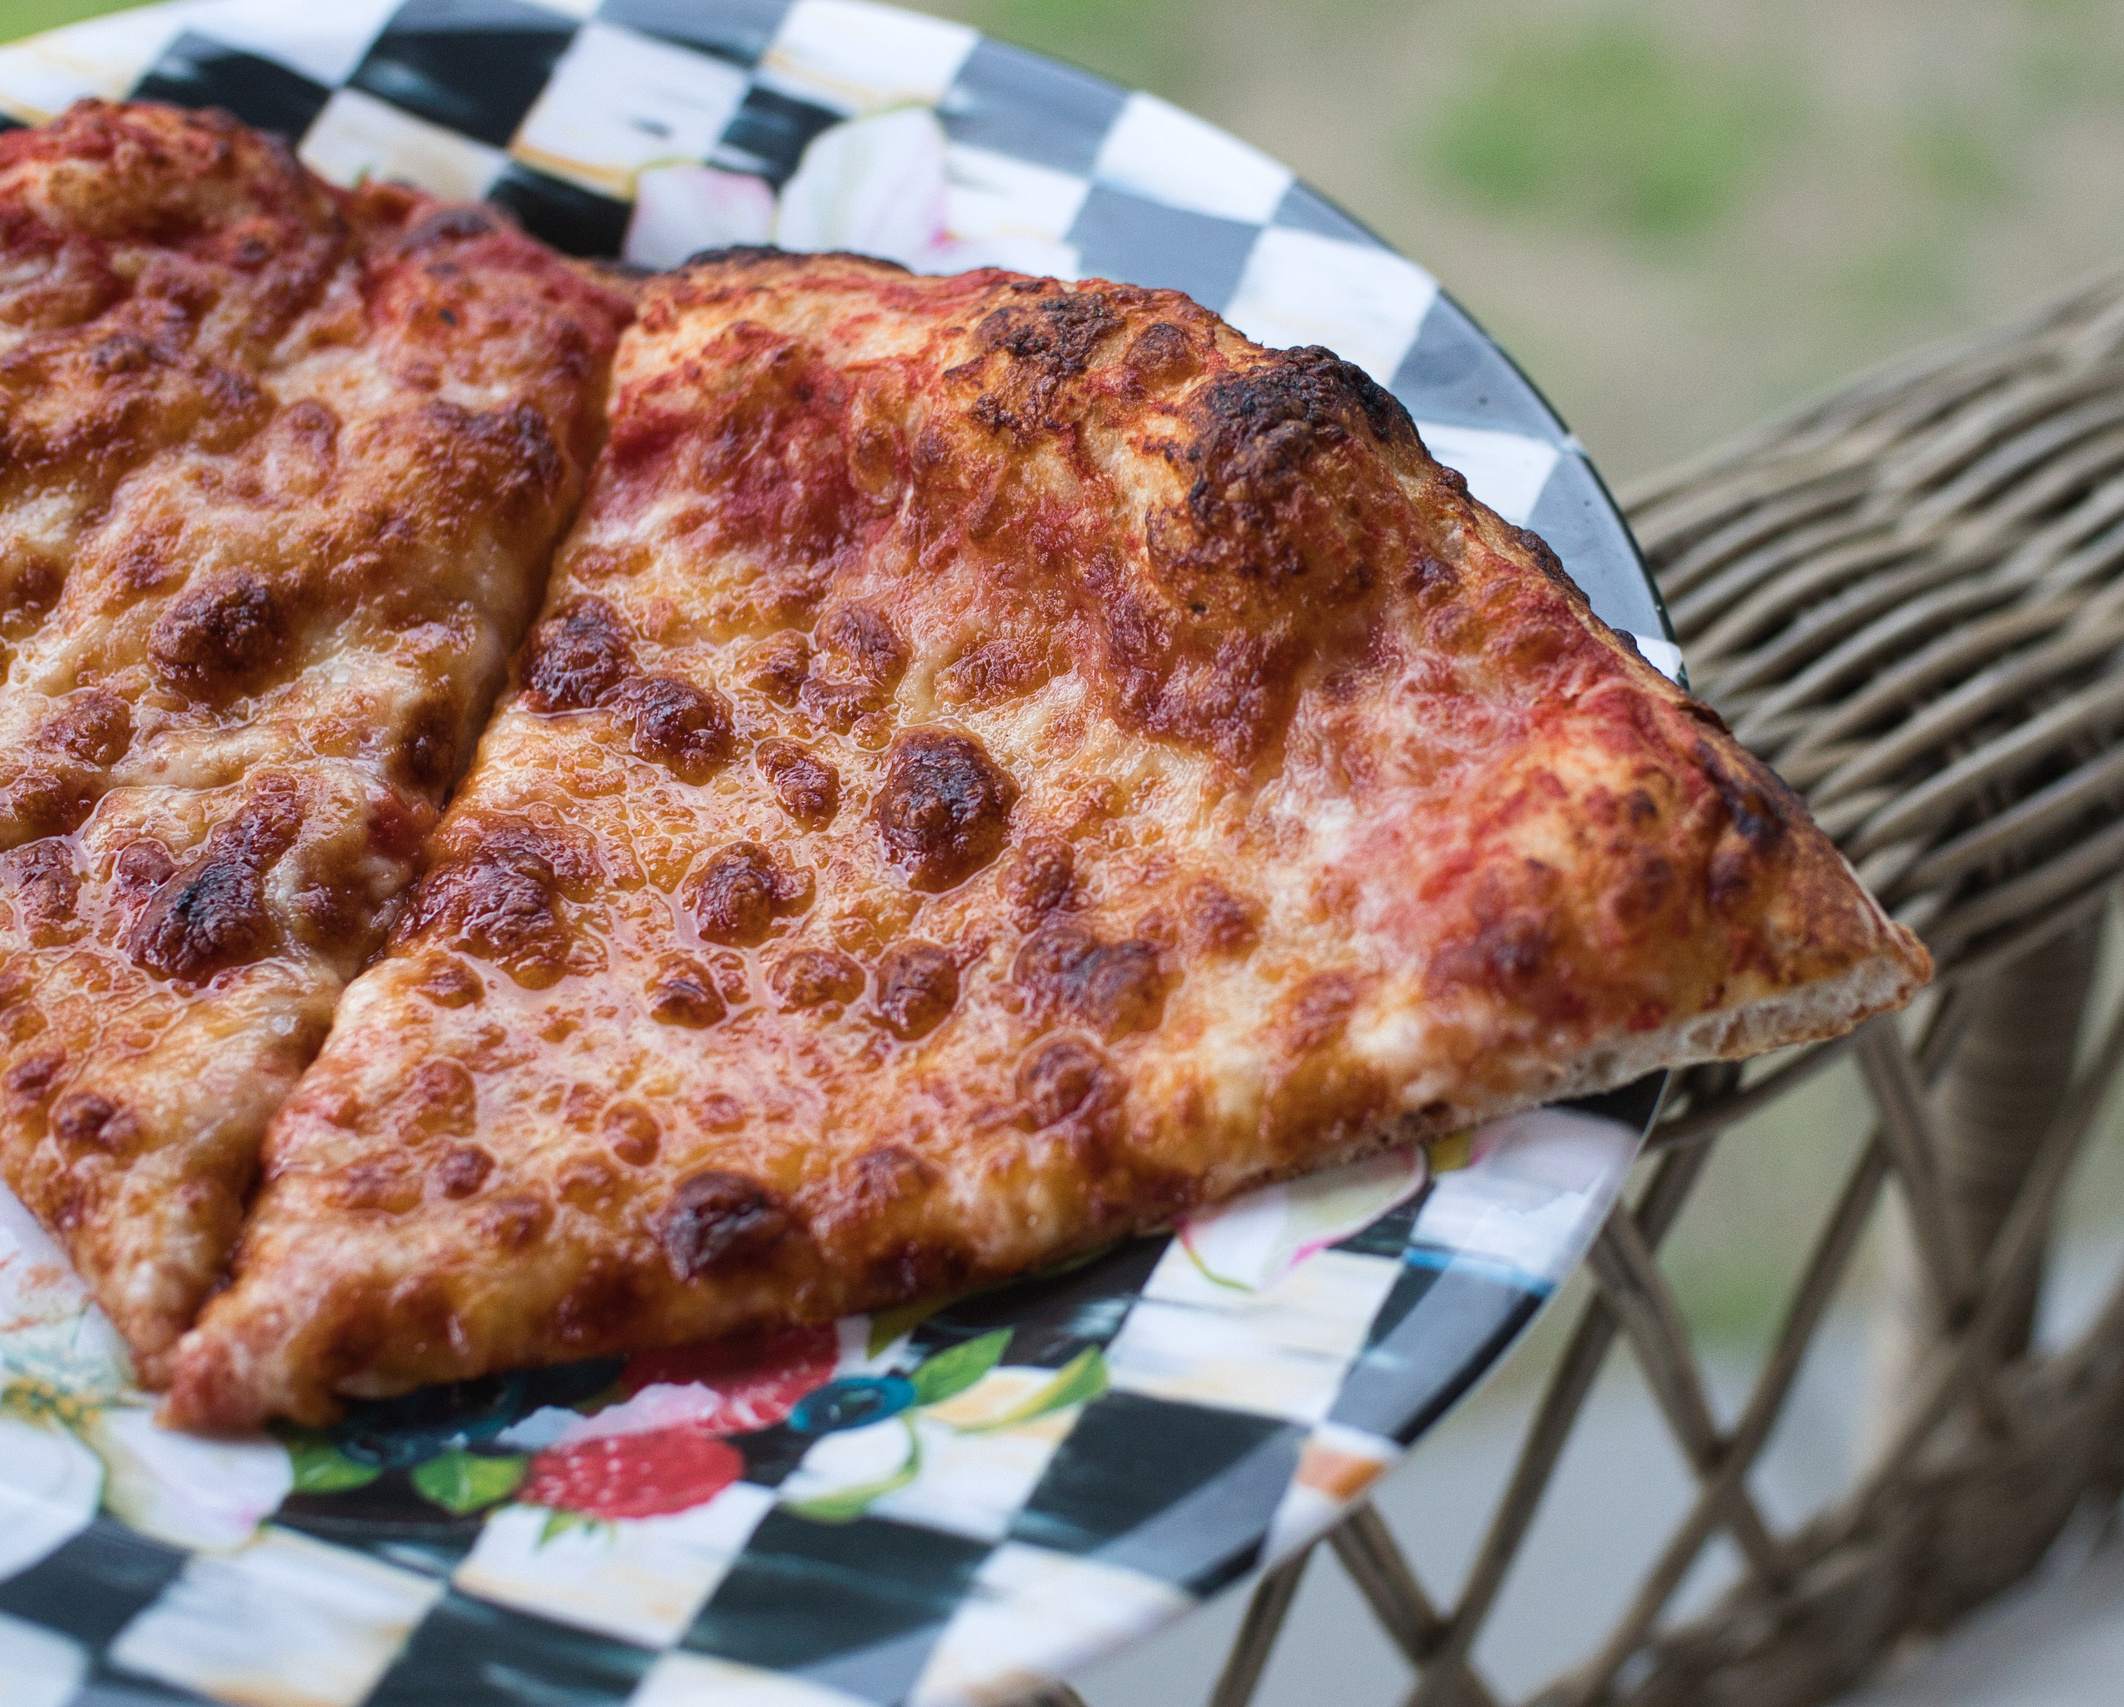
I personally like my pizza well done (that’s why my cheese is darker) – often that’s around ~8 minutes total bake time; Your oven will perform differently than mine but on average it’s 6-8 minutes per pizza.
Once Done, Cool on a Wire Rack
Elevating helps keep the crust crunchy longer.
During this time I restart the whole process and repeat for subsequent pizzas.
After cooling for ~2-3 minutes you can slice and serve.
Enjoy!
Yo! What About Toppings Dylan?
So I didn’t include them as I’m just a cheese guy and this is a NY-style pizza slice recipe.
But use whatever pepperoni you want – I prefer the ones that come as sticks as they turn out better.
In terms of veg – slice to the same thickness with a mandolin, then put into a bowl with ~2-3 tsp of salt. This salt will pull moisture out of the veggies and prevent them from adding excess moisture to the pizza.
Allow these to brine for ~15-20 minutes and then rinse to remove excess salt; Then put into a kitchen towel and ring out the water.
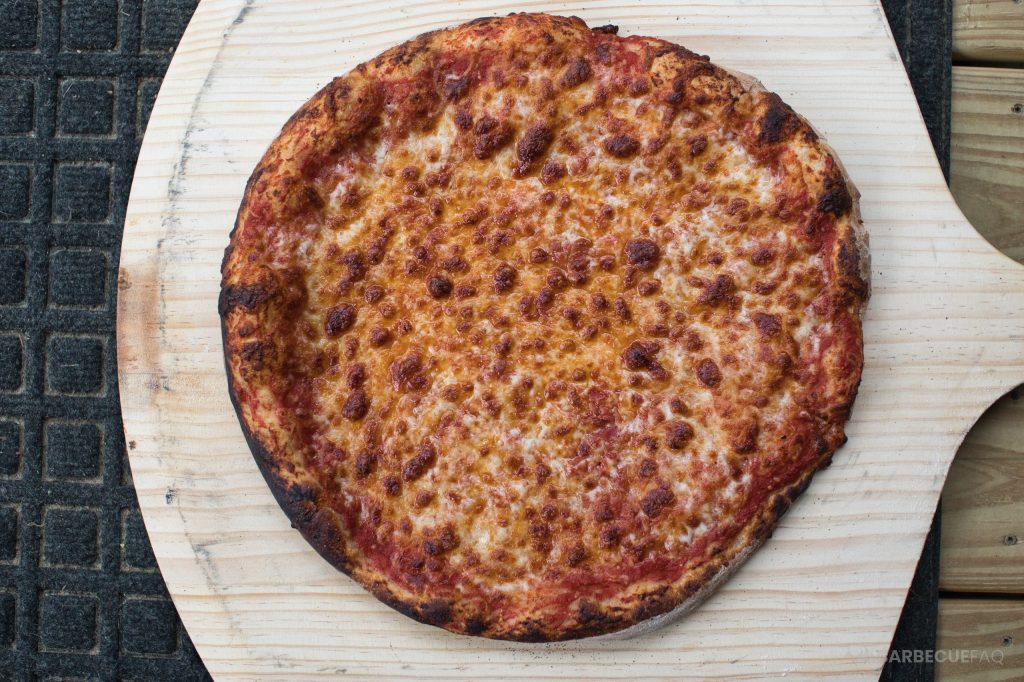
“NY Style” Pizza at Home on Your Baking Steel
Ingredients
Recipe for the Dough (3 x 438g dough balls)
- 799g King Arthur AP flour
- 20g table salt
- 2g instant yeast
- 11.2g granulated white sugar
- 16g fat (I used vegetable oil)
- 496g cold tap water
For the Sauce (1, 6 oz. scoop per pizza)
- 1 28 oz. can crushed tomatoes (I use cento)
- 1 tbsp white sugar – this depends on YOUR tomatoes
- 1 tsp table salt
- 1-2 tsp Oregano
For the Cheese
- 2-3 handfuls whole milk mozzarella pre-shredded cheese (I use Galbani brand)
Instructions
- Mix 799g King Arthur AP flour, 20g salt, 2g instant yeast, and 11.2g sugar in a large bowl.
- Add 496g cold water and 16g vegetable oil.
- Use a silicone spatula to combine until very little flour remains in the bowl.
- Dump dough onto work surface and knead for 10 minutes without adding flour.If sticky, let rest 5 minutes then continue kneading.
- Return dough to bowl, cover with damp cloth, and rest 30 minutes.
- Divide dough into 3 equal balls of approximately ~438g each. OR take your dough ball, weigh it, divide by 3.
- Form balls by pulling dough into itself in your palm to create surface tension, then pinch bottom closed.
- Grease a large container with oil and place dough balls inside.
- Cold ferment in refrigerator for 3 days.
- Remove from fridge 3-4 hours before baking and leave covered on counter to reach room temperature.
- For sauce: Combine 1 can crushed tomatoes, 1 tbsp sugar, 1 tsp salt, and 1 tsp oregano. Blend with immersion blender for 12 seconds. Let oregano hydrate 15 minutes – taste and determine if you need 1 tsp more for your liking. I use 1 tsp.
- Preheat oven to 550F with convection setting if available.Place baking steel on center rack and preheat for 45-60 minutes.
- Dust work surface and dough ball with AP flour.Remember, the top of the dough ball is ALWAYS the top.
- Use bench scraper to lift dough ball, maintaining circular shape.
- Press out crust edges first, then press center, repeating until palm-sized or larger.Flip and repeat pressing motion.Flip back so top side is up.
- Place dough on knuckles and stretch to ~14 inches, holding up to light to check for thin spots.
- Spread 2-3 pinches of semolina flour evenly on peel.
- Place stretched dough on semolina.
- Spread 6 oz sauce evenly, leaving crust edge.
- Spread 2-3 handfuls shredded mozzarella evenly over sauce.
- Test that dough slides on peel using a shimmy motion; add semolina to any snag spots if needed.
- Open oven, tilt peel slightly at back, and glide pizza onto steel.
- Bake 3 minutes, then rotate 180 degrees with large spatula.
- Bake another 3 minutes until cheese is melted and crust is golden brown, approximately 6-8 minutes total.I prefer my pizza to be well done – that's ~8 minutes in my oven.
- Cool on wire rack for 2-3 minutes before slicing.