By Dylan Clay
The “Cowboy steak” can be hard to define – So much so that resources will provide you with different definitions as to what a “cowboy” steak even is.
For instance, these are some of the more popular ideas:
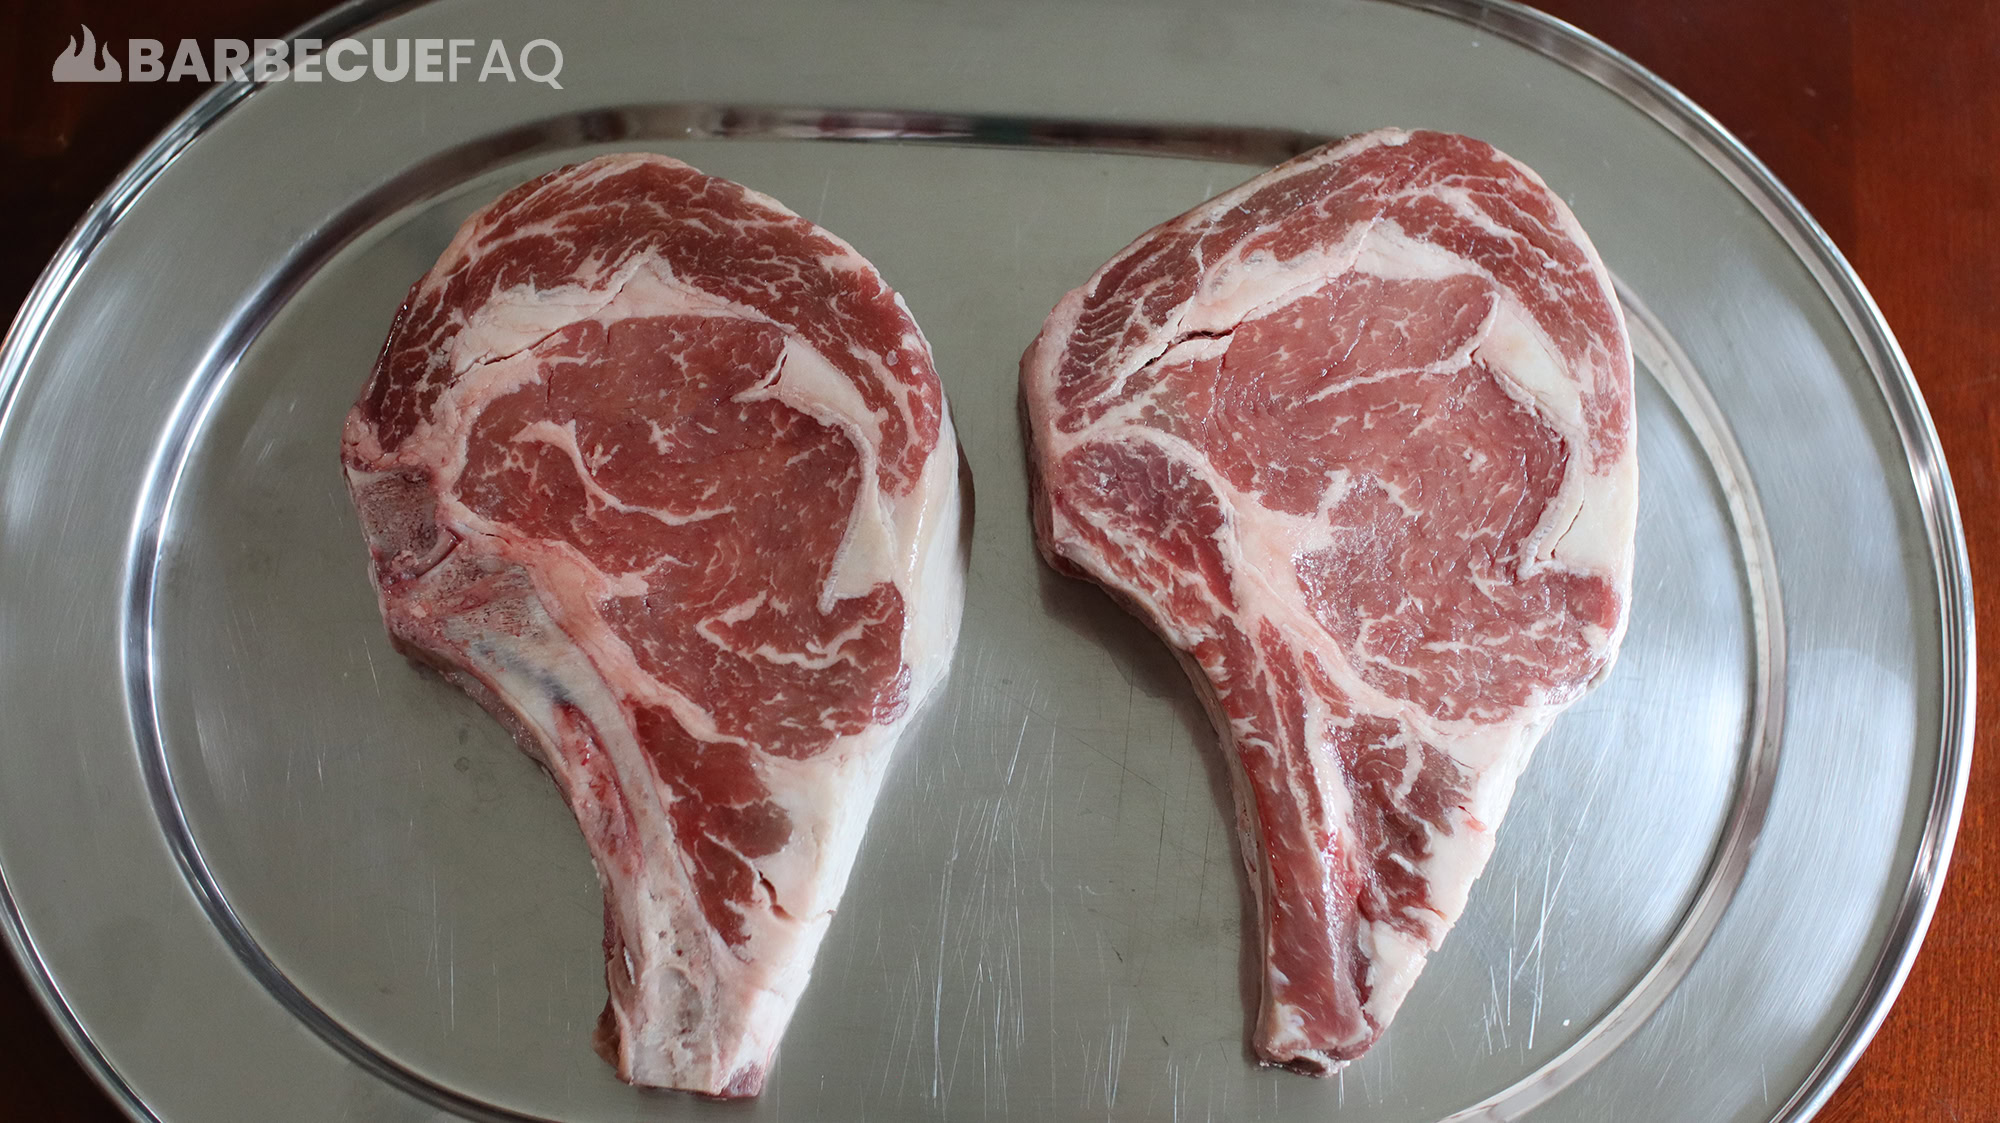
Of these ideas, the most popular is that a cowboy steak is essentially a bone-in ribeye steak* that may or may not have been frenched. If the bone is frenched, the length of the rib bone is less than 5 inches; If the bone exceeds 5 inches, it’s a tomahawk.
When attempting to find the answer to this question, you’ll start to see where the problem lies. Restaurants have a way of naming things whatever they want – The goal being to entice customers into coming to their restaurant.
The first thing I did when researching the origin story was using Google and adjusting the search date – Starting from 1/1/1980 to 12/31/1999
From there you start to find articles on various news outlets and restaurants that seemingly use the phrase “Cowboy Steak” to describe a number of different cuts of steak.
Here are a few examples:
In an article on the Los Angeles Times from 1989:
“That 2-pound Cowboy Steak is the star of the menu at the Trabuco Oaks Steak House.”
Patrick Mott – LA Times
While this article doesn’t specifically mention the cut being used, going to the Trabuco Oaks Steak House website tells us on their current menu: “Cowboy – 16 oz. Top Sirloin” – Their about us page also notes: “Home of the two pound cowboy steak!”
In an article on WestWord from 1999:
“The Cowboy steak a 22-ounce Porterhouse, was a well-priced, well-cooked piece of flesh, done precisely to our request of medium-rare…”
Kyle Wagner – WestWord
In a version of the North American Meat Processors Association (NAMP) – The Meat Buyer’s Guide – We’re told:
“This item is prepared as described in Item No. 1103 except that each steak must be cut between the rib bones. The rib bone shall be completely trimmed of the inter-costal meat [between the bones], lean, and fat so that the bone is exposed from the ventral edge of the longissimus dorsi to the end of the rib bone. This item is also referred to as a “Cowboy Steak.” – Further down the page we’re told: “Sometimes this term is also applied to a frenched split-bone rib steak”
North American Meat Processors Association (NAMP)
While there doesn’t seem to be an explicit reason that’s outlined. It’s not hard to assume that it might be related to phrases like “Cowboy-sized” appetite being used to describe a large cut of meat and/or steak.
As I’ve attempted to outline above, the term “Cowboy” has been used to describe any number of large cuts of steak – From a top sirloin, to a porterhouse, and then a ribeye.
However, in terms of standardization today, the most common is the Ribeye steak.
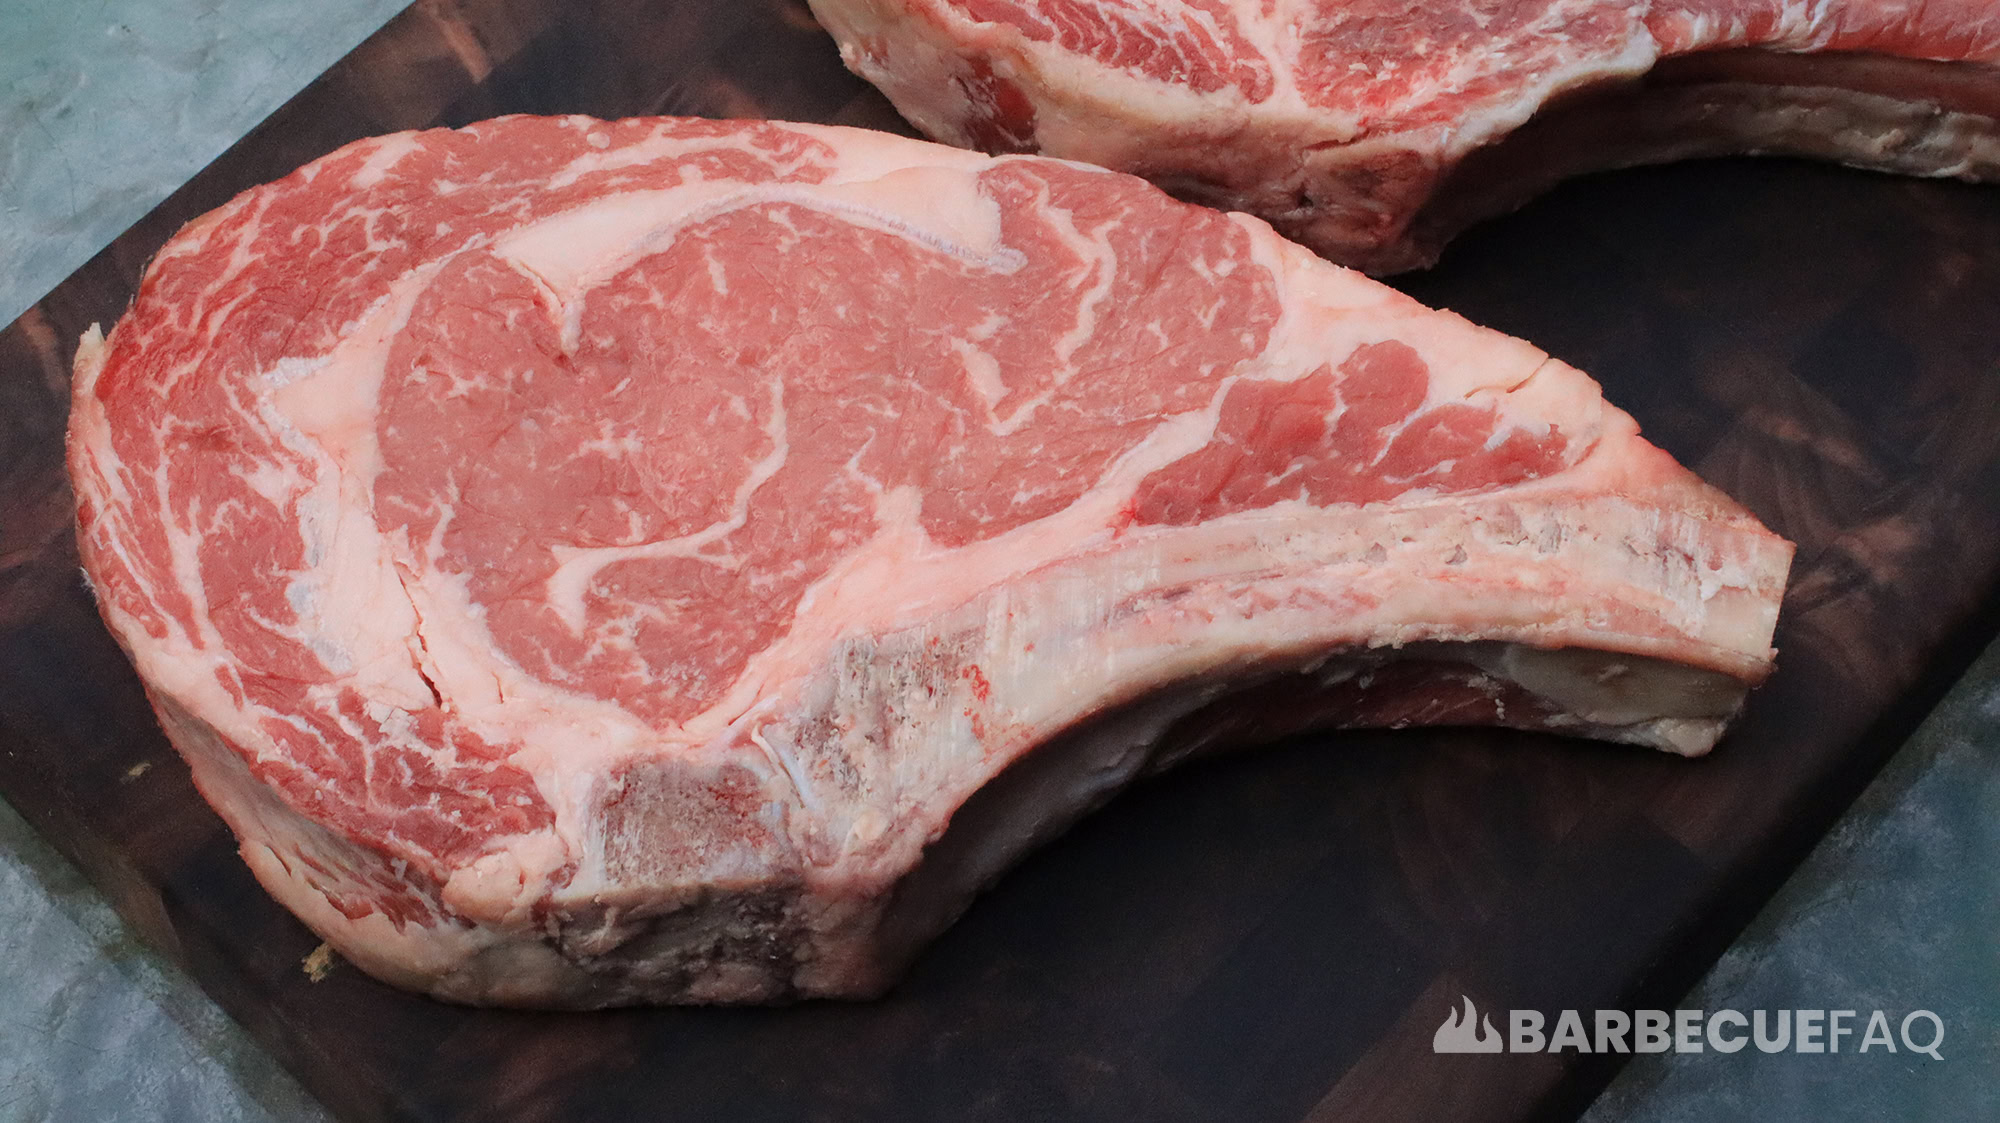
As pointed out above, the NAMP ID for a bone-in ribeye is 1103. Version 1103B is a ribeye steak with a frenched bone. They say this version is also called a “Cowboy Steak.”
However, on Certified Angus Beef’s website we’re told:
“A cowboy steak has a short frenched bone; the tomahawk, a long frenched bone.”
Certified Angus Beef
Again, we have another point of contention – even between organizations that process meat. The commonality is that the cowboy steak is a bone-in ribeye.
Keep in mind, regardless of the rib bone length, it does absolutely nothing for how the steak cooks or tastes. More often than not the bone is even wrapped in order to preserve it’s color for presentation purposes.
A fairly safe way to cook a cowboy steak – or any thick cut steak – is through reverse searing.
Reverse searing is essentially creating a two-zone fire. The steak is allowed to gradually come up in internal temperature in the cool/safe zone and then seared in the hot zone once the internal temperature is at or around your preferred finish temperature.
Note: I opted to reverse sear on my Weber Kettle. However, keep in mind there are a number of ways to cook this type of steak. For instance, in my article on Tomahawk steak I used my Pellet grill and opted to sear the meat with GrillGrates and then finished in the oven with a cast iron skillet.
Equipment:
Ingredients:
The first thing I did was salted the steak overnight. However, if you’re reading this the day of, you should salt the steak and let it dry brine for a minimum of 40-60 minutes.
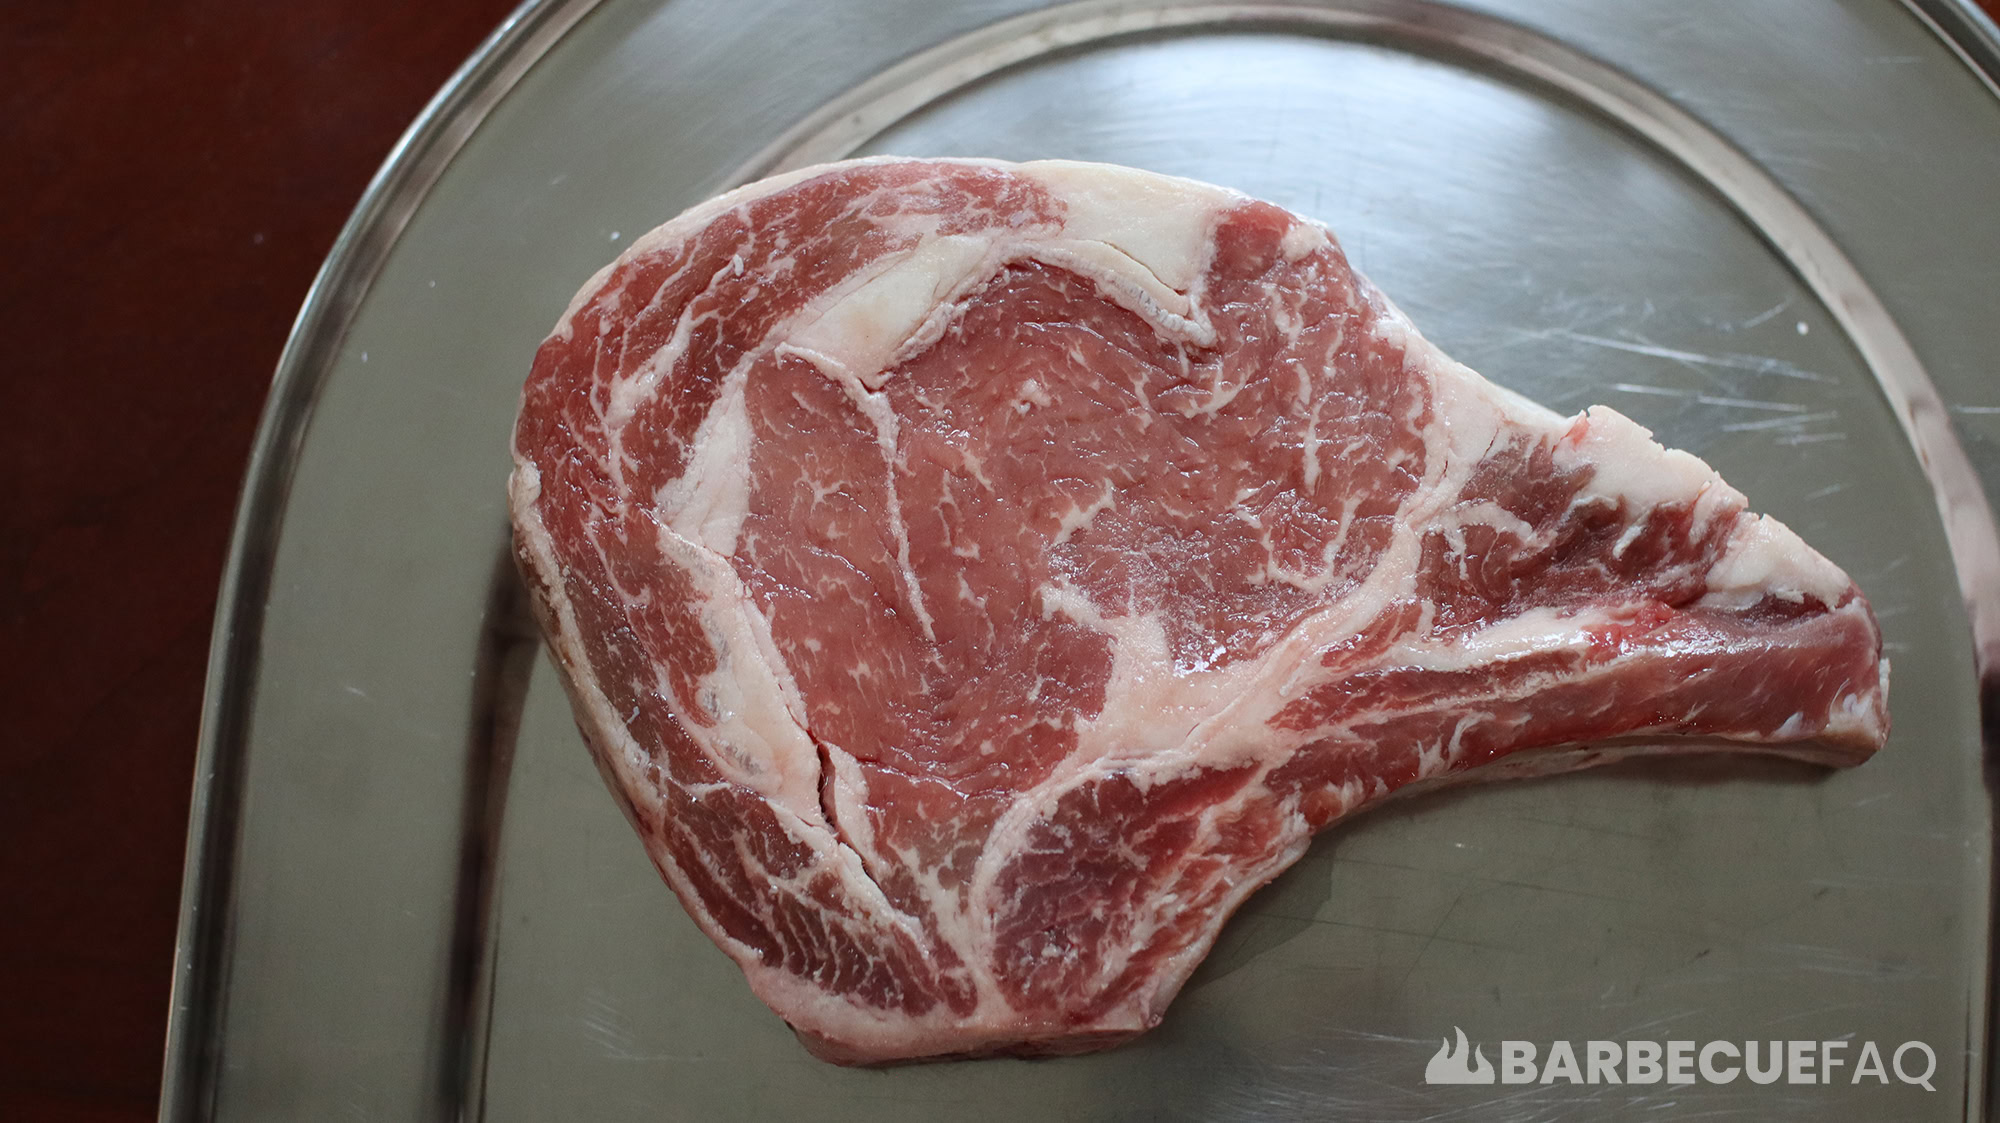
The above wait-time is just based on personal experience and how long it takes for osmosis to occur – the process of liquid being drawn out of the meat. Since salt is soluble, it dissolves in the meat juices and creates its own salty brine; That brine is then reabsorbed.
Essentially you want to salt the surface, wait for the juices to pool, the salt to dissolve and then reabsorb – meaning the surface is dry; This allows for a better crust.
Dry brining causes muscle proteins to break down – or denature. Since salt (NaCl) is comprised of sodium (Na) and chloride (Cl) ions that carry electrical charges – these ions will attack proteins which causes muscles fibers to loosen which allows the brine to be reabsorbed.
This process typically takes 40-60 minutes to occur.
In order to reverse sear you need to create a two-zone fire – one zone is cool (indirect – convection) and another zone is hot (direct – radiant heat).
The coals/kettle will look like this:
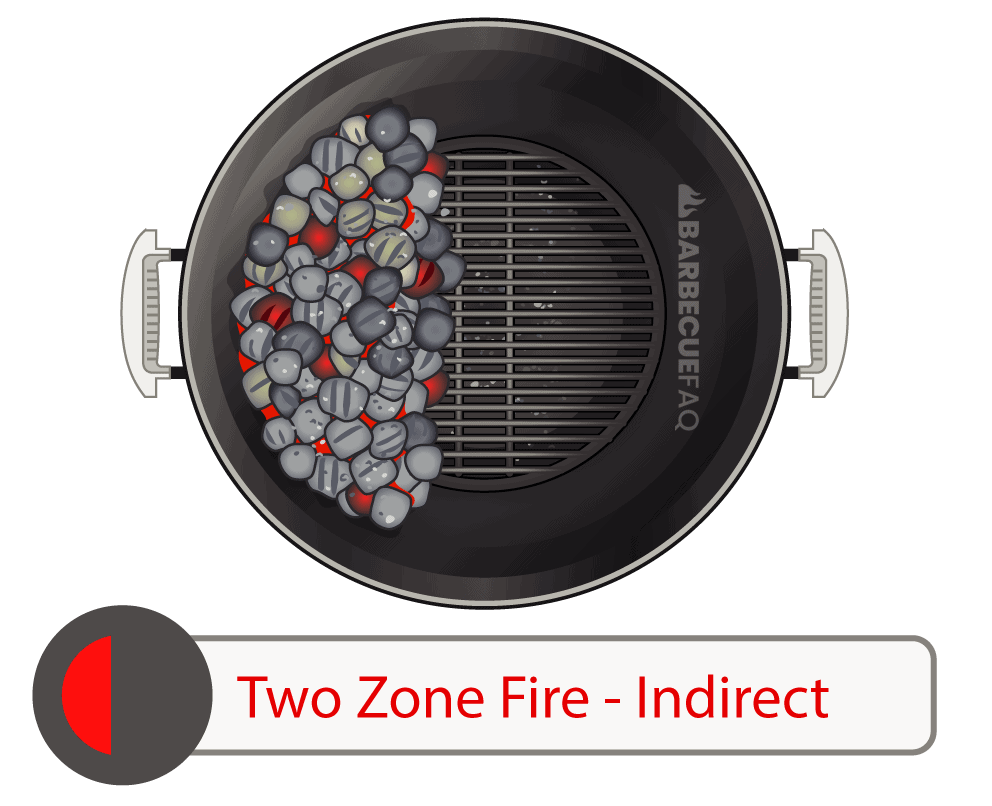
In order to create this fire you’ll need a full chimney of lit charcoal. I have an entire article that discusses how to light charcoal without lighter full – click here to read it.
In order to create a two zone fire you will need:
Start by clearing any previous ash in the bottom of your kettle.
Fill up the charcoal chimney entirely with briquettes or lump charcoal. Place your tumbleweed on the charcoal grill’s grates and light it. Then place the charcoal-laden chimney atop the tumbleweed and wait for the coals to ash over – this process usually takes 15 – 25 minutes.
Once the charcoal has ashed over, dump the charcoal to one side of the kettle to create a two-zone fire.
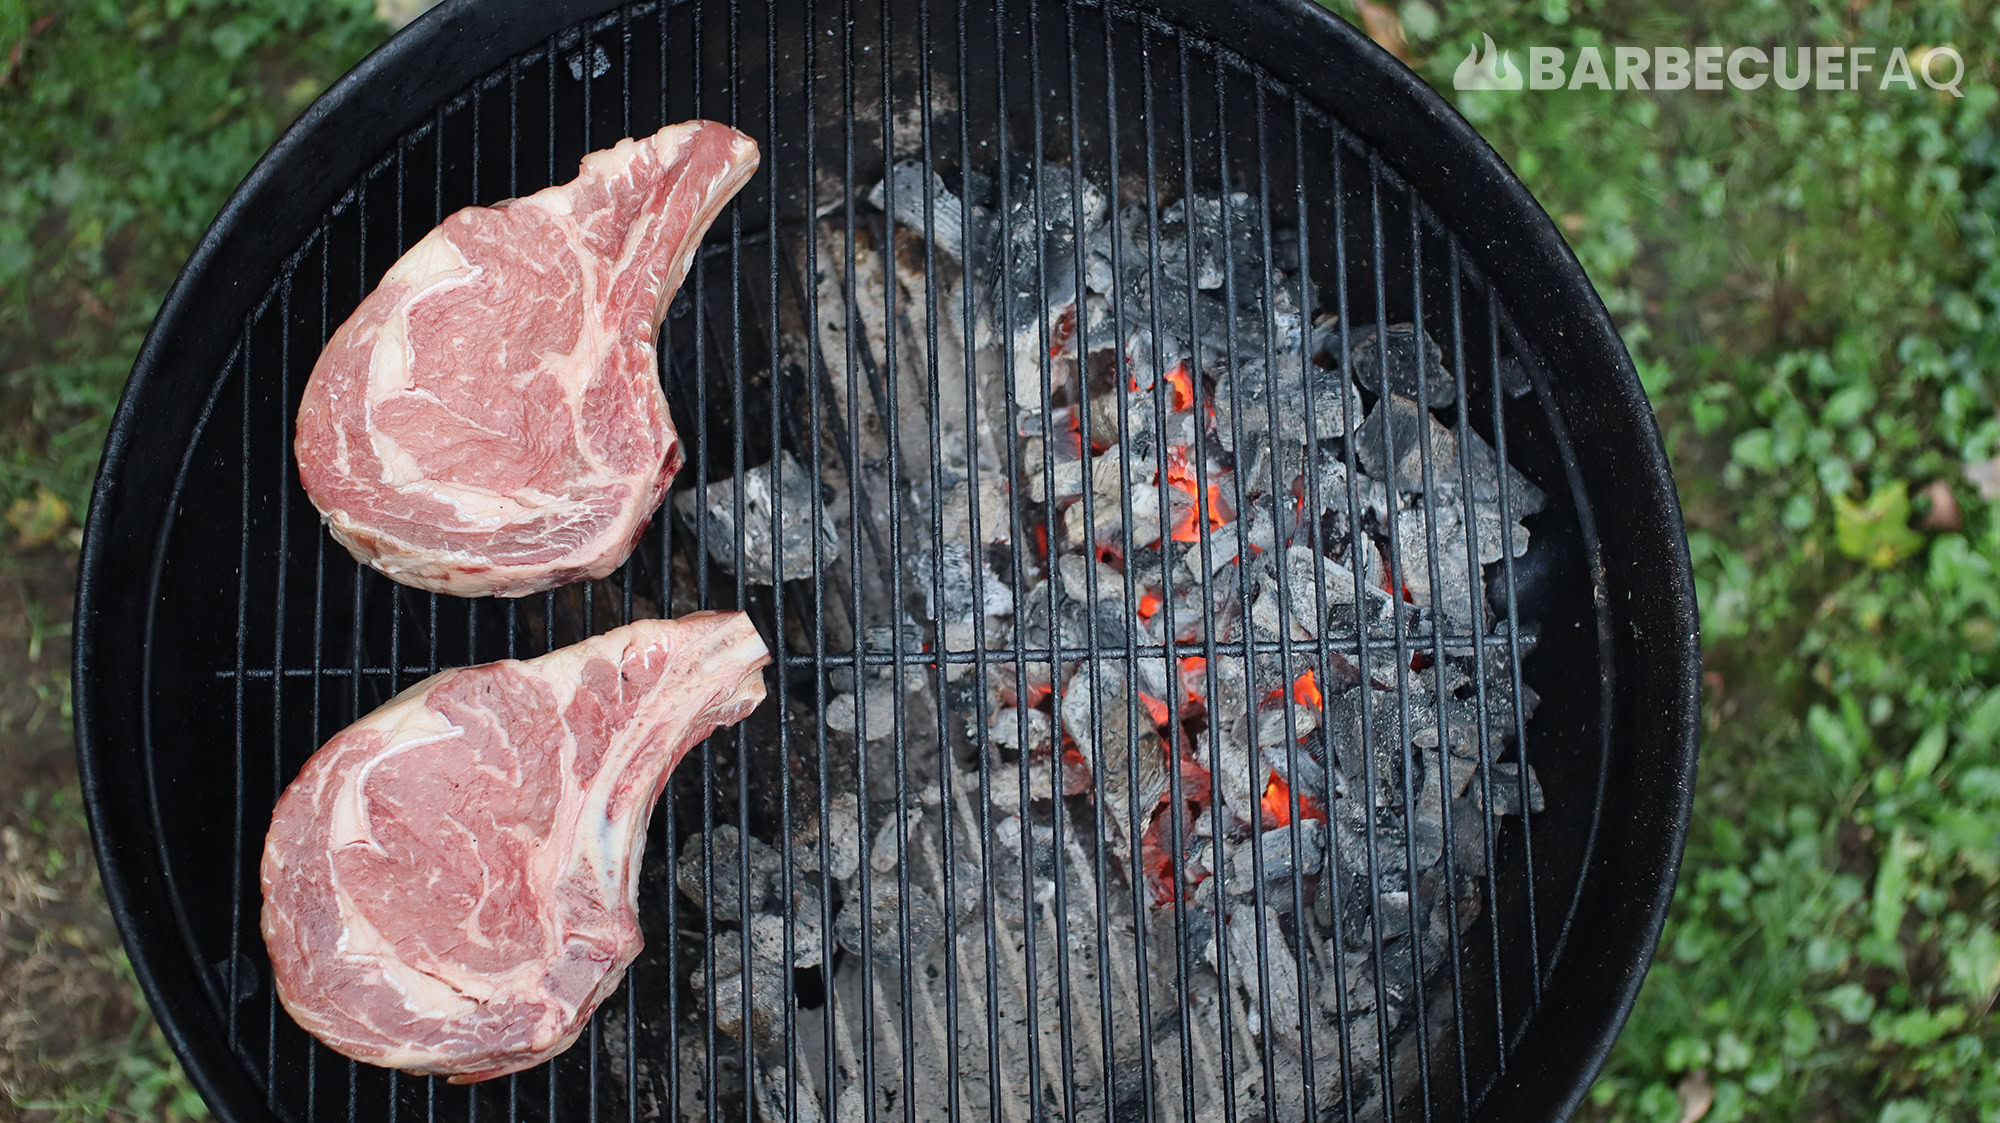
Then place your grates over the fire and cover the kettle. After the kettle has been covered for a while, use your grill brush to remove old food-stuff debris on the grates.
For this type of cook I like to have my vents entirely open, both for the intake and exhaust. You can learn more about temperature control in a charcoal grill by reading this article.
Just to reference from numbers from that article:
After I’ve cleaned the grill grates I place the cowboy steak in the convection zone and allow it to build in temperature.
Using an instant read thermometer you can probe the steak to determine when to put it onto the hot zone. Meaning if your intention is to finish at Medium-rare or between 130-135F, you should move the steak over to the hot zone at roughly 115-120F.
In this case, I waited till 115F to move the steak over the hot zone.
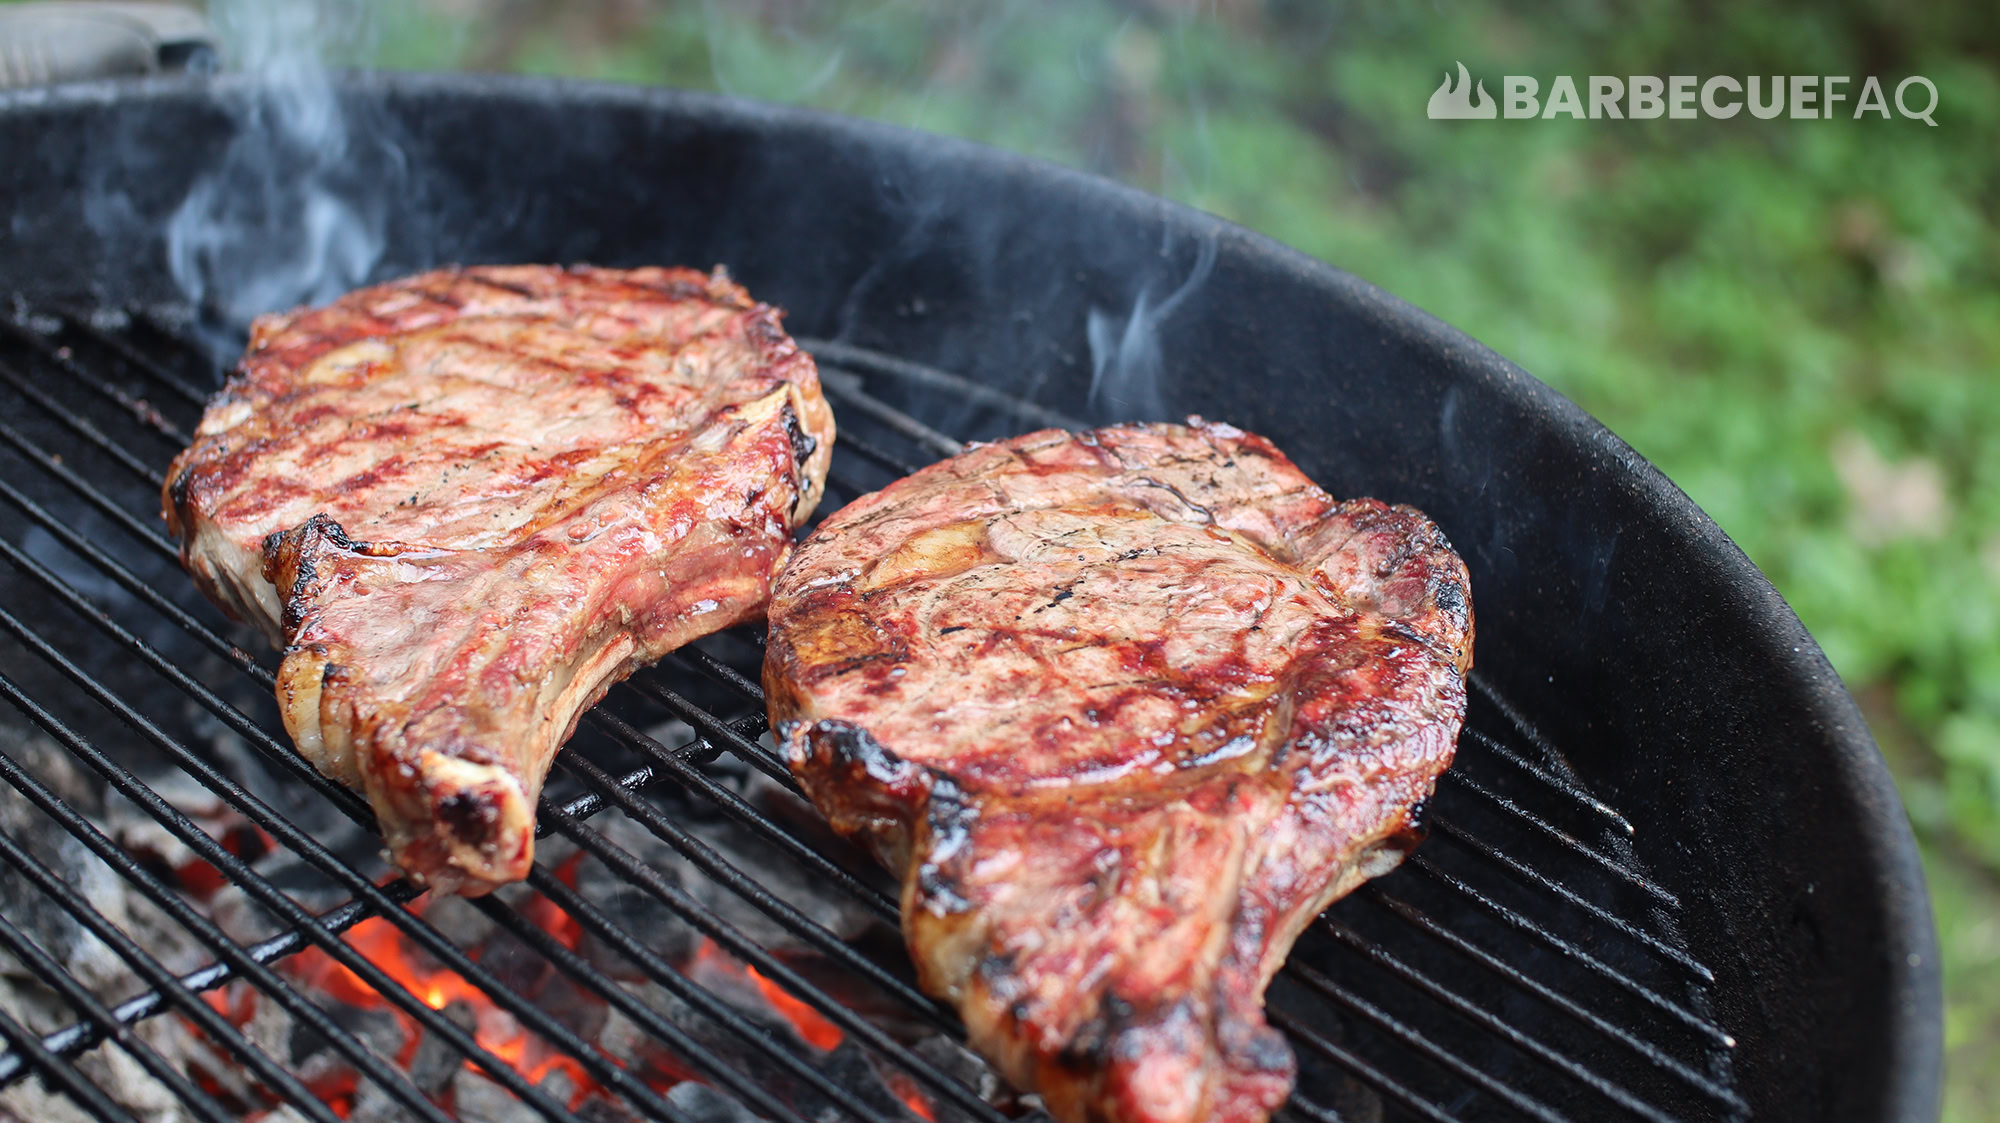
Note: Be mindful of flare-ups from the fat/drippings hitting the hot coals.
Once 2 minutes has elapsed, I flip the steak over and repeat.
After 2 minutes on both sides, I take it off the heat and bring the steak inside.
In my opinion, resting a steak doesn’t matter as much as some people and/or resources make it out to be.
You can read my thoughts on resting steak in this article; To echo some of the comments from there:
Apart from those two factors, you also need to factor in carry-over cooking. When steak or other food is taken off of high heat, it doesn’t immediately stop cooking.
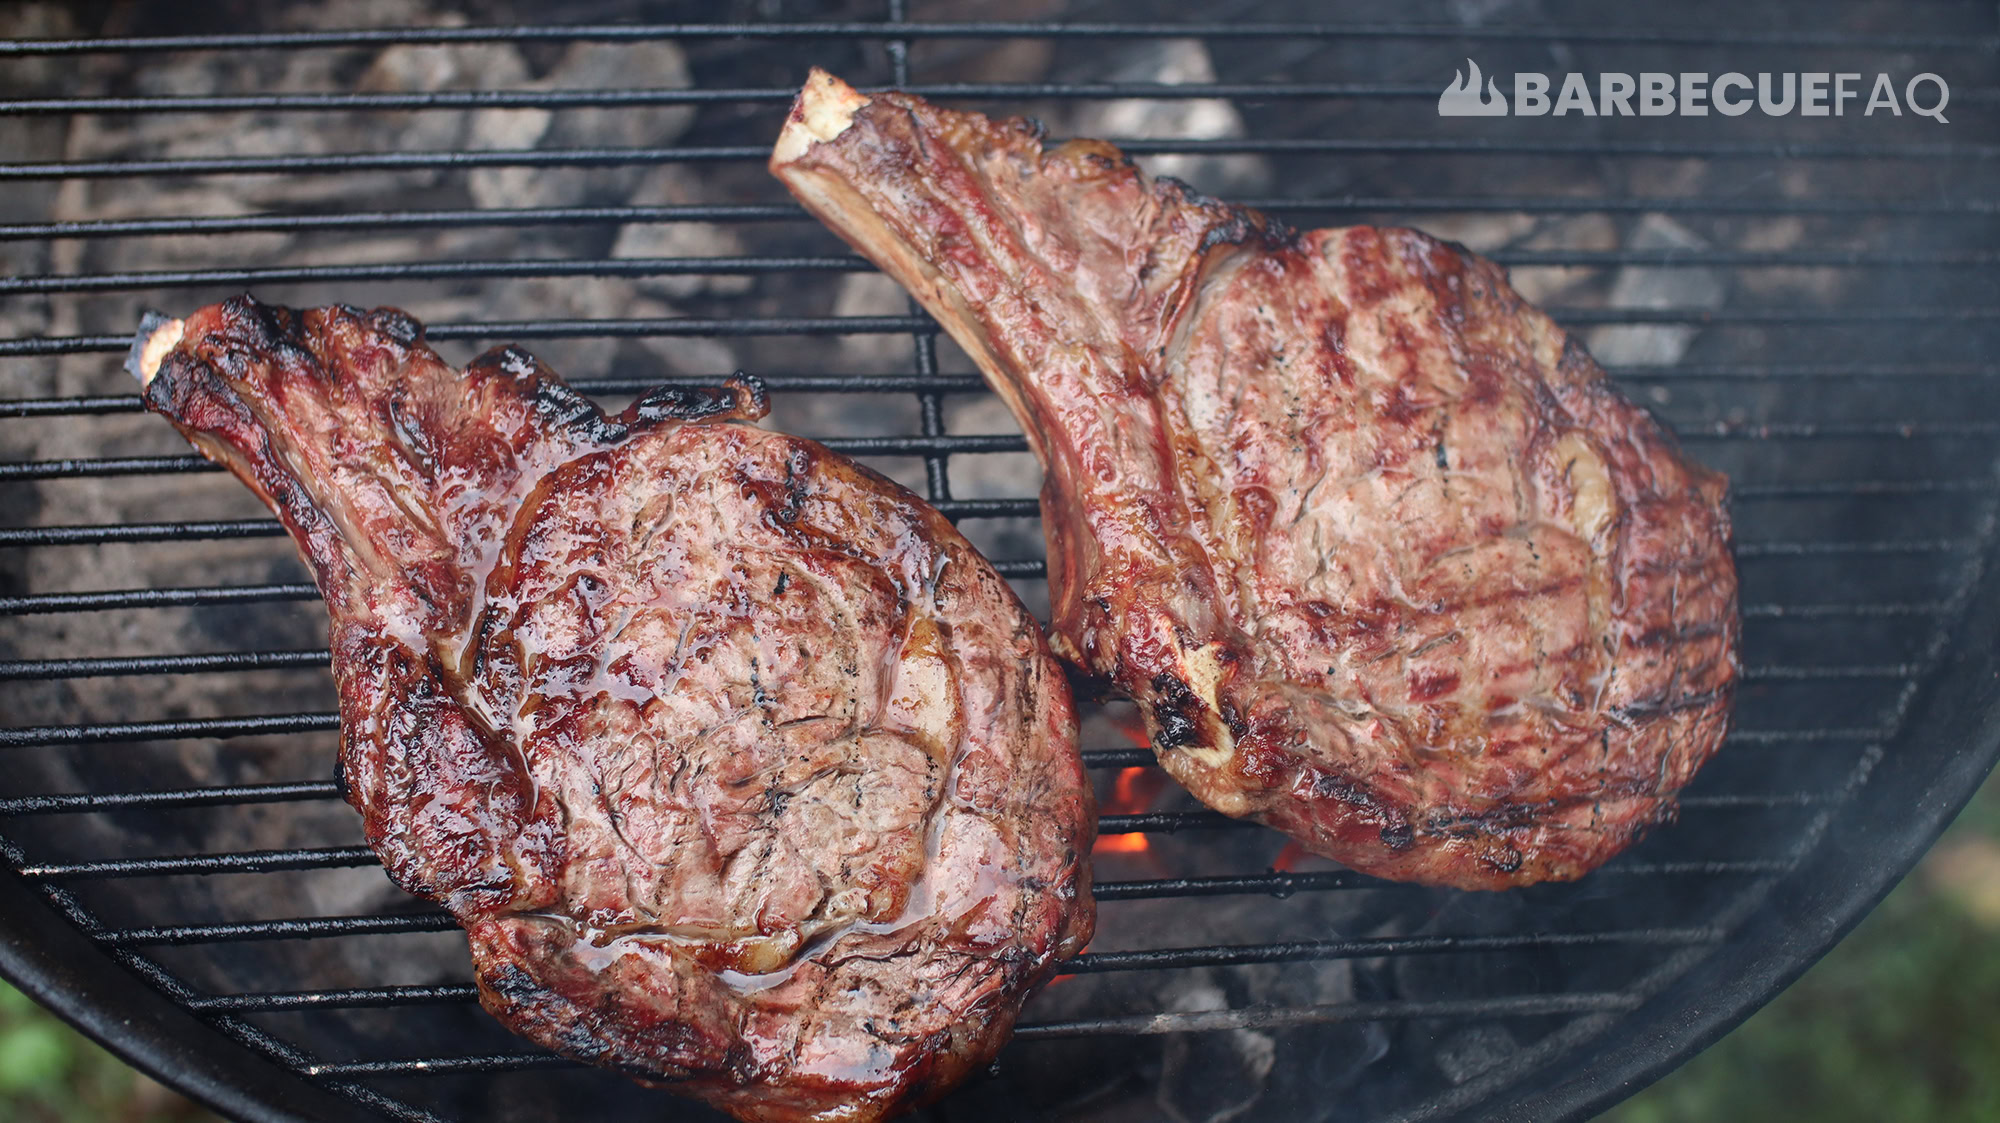
As you might expect, when you place the steak over high-heat, the surface temperature will be much higher than the interior. Meaning the surface temperature will “carry-over” to the internal temperature through conduction.
By resting steak you can easily take a medium-rare steak and quickly have it medium-well – A number of resources will even tell you to tent the steak on a plate with aluminum foil which will exacerbate the carry-over and make the crust soft.
Note: Truth be told, as soon as you take the steak off the grill it’s technically “resting.” The most common rest time for steak is 5 minutes per inch of thickness; A cowboy steak is typically 1 – 1.5 inches thick. Meaning by the time you get the dining table set and the other fixings ready, your steak will have had more than enough time to rest. Ensure to slice before carry-over causes the internal temperature to climb too much.
After this, you should slice against the grain. I have an article on this topic and unlike resting, it’s actually important to do to improve the eating experience.
