You will need:
- A Smoker Gasket – I used this one from LavaLock (not an affiliate link)
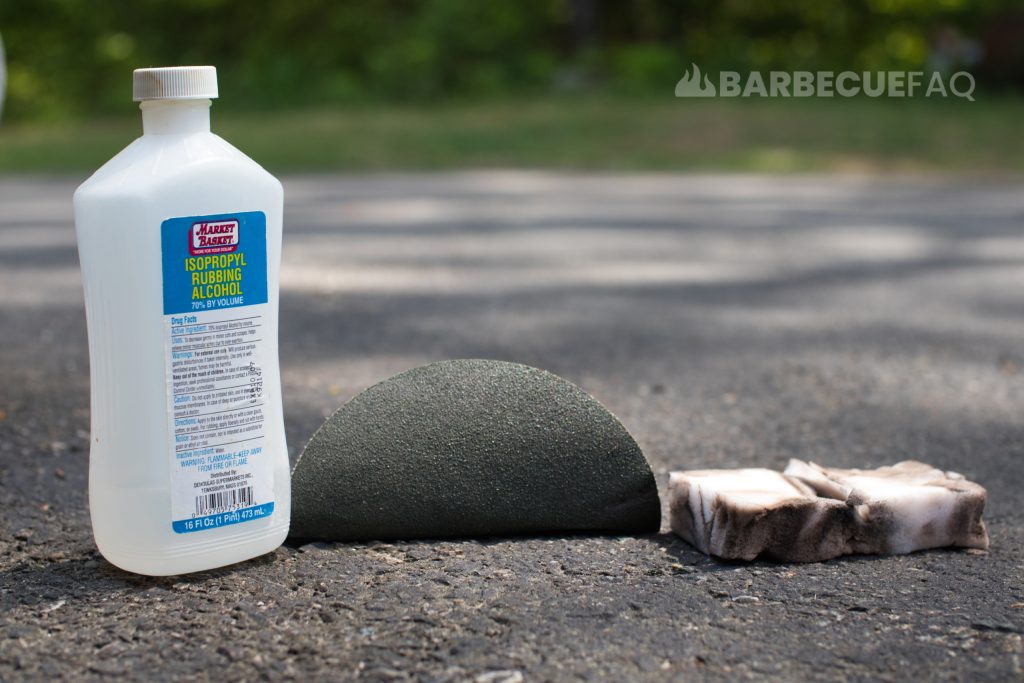
- Mr. Clean Magic Erasers
- Isopropyl Rubbing Alcohol
- Sandpaper
- Putty knife
- Boxcutter / Knife
1. Clean the Lip or Edge that Comes in Contact With the Lid
Of the complaints I’ve read online about installing smoker gaskets, the most common one is related to them not “sticking” to the surface.
In almost all every case it’s because this lip isn’t clean.
Use your putty knife to scrape any debris.
Then use Mr. Clean Magic Erasers with Isopropyl alcohol to completely wipe down the edge until it’s back to factory new.
2. Use Sandpaper on the Surface Where the Adhesive of the Gasket Will Go
You don’t need to be super aggressive with the sandpaper.
Use a medium grit sandpaper to lightly scratch the outer lip.
3. Guide the Gasket Along the Edge You Just Sandpapered
Adhesive side toward the lid – along the perimeter.
Since the lid of the Weber Kettle is beveled, I placed the gasket in the middle of the bevel and ensured the adhesive entirely stuck to the surface.

Once I made my way back around to the start of the gasket, I used my pocket knife to cut the gasket so that the start and the end are flush against each other.
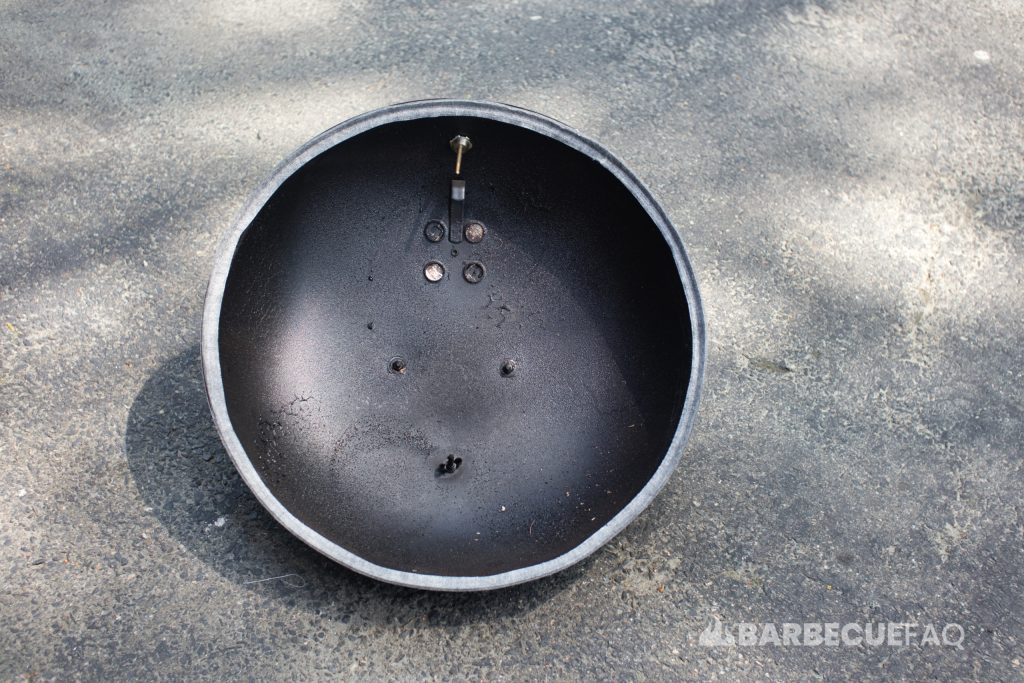
You do not want to overlap the gasket.
Doing so will cause a leak at this exact overlap when you go to close your lid.
And that’s it, you now have a better seal on your lid for ~$30-40.


