You will need:
- A Tel-tru thermometer – You can buy the one I used here.
- A drill
- A step drill bit – You can buy the one I used here.
- A mallet/hammer
- A pin punch
- A marker
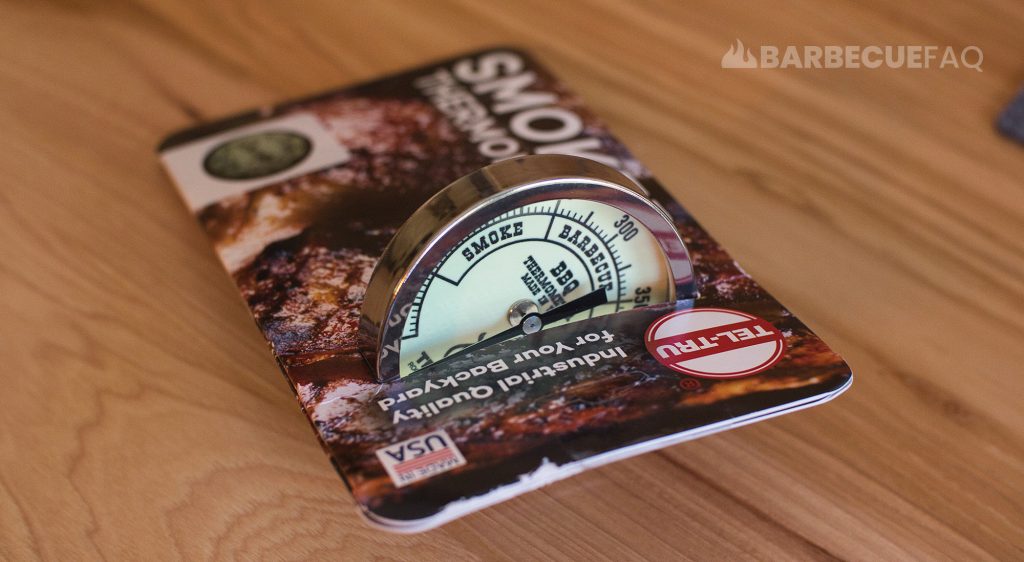
1st thing is to decide where you want the thermometer.
I installed it on the exhaust damper side, near grate-level.
This way when smoking I have a better idea of the temperature where the food will be placed.
I then took a marker and drew a circle so I knew where to pin punch.
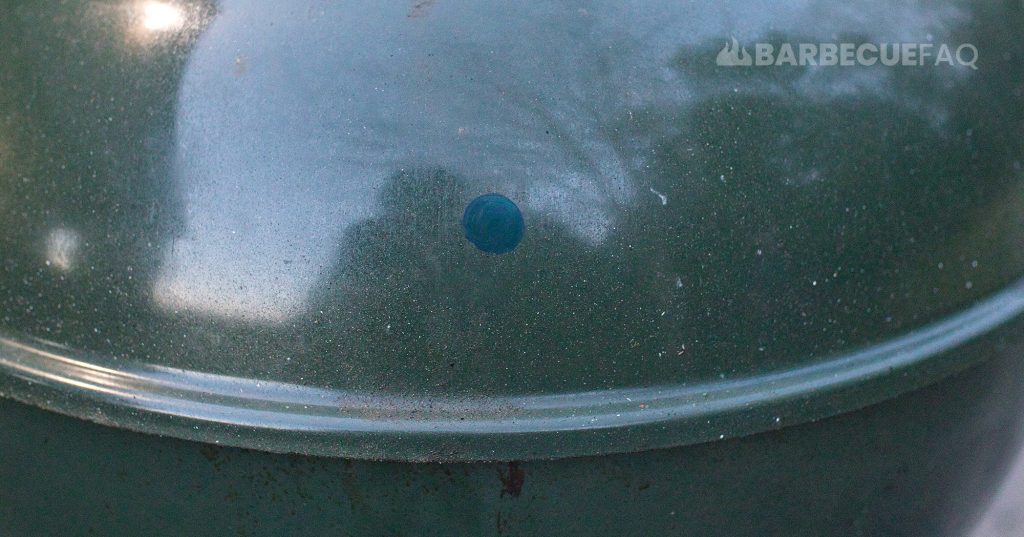
Take your pin punch and mallet and tap in the center of the circle you drew.
Use your step drill bit to slowly make a circle.
As you start to get to the right size, test if you can thread your thermometer.
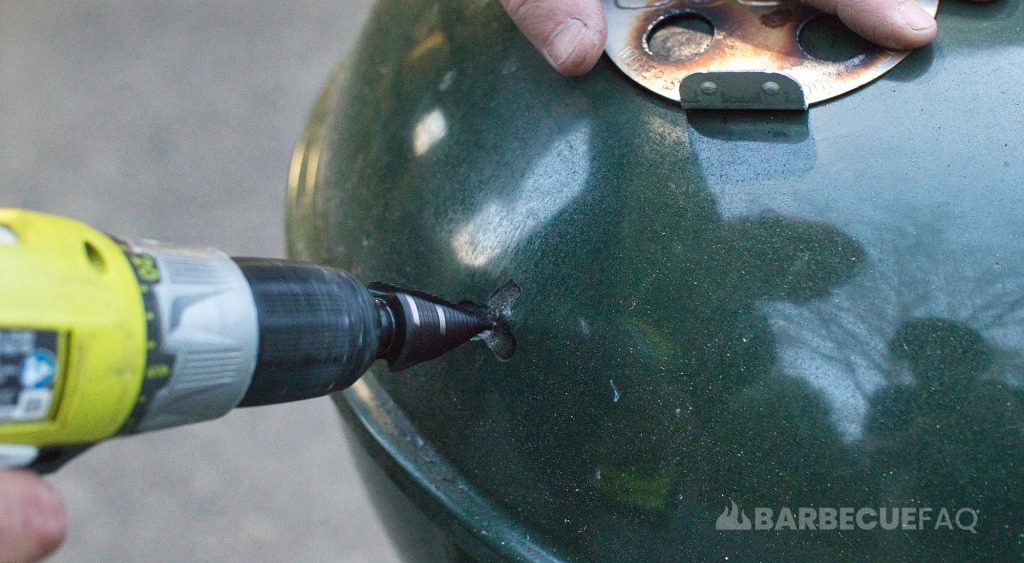
Thread the thermometer until the numbers are upright.
Here’s the thermometer fully threaded:

Flip the lid over and thread your locking nut:
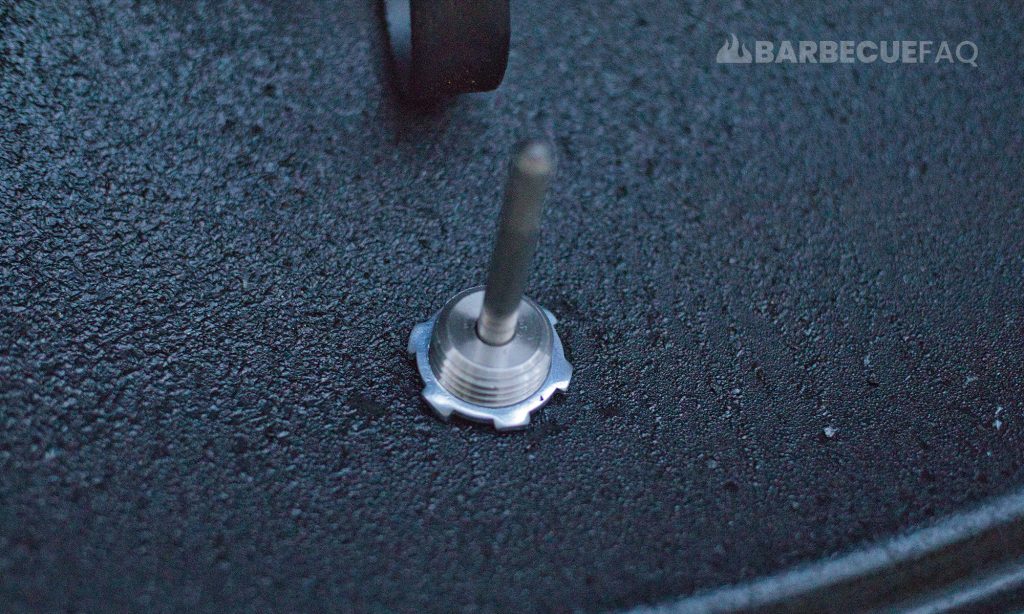
Now we’re good to go and read to smoke food with a better idea of grate-level temperatures.

Other Thermometer Options
For a really long time, I didn’t even have a lid thermometer on my Weber Kettle.
Whenever I opted to smoke, I would take my wireless meat probe (the Thermopro TP20) and dangle it inside the exhaust damper.
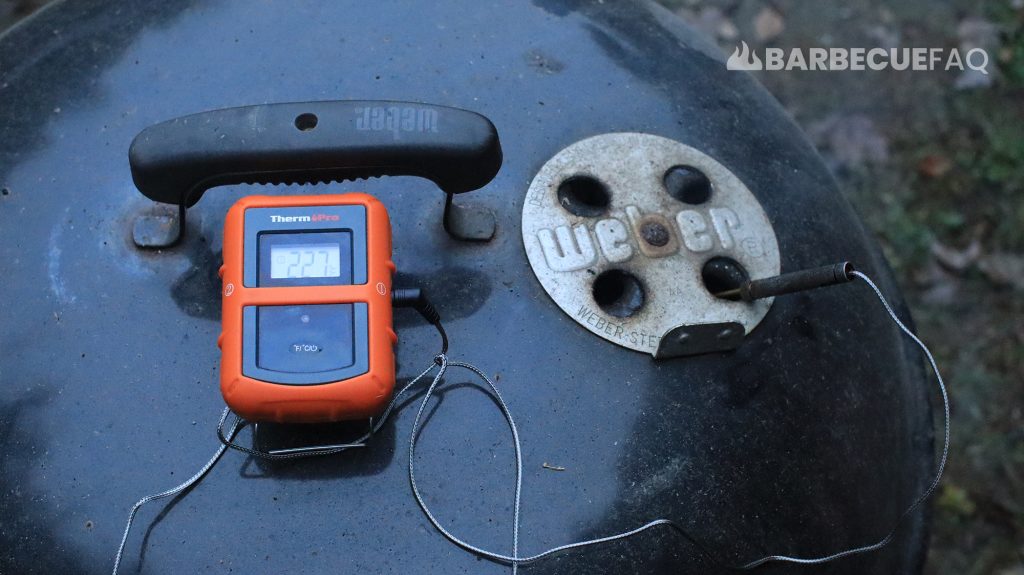
This way we’re measuring the heat above the meat.
OR you could opt to use a grate-level thermometer instead.
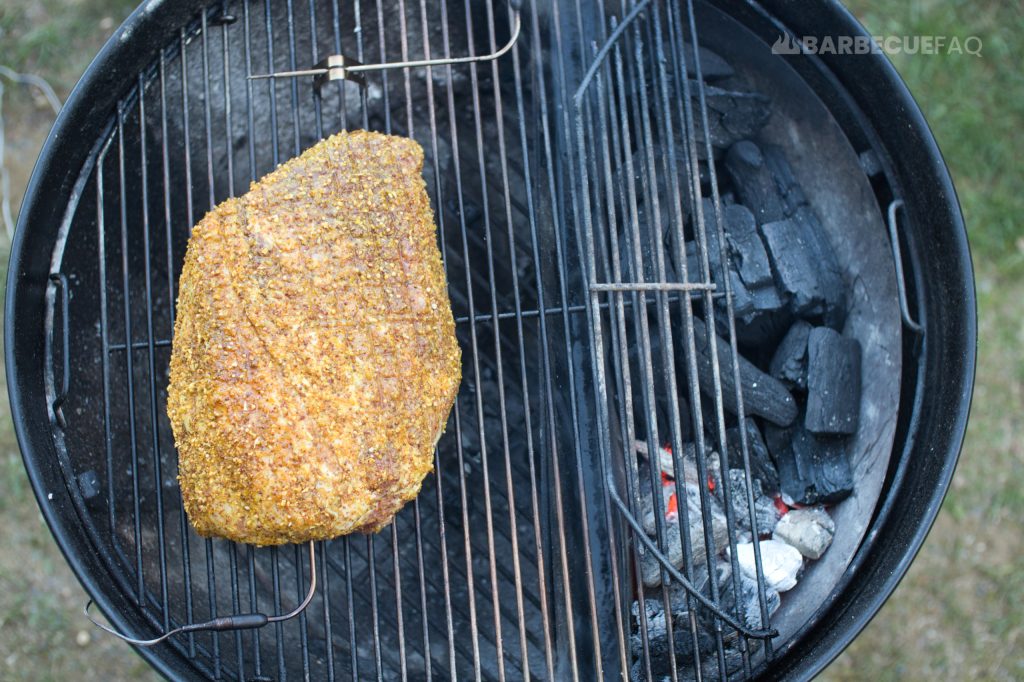
OR know that 400F measured with the stock lid thermometer (above the charcoal) in a 2-zone fire setup is roughly 250F in the indirect zone.


