

“Rub” to Use for Chicken Wings
I just use cornstarch – that’s it. The reason for this is the crunch.
For a party pack of wings (24 flats and drums) use roughly half a bottle (8 oz) of cornstarch.

I’ve tested a number of ingredients for this crunch like flour, baking powder, panko, etc.
Cornstarch works best, by far.
I also use no spices or ingredients in the dredge.
Since these are sauced, you won’t really taste them. BUT if you want to add some rub, feel free.
Setting Up the Vortex for Wings
Use roughly 3/4 of a charcoal chimney for around 400-500F.
Once lit, dump the charcoal in the middle of the kettle.
Cover the vortex on the mound:

Put your grill grates back on, open your vents and cover the lid for 15 minutes.
After 15 Minutes, Put the Wings on the Grill
Put the wings around the perimeter so they get convective heat.

Then cover the lid and wait.
After 20 minutes, the wings looked like this:
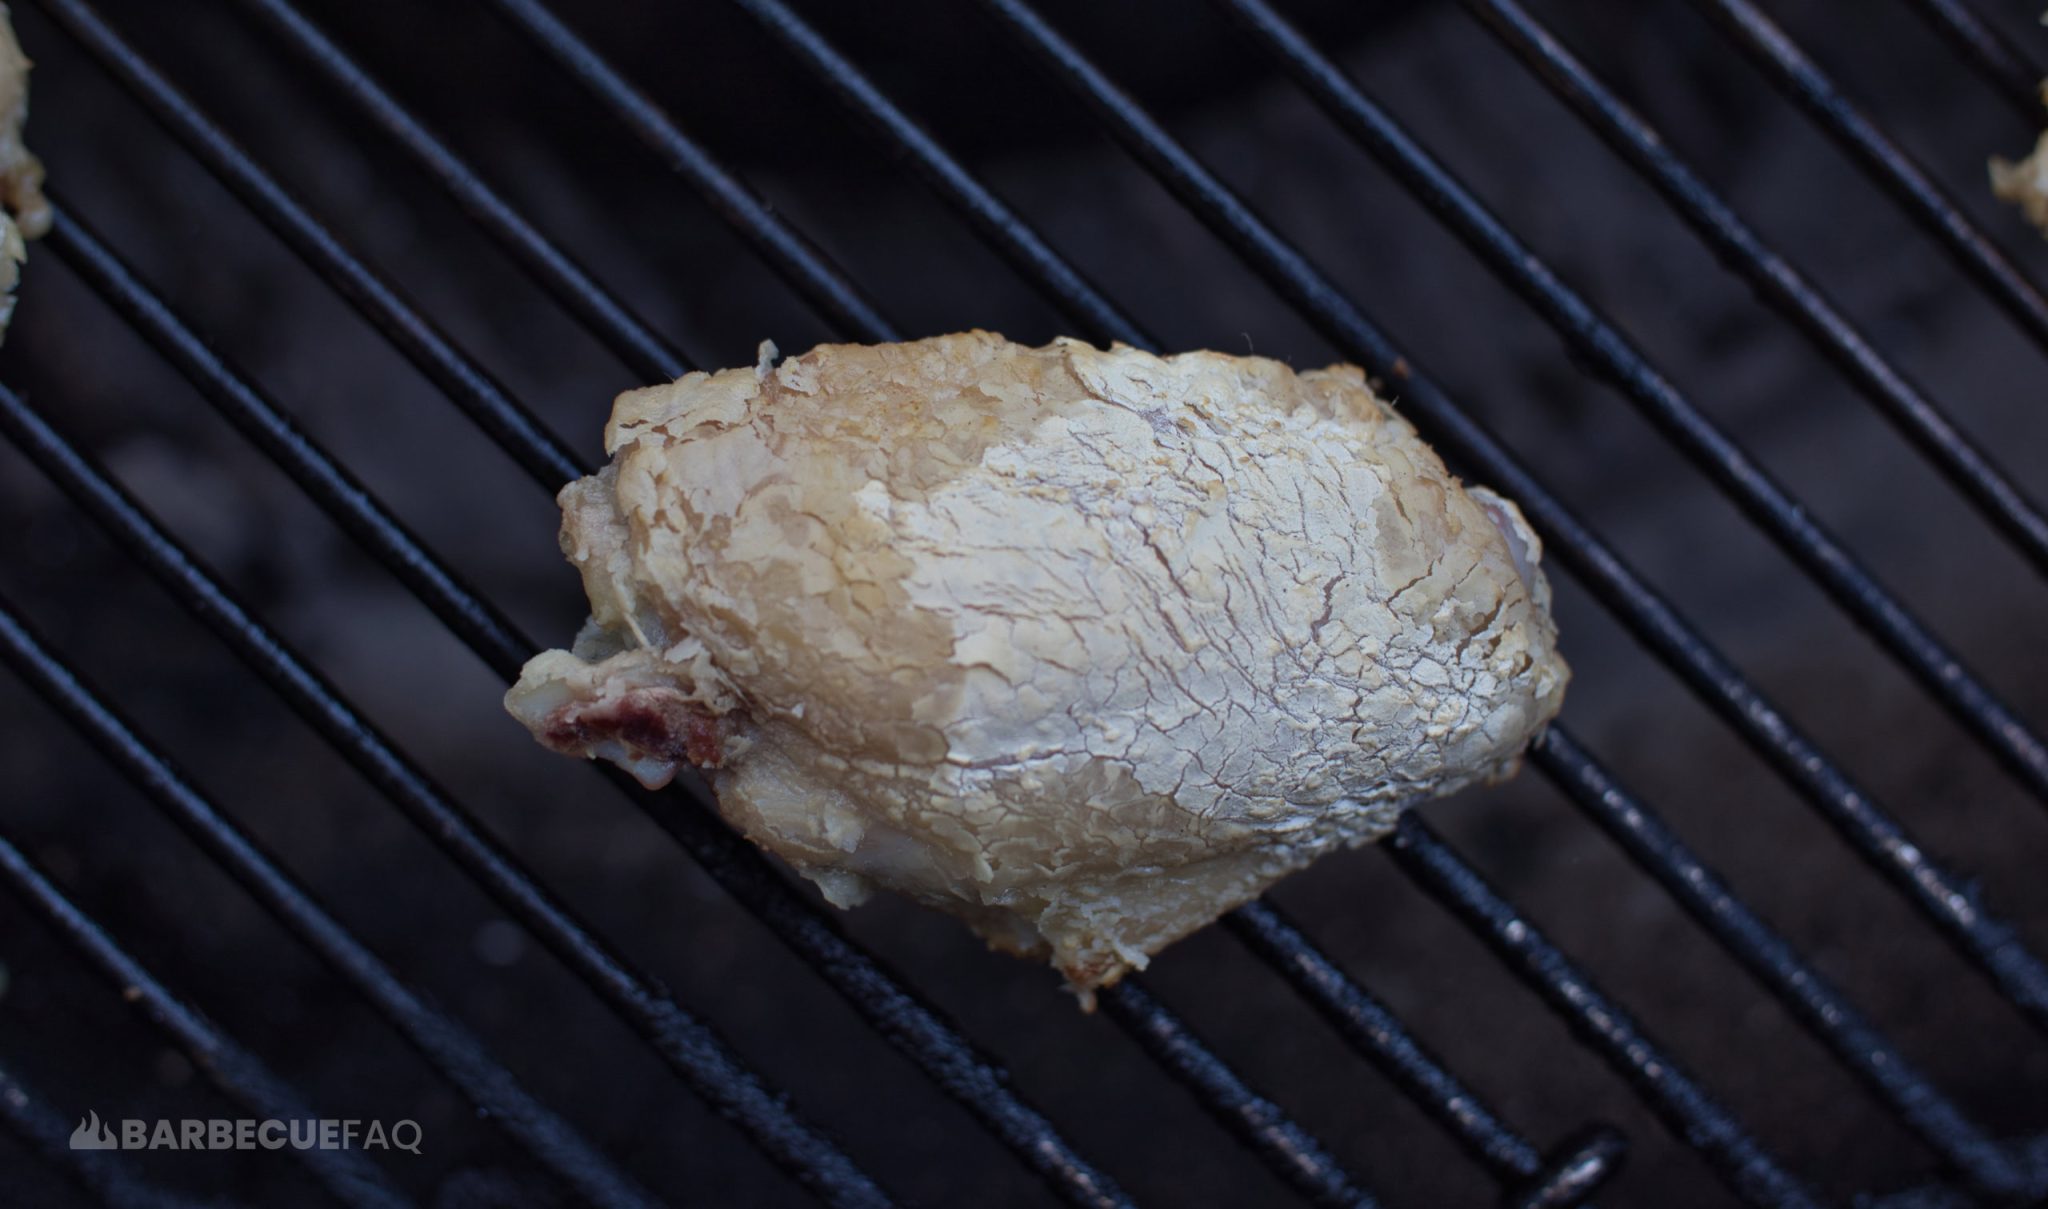
The cornstarch is still setting up on the wing and can go a bit longer.
Here’s the wings 15 minutes later:

I can visually tell that the cornstarch is setup and there is visible meat pullback from the bone.
Why I Push Cornstarch’d Wings to 200F
Technically chicken is safe to eat at 165F.
BUT lots of people still complain that the skin is rubbery. This is because chicken skin has LOTS of fat under it.
Often at 165F, this skin fat has barely rendered.
By pushing the internal temperature to 190-200F you render more skin fat, the cornstarch crisps up more and the collagen renders better.
AKA you get crispier wings.
Test this concept just 1 time and I bet I convert you.
Add Unsalted Butter to Your Favorite Wing Sauce
Heat your sauce when wings are near done.
To a medium pot add:
- 1 Cup Sauce
- 1/2 Stick Unsalted butter
Heat this mixture under LOW heat.
If you incorporate the butter at too high of a temperature the milk solids will separate.
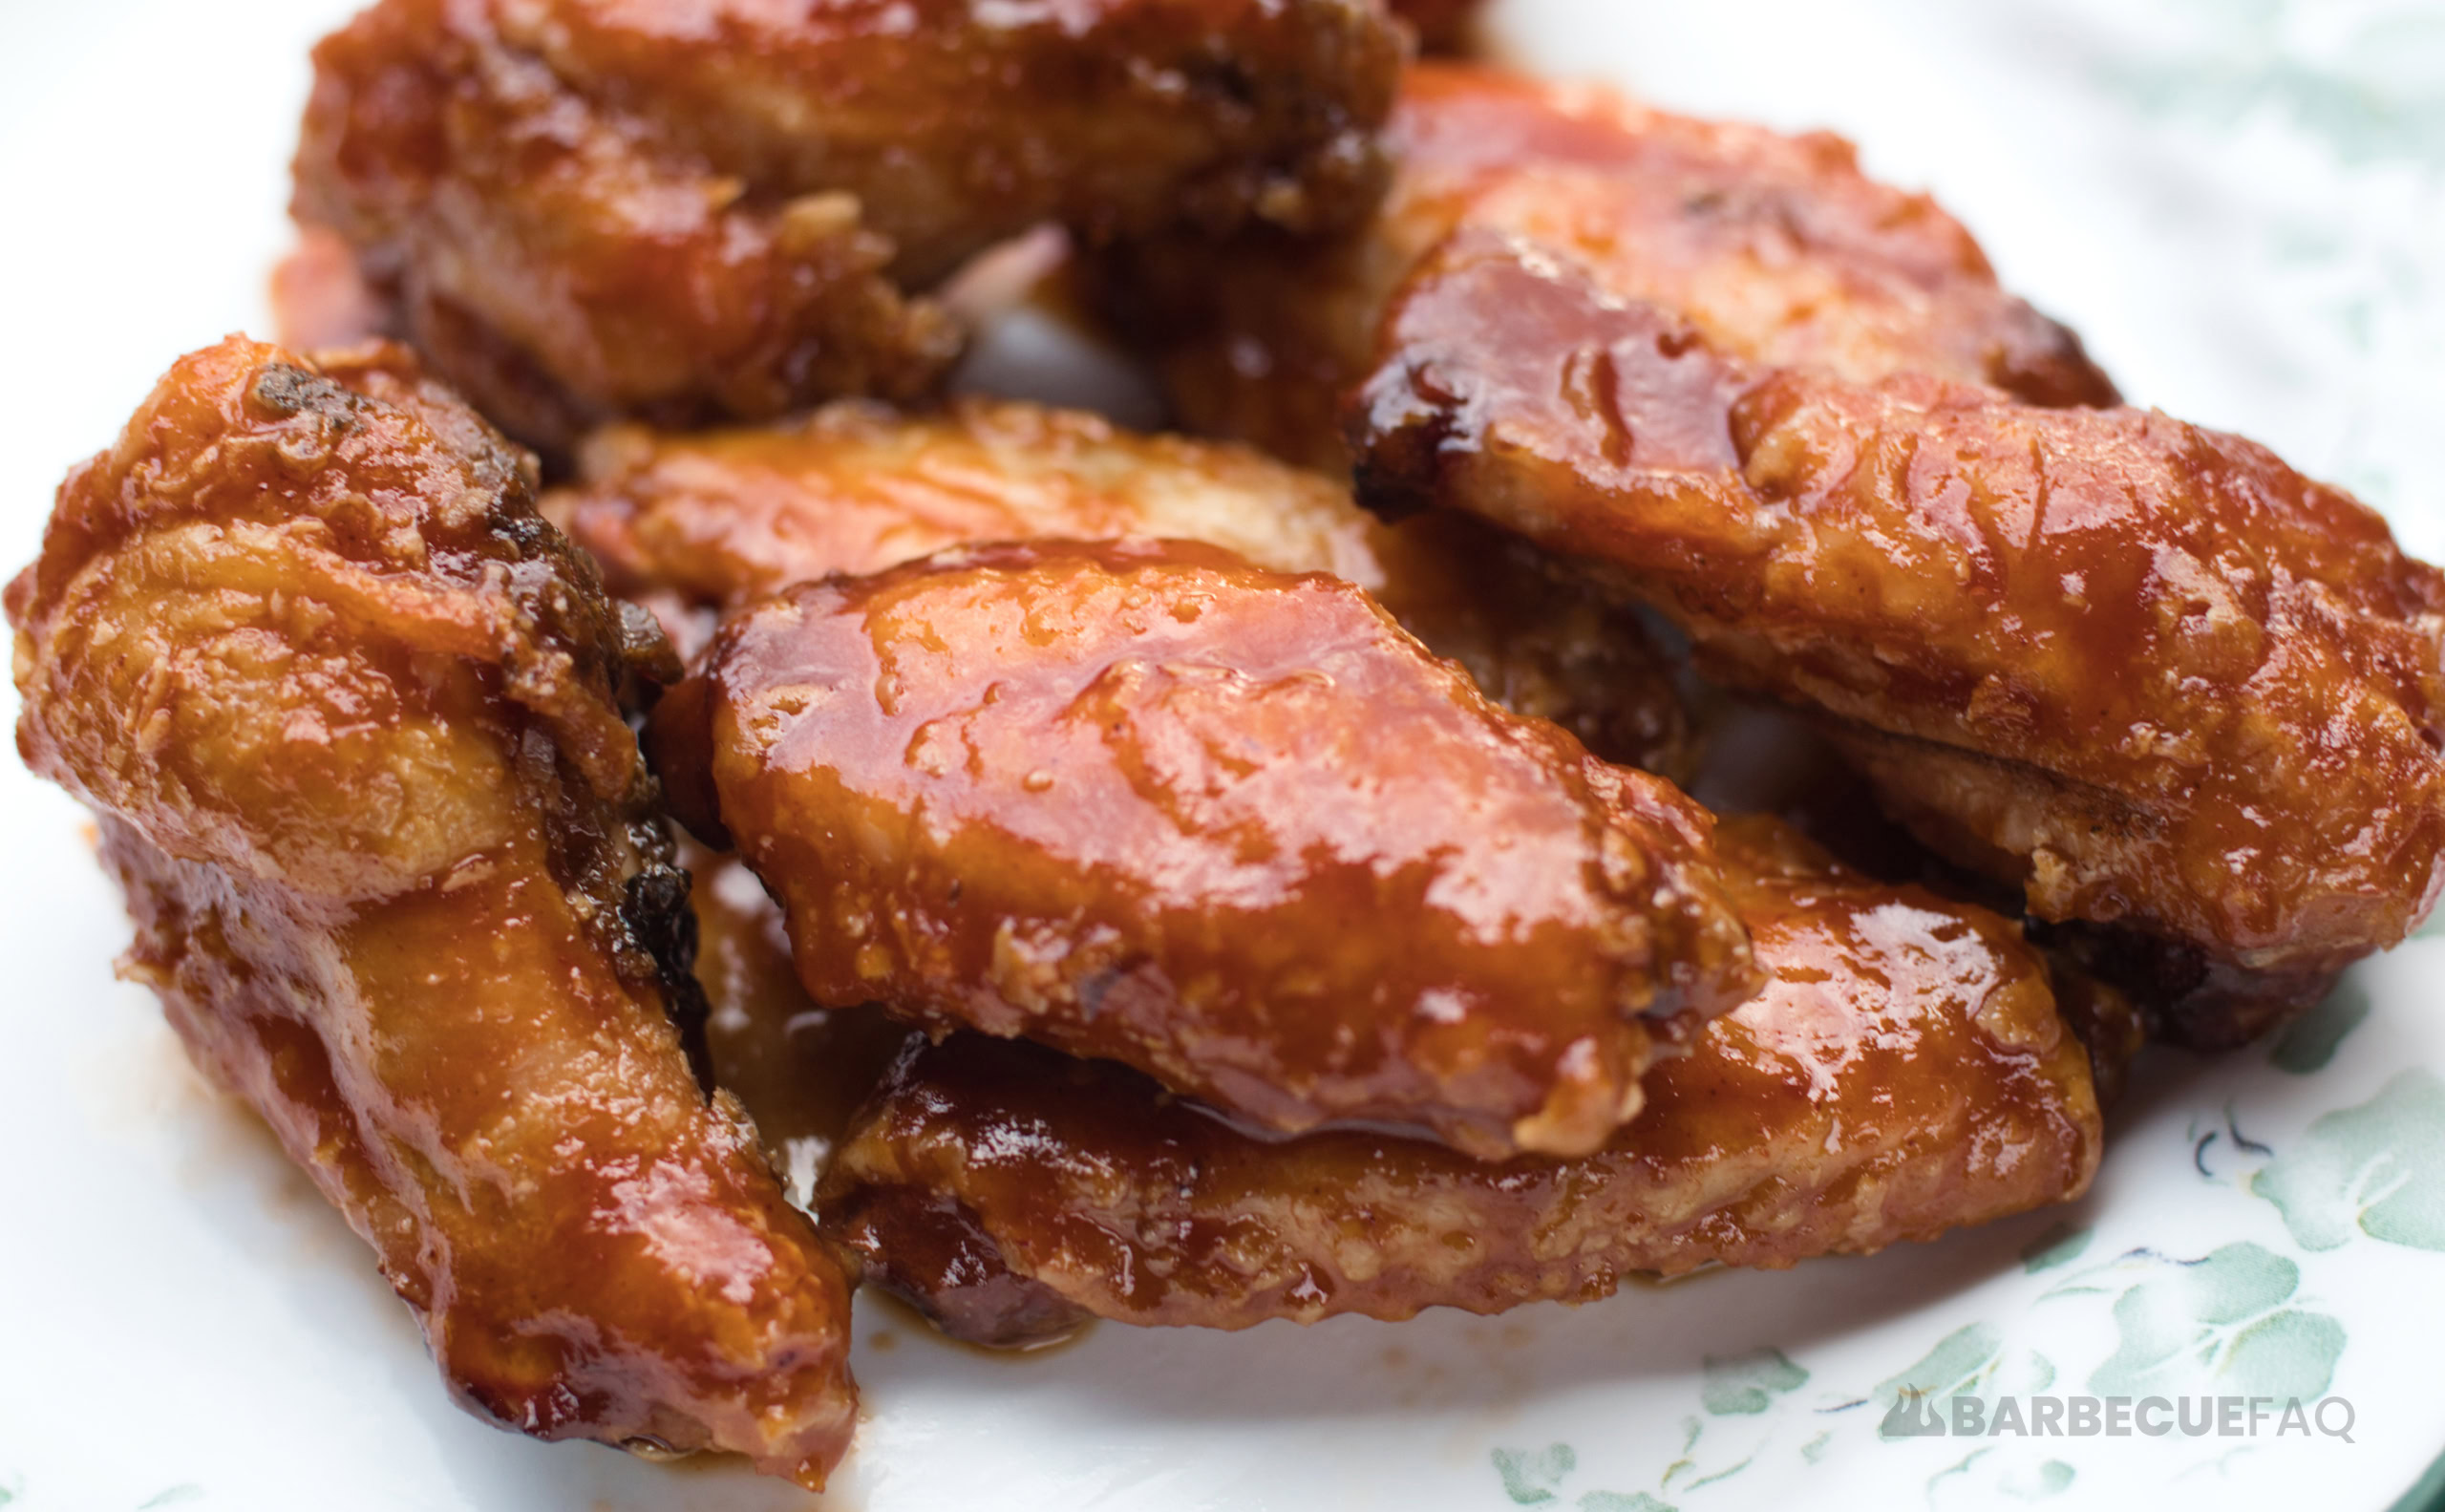
By slowly incorporating it you get a velvet-like sheen and the sauce sticks better to the wings like below:

Add Wings to a Mixing Bowl, Add Some of Your Sauce
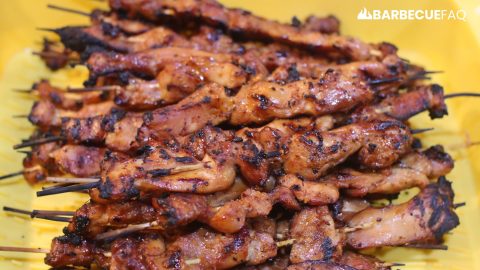
Toss the wings and enjoy crispy, tender wings all thanks to cornstarch and the vortex.
Weber Vortex Wings
Ingredients
- 24 wings
- 8 oz Cornstarch half a 16 oz bottle
- 1 cup Favorite wing sauce
- 1/2 stick Unsalted butter
Instructions
- Start by preparing your wings by separating the drum from the flat, and the flat from the wingtip.24 wings
- Setup your kettle/vortex.Use roughly 3/4 charcoal chimney of lit charcoal. This should reach 400-500F inside your weber kettle.
- Cover your wings in cornstarch.8 oz Cornstarch
- Place the wings around the perimeter of the vortex on the grill grates.
- Allow wings to grill until the cornstarch is setup and the internal is around 190F. In a medium saucepan add your wing sauce and a half stick of butter on low heat. You want to slowly incorporate the butter so that the milk solids don't separate.1 cup Favorite wing sauce, 1/2 stick Unsalted butter
- At 200F+ internal, remove the wings from the grill. In a large mixing bowl toss your wings in your sauce.
4 comments
Bryant Pearce
Dylan, you are the man! Thanks for all of you knowledge and willingness to pass it along to the backyard BBQ warriors!
Dylan Clay
Happy to help Bryant!
Mark
The cornstarch is an awesome tip and something I never considered. It really does offer the “crunch” that I think a lot of grilled wings lack.
Thanks Dylan!
Dylan Clay
Happy to help Mark!