By Dylan Clay
One of the reasons people are deterred away from purchasing a pellet grill/smoker is the inevitable clean-up involved. However, as someone who has used a pellet grill for roughly 6-7 years, I can tell you that the clean-up process is very easy.
To be frank, a lot of resources on this topic make cleaning your pellet grill feel super nuanced, and it doesn’t have to be; This entire process takes me five minutes.
Having a “schedule” for when to clean your grill can be super useful and dumb down the entire cleaning process.
What I’ve determined is that after every 3 grilling sessions I clean my grill. The word “grilling” being the optimal word here. Grilling food implies short cooks at higher temperatures; For instance chicken wings, burgers and hot dogs, or steak and salmon. These foods are going to cook hot and fast and finish in less than an hour.
I’ve absolutely gone longer but I find three grilling sessions to be an optimal number. This accounts for pellet dust build-up in the fire-pot and chamber as well as replacing the grease-laden tinfoil a-top the drip tray.
Note: Picking a brand of pellets that’s less prone to ash production can really minimize the amount of pellet dust that’s created.
When smoking meat, I will typically clean the grill the next time I use it; This is for longer smokes like brisket or pork butt.
To preface, this guide does not address what I’d deem “superficial” cleaning (cleaning the exterior). The exterior can be easily cleaned with hot, soapy water and microfiber towels.
The only thing to be mindful of are abrasives like dust and particulates that can scratch metal surfaces – Granted, scratches are inevitable. However, nobody blames you for wanting the grill to look as nice as possible for as long as possible.
This process covers how to clean the interior of your pellet grill.
Tools Needed to Clean a Pellet Grill:
If you’re more of a visual learner, this video goes over all the steps involved in cleaning your pellet grill. The instructions below provide extra insight as well as various nuances in each step.
Video Timestamps

While all pellet grills are different, they all typically function in a similar manner.
Note: I own and use a Grilla Grills Silverbac.
They have an auger that works to pull in pellets from a hopper. These pellets are ignited in a fire-pot where-in they combust through the help of a intake/combustion fan and igniter rod.
The fire-pot is covered with a heat baffle to create a convection of heat within the smoke chamber. A drip pan is typically above the baffle and is angled/slanted in order to deposit grease and other food-stuff inside a container.
There is then a “lip” for the grill grates to sit a-top this assembly.
Your pellet grill might be different from this setup, however, almost all pellet grills are like this.
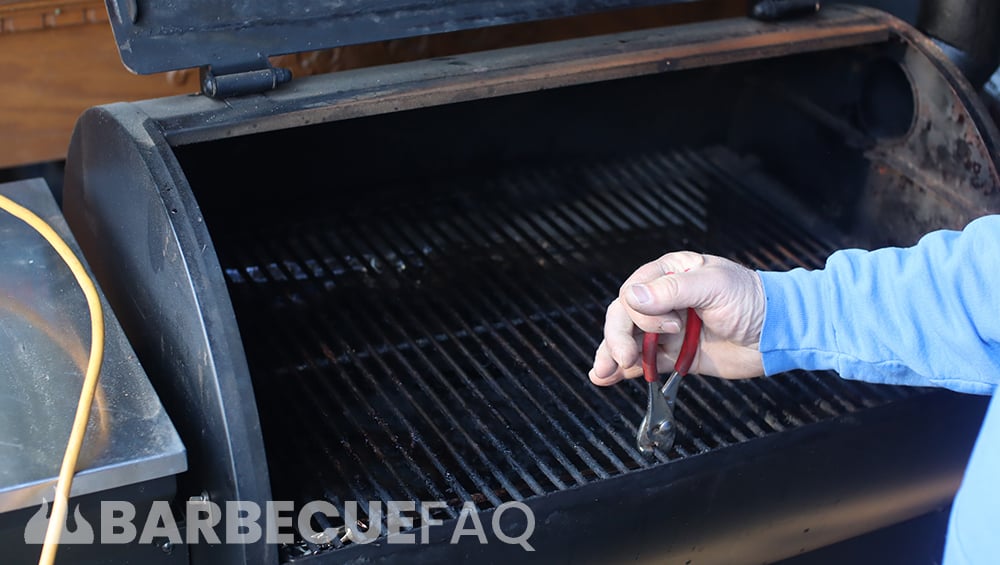
Removal is fairly straight-forward:

The next thing to do is plug in your vacuum cleaner or shop vac. Since you use a pellet grill, an extension cord or outlet should be readily available.
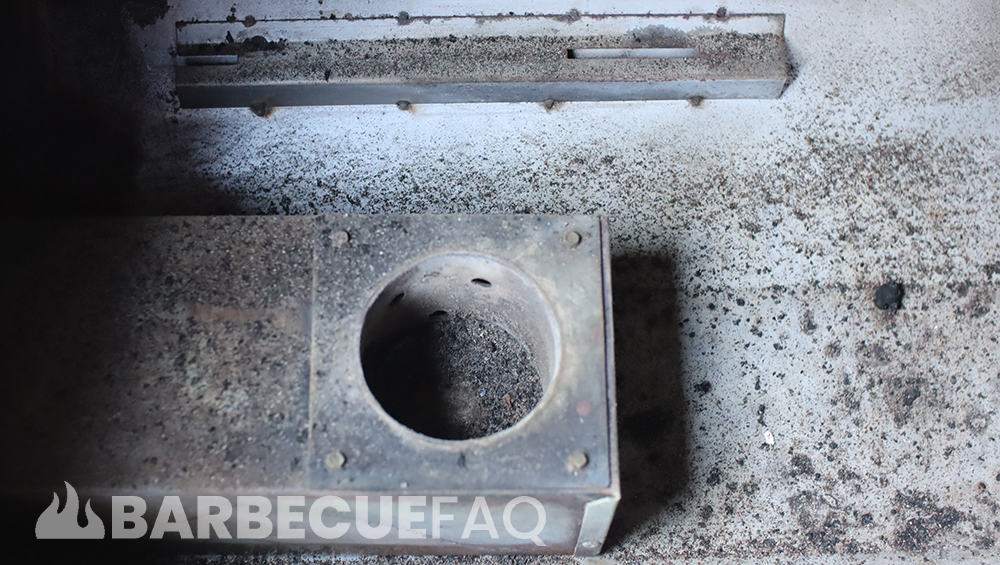
Use the vacuum cleaner’s hose attachment and vacuum all interior surfaces. I usually start in the fire-pot and then work my way outwards.
A common spot that debris can build-up is in the drip “trough.” It’s important not to neglect this spot as food-stuff and other debris may obstruct the passage of grease and before you know it, that grease has no where to go.

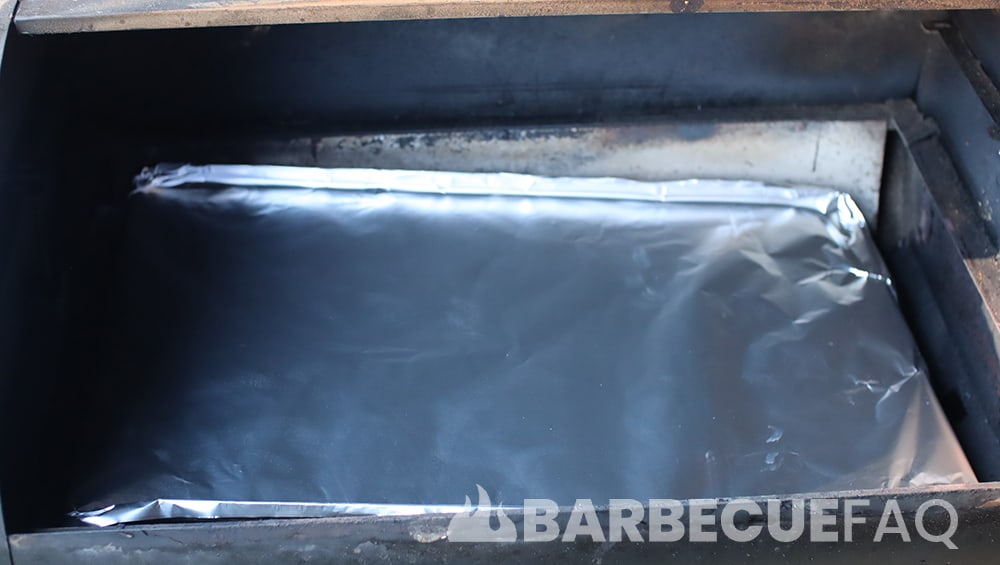
If you don’t already, you should be covering your drip tray with tin foil. It makes clean-up much easier and debris won’t cake onto the surface. I’d rather invest $7 into a 200 ft. roll of aluminum foil every 2-3 months than scrape the drip tray with a putty knife.
Last I checked, a putty knife was for home improvement tasks and not scraping the interior of your grill.
Make sure you get the large sheets of aluminum foil. The reason not to use the smaller sheets is because it creates overlapping layers. As you might expect, grease can easily slip between these layers and while you can get rid of the debris, the grease will still cake onto the surface.
I always look for cheap aluminum foil like Walmart’s Great Value or a Store Brand.
Simply wrap up the aluminum foil so that all the debris is contained and discard it in the trash.
Tear off a sheet of new aluminum foil to the length of the drip tray. Then secure it on the surface by crinkling it around the edges.
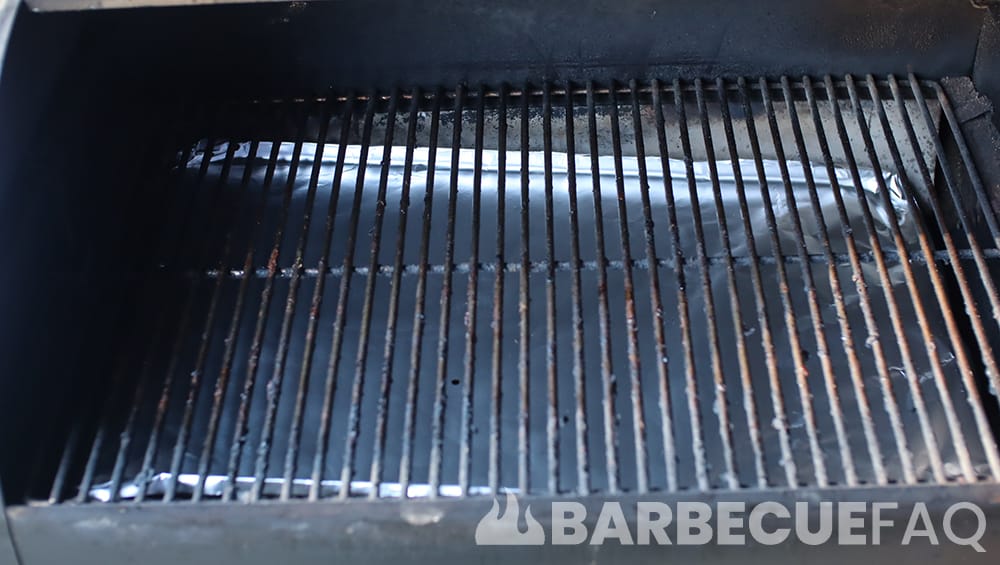
Reverse the steps above.

You might of noticed that I said to put the dirty grates back on the grill. The reason I don’t clean the grates is because it’s significantly easier to clean the grates when they’re hot.
I essentially wait until I cook again to use a grill grate brush. The next time you go to grill, you have to wait for the pellet grill to come up in temperature regardless. As it comes up in temperature, the grease/food-stuff that was stuck to the grates will inevitably fall off and onto the new aluminum foil.
Once the grill is at your desired temperature you can simply use the grill brush to wipe the surface.
A question that might come up is whether you should remove debris that’s caked onto surfaces like the lid, smoke-stack, etc.
Personally, I don’t bother.
If anything, the smoke/debris build-up on the lid creates a seal along the perimeter, thus keeping smoke and heat inside the smoke chamber.
